You know in brawl stars and other games, they have this poison fog that slowly swallows you up? Well, today I’ll be showing you how to make one!
Why Make One?
Poison fogs can be useful in many ways. In dungeons, foggy rooms can force players to rush their tasks or else they die. The fog can imitate the “floor is lava” for death runs. You can also use this in fighting games to prevent people from teaming, camping, hiding or afk in a safe place.
Materials
-
Green bushes (some alternatives are Groundbreaking Plant, Snow Pile, Moss, etc.)
-
Counters
-
Repeaters
-
Lifecycle (optional) (if you want to start the fog advance in some other way, you don’t need this)
-
Lasers (a lot, like a LOT of them)
Step 1: Making the boundaries
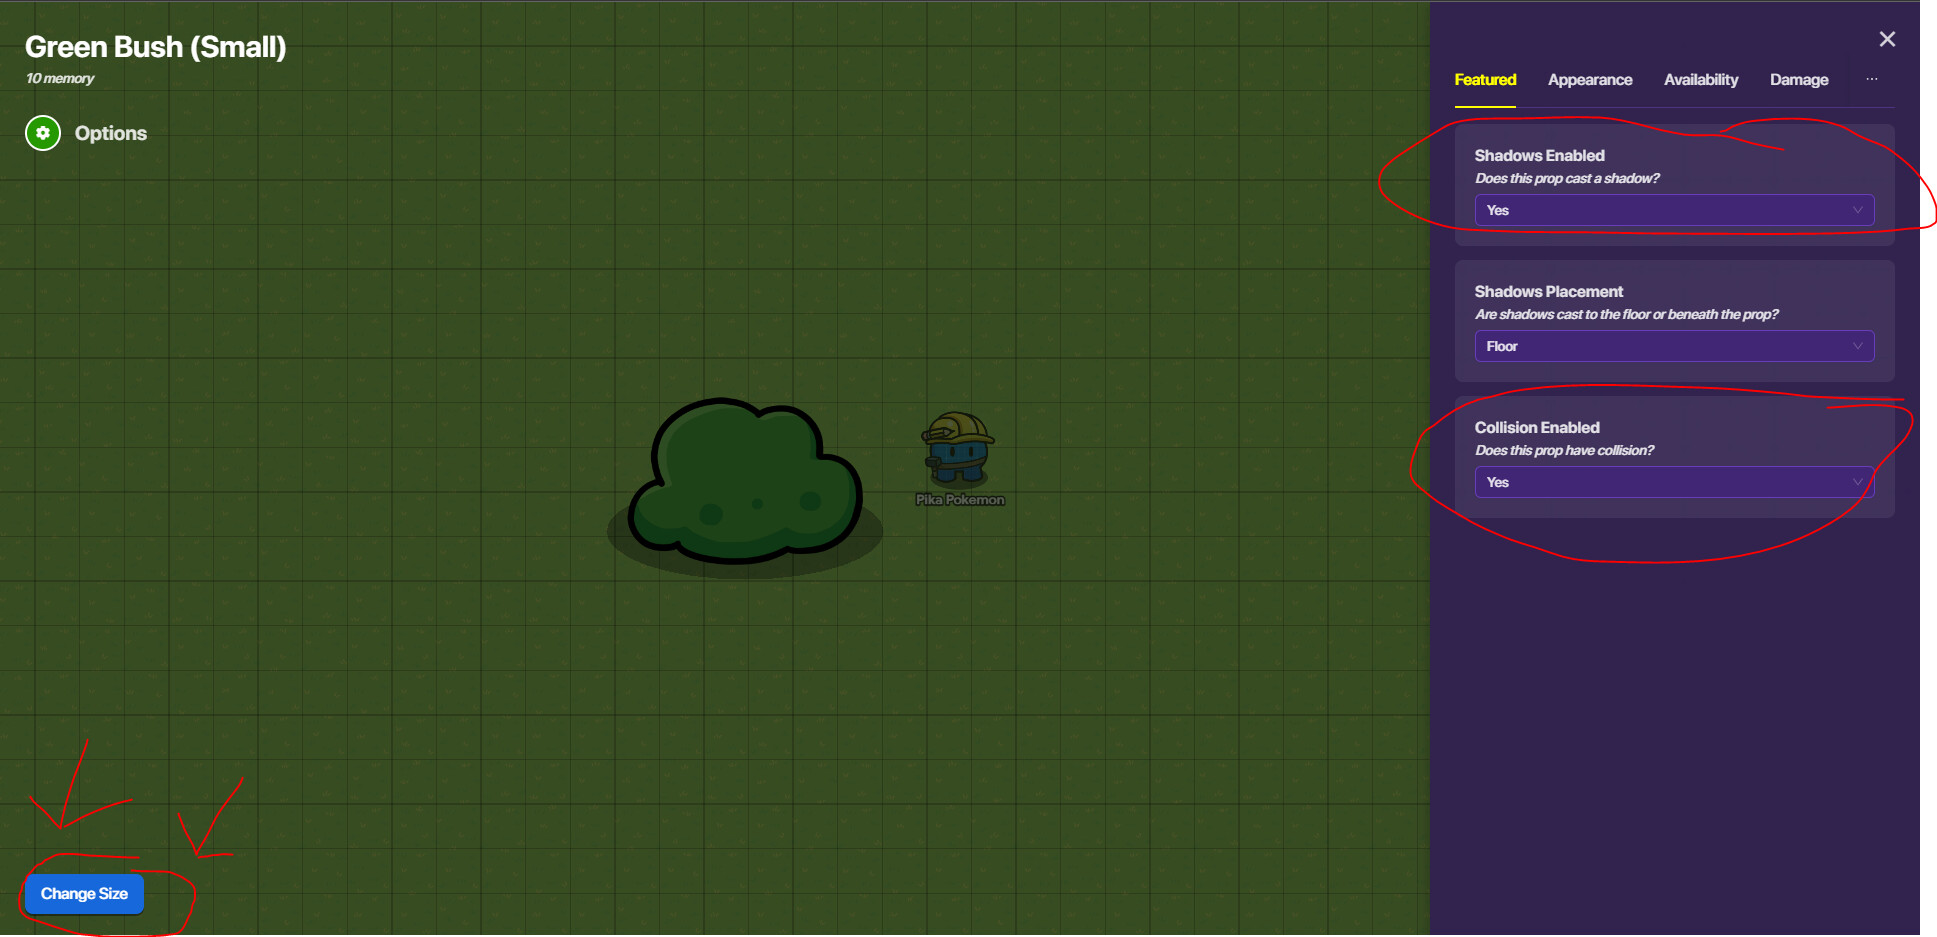
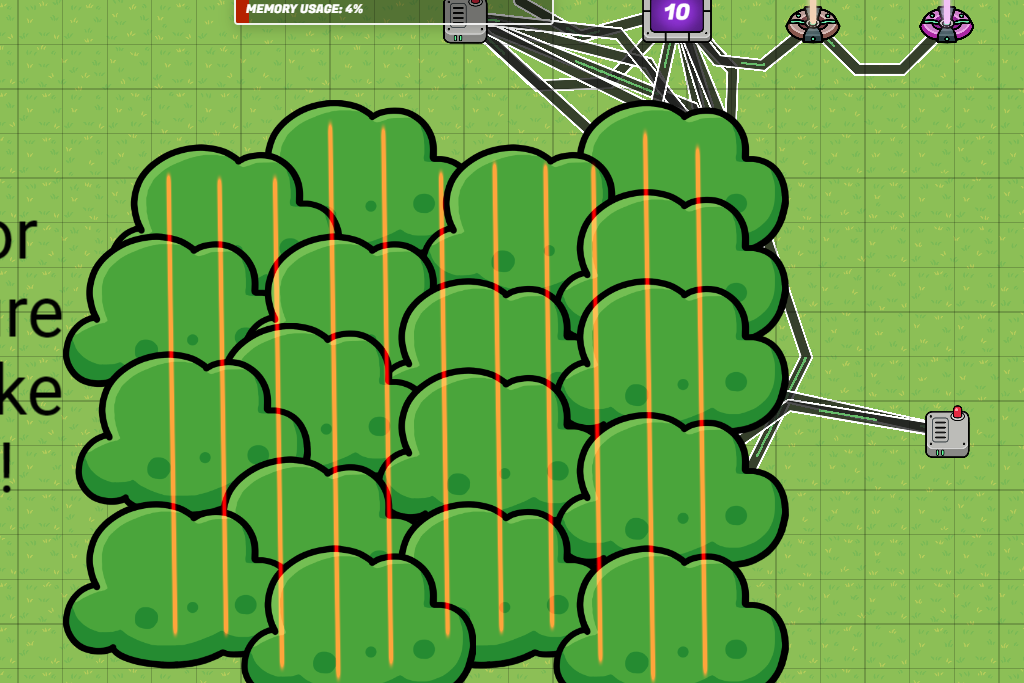
First make a border where your poison fog will start. Props like “Green bush” and “Moss” will work. If you want to make a blizzard fog, you can use the “Snow pile”. For now, I’ll use the green bushes to mark my boundaries. Make sure to change the “Collison Enabled” to “no” and “Shadows Enabled” to “no” so it looks like a fog and not some wild vegetation!
You can change the size to save memory (instead of making thousands of tiny bushes).
Optional: You can use “Groundbreaking plant” to create some fast growing poison ivy instead of fogs if you want to. If you do, you can turn on the shadows.
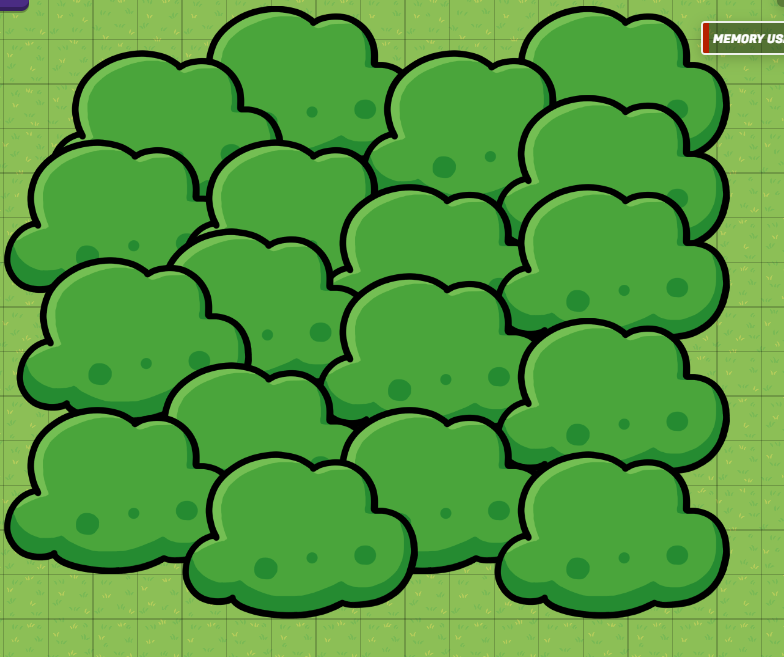
Your “fog” should now look something like this:

Note that it doesn’t have to be exact. For example, you could make a “box” with your fog, instead of a line, like mine.
Step 2: More fog!
Copy one of your “fogs” and change the “Visible on Game Start” to “no”

Copy the newly edited fog again and again, and make a second “layer” of the fog, like this.
Step 3: Advancing the fog
Now add a counter, a repeater, and a lifecycle.
If you want to start the fog with some other kind of input, you don’t need the lifecycle (ex: a button starts the fog advancing)
Set the repeater’s “Task Interval” to “1.0” and the “Time to run” to whatever you want. (note that the number you put in the “time to run” will be associated with how much seconds until fog advances). Let’s call the number you just put in the “time to run” “x”.
For the counter, set the “use target value” to “yes” and “target value” to “0”
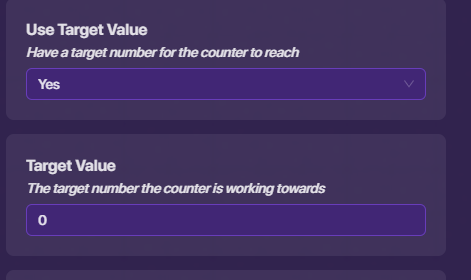
Then change the “starting value” to “x+1”. Don’t literally put x+1 in there, it refers to the repeater’s running time plus one. For me, I’ll use 11 as the starting value. This will be the amount of time until the fog advances.
Wire the lifecycle to the repeater: “event occurs” → “start repeater”

Then wire the repeater to counter: “repeater runs task” → “decrement counter”

Finally, wire the counter to every single bush that is set to “not visible on start”: “target value reached”->”show prop”

tip: use wire repeater in case the counter has to much wires, especially if you have a lot of props. “target value reached”->“repeat wire pulse” "wire pulse repeated” → “show prop”


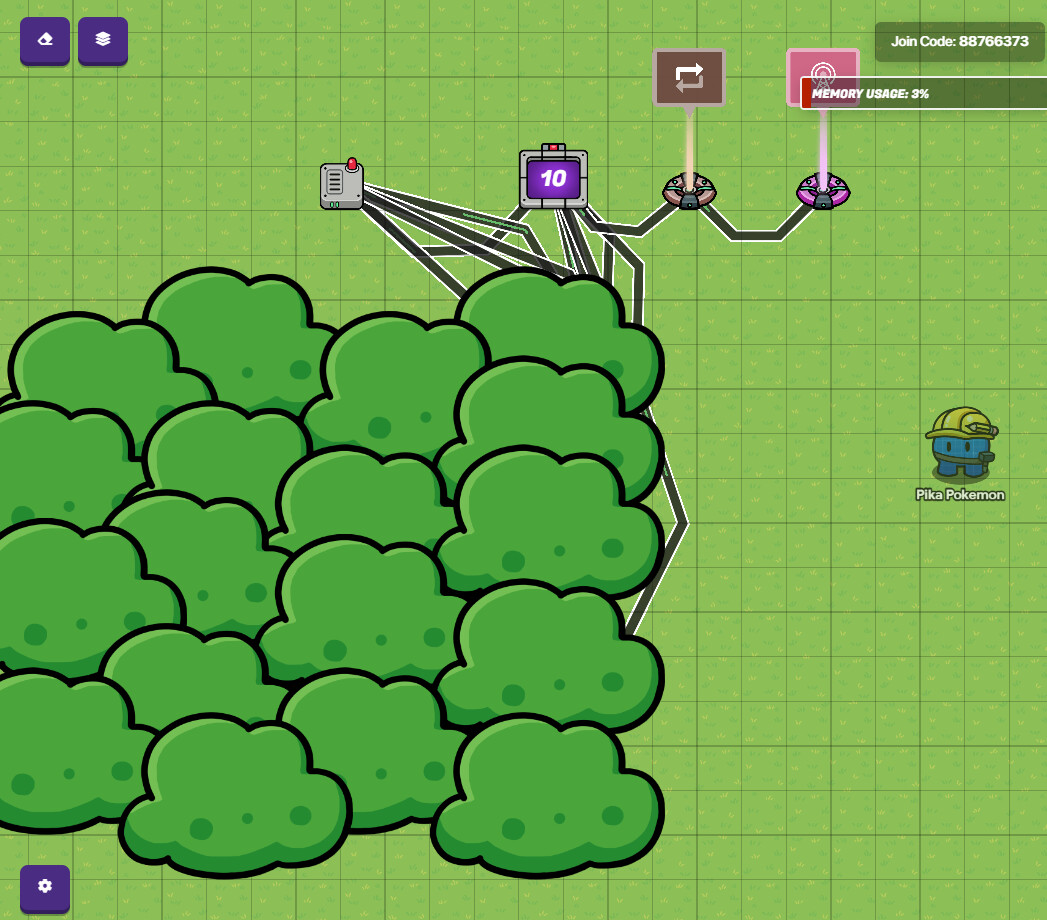
It should now look something like this:
Step 4: Additional Information for Step 3
If you want the fog to advance further, repeat steps 2 and 3, except use the same repeater and lifecycle. Add a new counter (for reasons that occur in step 6)
To make it look more natural, place the fogs closer together, decrease the size of each prop, and add more layers.
Also, if you want a warning to alert players, there are 2 options:
-
Making the counter visible. This is the simplest way, but not very creative
-
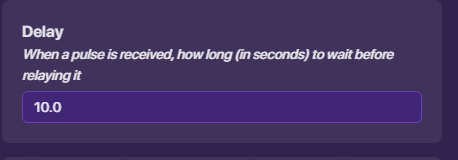
Instead of wiring the counter directly to the props, wire it to a wire repeater first. Set the delay to {how much time to warn the player of the fog} and then connect it to the props.

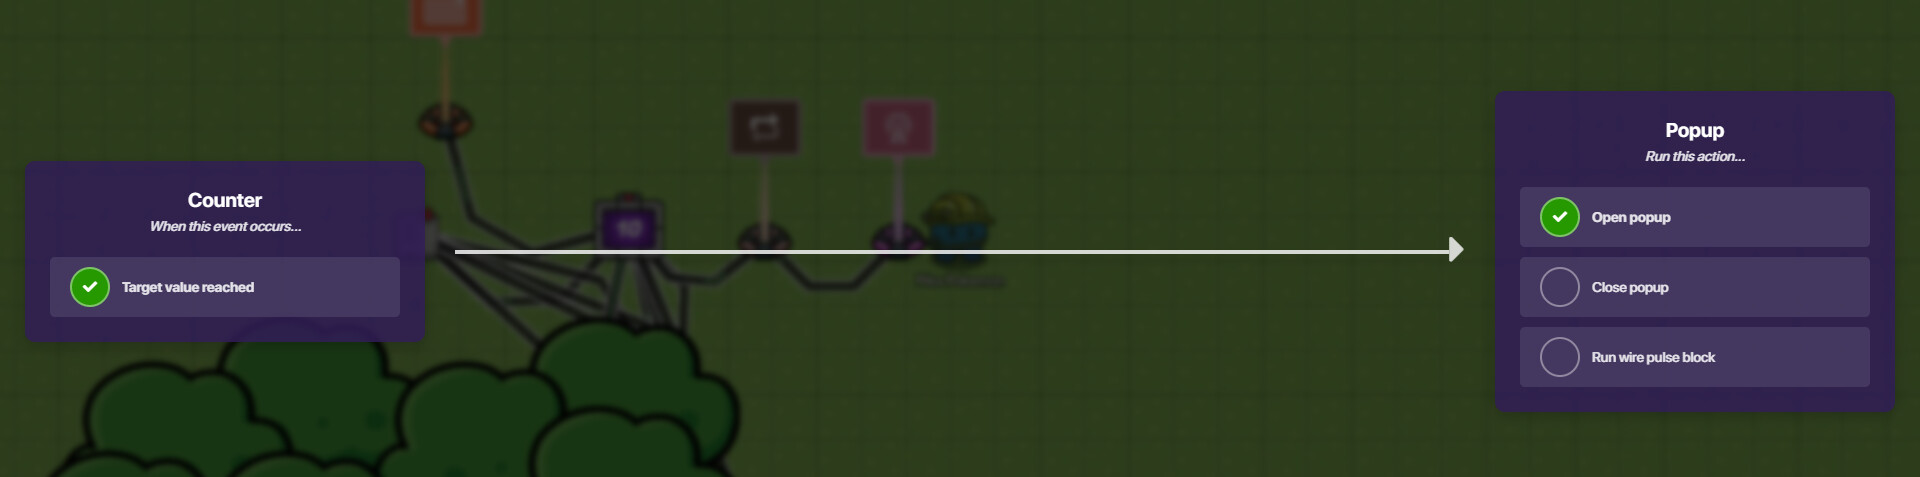
Also connect all your counters to a popup, with “target value reached”->”show popup”.
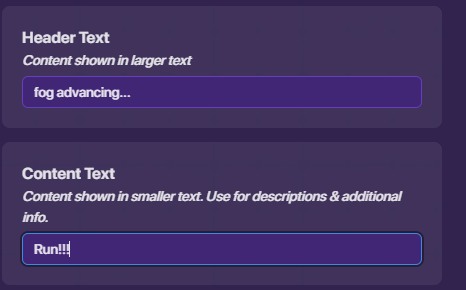
Set the text in the overlay to your desired text.
If you want, you can use blocks to create a “fog advancing in 3…” animation (is that possible? Im bad with blocks).
[details=“Step 5: “Poison””]
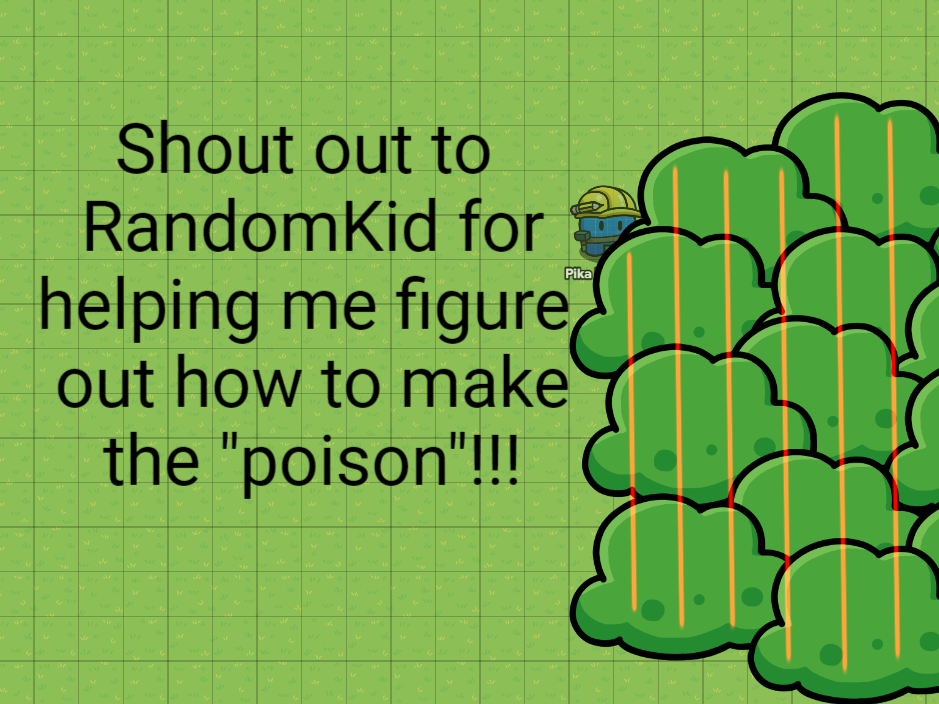
PLACE LASERS EVERYWHERE!!! Just kidding. Place a laser nearby. Change the laser options according to your preference. one-shotting damage is not recommended since the whole point of poison is that you take damage over time. 1 damage is recommended

then change these options to “no” this is really important because otherwise people will see the lasers “hiding” in your fog

change the color of the lasers to black (it will make the lasers invisible

fill up the volume of your boundary fogs (i changed the color back to red so you can see it
then copy one of the lasers, and change this option to “no”

fill up the rest of your fogs (again, im using the color red so you can see it)
connect the “hidden” bushes to the lasers: “prop shown”->“activate laser”
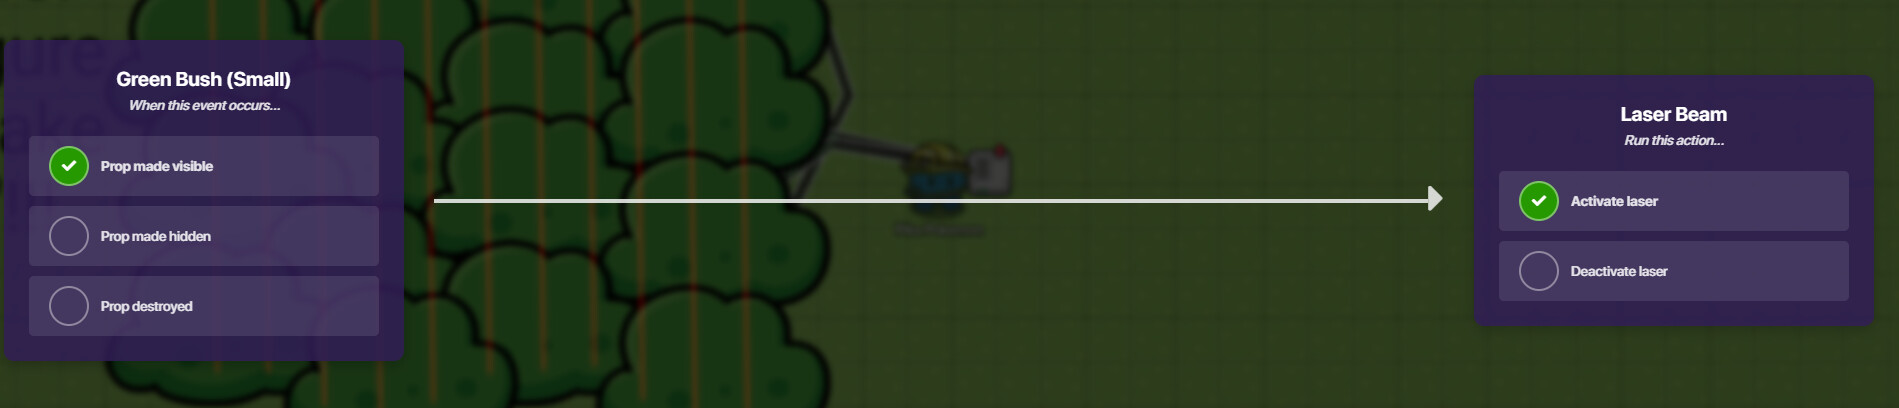
do this for any laser that is not inside of the boundary fogs (if a laser is touching the boundary fogs but partially visible, it has to be set to “not activated on start” and wired)
another note: only connect the bushes to the lasers inside of them. dont connect a bush to a laser that is gonna be activated in a later fog advance
[/details]
Step 6: More Poison!
The problem with the above step is afk people. If someone walks in and stays still, they wont take damage. To solve this, add 2 repeaters. Set the task interval to {your choice}. however, the task intervals have to be the same for both repeaters. THE TASK INTERVAL HAS TO BE A WHOLE NUMBER DIVISBLE BY TWO

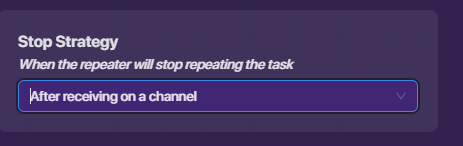
change the “stop method” to “receiving on channel”
place a counter
set the counter “initial value” to “{one-half your repeater task interval}”

connect the lifecycle (or anything that triggers your fog) to one of the repeaters (i’ll call this repeater “repeater 1”) “event occurs” → “start repeater”

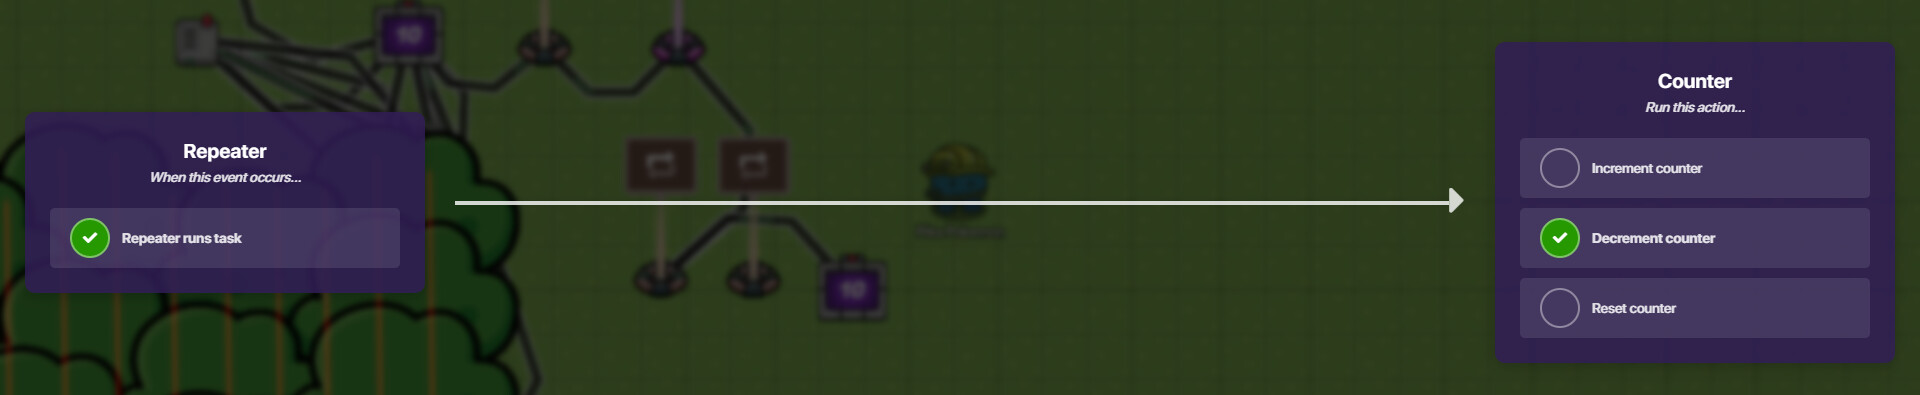
connect repeater 1 to the counter “repeater runs task”->“decrement counter”
connect the counter to repeater 2 (aka the other repeater) “target value reached” → “start repeater”

connect repeater 1 to all the lasers in the boundary fog: “repeater runs task”->“deactivate laser”

connect repeater 2 to all the lasers in the boundary fog: “repeater runs task”->“activate laser”

repeat this for every single fog advance layer you have, except that instead of the repeaters getting activated by the lifecycle (or triggers or buttons or-you get the idea), they are activated by the counters. be sure to not get mixed up with a counter on a different fog advance and the repeaters on another fog advance!
After all this hard grueling work, you’re done!
Other notes:
Instead of using wires, you can use channels
This is my first guide!
There is (most likely) a cleaner and efficient way of doing this (probably involving blocks)