Now, you’ve heard about a lot of HORROR ![]() games. From the popular Granny mobile game to the ultimate Doors Roblox game. Not a lot of people have actually played the original math-oriented Baldi’s Basics game, where players have to hurriedly collect notebooks to escape the crazy mathematics teacher’s tragic schoolhouse, so today, I’m going to teach you
games. From the popular Granny mobile game to the ultimate Doors Roblox game. Not a lot of people have actually played the original math-oriented Baldi’s Basics game, where players have to hurriedly collect notebooks to escape the crazy mathematics teacher’s tragic schoolhouse, so today, I’m going to teach you ![]() how to make the game, step by step! The ultimate guide is going to be a work-in-progress, not released yet, but these mini-guides will make up the entire series. Now, enough yapping, let’s get started!
how to make the game, step by step! The ultimate guide is going to be a work-in-progress, not released yet, but these mini-guides will make up the entire series. Now, enough yapping, let’s get started! ![]()
This guide is going to teach you how to make the basic (ha ha! get it?) classroom! Where all of the torture, (Er—I mean—fun!) happens! This guide contains ![]() parts! The classroom itself, and how to make the questions! This individual guide, however, only shows the way how to make the classroom itself. Let’s start!
parts! The classroom itself, and how to make the questions! This individual guide, however, only shows the way how to make the classroom itself. Let’s start!
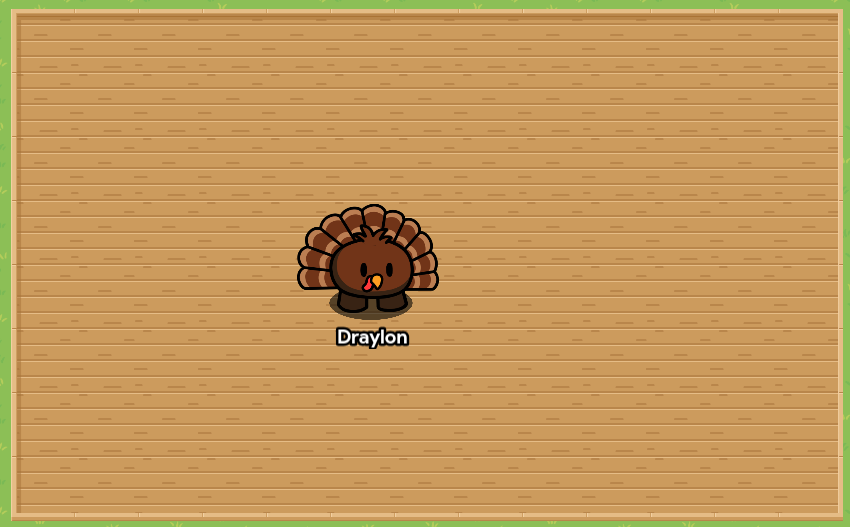
First, place down whatever terrain you’d like! I don’t recommend using geometric pattern-like terrain, (but again, do what you’d like!) so let’s just be simple and use the plain-old Boardwalk ![]() terrain! Place it down like so:
terrain! Place it down like so:
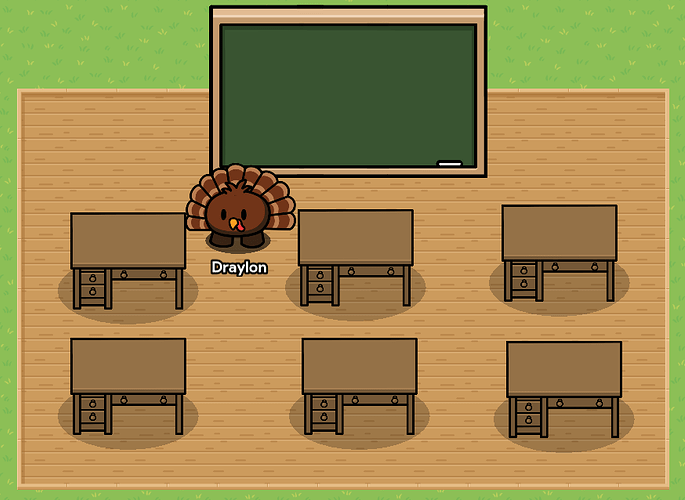
Now, what makes a classroom a classroom?
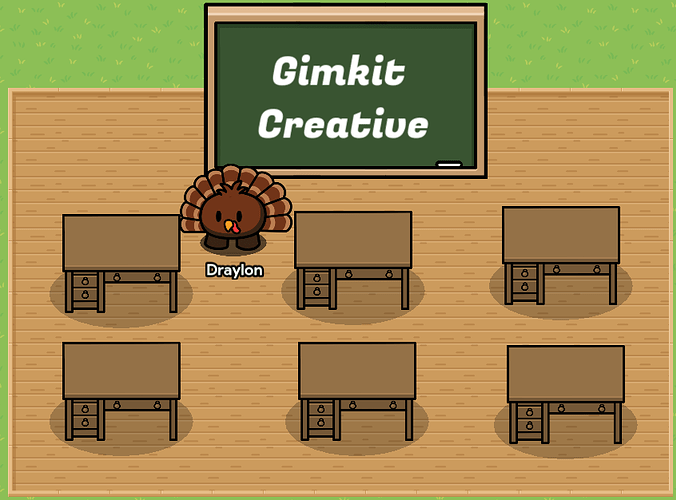
Now, let’s get creative! If you want something to go on the blackboard, add a text option, and type in whatever you’d like! (As long as it’s APPROPRIATE and not at the most intimidating) Change the color of the text to WHITE so it will look just like chalk! (Like how it was when my grandparents went to school!) Layer it on the TOP of the blackboard so it will look like someone wrote on it.
![]() NOTICE: If you don’t know how to do that, go to the Layers option at the top left! It looks like this:
NOTICE: If you don’t know how to do that, go to the Layers option at the top left! It looks like this:
![]() and go down until you see the Text. The little three dots on the button have two options: Move to above layer and Move to below layer.
and go down until you see the Text. The little three dots on the button have two options: Move to above layer and Move to below layer.
Choose the ABOVE layer and the text should be able to be on top of the blackboard. Ta-da! The magic of layering!
It should look similar to this once done layering the text!
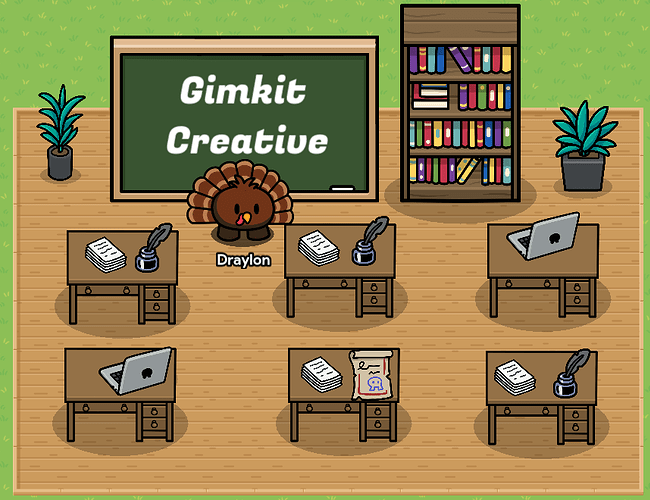
Now you’re done making the classroom! Adding additional items and props makes the classroom more comfortable (Baldi’s classrooms aren’t) ! You can use any props you’d like, such as laptops, plants, bookshelves, and science lab items!
What does YOUR classroom look like? Mine is a past-tensed like English classroom, but you can make your science, mathematics, health studies, or any other type of classroom!
Share your classrooms! Share your ideas! Share your Gimkit Creative maps! And please, please learn your mathematics! Baldi will NOT chase if you do! ![]() A-pluses for everyone!
A-pluses for everyone!
Thanks for reading this guide! PART TWO of this is coming soon, so don’t go away! Share the pictures of your classrooms in the replies and I’ll give positive feedback! More Baldi’s Basics guides are coming soon, and the release of my Gimkit version of the game is planning to be released sometime in January next year!
Keep being Creative!
California_Love


