Much more simple than the last one, right? Heres how to do it!
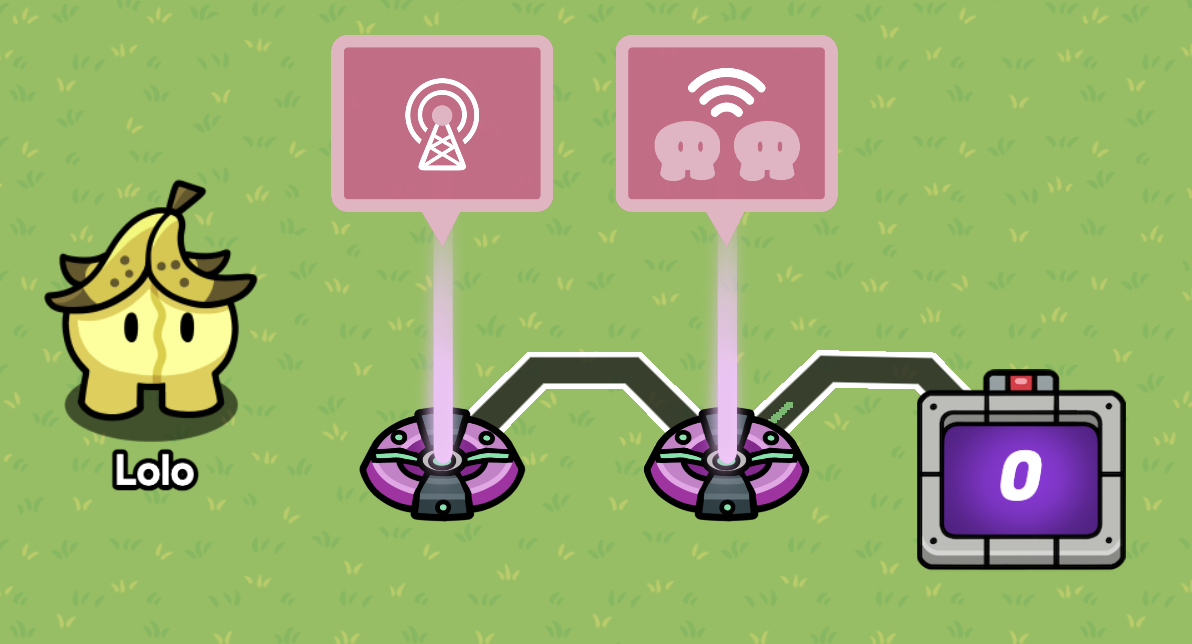
Place down a Lifecycle Device, Relay Device, and Counter Device. You literally do not have to change any of the settings in the devices for this to work.
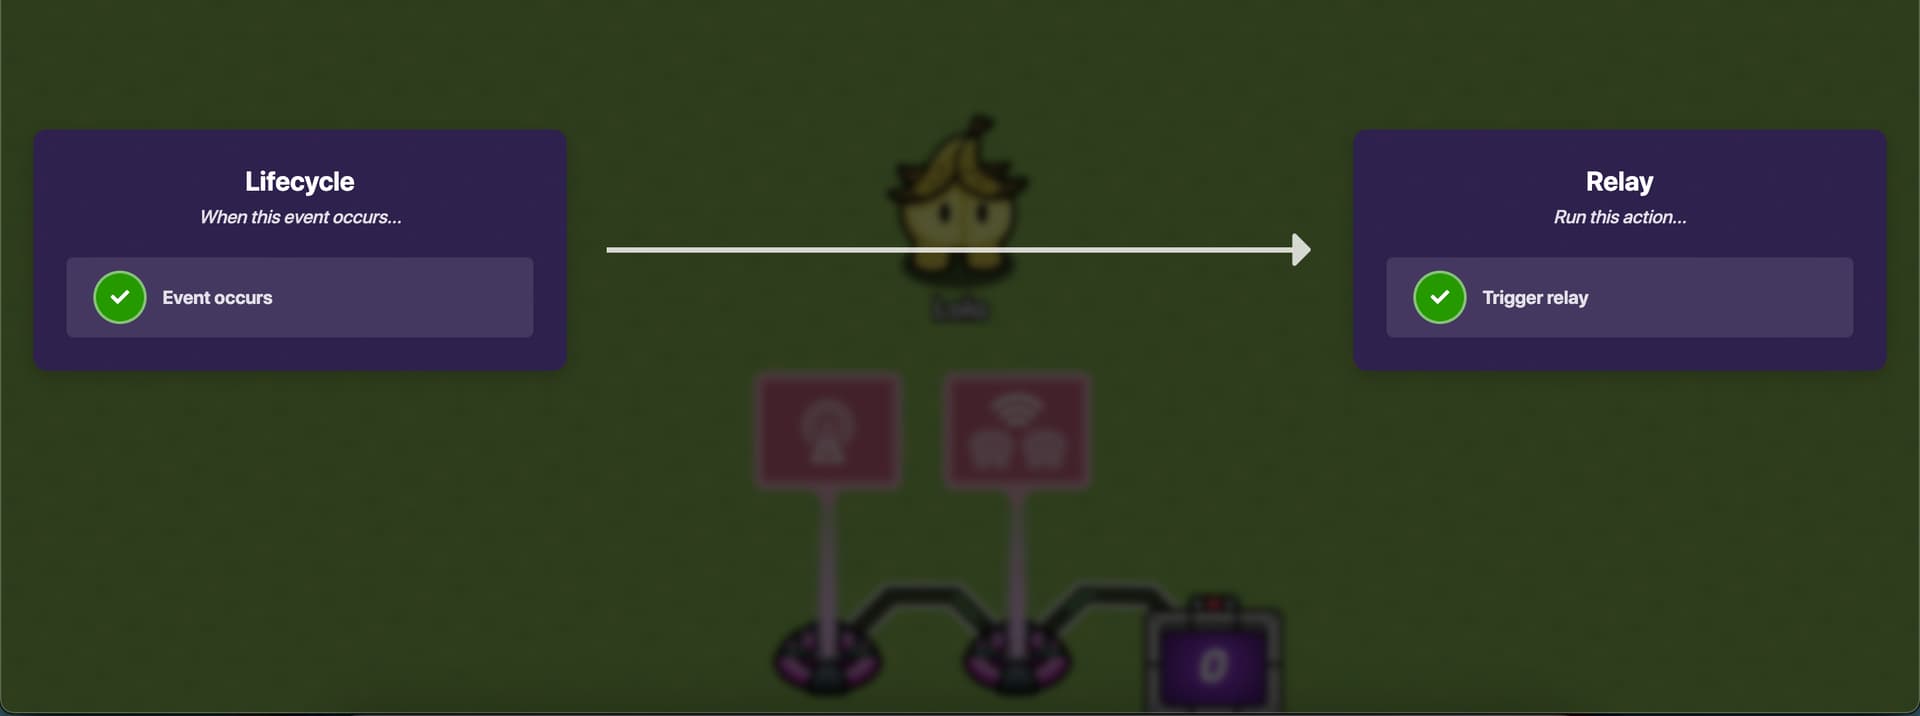
First, wire the Lifecycle Device to the Relay Device. Choose the only two wire options. It should look like this:
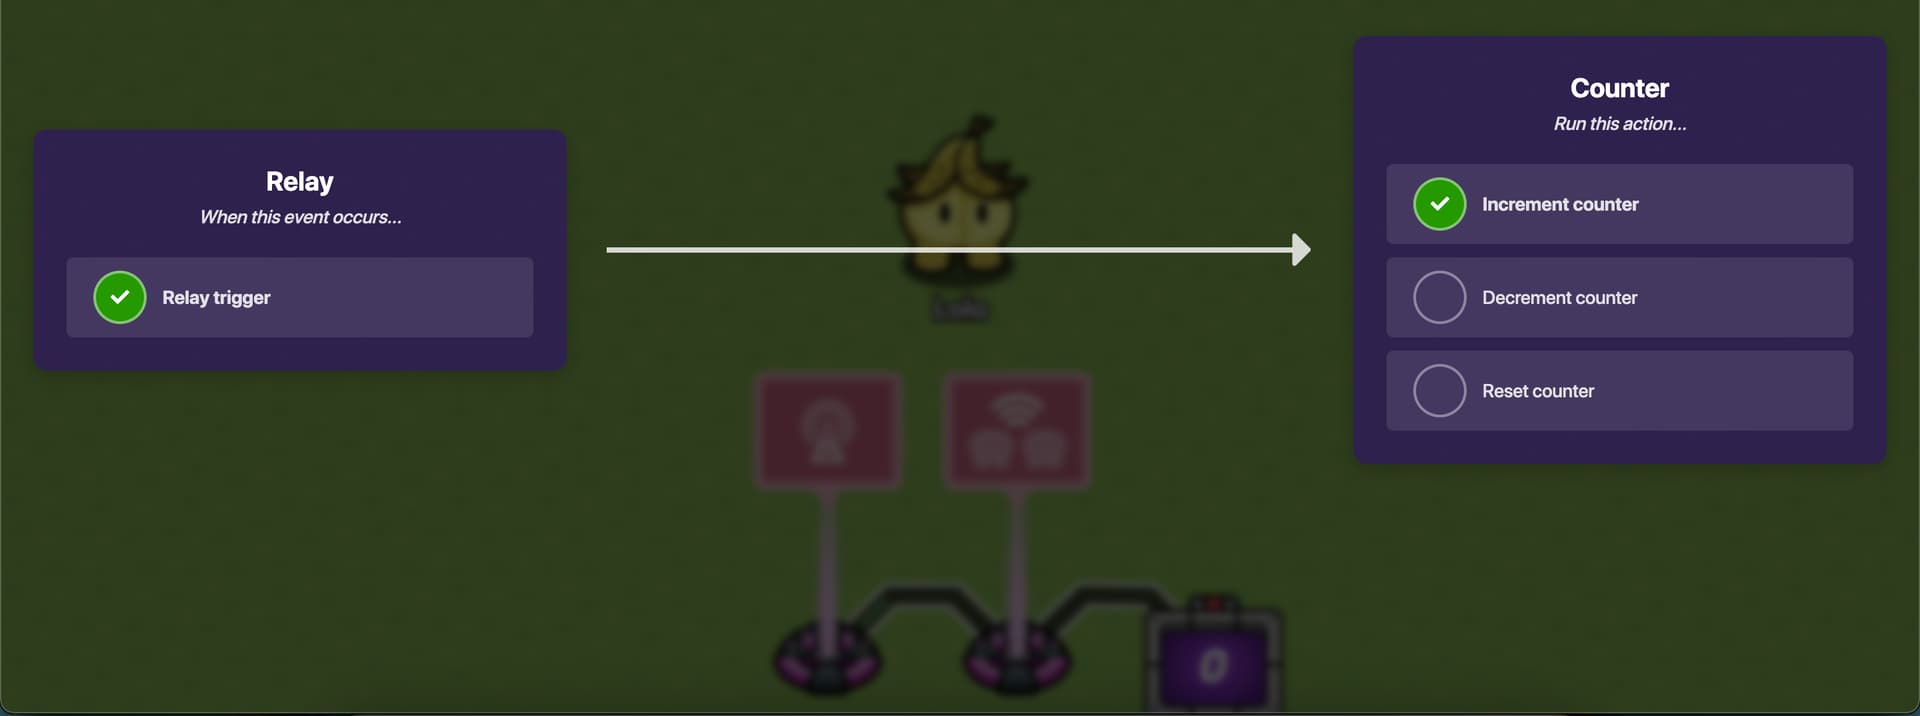
Then, wire the Relay to the Counter Device. For the Relay, choose “Relay trigger”, and for the Counter, choose “Increment counter”. It should look like this:
Hello @Lolo, I’ve carefully reviewed your tutorial, and I must say it’s a neat piece of work!
Here’s my evaluation:
Clarity and Simplicity: I love how you’ve explained each step in a simple and concise manner. This makes it very straightforward for readers to follow, regardless of their experience level with Gimkit. The tutorial avoids jargon, making it accessible for newcomers as well. Excellent job!
Visual Aids: Your use of screenshots at each step of the process is commendable. Visual aids are critical in tutorials and you’ve used them effectively to guide the readers. It provides a clear illustration of what should be happening at each stage.
Proper Credit Attribution: I appreciate your ethics in giving credit where it’s due. Mentioning @kyro not only shows your honesty but also respects the community norms.
Now, for a few suggestions to make it even better:
Add a Brief Introduction: While you’ve jumped straight into the process, which is good for an advanced user, a brief introduction about what the tutorial aims to achieve (in terms of end functionality) could be beneficial for beginners. This can give them a better context before starting the tutorial.
Explanation of Terms: While your tutorial is simple and to the point, a short explanation of terms for newcomers like ‘Lifecycle Device’, ‘Relay Device’, and ‘Counter Device’ could be helpful.
Potential Use-cases: Mentioning how this mechanism can be utilized in different scenarios or game types can increase the perceived value of your tutorial. It might inspire readers to try it in their games.
Overall, I would rate this tutorial an 8/10. It is quite good as is, but with these minor enhancements, it can be even better. Keep up the good work!
Can you make a difficulty guide explaining the current difficulty creep, and how guides should be rated also on when they were made, so the guides being made now don’t get like a rating, or the first guides on the forum get re-rated to a ?