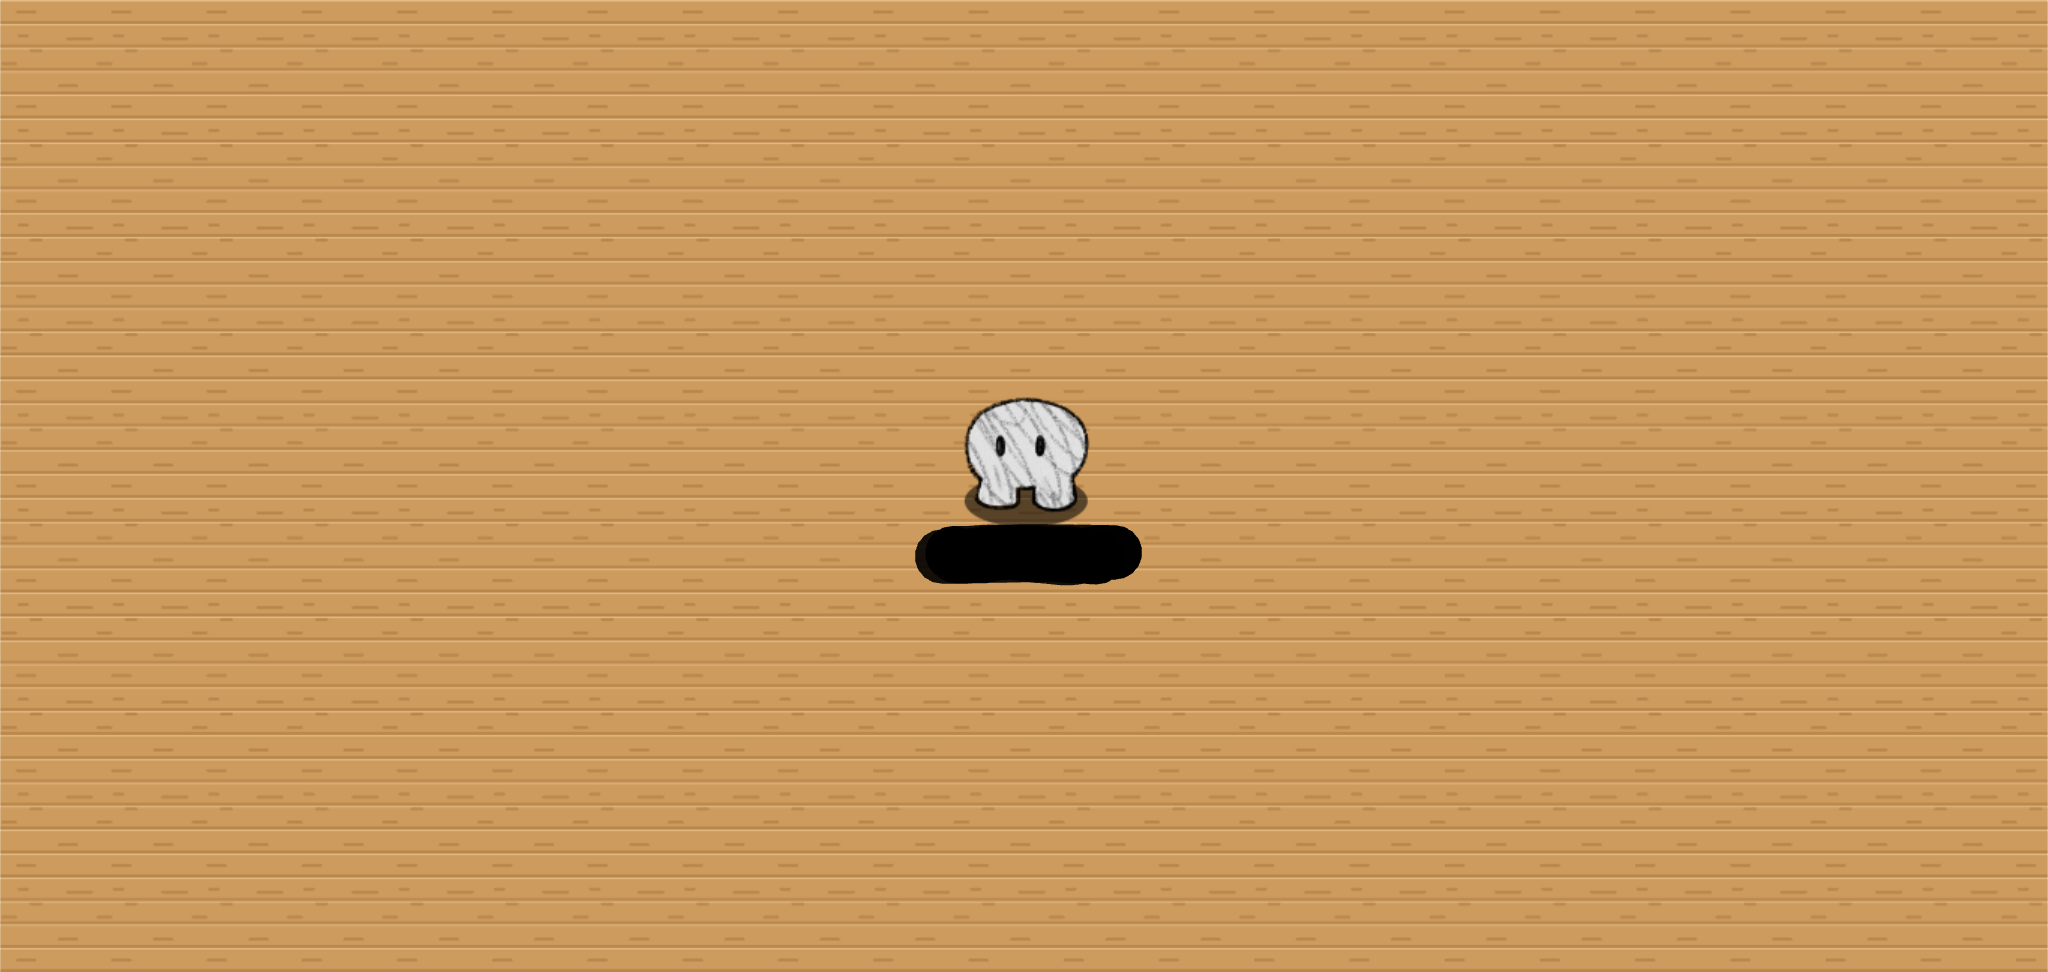
This guide is meant to help you master terrain and make terraining more efficient!
CREATING
First and foremost, there are a few ways to set terrain. You can go into the map settings to set a background terrain that you will use for the majority of the floor/background like so:
OR, you can use the terrain tool:
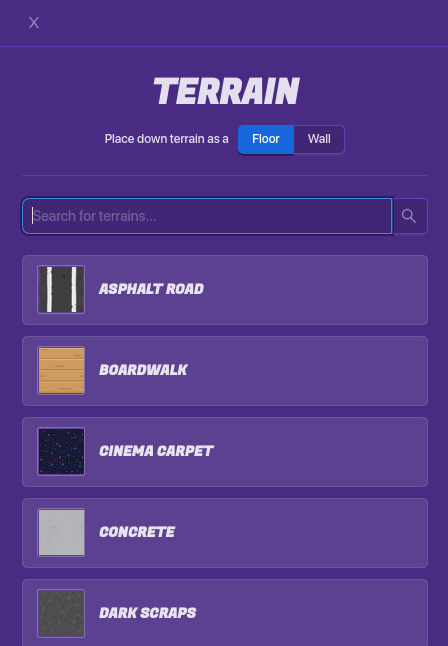
Currently, there are 46 terrain types to choose from; however, the developers of Gimkit (Josh and Jakub) might decide to add more at some point.
Select one of these. You’ll see many options: layers, brush size, and terrain type. We’ll go over layers later. Besides that, a quick shortcut to go from floor to wall is the shift key. Then, just drag to create terrain.
If you need to cover a very large area that’s out of camera view, use a larger brush, give yourself a larger camera view, and increase your speed. Then, start moving in one direction and spam clicks. This will help you cover a large area quickly. And if you need to cover smaller areas, click when you’re certain you have it precisely. Mostly basic stuff.
Note that if you accidentally place terrain on one layer that you don’t want, you’ll need to erase it and replace it, rather than just replacing it normally, which means you’ll probably want to be precise.
ERASING
Erasing in Gimkit is very, very tedious. You have to click a block one by one. Or do you? If you choose the Terrain eraser mode, these are the settings you see:
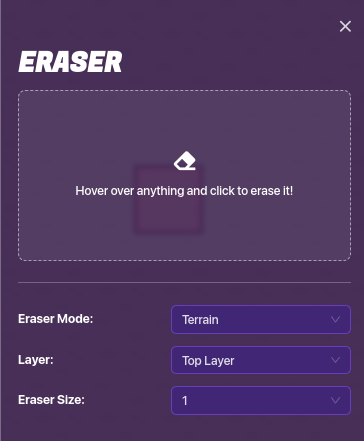
Obviously eraser size will help you erase. However, if you look at the layers, you’ll see options of Top Layer, All Layers, and then layers 1-5.
The Top Layer and All Layer modes are the only one in which you cannot drag the eraser like you can when placing terrain. This makes these, for the most part, the most inefficient. If you placed all your terrain in layer 3, use the layer 3 to erase so that you can drag the eraser.
LAYERS
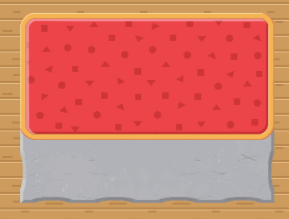
Layers are probably the most complex thing I’ll mention. However, using them correctly can make the difference from a horrible-looking map to an amazing one. Take, for example, the following comparison:
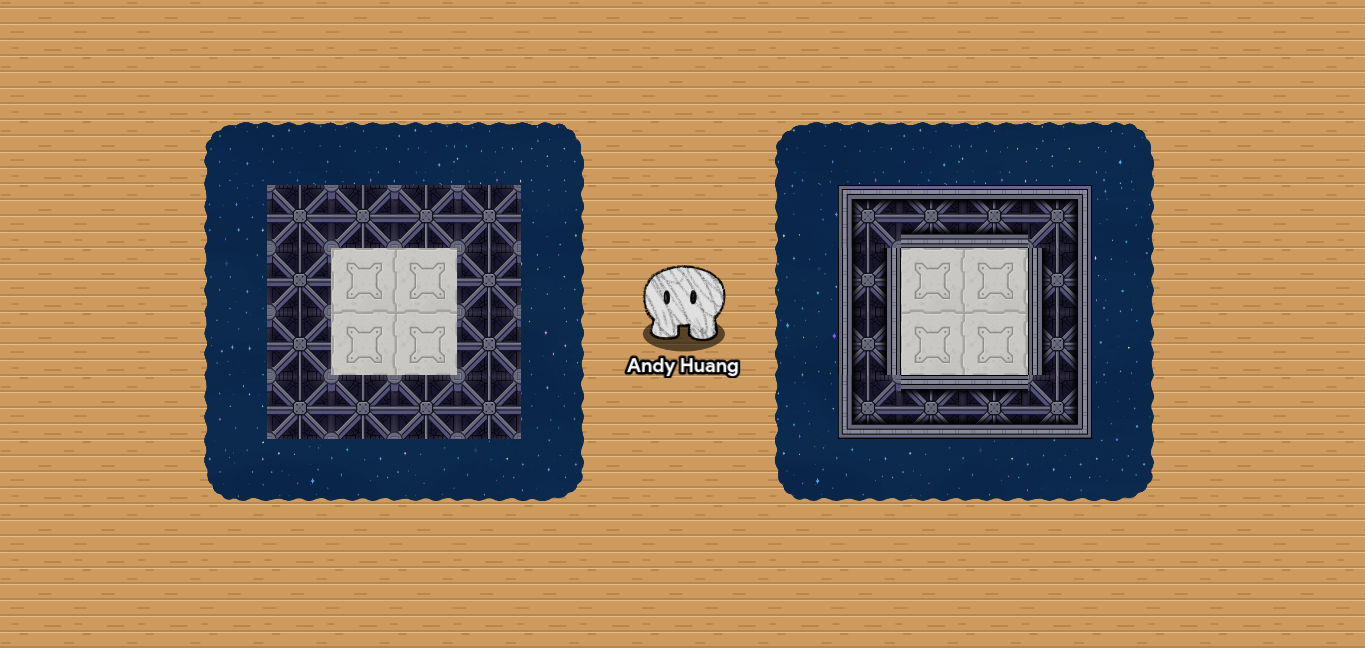
In the first one, you can’t even tell what’s happening; the terrain is all merged. However, in the second one, you can see walls and the Spaceship Interior terrain no longer looks merged with the Space terrain. Layers help you add borders and special edges.
This is a comparison of tiles:
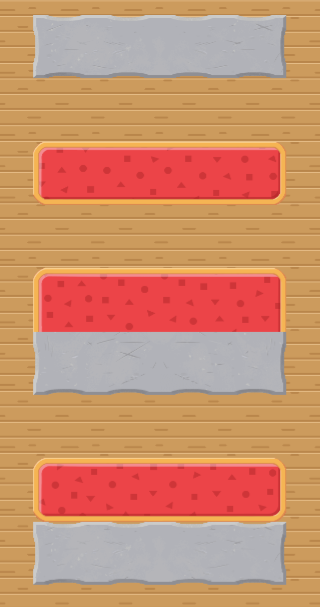
The first row is normal Concrete. The second is Plastic (Red). The third shows them right next to each other on the same layer. The fourth is when they’re on different layers. If you put two tiles on different layers, both of their borders are shown.
Even though the fourth one might be slightly better than the third, the concrete outline kind of ruins it. To remove the outline of only one of the tiles, you have to put it as the lower layer and, underneath the other set of tiles (in this case the red plastic), you will put any tile.
When placing the bottom tiles, however, note that wall tiles will show up above floor tiles. When layering, the best option is to always use floor tiles for under layers.
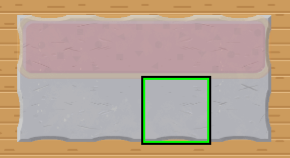

Getting better! However, in this case, and some others, you can see the corners. There is no way to actually fix this, so instead, you’ll have to increase the size of the other row:
And that’s the gist of layering! Obviously there’s a lot more to be learned but this is the basics.
Hopefully this guide helped! Comment any questions you have bellow!