Hello! This is a guide on prop art. It will tell you the basics, how to make said effects, and much more!
LIGHTING
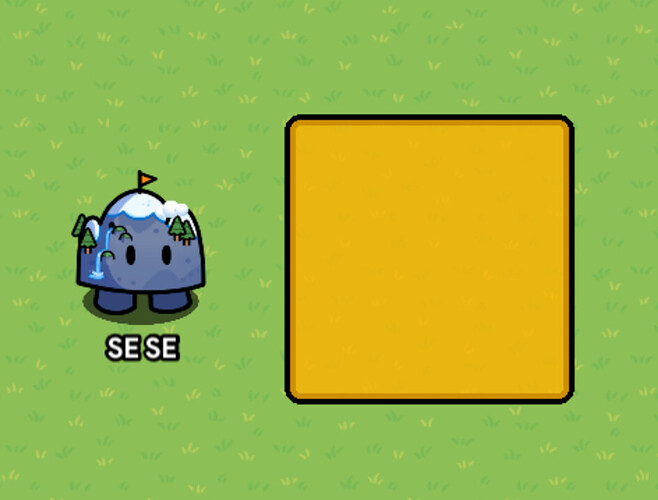
Prop art is very important for making ANY thing look realistic. So you need to first know how to make lighting before anything else. So first, create a barrier.
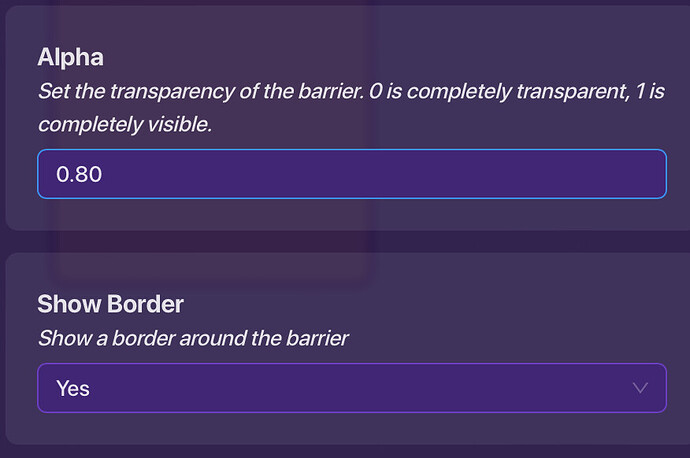
Now you want to alter the show border option off, and alter the alpha to anything you want, based on how heavy you want the effect(s) to be.
Then you want to alter the color to anything you want, make it grey for fog, and black for a blackout or night.
Now change the collision to off.
Once that’s done you can wire it to activate or deactivate it. Now you know how to use lighting! Let’s move on to basic prop art.
LAYERING
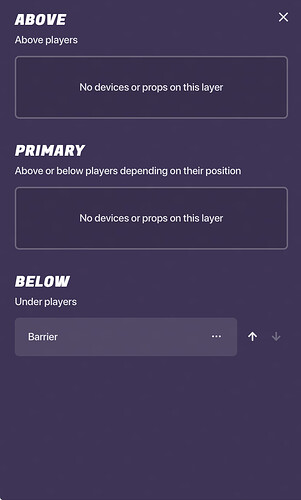
Layering is very important for making prop art because you need to now how the layers work so you have a lot more freedom when it comes to props, and it makes the lighting earlier more realistic! So start by pressing the button next to the eraser on the top left.

Then you should see this menu.
Press the arrows to move the selected item up and down.
For more info, check out this guide on layering terrain!
Full Guide to Terrain: Layers and Erasing tips (🟩)
PROP MULTI-USE
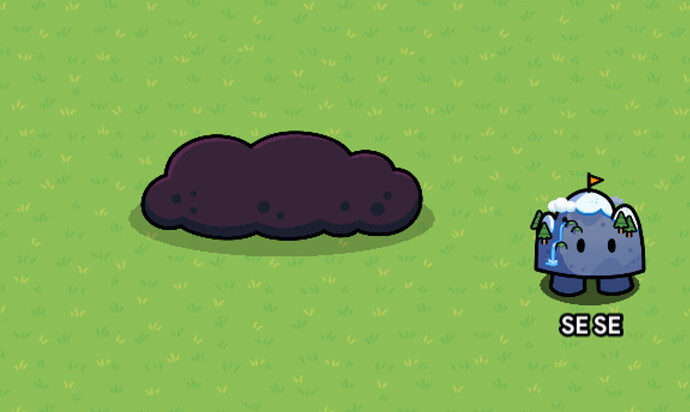
For even MORE freedom while making prop art is to know how to use different props for different purposes. For example, you can use a green bush with a purple tint for a smoke cloud.
You need to learn how to see the use in the limited props of Gimkit. I can’t really help you with this, but the more you do prop art, the more this skill develops!
With this information, you can develop the skills to make a beautiful, brutal, realistic, or anything in between! Good luck.
EXIT POLL
Rate the difficulty
- 0/10 or

- 1/10 or

- 2/10 or 3/10 or

- 4/10 or 5/10 or

- 6/10 or 7/10 or

- 8/10 or 9/10 or

- 10/10 or

- 11/10 or
 or
or 


