Warning:
This guide is mainly geared toward more experienced gims. Sorry for the inconvenience.
Introduction:
Good morning! In this guide, I’ll be teaching YOU how to create a merchant system with deals! There’ll be a lot of parts to this guide, so get your eyes ready!
The Goal:
Well, what do we want to accomplish with this merchant system?
- Sell items to players every two minutes.
- Deals and sales should be chosen randomly.
- You should be able to refresh deals that restart the two-minute timer.
- You should NOT be able to cheese the system by closing the popup and re-opening it, theoretically refreshing the deal without waiting two minutes.
What Device You’ll Need:
Button x2
Waypoint x2
Popups x6+
Property x3
Wire Repeater x3
Repeater x1
Vending Machine(s)
Counter x1
Sentry x1 (Optional)
Random Prop x1 (Optional)
Part 1- Painting the Picture:
Well, you obviously can’t just expect a player to know you have a merchant in your game, let’s introduce them using waypoints!
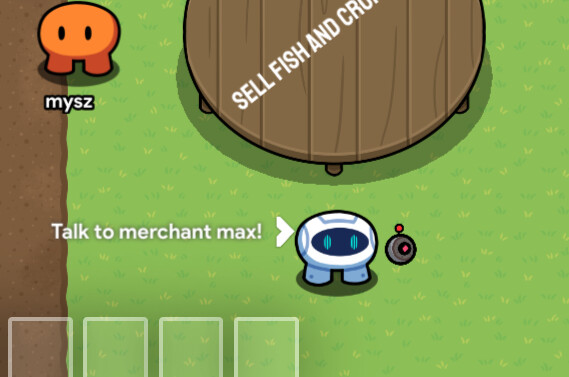
Now, that we can see the merchant, let’s add some dialogue to let the player know how your merchant works. Place down a button, and wire it to a popup, so that when the button is pressed, the popup is opened.
The dialogue can say whatever you want, but it should explain how the merchant system works. Let’s look at this sample dialogue:
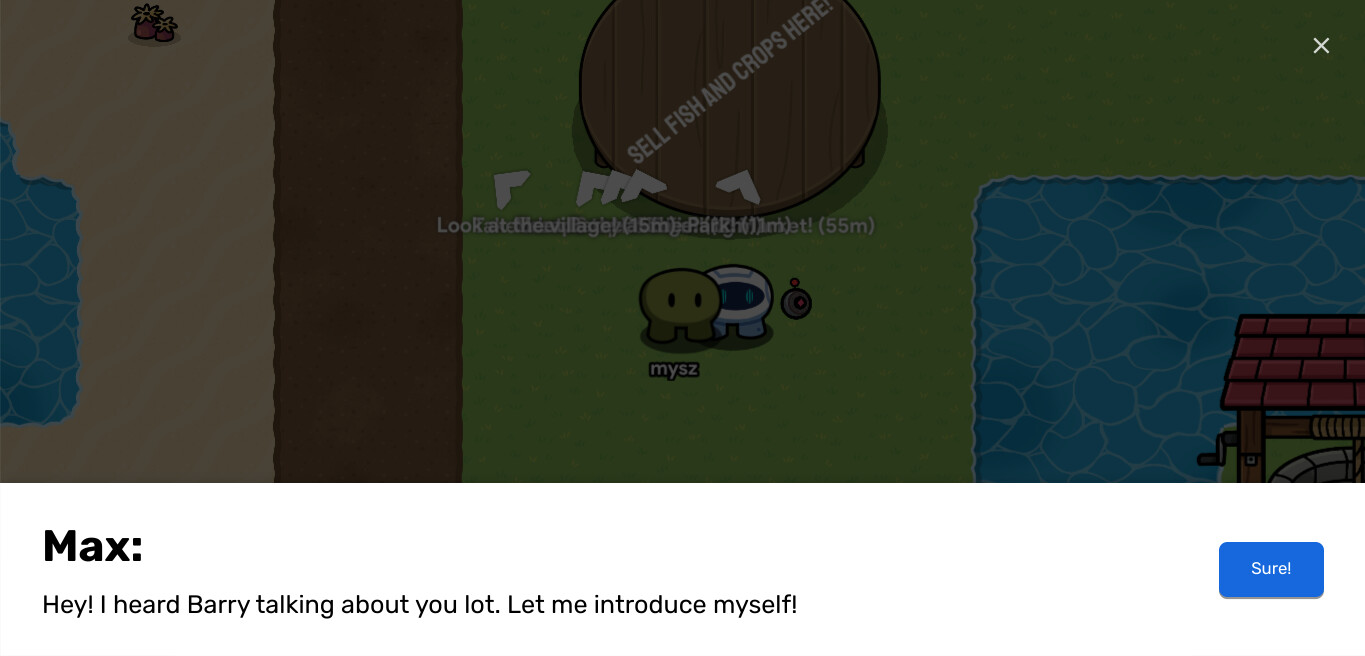
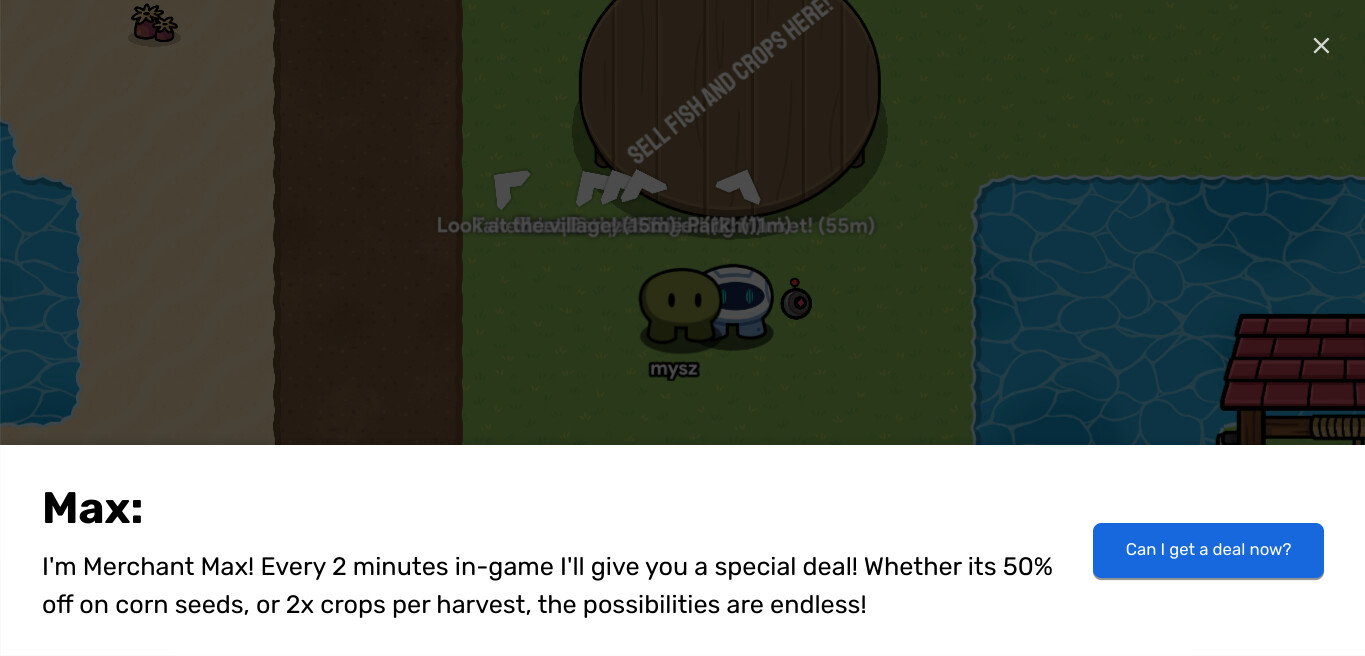
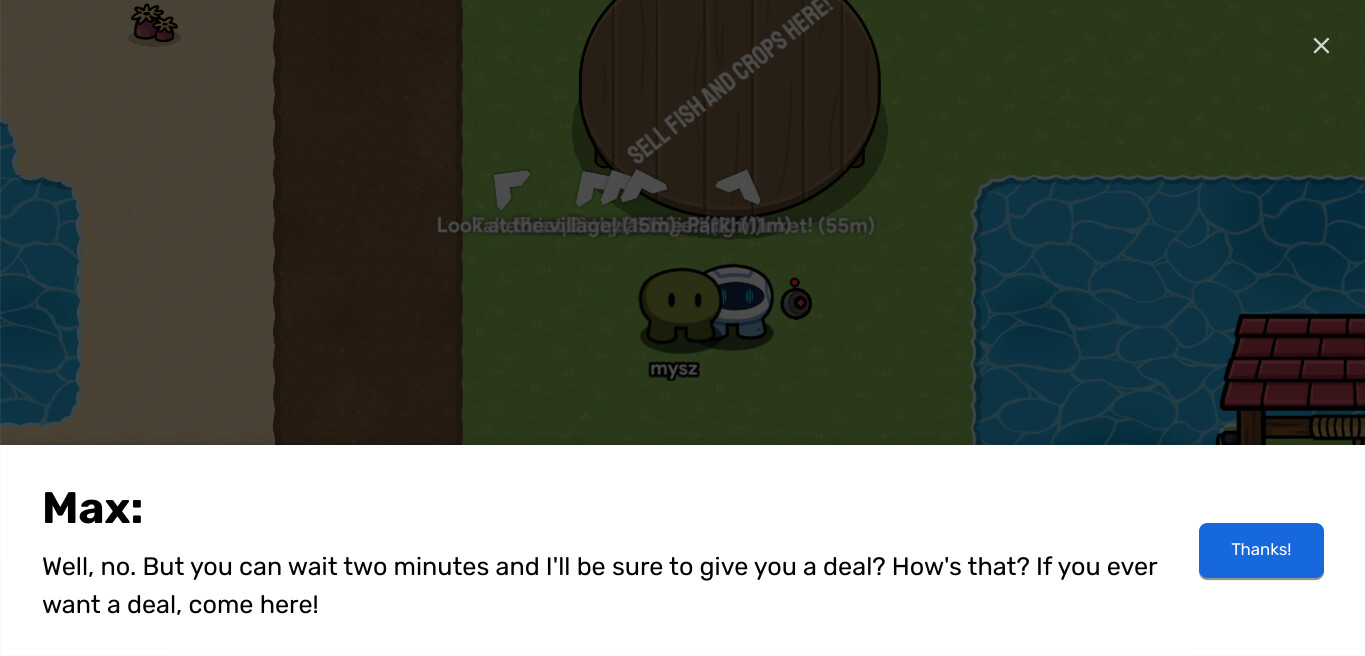
Now that we’ve painted our picture, let’s get into the technical stuff.
Part 2- The Technical Stuff:
For this section, we’re going to try making the timer and other stuff. Let’s get into it.
First, you’re going to want to place a button, with a message like this:
The button should NOT be active on game start. It should only be activated once the dialogue is finished.
Now that we have that down, wire the button to an EMPTY popup. It is very important that the body is completely empty, and that only the header with the merchant’s name is filled out. Place down a trigger, and wire the button to it, so that when the button is pressed, it triggers.
The trigger should be invisible and not be able to be triggered by player collision.
Anyways, we’ll get to the trigger later, let’s make a timer now!
Place down a repeater and a counter. The counter should start at the value 120, the count scope should be at “player”, and it should not be visible in-game.
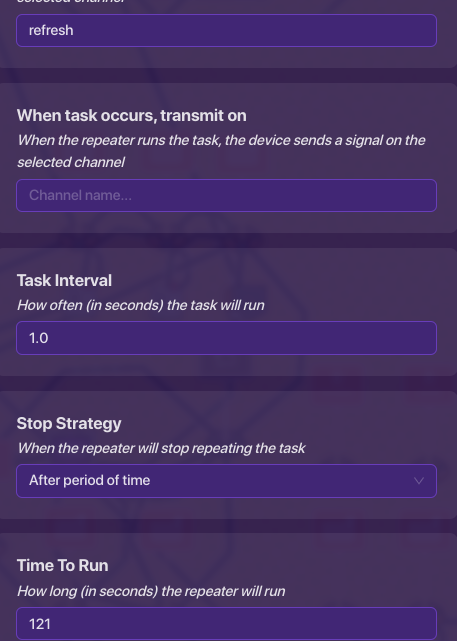
The repeater should start when receiving the channel “refresh” (we’ll also get to that later). It should repeat every 1 second, “trigger task on start” should be set to no, and it should run for 121 seconds.
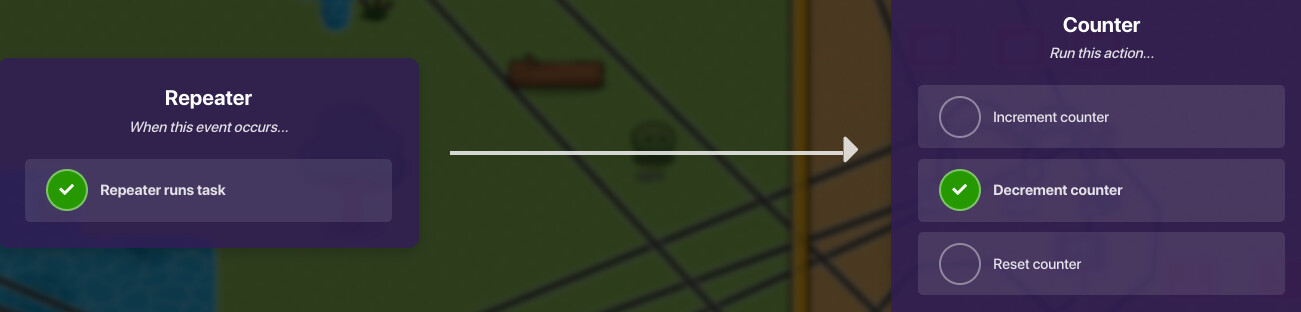
Now, wire the repeater to the counter so that when the repeater repeats the task, the counter decrements. This is simply just a timer, so if you didn’t understand me here, you can just rebuild one yourself that lasts for 120 seconds.
Next, place down a numerical, player-scoped property. I called mine “mt” which means “merchant time” but yours can be anything you desire.
The counter should update this property, and should reset itself when receiving the channel “refresh” (we’ll get to that later).
Now we have a finished timer, but we still have a lot to do.
Part 3- More Advanced Technical Stuff:
For this section, we’re going to finish the technical stuff from the last section.
Remember that trigger from earlier, the one that triggered after a button was pressed? We’re going to have to create block code for it now. This is the block code:
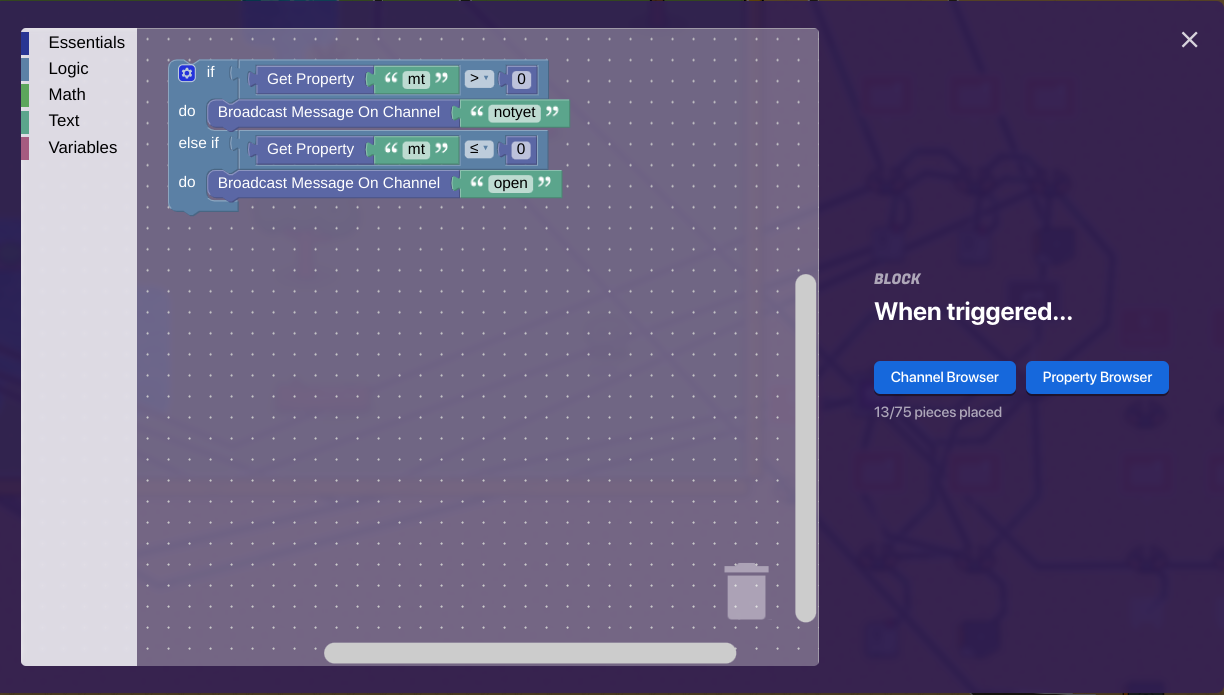
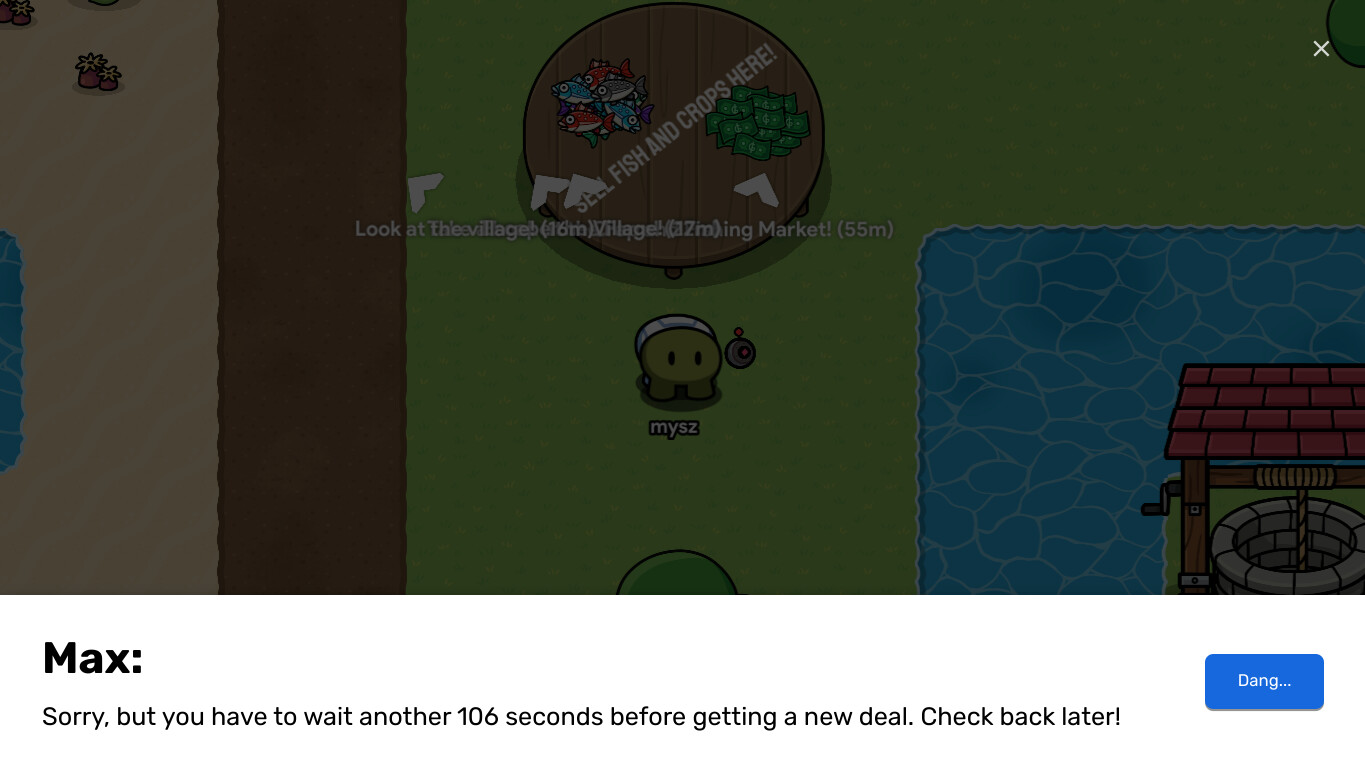
Let me explain: When the time is greater than 0, it will broadcast on a channel that opens a popup that tells the player how much time is left before they can get a deal. When the time is less or equal to 0, it will broadcast on a channel that opens the popup that lets you claim deals.
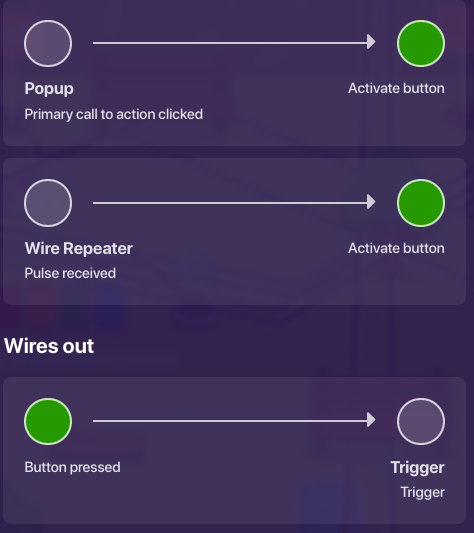
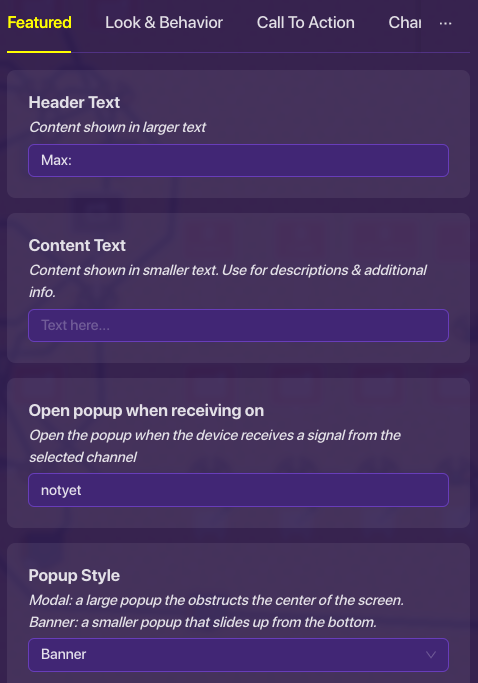
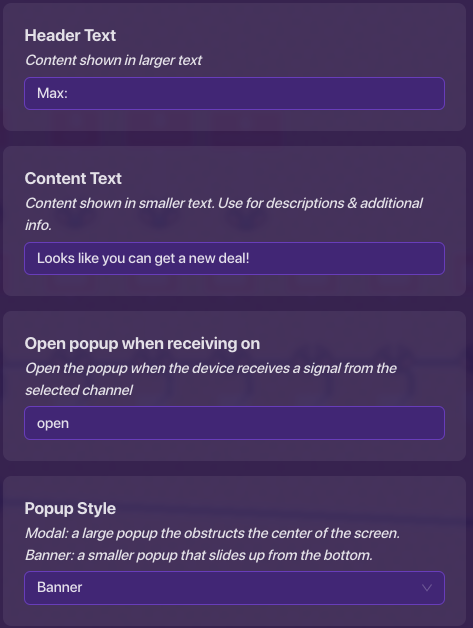
Remember that popup from before? These are its wires and settings:
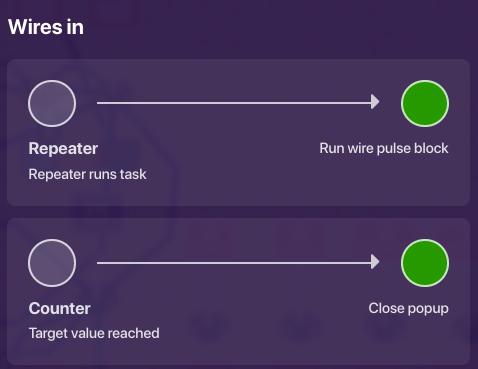
You’ll notice that when the repeater from before triggers its task, it’ll run the wire pulse block for the popup. This is what the wire pulse block should look like:
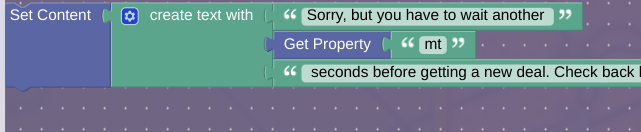
This shows the amount of time left before the player can get a deal. In-game, it looks like this:
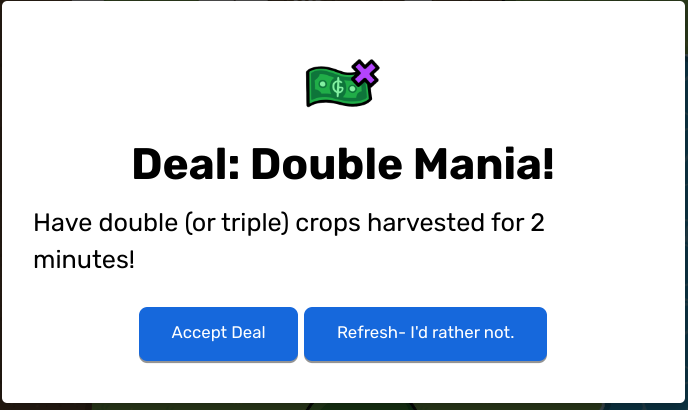
Now, let’s talk about what happens when you can get a deal.
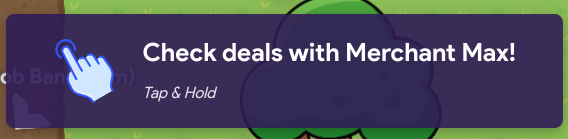
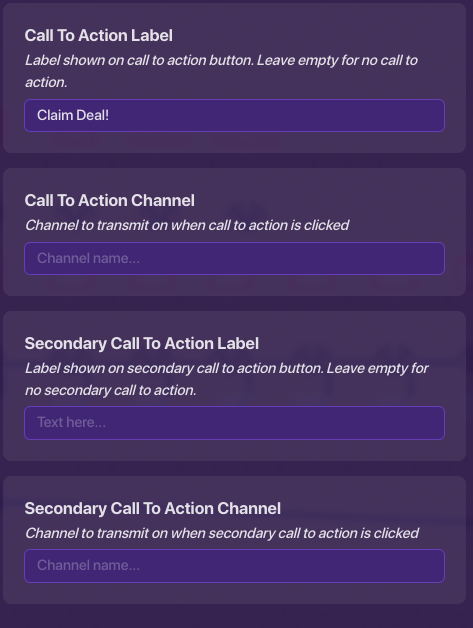
So, this is what happens when you can get a deal. This popup shows up. You should also create a call to action button that looks like this:
Now, wire the popup to another trigger so that when the primary call to action is clicked, the trigger triggers. Now create block code for the trigger:
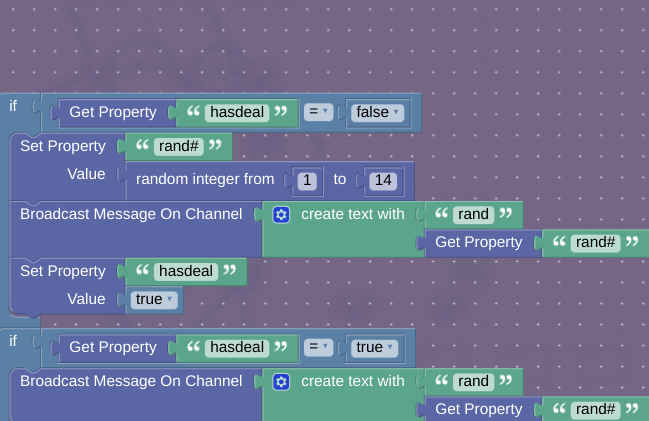
This is a lot to consume at once. First of all, there are two new properties, a numerical one, and a true/false one. These properties should have the scope option as “player”. The true/false property should start out as “false”.
Basically, it checks if you already have a deal. If you have a deal, then it broadcasts a message on the same channel as the one you originally got to prevent cheesing the deal system. If you don’t have a deal, it turns rand into a random number from 1 to 14, and broadcasts on the channel [“rand”][rand#]. “rand#” can actually be any integer, I just had 14 deals.
At this point, we’ve actually finished everything except the deals. Let’s get into this.
Part 4- Making the Deals:
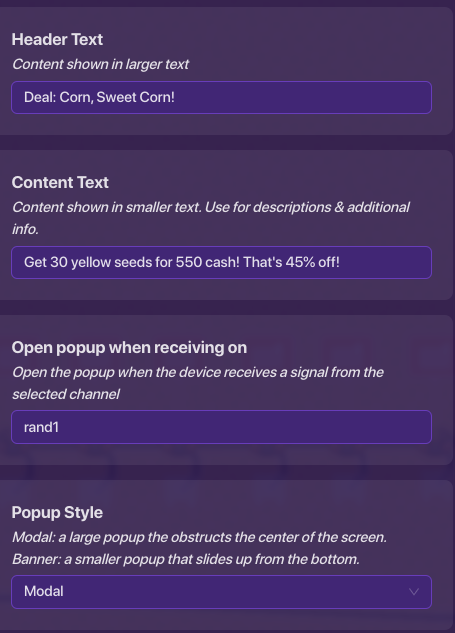
Place down a popup that opens when receiving “rand[n]”, where n is the number chosen. It could open on rand1, rand3, or rand12.
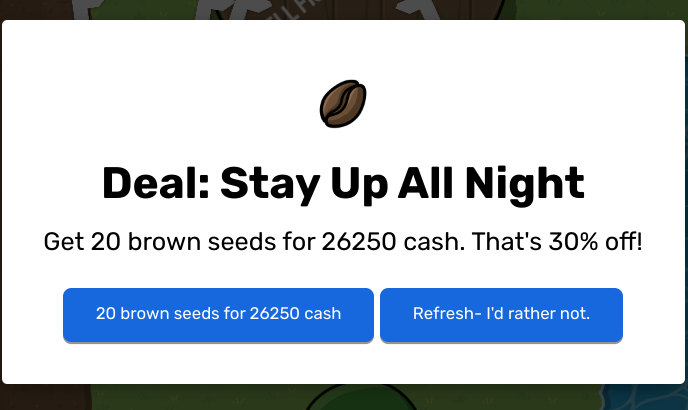
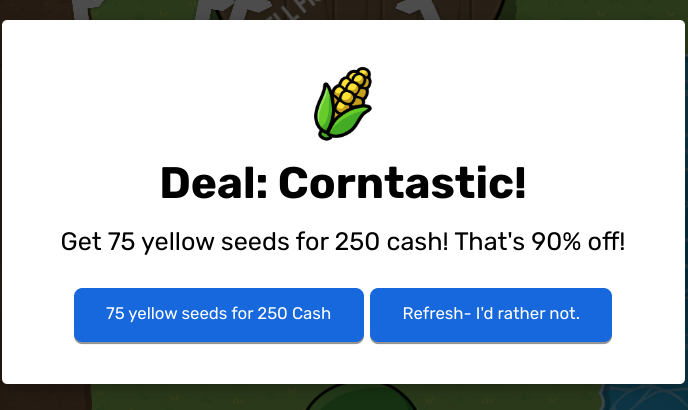
Now, create a deal layout. We’ll use this deal as an example:
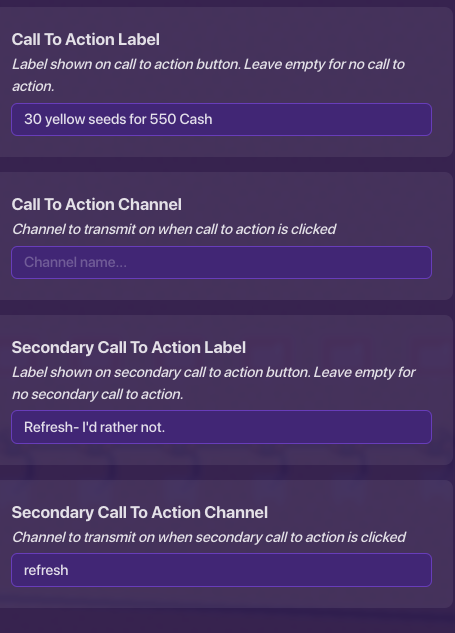
Wire your popup(s) to vending machines, where they can purchase the deal.
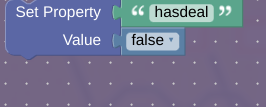
Place down a trigger that triggers when receiving “refresh”. Create block code that goes like this:
Actually, that should be it. I had 14 popups and stuff, so this is what your final thing should look like:
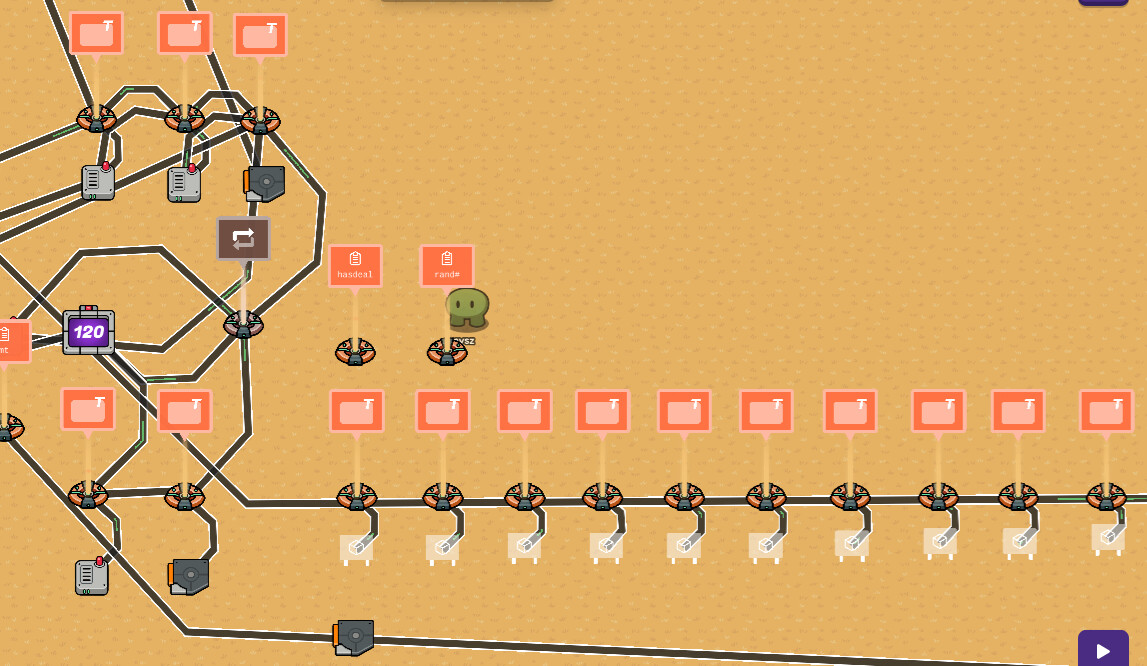
Anyways, here are some example deals:
Exit Poll:
Please complete this poll before exiting:
- 0/10 or

- 1/10 or

- 2/10 or

- 3/10 or
- 4/10 or

- 5/10 or
- 6/10 or

- 7/10 or
- 8/10 or

- 9/10 or
- 10/10 or

- 11/10 or
 /
/
That’s it! That’s how to make a merchant system!
Goodbye, and happy gimkitting!