ok so the images aren’t loading and i know that. just read the guide first and come back later when i get the images
Warning: This guide is very long. Also, before you say anything about this “making guides obsolete,” if my explanations don’t work or are confusing, feel free to ask me about it or refer to other guides (if they exist/have pictures).
Yup, we’re doing this. Now, you may be asking:
“eiqy, you haven’t finished your Interland Part 1, Advanced Biome Building Guide, or Power of Randomizers guides yet, so why are you making a guide if you haven’t finished them?”
But I love procrastinating. Now, it’s time for the guide.
(geez, after writing lore, “Cursorian” hits different)
Beginners
This is where everyone starts unless your name is Blackhole927, getrithekd, or Shdwy. For beginners, you’ll need to learn some devices.
Learning the Interface
Learning the Interface
Before you learn about building in Gimkit Creative (GKC), you’re gonna have to learn about how to use the GKC interface.
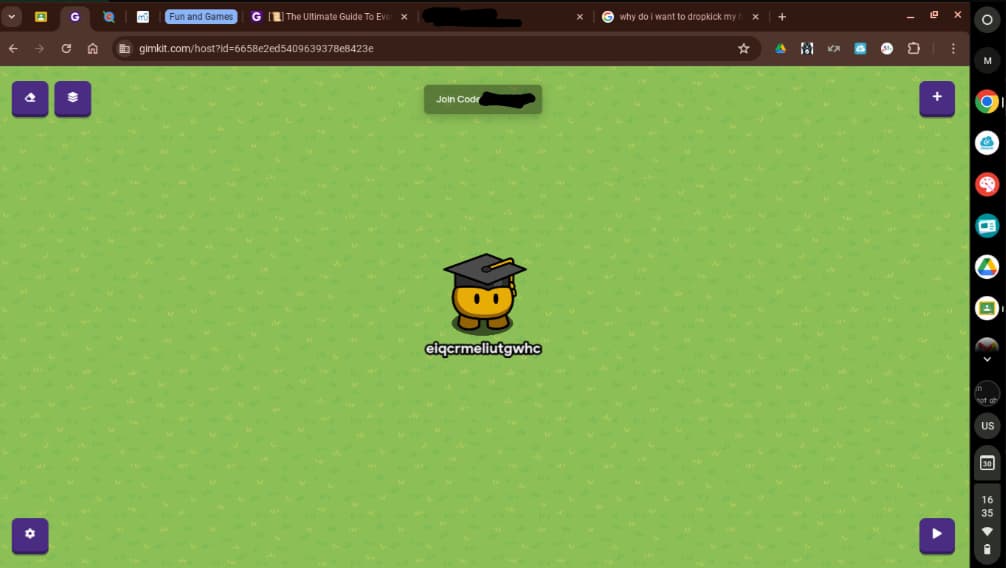
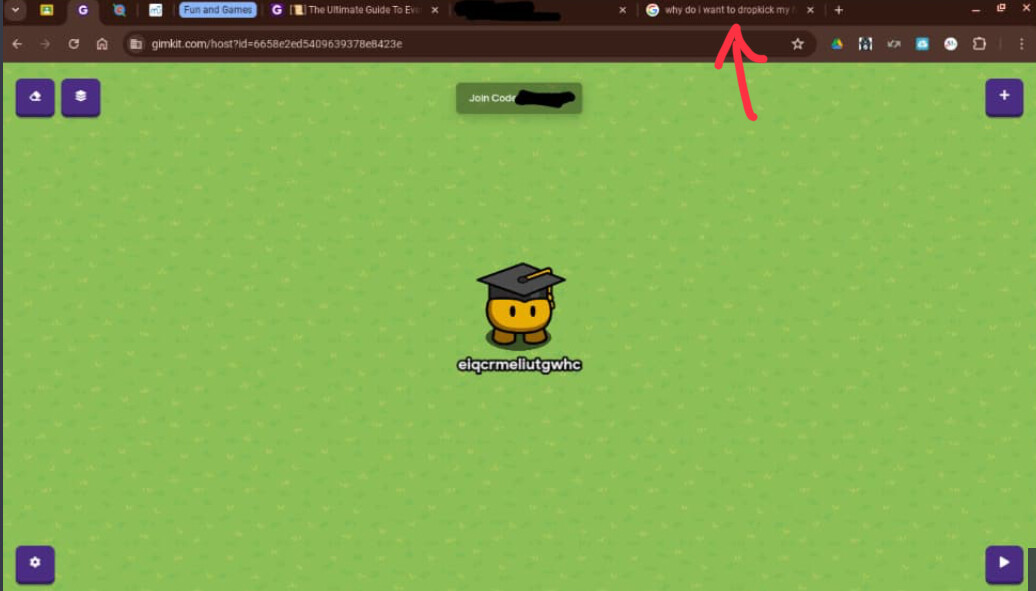
In every corner, there is a button. Here’s what each button does:
- In the top-right corner, there is a plus (+) symbol. Clicking on it gives you a menu of what to add. This includes terrain, props, devices, and wires. We’ll get to those later.
- In the top-right corner, there are two buttons: a rectangle (eraser) and some rectangles (layers). We’ll also get to those later.
- In the bottom-right corner, there is a play button. It allows you to playtest your map without using a showcase link or anything.
- In the bottom-left corner, there is a settings button. It opens up some settings, like editing options and publishing your map.
Now, with that out of the way, we should be good to move on.
Essentials
Essentials
There are some essentials you’ll need to learn, too. For example, layering and the Prodigy English soundtrack (wait, what?).
Layering
For layering, you can use the layering menu. There, you may encounter the map option bug, but that’s not major. Some things to note are:
- If you have too many things in the layering menu, it will lag. A lot.
- The layering menu is very useful for things like signs.
You can also layer terrain. Here are some more things to note:
- Walls are always layered above floor terrain, even on different layers.
-
- To get around the wall placement limit, use floor terrain with a barrier over it. Even Josh said this.
-
- If you’re using camera views, I would recommend using barriers on the outside instead of wall terrain.
-
- Making islands? Don’t put the walls on a layer above the edges of the islands like The Forbidden Islands do. Sure, it helps cut down on barrier uses, but it’ll look weird.
- If you don’t layer your terrain, not only will Cellofive refuse to play your game, it will also be bland and, no offense, ugly.
General Understanding of Blocks
What do all of these have in common in GKC?
- Putting a player’s name in a notification
- Making a graphing calculator
- A supply bar using an overlay
Answer: block code. So, if you want to do anything as simple as a health bar using an overlay, then you need to understand block code. This will be explained in the concepts section of this part.
If you click the gear on a block (if applicable), then you can add more to that block (e.g. an else if statement or another piece to add more text).

(See the gear in the create text with block?)
Device Settings
It’s always good to mess around with device settings. You can make some good things into better things if you just explore the device settings a little more.
- For popup dialogue systems, you can set a popup to be unclosable so there isn’t an x button at the top-right corner. You can do this by going to the all options tab when you click on a popup device. Just remember to close the popup with the call-to-actions.[1]
- Barrier art can be absolutely fantastic, and if you don’t want to walk on your creation, then you can go to the all options tab (which has 90% of the useful things for a device)
One more thing:
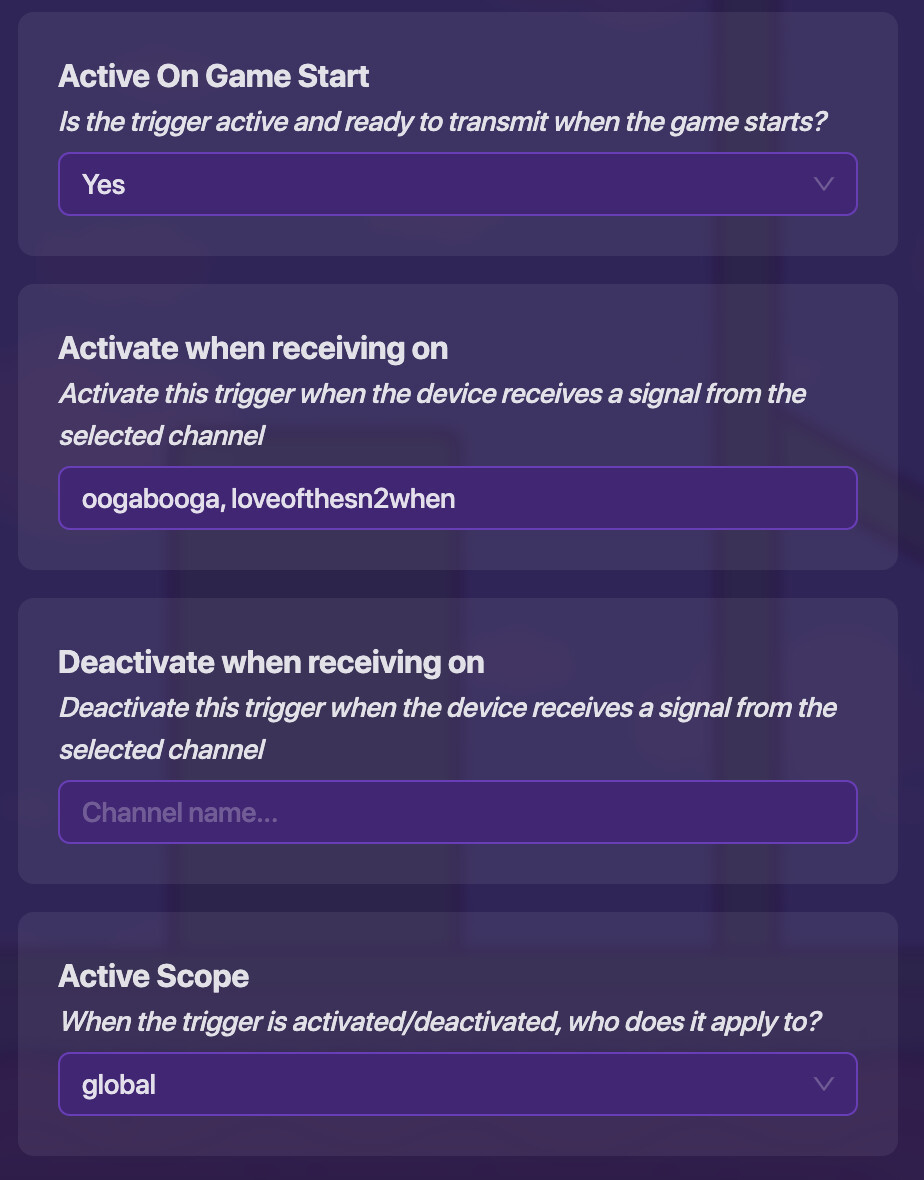
If you do something like this, then you can get a device to receive or transmit on multiple channels.[2]
Devices
Devices
For this part, I’ll just explain some of the many device systems that I consider beginner-level. I’m not listing devices because:
- To me, every device is beginner-level.
- I’m pretty sure this guide will be out of characters if I listed them all.[3]
Brief summary of some devices:
- Dialogue device: Glorified popup
- Repeater: Useless*
- Counter: Self-explanatory
- Wire repeater: Memory-efficient “device connector”
- Character: Friendly sentry without the gadget
- Checker: If/then statement in device form + it’s done for you
*See the section below for a replacement.
Trigger Clock/Loop
This is fun to say. A trigger clock/loop is a trigger that triggers another trigger that not only triggers the first trigger but also does something. Hmmm, not enough uses of the word “trigger,” but still is explainable. It should look something like this, depending on what you want (note: the image shows three trigger loops if that’s disorientating for you):

The trigger loop is very useful, unlike stomachaches and headaches, which I get a lot. It can replace the repeater, and trigger clocks can be used for in-game overlay clocks, which I can explain to you but I haven’t tested it out yet.
Another system you can use is just two wire repeaters wired to each other. Note that this isn’t the same because that system will not stop.
Simple Dialogue
With enough popups, you can make a big dialogue chain with popups. Now, for the basic version, it’s kinda like this:
The other version involves unclosable popups (settings → all options, that setting is at the bottom) and using wire repeaters for every call to action to close the popup and open a new one.
Now, you have a dialogue device, but it works the same way. It has more customization and most importantly: MORE OPTIONS (the equivalent of a call-to-action in a popup).
Fun fact: I’m writing this on the last day of school (May 31st for me), which is why I have the Graduate gim on (for those who know the other reason… cool).
Distance Meter
The most prominent example of this is a height meter for platformers. All you need to do is place down a coordinate device and track the distance on an axis using a property.
Use the channel in the coordinate device to make the overlay block[4]
The last block is optional.
Concepts
Concepts
Beginners need to learn concepts too, y’know? So, here’s a list of concepts that are beginner-level easy (or what I consider to be that easy).
Advanced Update Order (AUO)
Blackhole927 discovered AUO not even a month after GKC’s release. He discovered Advanced Wire Order, or AWO. But the basic premise (for AWO, at least) is that whatever is placed first is done first. To learn more, go to this guide:
The Advanced Update Order Family 🟪
The others may not be as easy to understand as AWO, but the guide and the replies explain it well.
Scope
Why is scope’s difficulty so exaggerated? It’s not even hard to understand. Scope is just who gets to do or see (or some other verb). For example, if you have a visibility scope of player on a prop, then not everyone will see the prop if you hide or break it. But if you set the scope to team, then one team or the other (or both) will see that prop.
Scope is extremely useful for things, such as:
- Battle royales
- Multiplayer games
- Trying to force people not to come with other accounts on a singleplayer game[5]
Zone Render Distance
First found by Grey_Stone, Zone Render Distance, or ZRD, is a bug-like phenomenon where if you teleport out of a zone, the previous zone’s effects can still be felt. The most probable cause for this is that you didn’t “properly” exit the zone, so the effects can still be felt.
Animation
Not a concept, but I consider animation to be easy. At least in GKC. It’s harder in real life. Right, @speedy_kd4? Anyways, animation, whether you’re talking GKC or real life, is chock-full of repetition.* I bet the only reason why animation is considered “hard” is because of repetition. Don’t be afraid of it.
In simple prop animations, it’s not that hard, but if you’re talking about multi-prop animations, then that’s a slightly different story. It just involves more wires (and possibly more devices).
*I don’t need speedy_kd4 to confirm this one, but animation in real life isn’t completely repetition. It’s just drawing different versions of the same thing[6], but I don’t want the explanation to be too complicated or long.
Block Code
Look, you can’t just use devices for everything. Block code is slightly more complex and takes up 500 memory, sure, but it allows for more mechanisms that sometimes, you can’t do simply without devices. For example, try to make a save file and a graphing calculator without blocks. If you actually do it and prove me wrong, then you have my respect.
Anyways, on the surface, block code isn’t actually that hard. Block code can actually be very simple to use. Of course, I’m talking about simple block code like a randomizer. But some block code that’s considered intermediate-level can also be placed here. Like what? No idea.
Here are just some examples of the usefulness of block code:
- Setting the value of a property
- Randomizing outcomes
- Putting properties in devices (e.g. popups and overlays)
What do you mean?
If you don’t believe me, read these:
- For the first one, there’s a literal block just to set the property value.
- The basis of Fishtopia is literally a randomizer.
- Dude, this guide only works because of that.
Brief trigonometry lesson for some of the blocks
- sin(θ) = opposite ÷ hypotenuse
- cos(θ) = adjacent ÷ hypotenuse
- tan(θ) = opposite ÷ adjacent
You can most likely guess what each shortened term means. Note that the image is from the perspective of the right angle.
Intermediate
I would say many users fall into this category, but my categorization of what things are in here may be interesting to you!
Devices
Devices
This will be dedicated to explaining [a] device system[s] rather than devices, which was already explained in the beginner section anyway. However, what’s about to be explained is to not say “nice guide” to this guide (this is a test).
Save File
You could definitely make a save file in Gimkit.
- Make it so things are number properties (for example, in my game, I would need to make wood a property for the save file) so it can be stored.
- Wire a lifecycle set to game start to a relay set to (event occurs → trigger relay) and the relay to a trigger (relay triggered → trigger). Again, make sure you can’t trigger the trigger by stepping on it (and if you’re doing it inside of the playing range, make it invisible in-game).
- Make a property for your save file. Preferably, it should be a number property.[7] Then, in the trigger, go to the block settings (when receiving on wire pulse). Set the save file property to the stats you want to track. This is an example from my game:
The hard part is decoding it, which I totally know how to do, which is why I’m quoting Here_to_help on this one.
How the save file works is that the properties being tracked in the save file property is the amount of something that you’ll be granted (or whatever) after you input the save file code.
Concepts
Concepts
This took me a bit to find, only to get a whopping two concepts in this section.
Concatenation
Concatenation is pretty easy to understand, just not doing for most people. Concatenation is using patterns to simplify block code, as said by Zypheir (what a legend) here.
Now, I could end this section here, but thanks to a certain person whose name starts with a g and ends with a r-i-t-h-e-k-d, you can use concatenation with counters and a for loop. It also saves 385 memory.
Player IDs
Player IDs basically assign a number to every player to identify them. More are in the guides linked, but the second one (that used to have images) no longer has images.
The Guide on Using Player IDs
Advanced
Lemme see… well, this is the last of my ideas compiled into one section, so enjoy, I guess.
Devices
Devices
For this section, I’ll add some challenges to create and my (partial) take on how to make it. Also, there are no guides linked because literally all the guides that explained these no longer have images. Plus, there’s something called the search bar ![]()
- Calculator (there’s already some guides about this so I don’t think I have to explain this one :D)
- Programming language (me: make a keyboard and when a valid command is inputted, an action will occur)
- Text renderer (me: use a coordinate system to figure out where a player is, and adjust the text accordingly)
Concepts
There is only one concept I’ll put in here. And you know what that concept is? It’s whatever is in here.
Miscellaneous
Keyboard Shortcuts
Keyboard Shortcuts
Letters
- c - Copy object
- e - Add objects
- g - Turn gravity on/off (platformer-only)
- h - Lock object on the x-axis
- m - Move object
- q - Open eraser
- v - Lock object on the y-axis
- z - Insert wire
(Just for the people with OCD, this is in alphabetical order).
Other
- Number keys: Switch terrain placement sizes
- Shift
-
- Shift (hold) + click: Teleport to cursor location
-
- Angling: Increments prop angles
-
- Terrain menu: Toggle wall and floor
- Spacebar: Turn menu invisible (only some have this)
Other Resources
And that’s it! And I did kinda copy VoidFluffy about the dialogue thing, but mine’s been around for a bit longer (not the same form, though). Anyways, this took a very long time to make, so please hit that like and subscribe button I might not be making guides for a long, long time.
Also, if there’s anything you want me to add to this guide, tell me in the replies. Just please don’t make this a wiki unless I say so (and please do not ask for this guide to be a wiki no matter what).
You can do this by wiring the popup to a wire repeater and back (when repeater receives a pulse → close popup), or you can go to the call-to-action settings and set ↩︎
(channel1,channel2) ↩︎
Fun fact: By the time I’m writing this (December 18th, 2024), I would have been working on this for almost 7 months and almost hit 15,000 characters. But anyways, TUGTED had to have 3 parts (or was it 4?), so there’s no way I can fit an image and explanation of every single device into ~20,000 characters,
especially if it’s me doing it. Plus, I didn’t want to separate this into multiple parts. ↩︎This is because the only option you have to make this is to make the overlay receive on a channel. This’ll be better in the image below. ↩︎
I’m actually only half-joking on this. On my singleplayer-exclusive game, I purposefully didn’t mess with the scope settings so the other player(s) wouldn’t be able to get or do much. You can use this too. ↩︎
For a reference, you can search up animation timelapses to see how people do it. ↩︎
Why? When you input your save file, the amount of memory you’ll need to make a keyboard… and the fact that you can’t use counters (for the letter part, at least)… oh boy… ↩︎