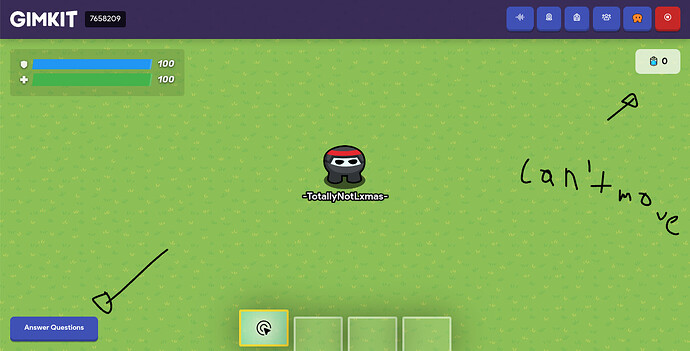
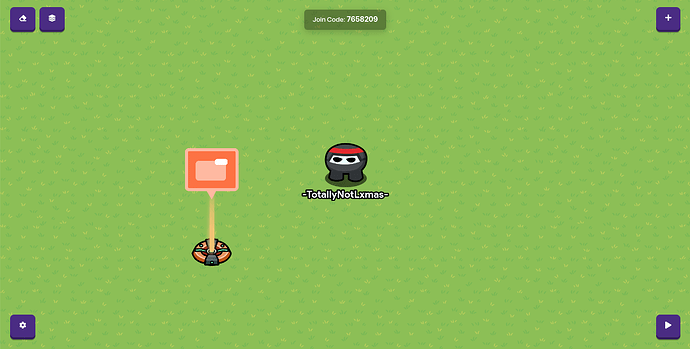
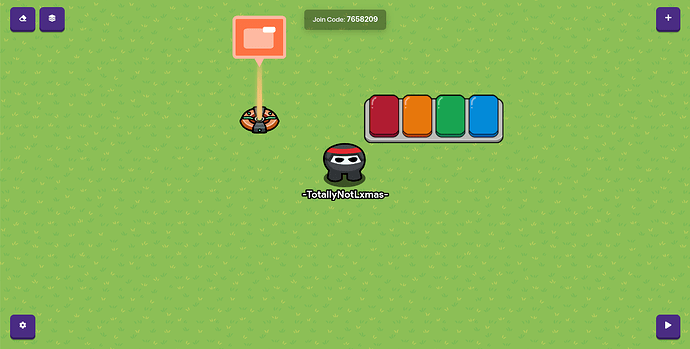
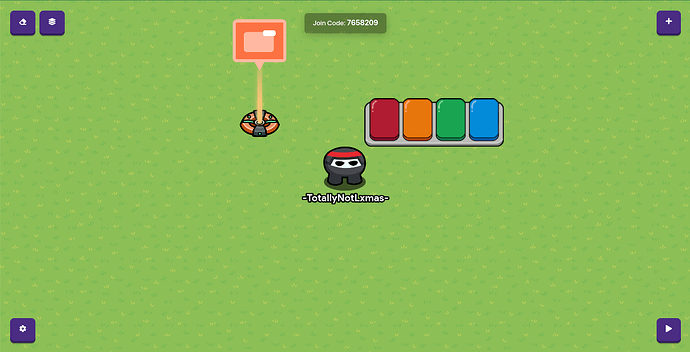
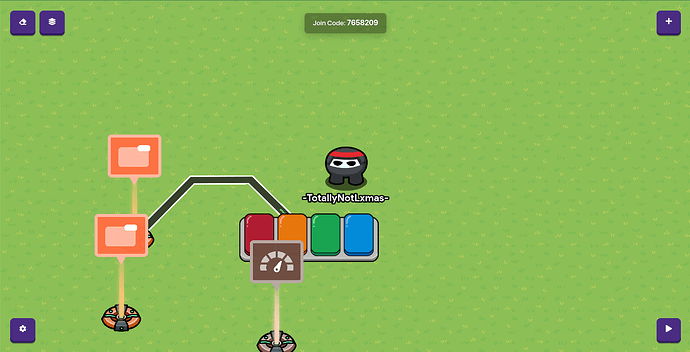
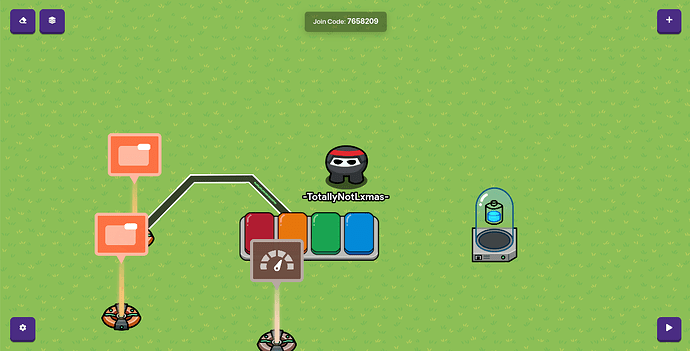
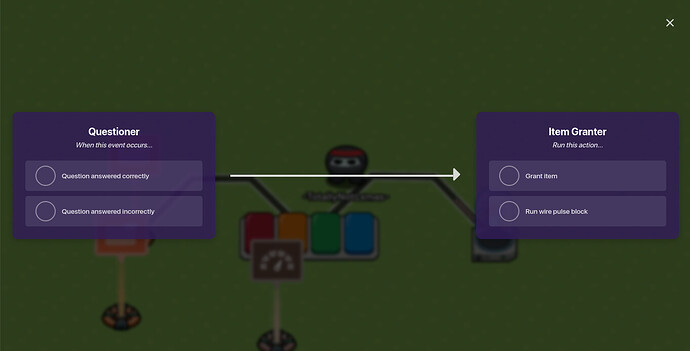
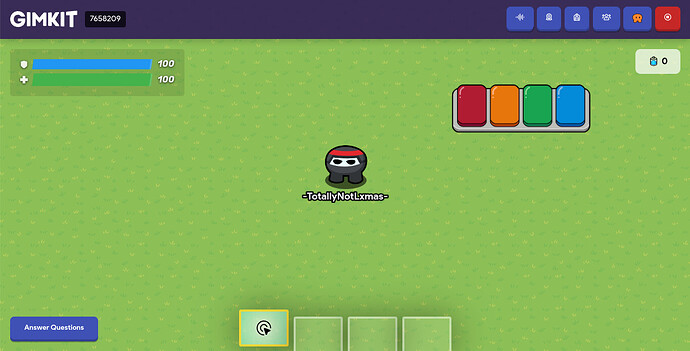
You really wanna make a button that says “Answer Questions”, like gimkit’s gamemode, like this -

And you want it. Really. But how?
Yep! You found the right guide. In this guide, i’ll show you how to make a answer questions button, like the title said!
Chapters - Total - 6
1: Something Important
2: The Aimed-In (Intro, Current Target)
3: Resource Needs (What you’ll need)
4: The Main (Tutorial)
5: Button-Tester (Testing Answer Questions Button)
6: Finished-In (Outro)
Chapter 1: Something Important
You’ll have to do this first, then once you’re finished with that, continue with this.
Chapter 2: The Aimed-In (Intro, Current Target)
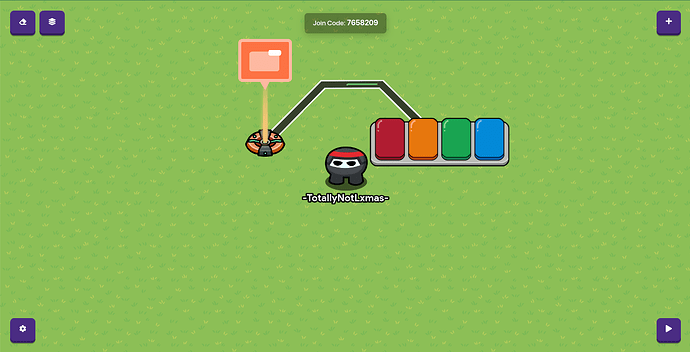
This is our Aim - to complete the tutorial and test if it’s good. This is our current aim -
(this image is cursed xD)
Chapter 3: Resource Needs (What you’ll need)
Bold words (White) = not optional
Game Overlay x2
Questioner x1
Item Granter x1
Wires x2
Movement Meter x1
Chapter 4: The Main (Tutorial)
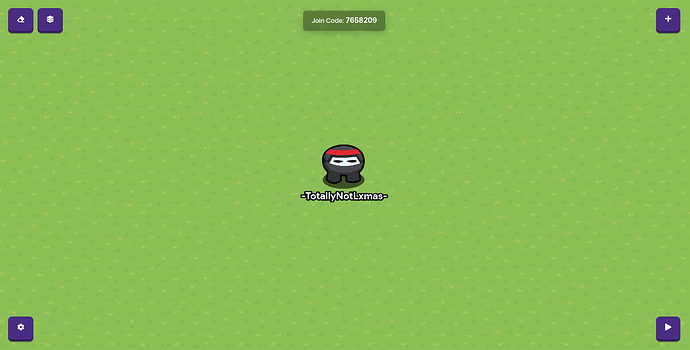
This is my map. Yes, it’s nothing there. Hey, Atleast it’s not similar to yours. Anyways, we’re off-topic, let’s get started!
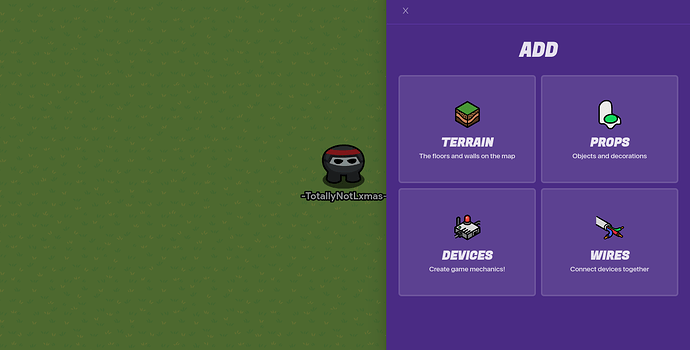
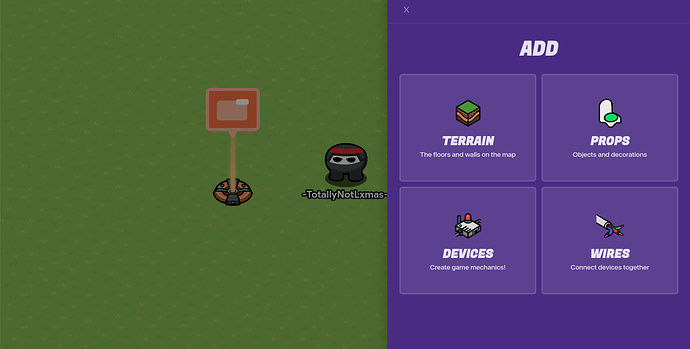
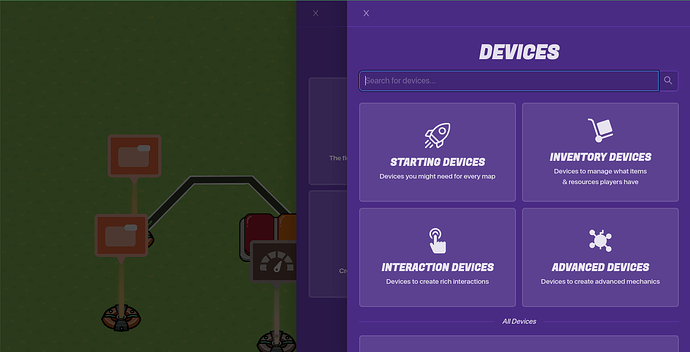
Press “E” on your keyboard.
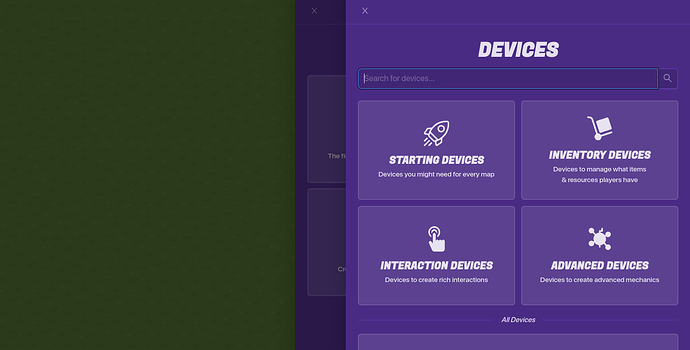
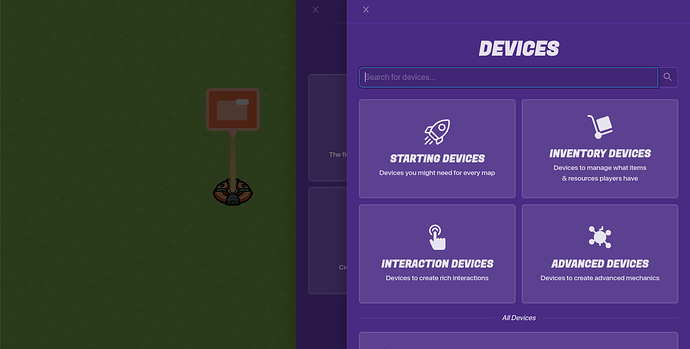
Select “Devices”.
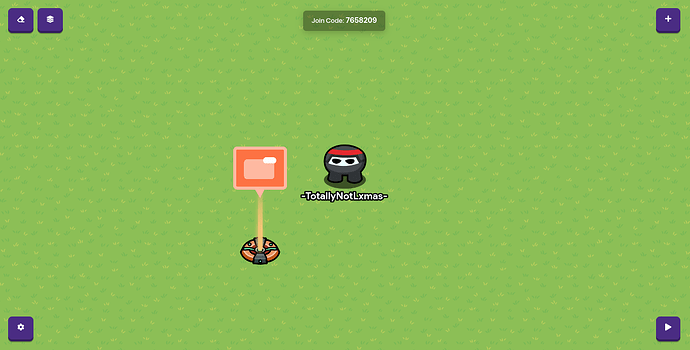
Search up “Game Overlay”. Place it kind of far away from map.
Since the Game Overlay doesn’t know what to do, it’ll not appear on the map. Click on the Game Overlay.
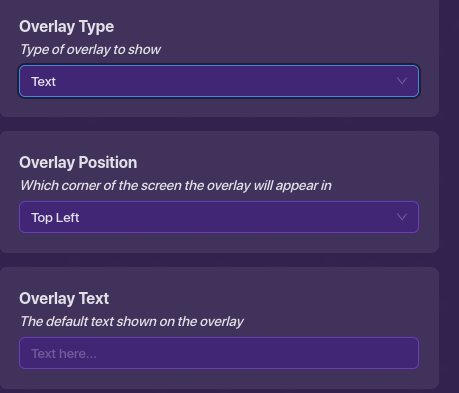
Do the following actions -
- Set the Overlay Type “Button”.
- Set the Overlay position to (where you like, i prefer bottom left)
- Set the Overlay Text anything you want it to be. I’ll set mine “Answer Questions”
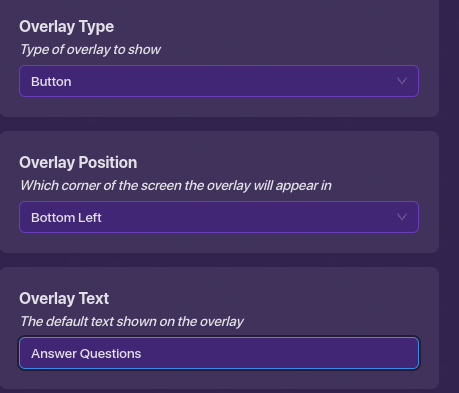
Click anywhere to stop modifying.
So… Game overlay is right, right? That’s it? Nope. We need a tracked item, So, Press “E” On your keyboard.
Select “Devices”.
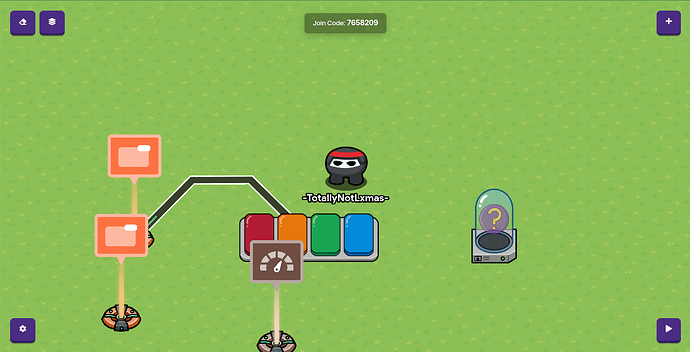
Search Up “Questioner”. Place it down near the overlay.
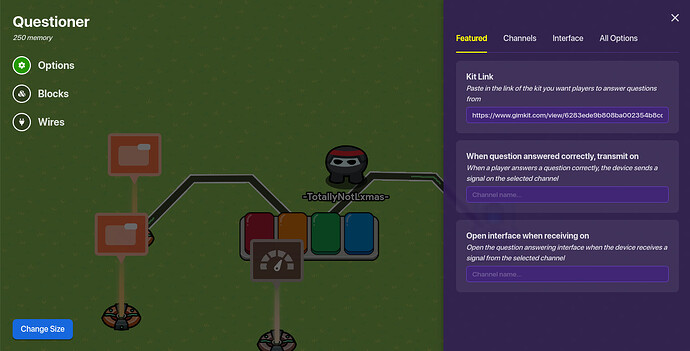
Click on the questioner.
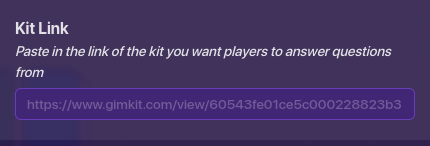
This option is the only one to configure - then we’ll get into the first wire. But you don’t know what kit link you want it to be. You can use your own kit.
Below you’re tabs, there’s a search bar if you clicked on your kit on your gimkit homepage.
![]()
Triple-Click it. Then, Use “Ctrl + C” On your keyboard. Now, go back to your gimkit game.
![]()
Click on the questioner again - if you stopped modifying it already.
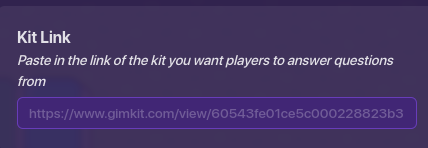
In the kit link option’s search bar, click it and press “Ctrl + V” On your keyboard.
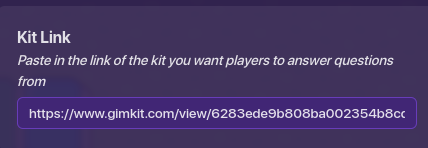
Click anywhere to stop modifying.
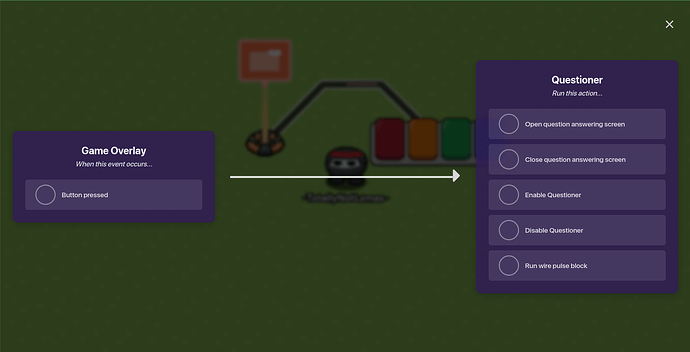
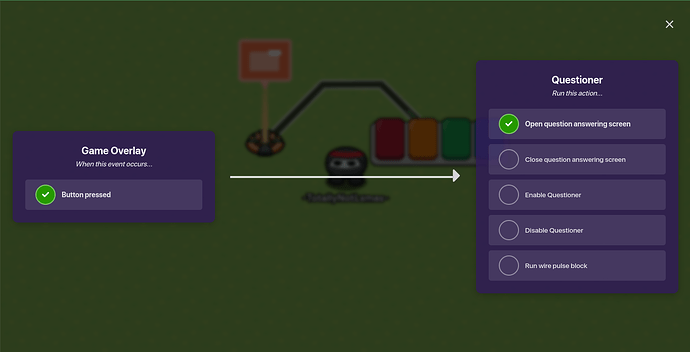
Now, it’s time for the first wire! Press “Z” On your keyboard, And Wire the game overlay to the questioner.
Button Pressed -----------------------> Open question answering screen.
Click anywhere to stop modifying.
Now, we’ll need a tracked item, and a device where you can’t move when you have 0 energy. You’ll need to do this tutorial first.
Now, we’ll now need 1 more device, and 1 more wire, then we’ll move on to the next chapter! Press “E” On your keyboard.
You’ll be teleported to devices. Search up “Item Granter”. Put it near the questioner.
Since the item granter doesn’t know what to grant, it’ll do nothing. Click on the item granter.
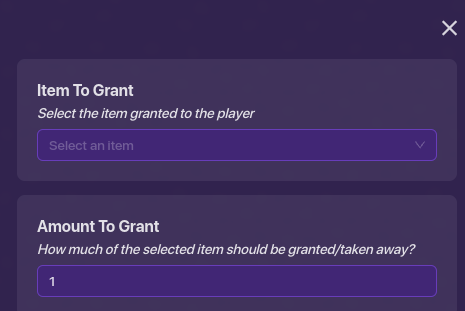
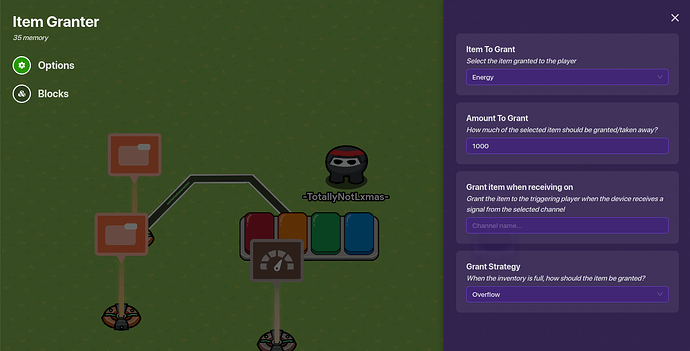
Yep. These options are what you need to configure. Do the following actions -
- Set the select item to “Energy”
- Set Amount to Grant to anything you want it to grant. I’ll pick 1000.
Click anywhere to stop modifying.
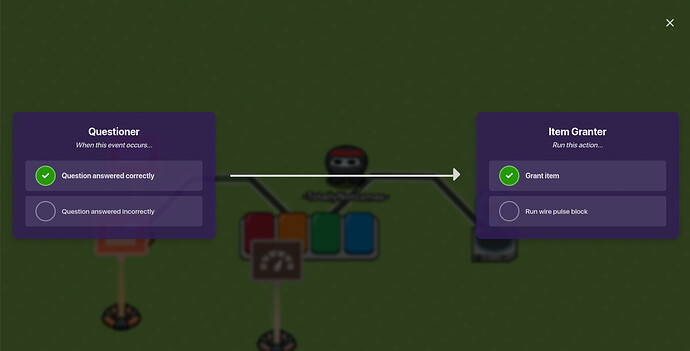
Now, we’re using the last wire! Press “Z” On your keyboard, and connect the starting wire to the questioner and the ending wire to the item granter.
Question Answered Correctly ----------------------> Grant Item
Click anywhere to stop modifying.
Bonus Tip!
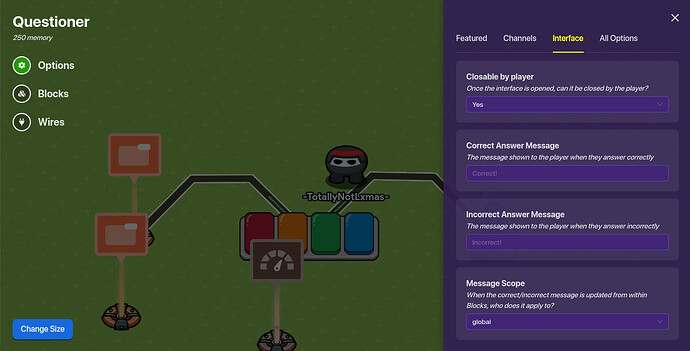
Click on the questioner.
Click on “Interface”.
You can set you’re correct and incorrect answer message to anything! Do not make anything inappropriate.
Chapter 5: Button-Tester (Testing Answer Questions Button)
Now, you’re done with the tutorial! We’re doing a test now to see if i’m wrong, or correct.
Testing Button
This was made if people wanted to test it themselves.
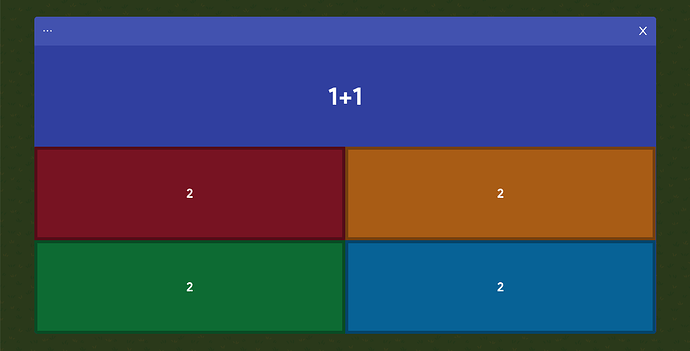
I don’t have enough energy, because i have 0 energy. Let’s click on the button!
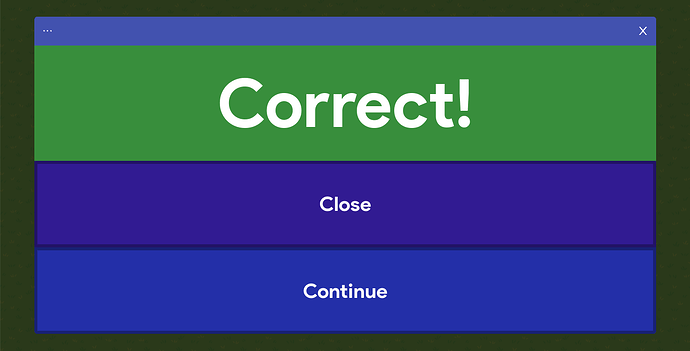
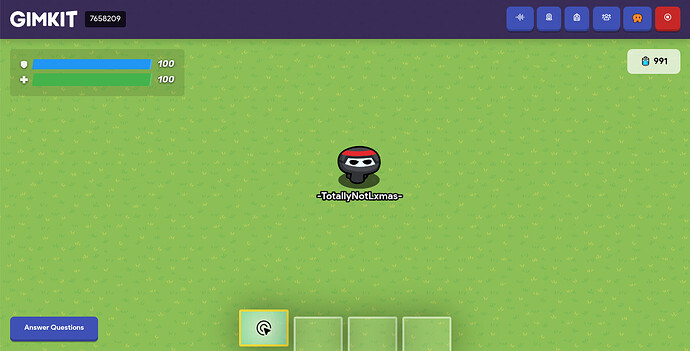
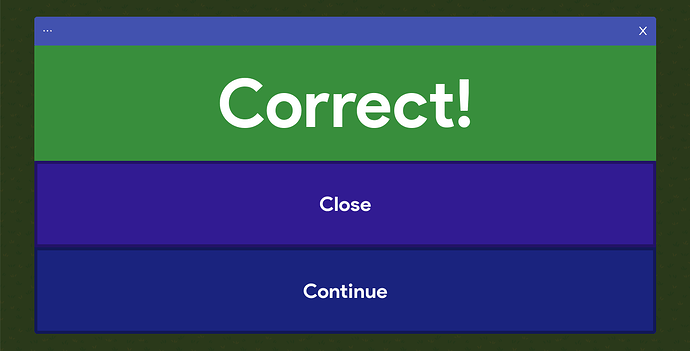
The open questioner screen works, but does it give us energy when we get a answer right?
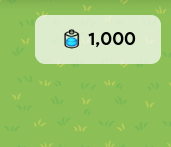
It works! Now you can make these buttons, like gimkit’s gamemodes!
Chapter 6: Finished In (Outro)
Now, you landed here since you finished the tutorial, you found out how you make a button! This took like 25 minutes, so no need to thank me. If you think this was good or important, please heart this guide. Thanks for reading the whole guide!
