Introduction
Click games have been a staple in game development for as long as the concept of web games to begin with. The reason they grew so much was that you could write a clicker with 30 lines of JavaScript with it being fully functional. One of the first pioneers of the clicker game genre was Orteil, with Cookie Clicker. The game was an absolute success and inspired many of the well-known clicker games we know today.
As I mentioned, a clicker game is super easy to make in JavaScript, which kinda follows into GimKit. It’s quite easy to make a simple yet functional clicker, but with time and effort, you can make something truly beautiful.
Getting Started
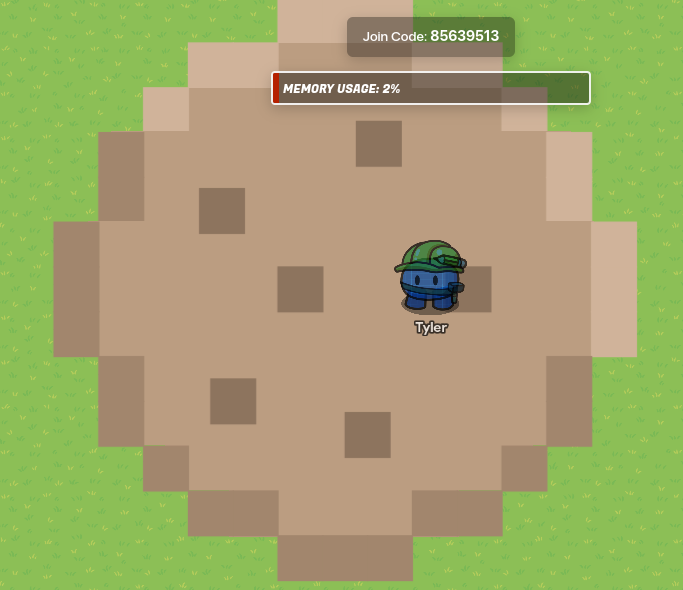
To get started, let’s begin building our cookie!
I will be referencing a pixel art method in another guide I wrote some time ago. I will use that method to create a simple cookie at spawn.
Next, Add a button to the center that scales up to the cookie like this:
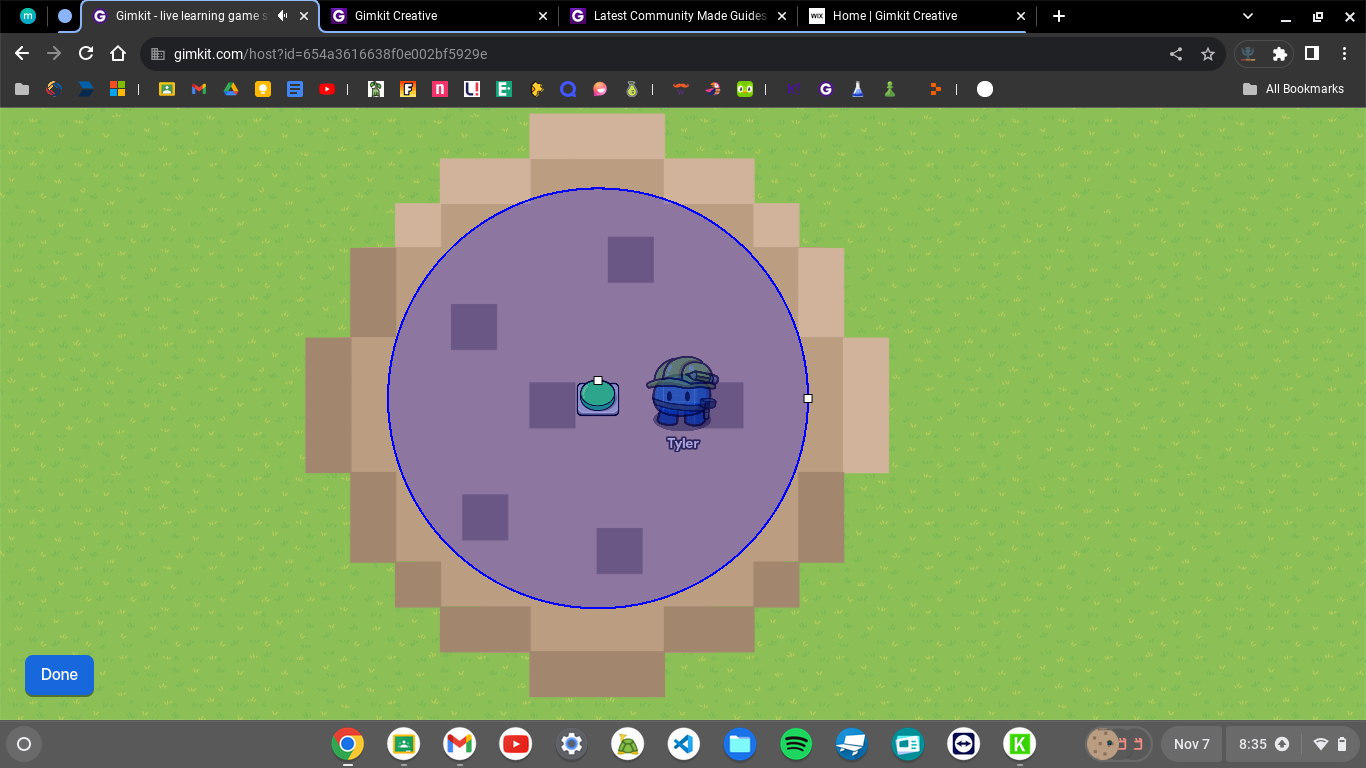
Please make sure to make this button invisible and with no wait time
Adding A Score Property
A property may be the most important thing in this whole clicker. We will create 2 number properties named score and clickValue. We also add a trigger to contain our clicking code. Make sure to set clickValue’s default value as “1”
Inside our trigger, we will add the following code:

Make sure this trigger’s code is run when the button is hit.
Adding a Score Display
Adding a score display is very simple. Connect our score property to our counter text and then make it pulse wire when property changes. This is the code we will put into our textbox to be run on wire pulse:

Adding Auto Clickers
To begin building an auto clicker, connect a repeat that pulses every second and never stops to a trigger. We will create a new property for this named clicksPerSecond. Make sure to set it’s default value to 0 and make sure it’s a number value!
We will add this code to our trigger:

Why Do We Set The Default Value to 0?
The reason we want to set clicksPerSecond to 0 is so we don’t have add more logic to start the auto clicker code when we unlock auto clickers in shop and rather just have it run in the background without doing anything.
Building the Shop
Lets begin styling our shop! This is what mine looks like:
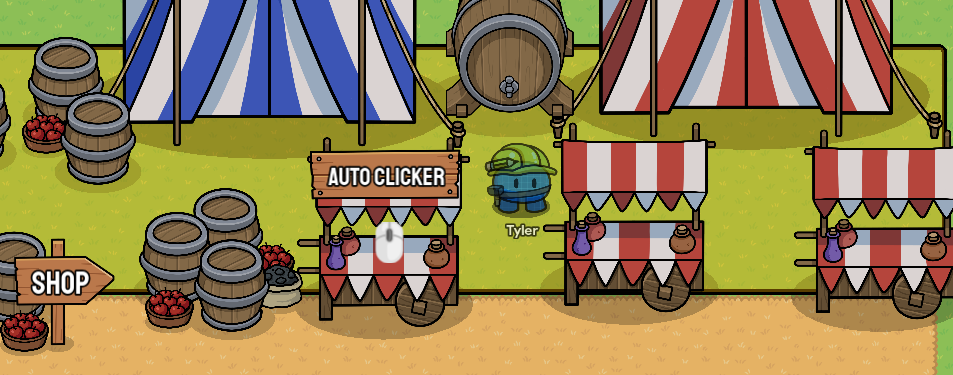
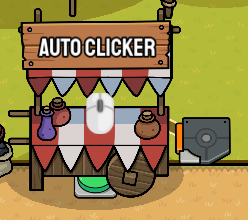
Currently, I only have 1 item, but we can use this item as a template for the next.
Lets add an invisible button with 1 second hold time. We wire this button to a trigger like this:
This is the code we will add to our trigger:
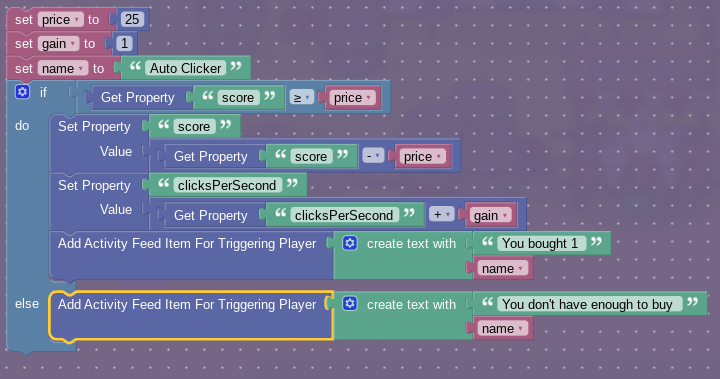
I used variables to make to modular. Basically, you can clone this trigger and only need to tweak the variables at the top.
Conclusion
This game is in no way complete. When I finish it, I will probably update this post.
In this post, we covered:
- Designing a pixel art cookie
- Building a shop
- Adding functionality to the shop and to our cookie
- Writing block code
What Now?
Now that you have implemented the basic logic of a clicker game, time to expand on your own!
You can create new items by duplicating the store code and tweaking the variables to match. Maybe get creative; Instead of a cookie make something that’s your own. My job here is only to implement complicated logic so that you can use your creativity to fill the rest,
Thank you for reading this guide! It took like 2 hours to write.
M1dnight out