If you are editing, please check Timmy the checkbox and untick him when you are done with your business :]
Oh wait…I’m not a reg, so he can’t get a job… sorry Timmy!!
<— Timmy the Checkbox
This guide is how to make your HAND DRAWN (yes you heard me right) thumbnail. It also doesn’t matter how bad you are at art, as long as you can write the alphabet, you’re good to go!!
Most people use stuff like Turbowarp, Scratch, Chrome Canvas, etc. While they are decent for beginners if you want to make something a lil’ more detailed, I strongly suggest that you get something like Adobe Fresco, Sketchbook or Kleki. They are art programs designed to actually do art.
The sketch, the beginning…
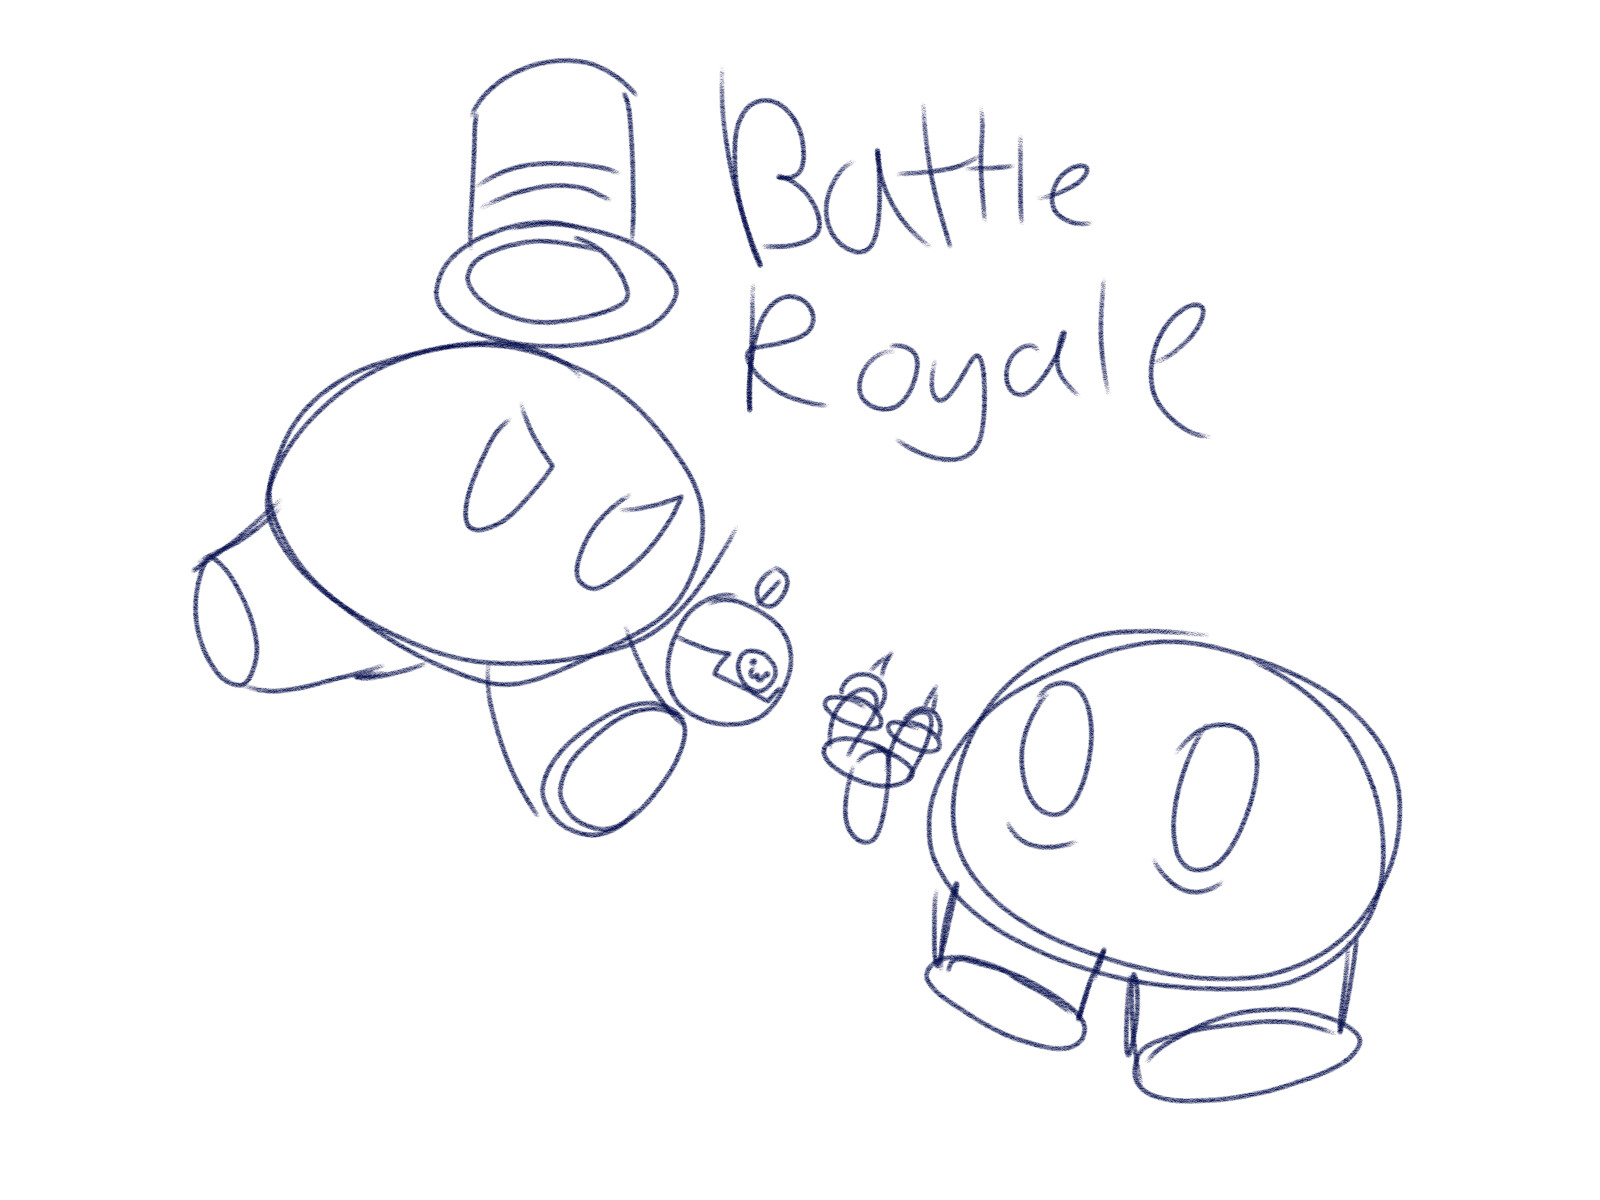
The sketch is basic shapes put together to make more shapes… uhhh how do I put it better?
I suggest tracing Gims first so you get their basic shape. The background is a bit more complicated, but you can observe other drawings and trace them (WITH PERMISSION FROM THE OG ARTIST.)
Add the title and any extra notes, and you’re good.
After that, turn down the opacity and add another layer, and get ready for le’ next step!! :]
The line art and basic colouring….it is awakening…
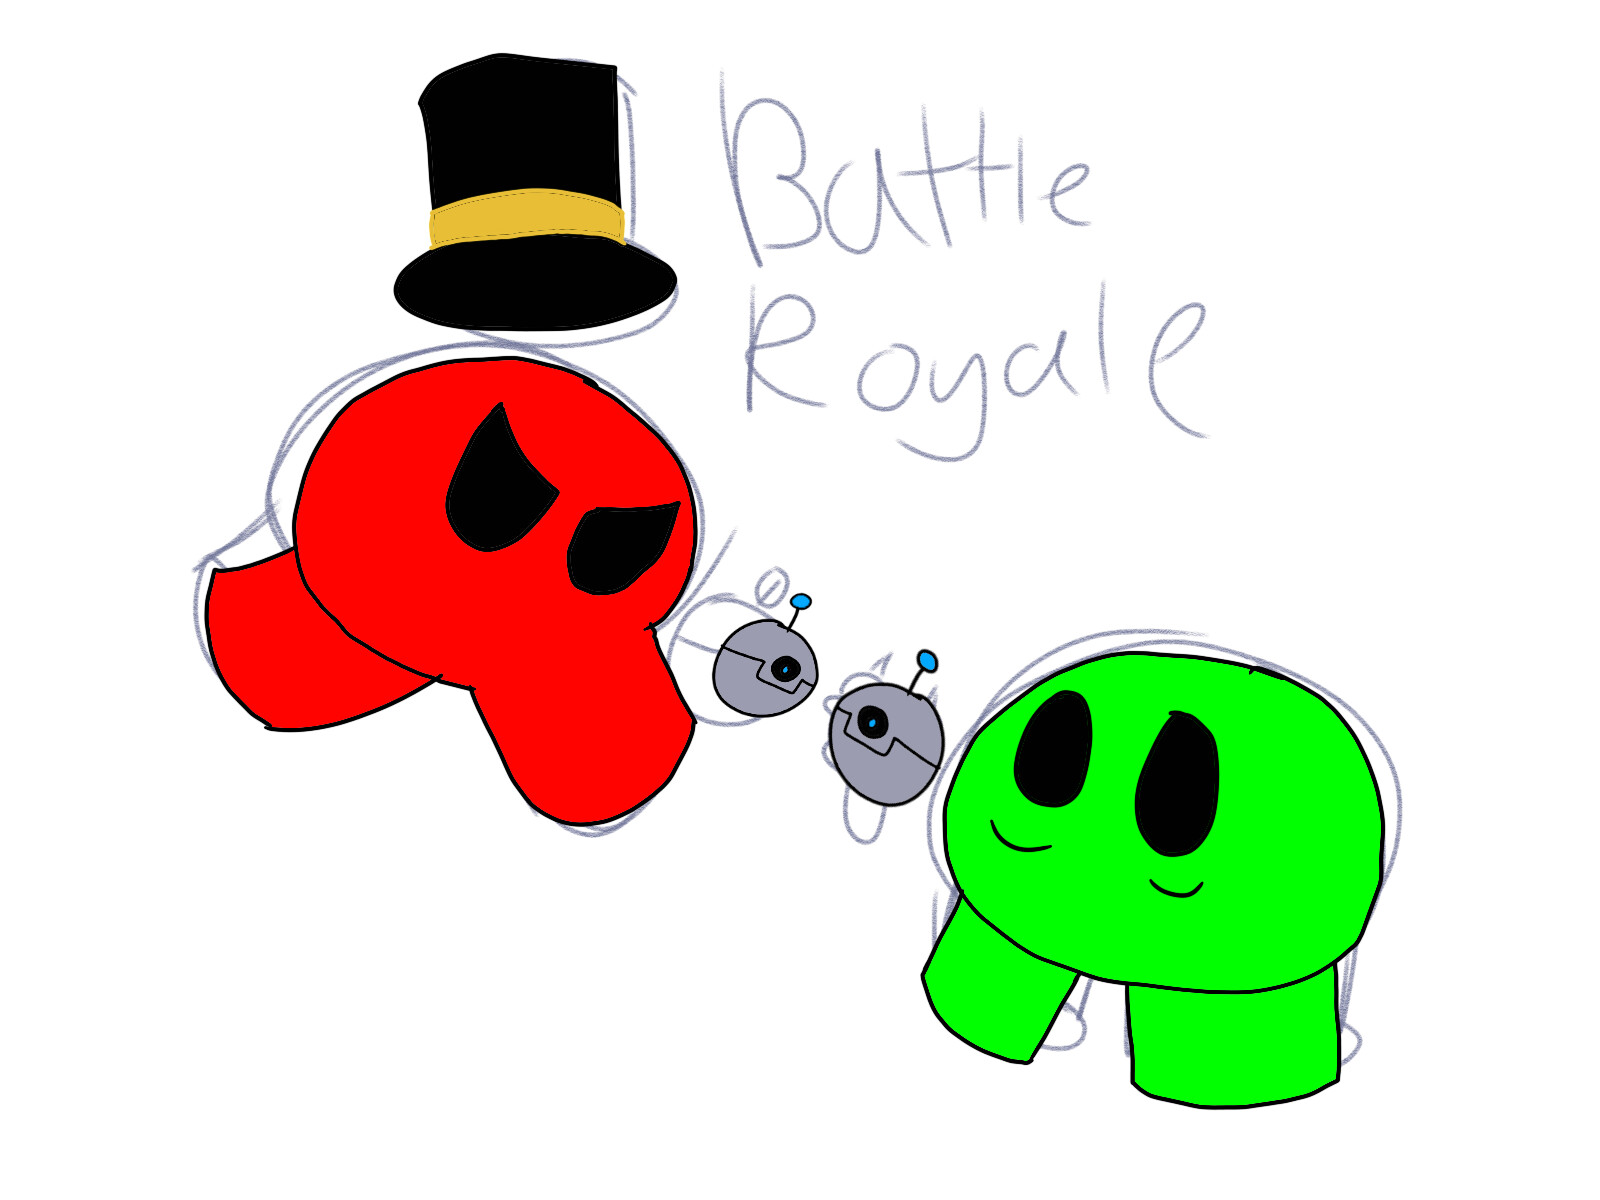
Remember to do this on a different layer or you are done for.
It is a matter of tracing over the sketch in some bits and leaving others. The sketch is basic shapes all together, the line art is sketch but without overlapping shapes…
Colouring is just clicking the paint bucket… (DO NOT TRY TO COLOUR IT IN WITHOUT FILLING IT. IT WILL END IN TEARS. Your tears, not the drawing’s.)
After that, the ‘FUN’ part appears… the shading. DUN DUN DUNNNNNN
The Uber Super Tough Shading bit…
(The background was me pulling a funny doofus and forgetting to put it in the last section. Sorry…)
The shading is not easy. But we all like hard stuff so it should be fine, right? Right?
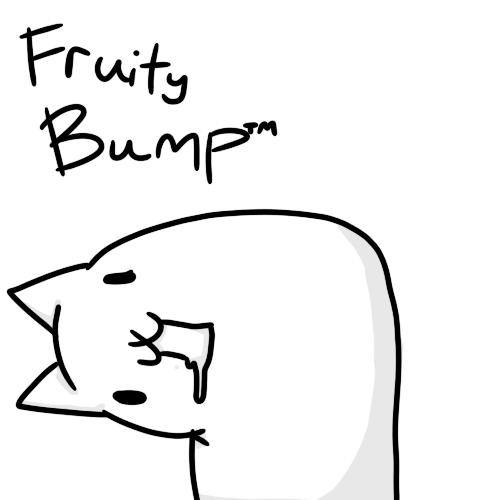
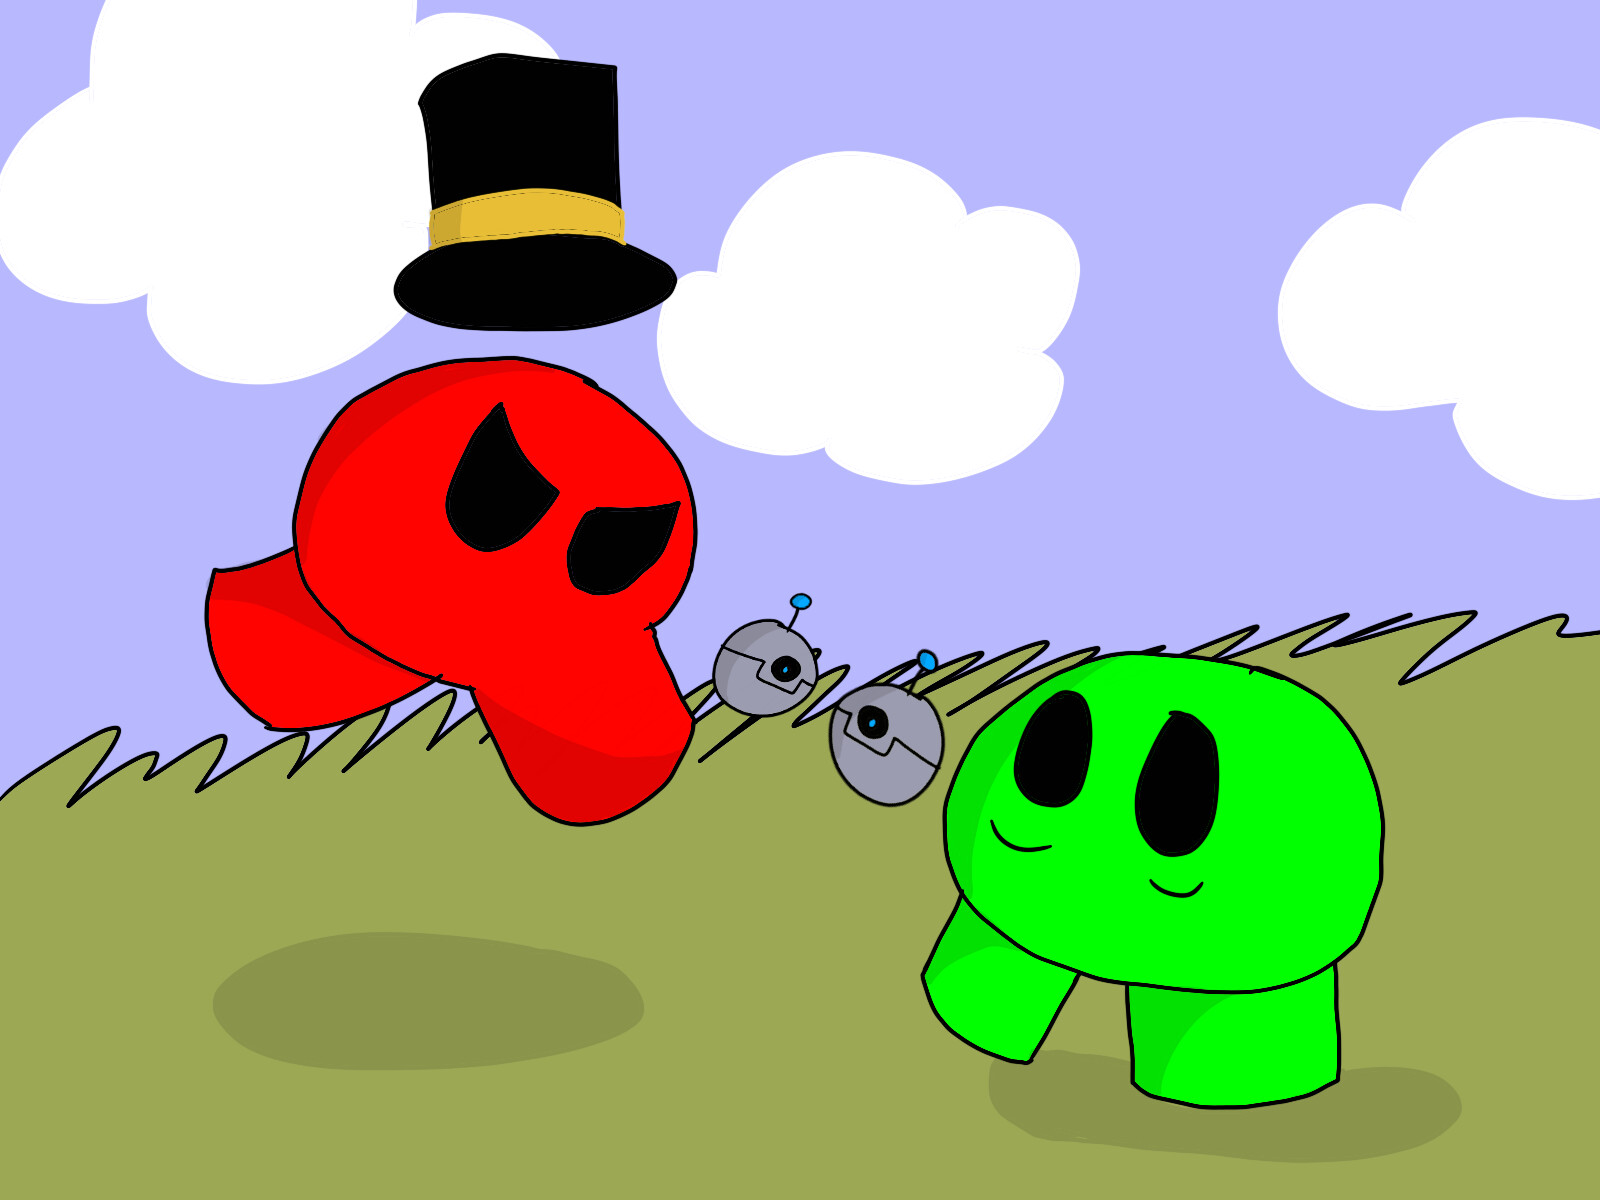
Where the shading should ‘be’ is a matter of where the lighting is. Let me pull out an example…
rummaging in my sketchbook
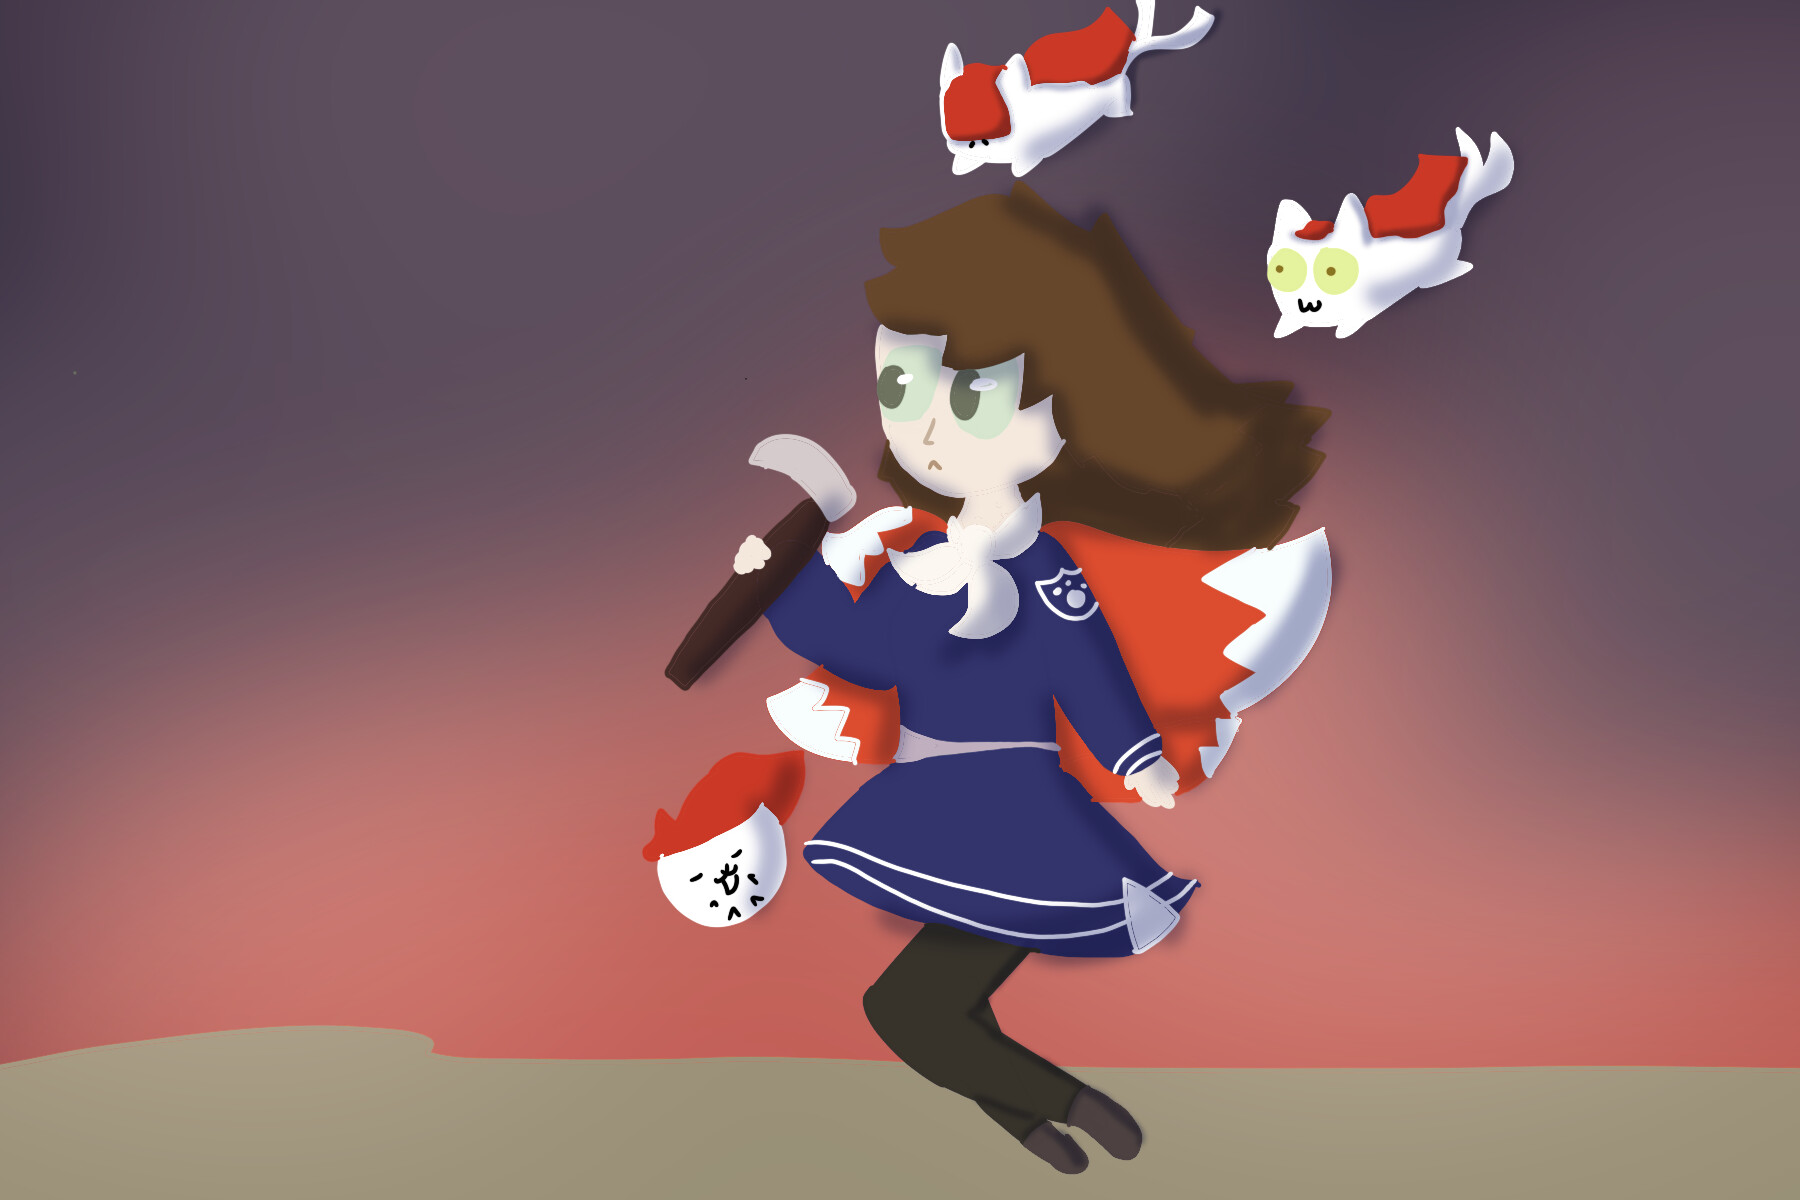
Please ignore the fact it’s off-topic. So as you can see, the lighting comes from the top left corner. Look at how the shadows interact with the light source. Look at it!
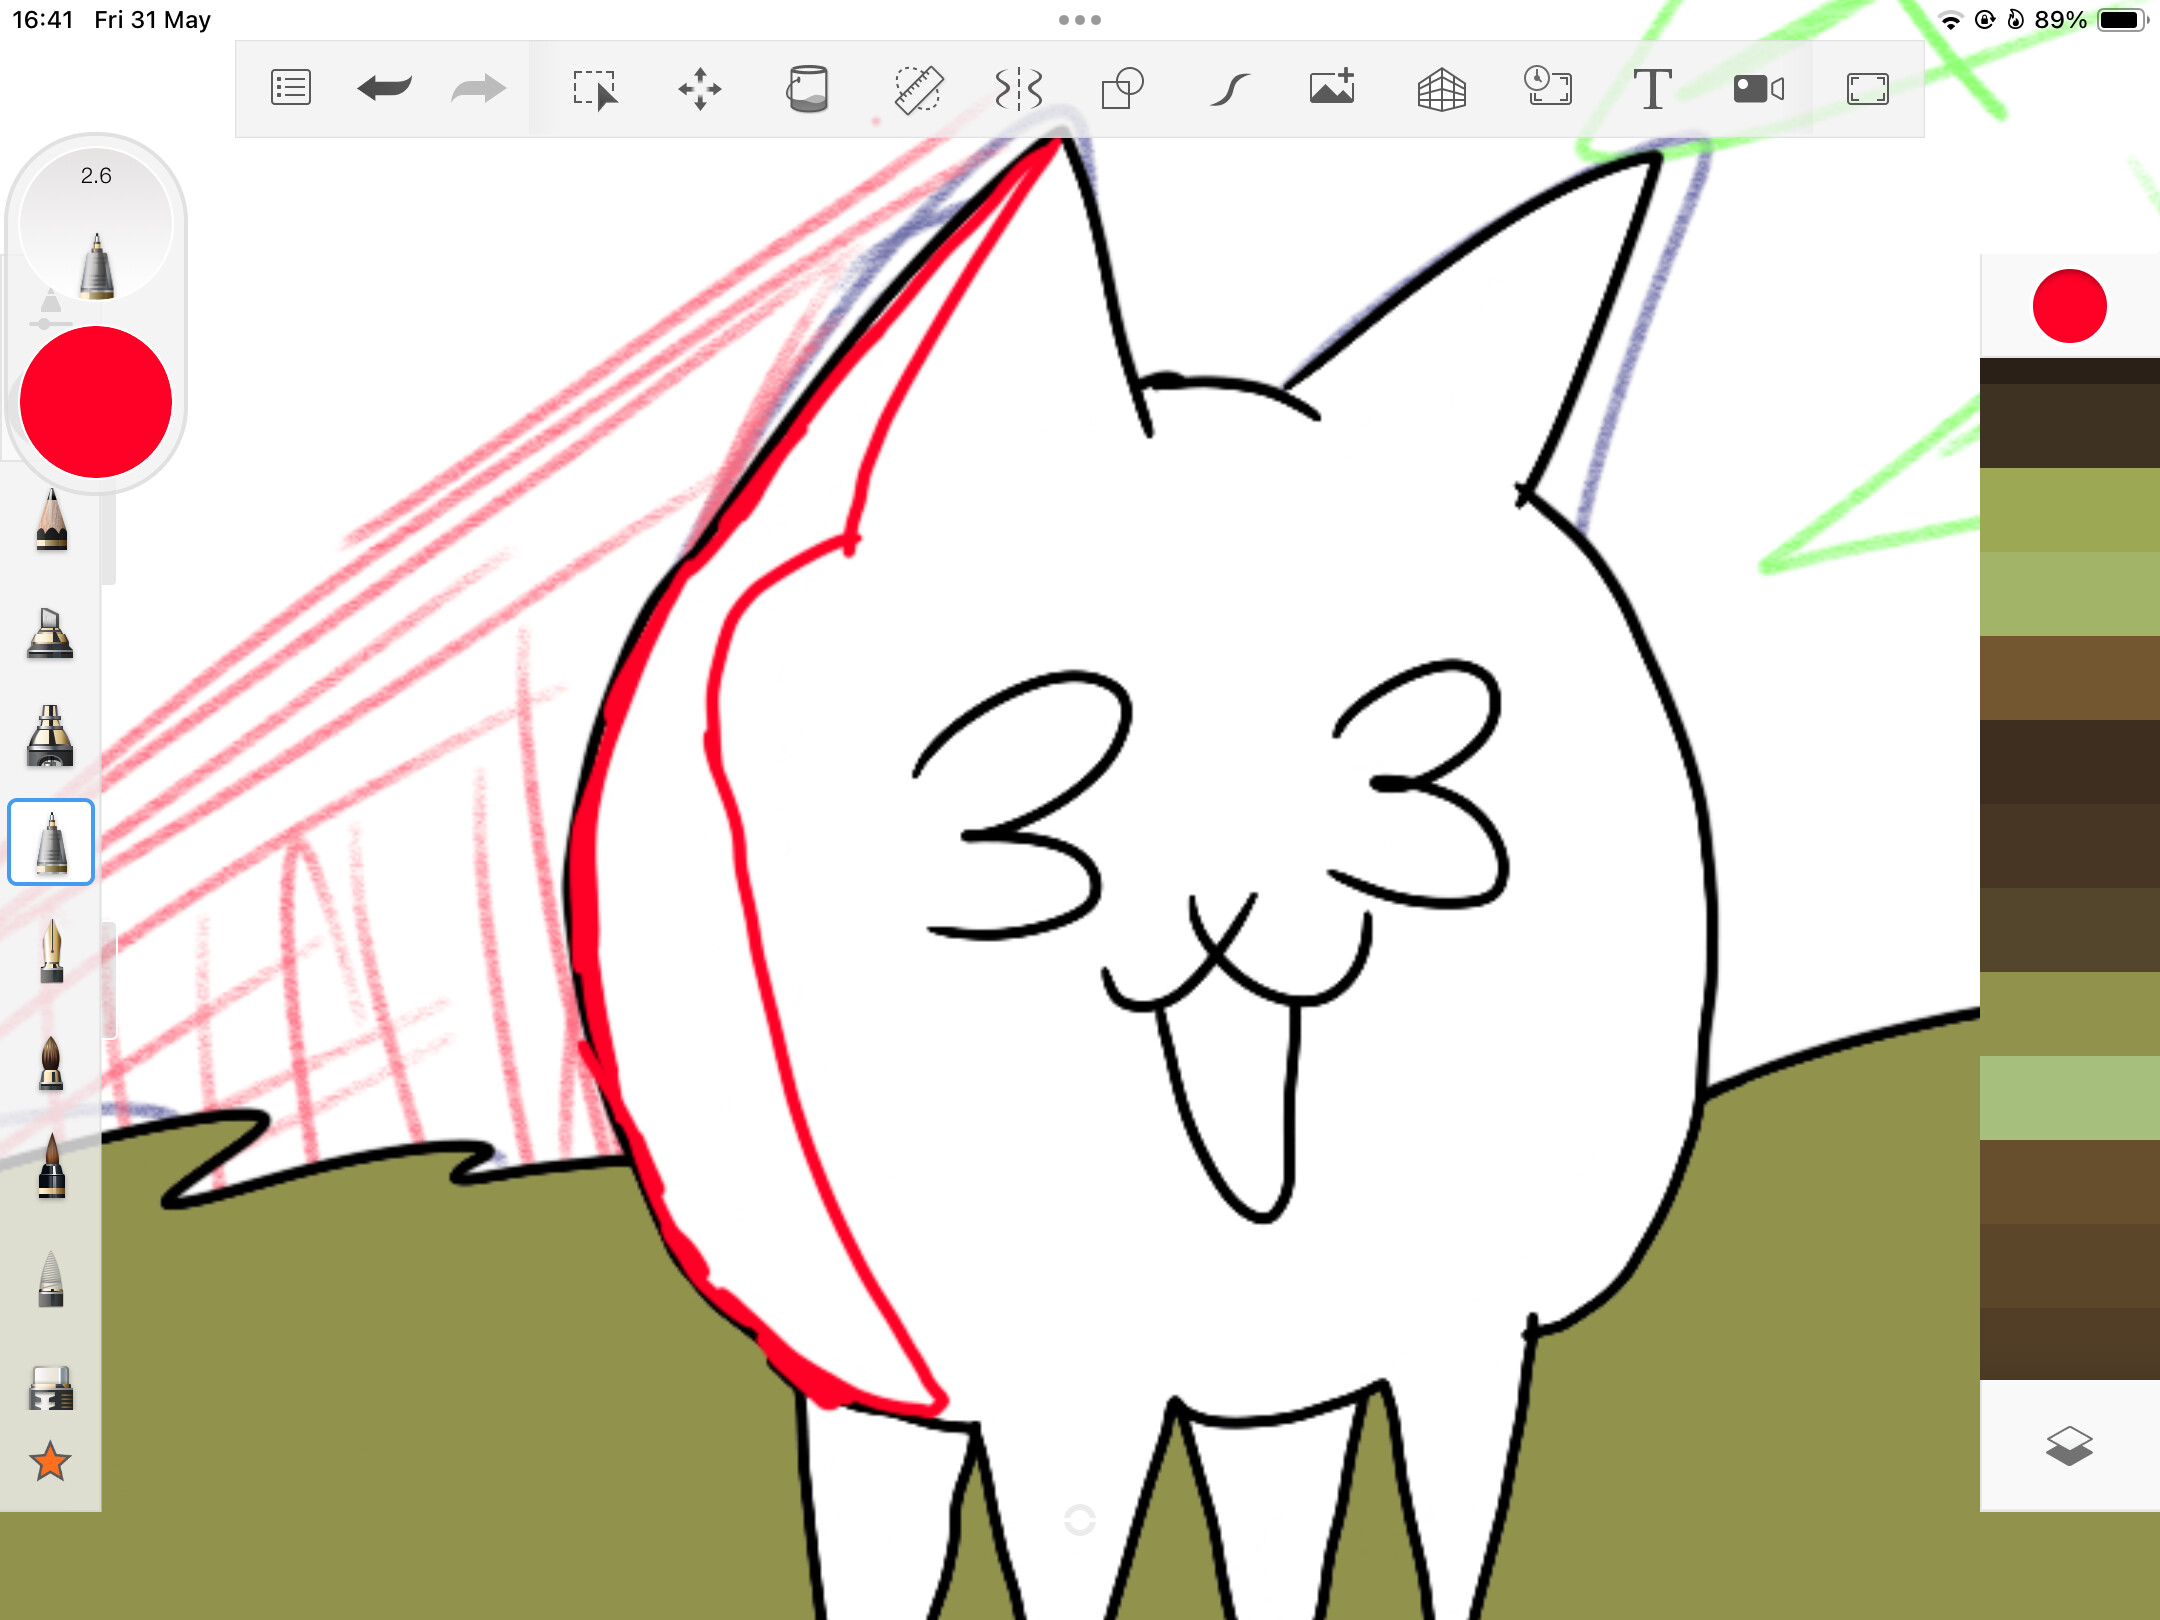
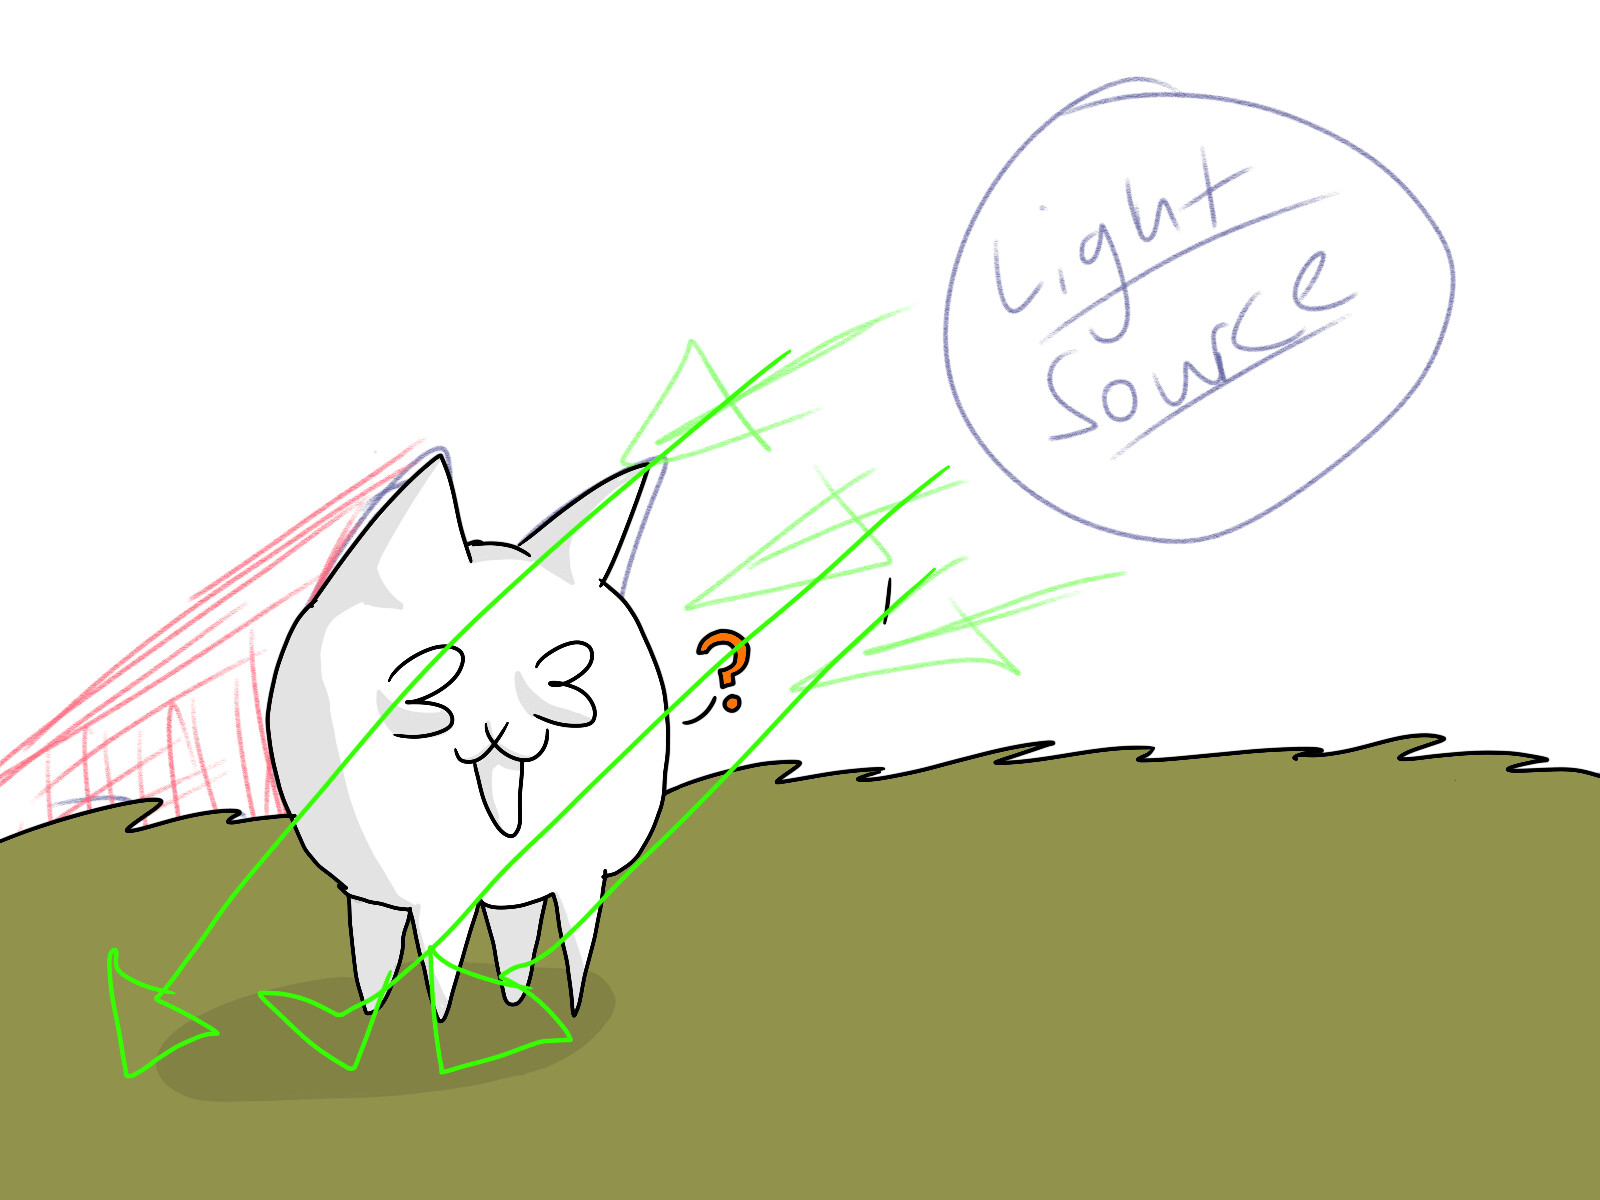
If it doesn’t make sense, I’ll try to explain…

Here is a cat seeing sunlight for the first time in his life. The lighting is opposite the shadow, and the shading is pretty much ‘on’ the cat but not on the ground. If this still doesn‘t make sense, try looking at simple shaded art on google and see how it interacts with light.
Shading is done on another layer. It can range from being a ridiculous amount of layers or just 1. For beginners, try to get all shading and shadows in 1 layer or you will get confused.
Also, turn down the opacity.
If the ‘shading’ fills the whole page, try drawing a border on the line…
And filling it in with the paint bucket (our lord and saviour paint bucket is something that we all are grateful for. Just click on it and click on the section you want to fill)
DO NOT DO IT IN BRIGHT COLOURS LIKE ORANGE OR YELLOW. Do it in colours like dark blue (you will have to mess with the layer type) or simply black.
Shadows are easy enough. Just draw a circle where it should be. Wait, that’s too vague.
Just like in the cat seeing sunlight, you should see where the light is hitting the object, and ‘carry’ it to the ground.
(This will need re-writing)
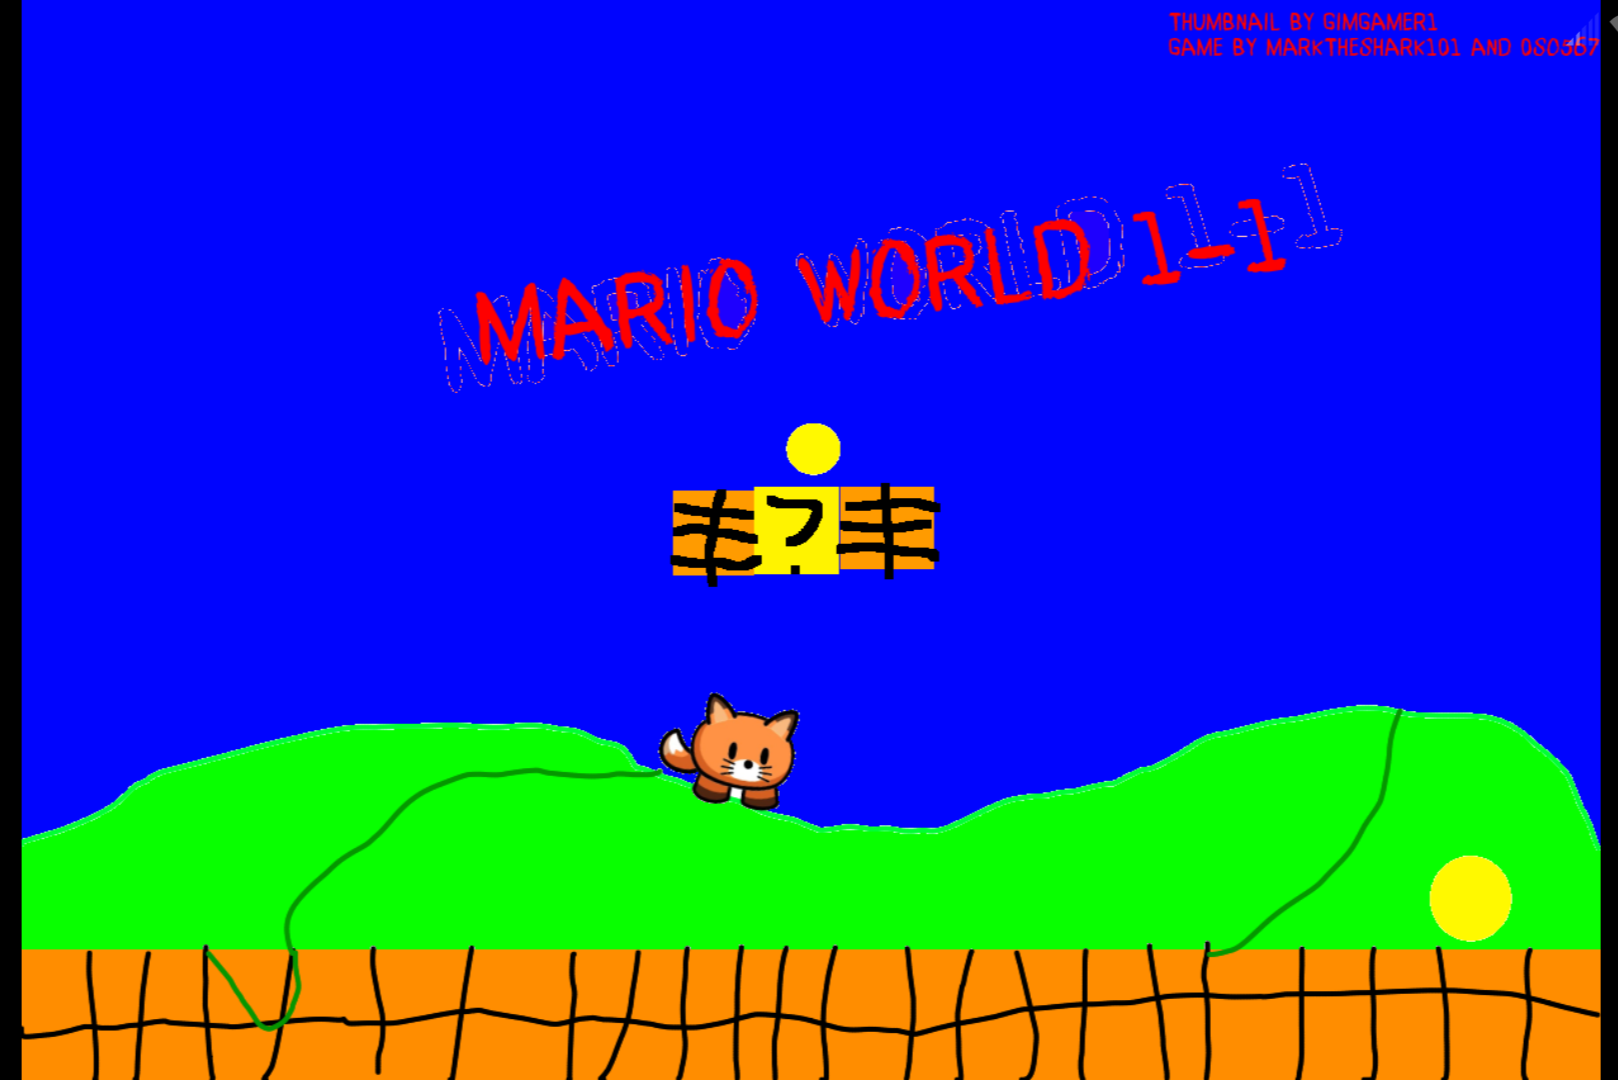
Le’ title and finishin’ touches!!
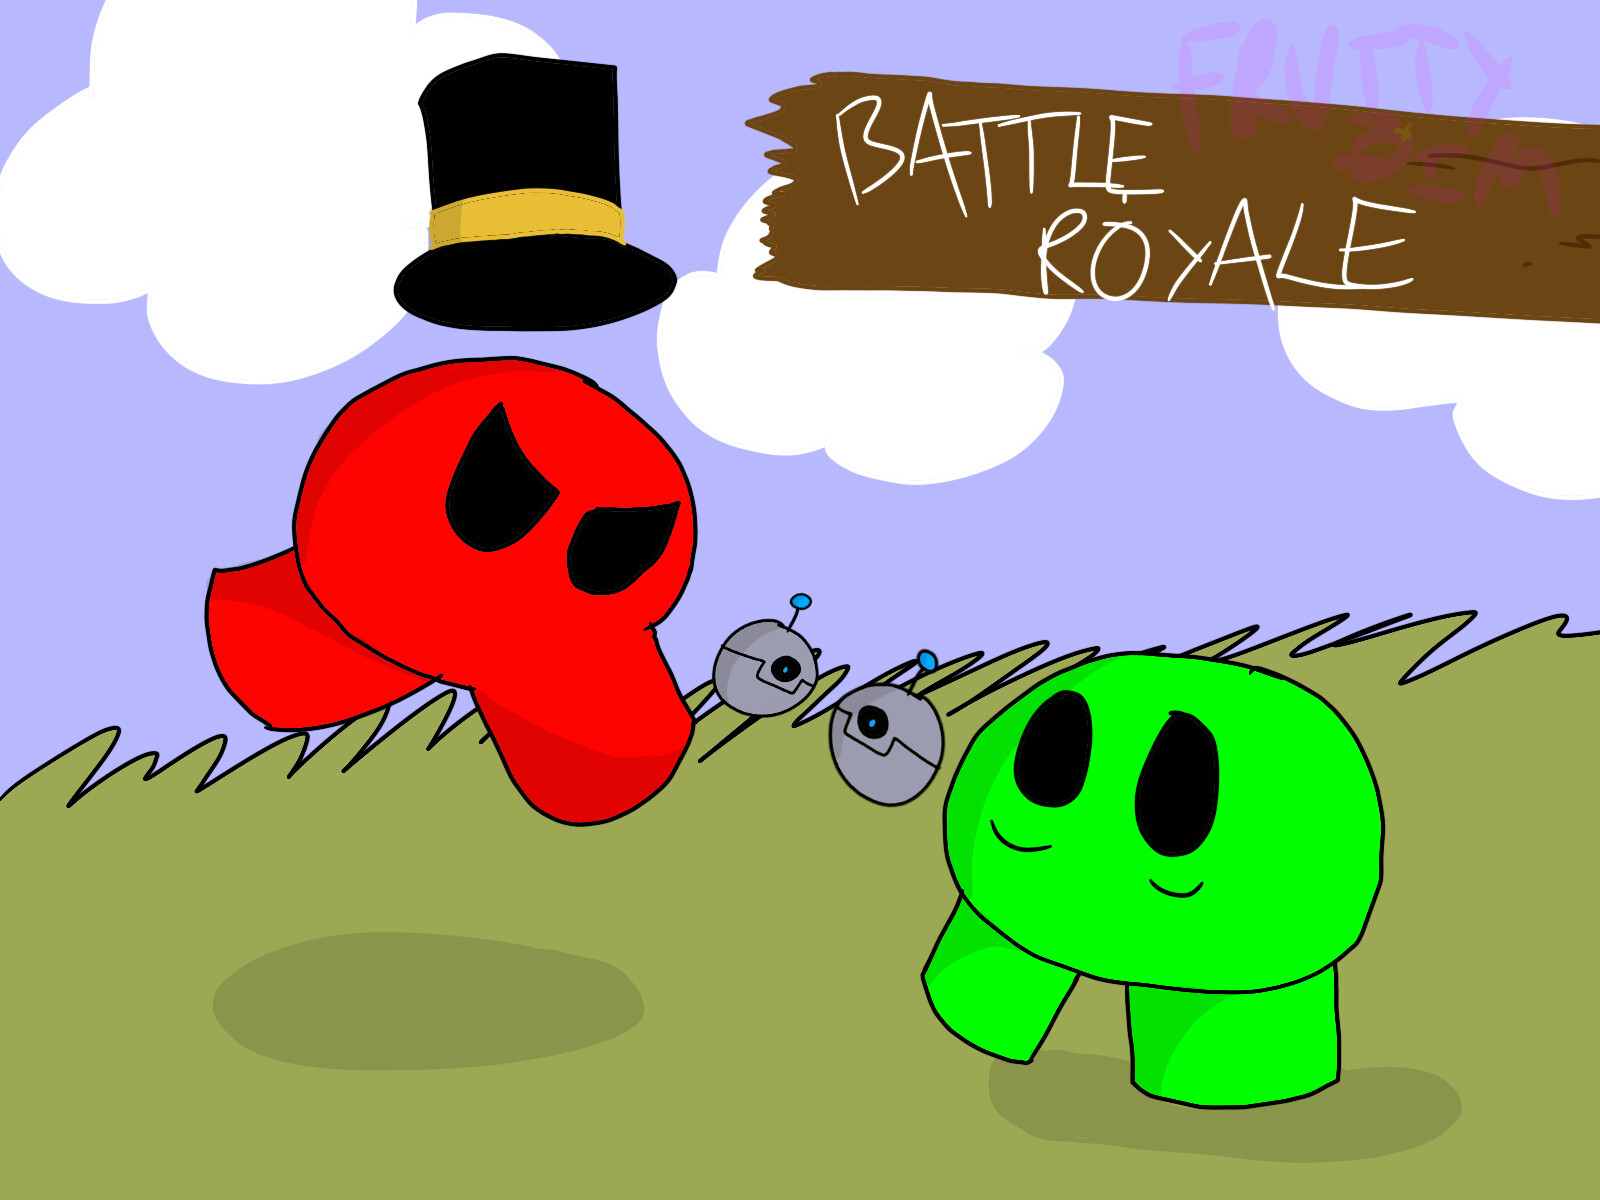
You can write the title on a separate layer like I did here, or add it onto an item around here (like a sign) or just…you know…type it… (but it looks soo ugly if you type it…ewww)
Also make sure to write your username on it to prevent stealers from claimin’ ye work. My signature is ‘Fruity-Gim’ because it’s simple.
After that, breathe, save it to files/photos, upload it to your brilliant map, publish, and of course, be proud!!
Art is something that isn’t easy to grasp and we all was absolute not too good at it at some point (hahaha…yeah that was me…)
But practice it and enjoy it, and you’ll get better! Try different styles, drink coffee, go to bed at 4am, but it’s important to be proud of what you’ve done.
If you aren’t proud of what you made, you will never improve.
Joke:
OK GUYS I HOPE YOU ENJOYED THIS VIDEO LIKE AND SUBSCRIBE NOW OR I WILL EAT YOU
Okay cough but you guys can post your results from my guide in the replies!! I will give feedback and it’s always nice to see a few budding artists around <3