Hello there! Welcome to my first post!
Have you ever made a cutscene that looks bland and boring?
Here’s a guide to perfect your cutscenes!
Step 1: The triggers, counter, and property.
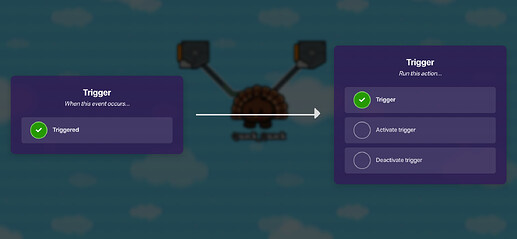
Place down 2 triggers.
Set one trigger to have a delay of zero seconds, and the other to have a delay of 0.01 seconds, or at whatever speed you want. (0.01 seconds if really, really fast!)
Add a wire from the 0.01 second delay trigger. Wire it to trigger the 0 second delay trigger when it is triggered. And repeat vice-versa, make a wire 0 second delay-trigger trigger the 0.01 second delay trigger when triggered.
On the 0.01 second trigger, make the channel when triggered to broadcast a channel "count_1"e.g.
And, of course I didn’t forget the lifecycle! Make a lifecycle that will trigger the 0.01 second trigger on game
start. Make the 0.01 second delay-trigger trigger on game start.
Great work so far! Now let’s add the counter!
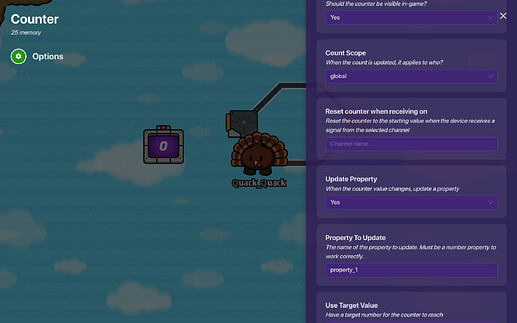
Make a counter count on the 0.01 second trigger’s channel.
Great! Now make the counter update a property, and we’ll make that property number property!!! Name the property of your choice.
And, of course, make the property!
As you can see, I added a channel for when the property value changes called “type_text”. That is essential. You will need that channel so you can move on to Step 2!
Step 2: The properties, block code, and camera point.
Make a camera point in the location of your cutscene, and add the text that will be “typed” in.
Make your camera point activate when your cutscene starts.
Now make a property that is just the text you want to be “typed” in. Make it a text property.
Now, time for the blocks!
Add a block for the channel when the property updates.
Now, open the block code. This is the code I have:
(the variables are not essential, but they are just a guide so you know what property is what.)
Great! You have finished! Hope you guys enjoyed!
"Step 3: Multiple lines (Optional")
If you would like to add multiple lines to type in non-simultaneously, you just need to copy the block code from Step 2. Of course, make a new property of text to type in.
Just put all of the block code in an if statement, "if property_1(replace this with a variable) > [ how many characters the previous lines were ] " And then, make a variable for the property minus [ how many characters the previous lines were ] This may be confusing at first.
It should look like this:

Hope this helps you with your cutscenes!
There’s one other guide like this: “Text Animations”
That’s all for now! ![]()


