Hey!
There are already some guides on this so I’ll link them below!
Note: I am new-ish to GimKit Creative. If you get any errors please let me know. This guide is not meant to take anything away from the creators of the guides linked below. I highly recommend you check them out!
There will be more guides after this one on the mechanics of Tag, so stay tuned for those! =D
Other Guides On Tag
Cameron's Guide to Regular Tag!
Create a Tag or Hide-And-Seek Game Part 3: Gameplay {Difficulty 3/10, or 🟩}
Okay, first things first, we want to figure out the theme for our map. Hopefully I’ll add a map vote system in this series, but for now we’ll make one. This map will be winter themed!
Setup:
REQUIRED GAME SETTINGS (Do These Before ANYTHING Else!)
Before we do all the fun stuff, you NEED to complete EVERYTHING I show you in game settings or else you will not get the same result as I am.
Map Options
So the first thing we want to do is go into our game settings. You can find this by going to the bottom left of your screen, and you should see a little gear button. Click on that and go to “Map Options”.
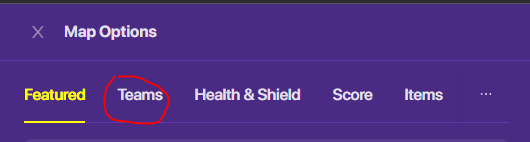
Click on “Featured” at the top of the popup.
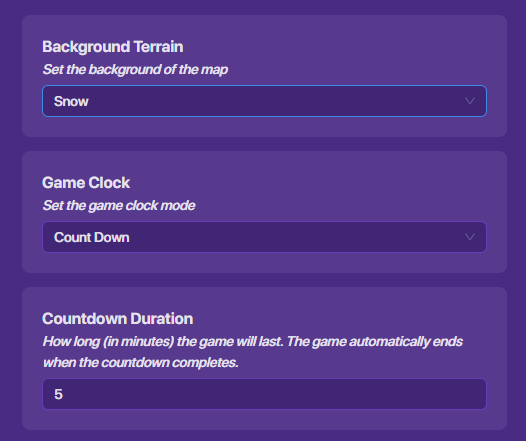
Set background terrain to “Snow”.
Make sure Game Clock is set to “Count Down” and the time is set to 5-6 minutes. (I’ll do 5 for the sake of this tutorial) This will add a time limit to each game.
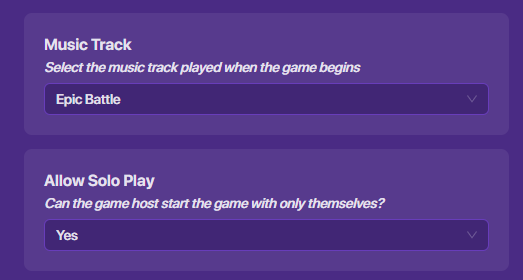
Music track can be whatever you want, I chose “Epic Battle”.
Make sure allow solo play is on for now, because we’re going to test mechanics.
Your settings should look something like this:
Teams
Previously, we were on “Featured” in our Map Options. We now need to go to “Teams”.
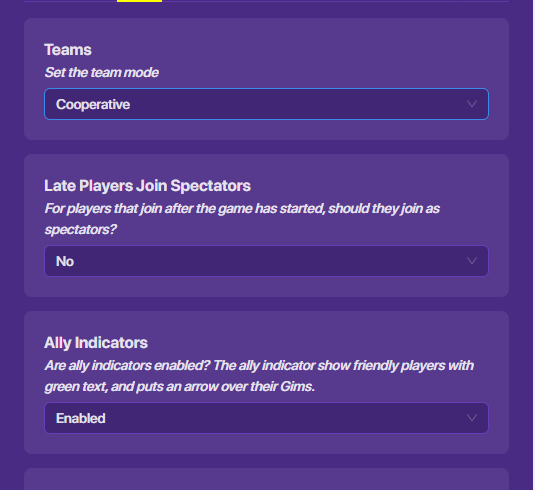
Set the team mode to “Cooperative”.
Set Late J0in Spectators to “No”. It should be on this by default, but just in case, make sure it says “No”.
There are two different ways to do this next part.
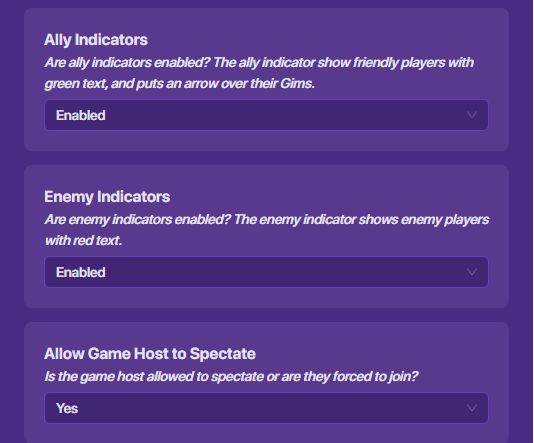
- You could set Ally Indicators and En3my Indicators to Disabled. This would add a sort of mystery to who the tagger is, kind of like Among Us.
- What I recommend you do is set them both to Enabled. After all, we’re making tag, and not Among Us. But it’s totally up to you. (For this tutorial I’m setting them to Enabled)
Make sure Allow Game Host to Spectate is set to “Yes”.
Your Team Settings screen should look something like this:
Health & Shield
Next, click from Team Settings to Health & Shield at the top of our Map Settings popup.
This one is very simple.
Just change Show Health and Shield Bar to “No”.
And set Spawn Immunity to “0”.
Make sure PvP is enabled.
Score
For this version of tag, I want it to count how long a player lasted in-game. GimKit doesn’t really have a way to do this, so we can improvise. Byy giving the player a certain item every second, we can track how much of that item they have to see how long they lasted on the ending scoreboard. We’ll do this in the next tutorial though.
Set the Score Type to “Amount of Specific Item”.
Change the item type to “Snowball”
Set Score Name to "Time Lasted (Seconds)
Set the Score Group to “Player”
Make sure Leaderboard Sort Mode is set to “High to Low”.
Make sure everything else is set to “Yes”.
So now that we got that boring stuff out of the way, let’s make the map.
Map Outline
What you'll need
Snow (Wall)
Step 1
Take the snow and place a 40 block line horizontally.
Place 39 blocks downward, vertically from the right edge of the top snow line.
Do this on the left side too.
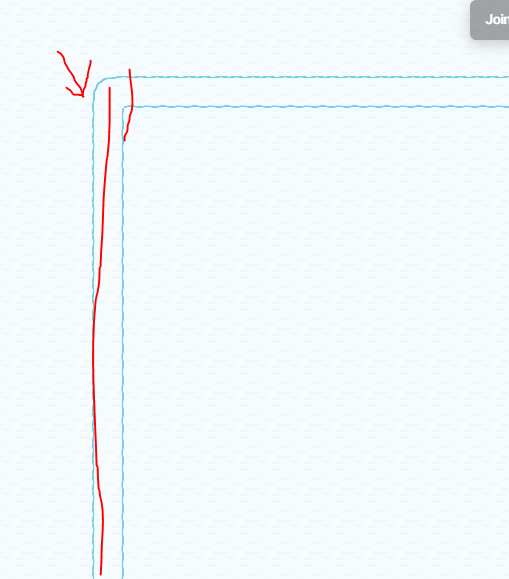
Place another 40 block line horizontally one block from the 2 edges.
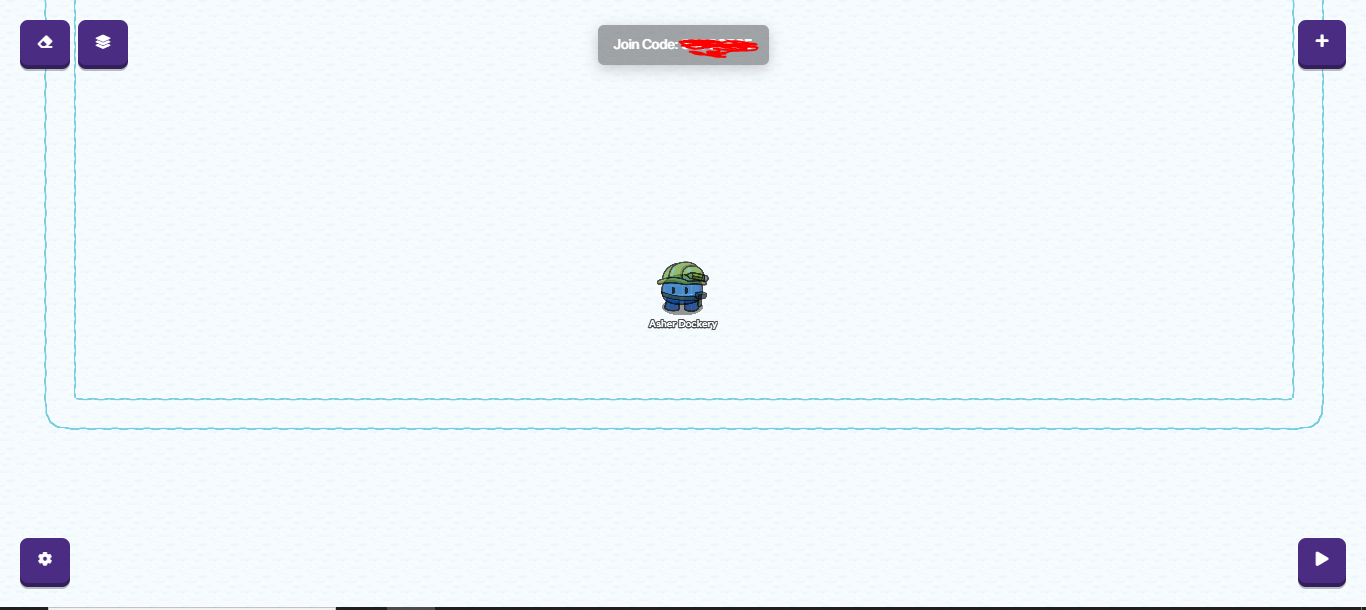
Now you should have a big box that players can run around in. But this looks bad! Who would play tag in a blank arena?
Props
What you'll need
Snowy Bare Tree
Snow Piles (large, small and medium)
Snowy Log
Ice Bucket
Metal Shovel (Standing)
So I’m not going to show you where to place EVERY single prop. I’ll show some cool mixups you can do though to make your map look good! =D
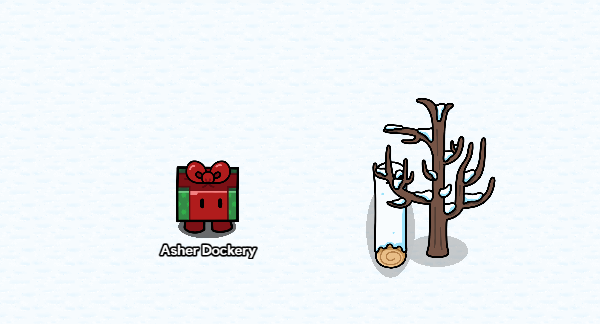
Tree & Log Mix-Up
So one of the things I use a lot when I make snowy maps, is the Tree & Log. It’s very simple, but looks really good!
So that’s about it for this tutorial! Next time we’ll make the Tag system and Teams! =)