There is another guide on this topic: How to Make Good Parkour
But it doesn’t really have all that much info… ![]()
So I suppose you could say I’m adding on to that!
Discovery has some… Not very good parkour maps, and as a parkour enthusiast, I want to see more fun and actually good obstacle courses!
So here’s my guide on how to make fun parkour maps!
i’ve been told theres also another guide on parkour that i missed uhhh here it is 8️⃣ Common mistakes that can make your platformer map less enjoyable. (And how to fix them)
i’ll try to make this one less of a dupe
The Gameplay Part!
This section is about making the parkour fun and interesting, instead of making it boring and infuriating.
Try to avoid repeating jumps!
Don’t use the same exact jumps over and over again! It is very boring and hopefully, people like me don’t enjoy it at all.
This one here is a ![]() ,
,
and this one over here is a ![]() .
.

This one changes up the jumps every time. It might be kind of tough to constantly be thinking up different jumps, but just know that just changing the distance you have to jump, or the direction you have to jump works!
Keep the difficulty consistent!
Try and keep the whole entire parkour course at around the same difficulty.
If you’re making a difficulty chart, then try and make the difficulty rise at the same rate throughout the whole course.
It can be frustrating when you make it really far into an game with jumps like this,
feeling proud of how much you’ve conquered,
when you have to stop because you suddenly find something like this. :[

You can use jumps that are a bit harder then the rest.
That should be fine. I think.
Just don’t go from effortless to catastrophic.
Its like making a baby run a marathon after they learn to walk.
Don’t make it too hard OR too easy!
Using easy jumps throughout the majority of your game makes your parkour course boring. Its even worse if you somehow make it so you cant skip any of the jumps.
If its all difficult jumps, then it becomes infuriating. In that case, please at least add checkpoints often!.. ![]()
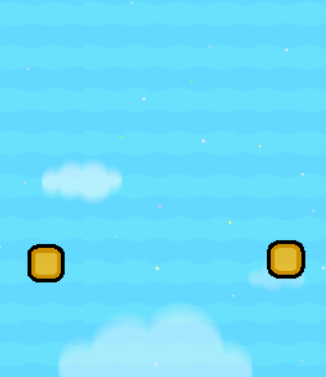
Don’t put jumps offscreen!
Take a look at this picture.

Where do you think you’re supposed to go?
I’ll give you 5 seconds.
5!

Don’t make luck based jumps!
Luck based jumps are very annoying in my opinion, ESPECIALLY when you’ll have to redo an whole section because of it.
Like the jumps showed earlier, luck based jumps are unfair and not difficult.
when i say “luck based jump” i mean something like having three teleporters and having only
one of them bring you to the next part while having the others put you right about a couple of lasars
actually i love gambling please add more luck based jump (this is a joke don’t)
Try out using barriers and props!
Barriers let you make more precise jumps then with terrain because the terrain is always locked into the 64x64 grid. The only limit with barriers is that there’s a size limit.

But, you can substitute it with a prop!

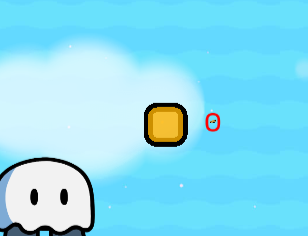
please don’t make things so small that you cant see them
if you do that please at least circle it using text
The Visual Part!
This section is about making the parkour look polished and not like something whipped out in a hurry.
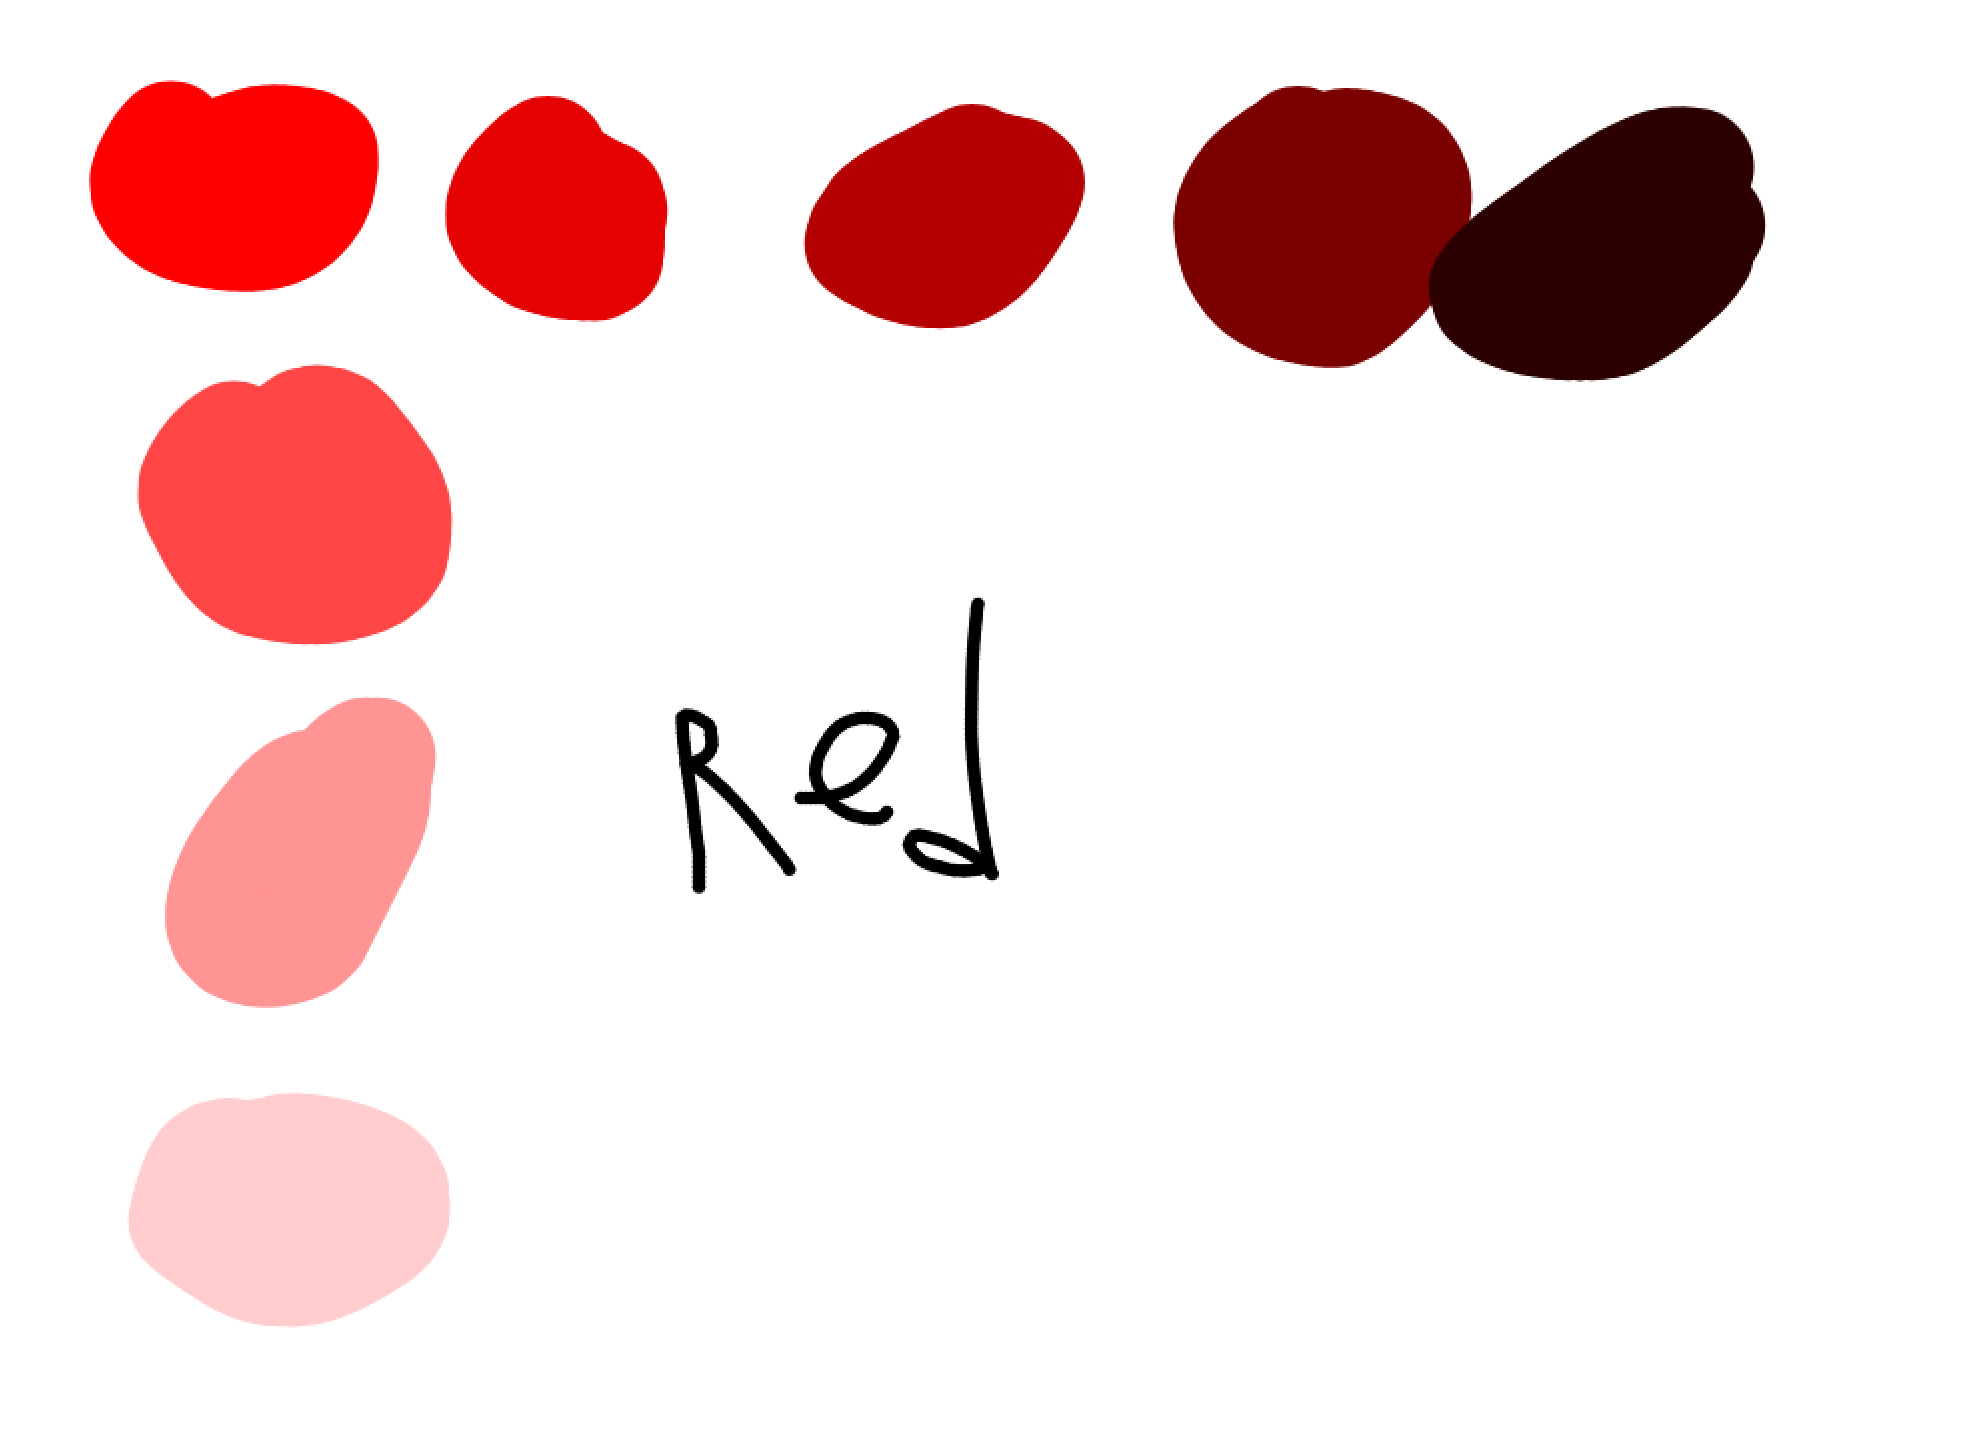
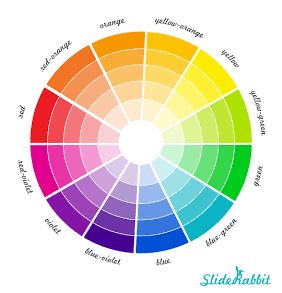
Choose a color scheme! (or just choose the right colors)
Why do I tell you to do this? Well, sometimes I see people that use colors in their obstacle course that look weird compared to the rest of their props and barriers.

If you want to photoshop in Hawaii in that background, go for it, I suppose?
And also, while I’m at it,
make barriers fully visible if you’re using them as the color of the sky. Unless your barrier is the color of the sky.
(basically any shade of blue)
Then that should be fine because the blue of the sky shouldn’t conflict with the color of the barrier!
Avoid splashes of terrain!
Terrain splashes themself just makes it look like there wasn’t any effort put into the parkour.
Maybe its just me, but they remind me of the random obstacle courses I find on Gimkit creative which go against nearly everything I’ve put in this guide so far.

Another way of saying this might be to just avoid making incomprehensible bunches of various things.
like my brain
Try and make things smooth!
Here’s something I see often.

There’s just something… About it… That really bothers me…
This, is something I like better.

(i made this with two fully visible barriers (outline enabled) and one fully visible barrier outline disabled)
Sure, there’s a little imperfection at the bottom, but its a step up from the previous one.
Use interesting shapes!
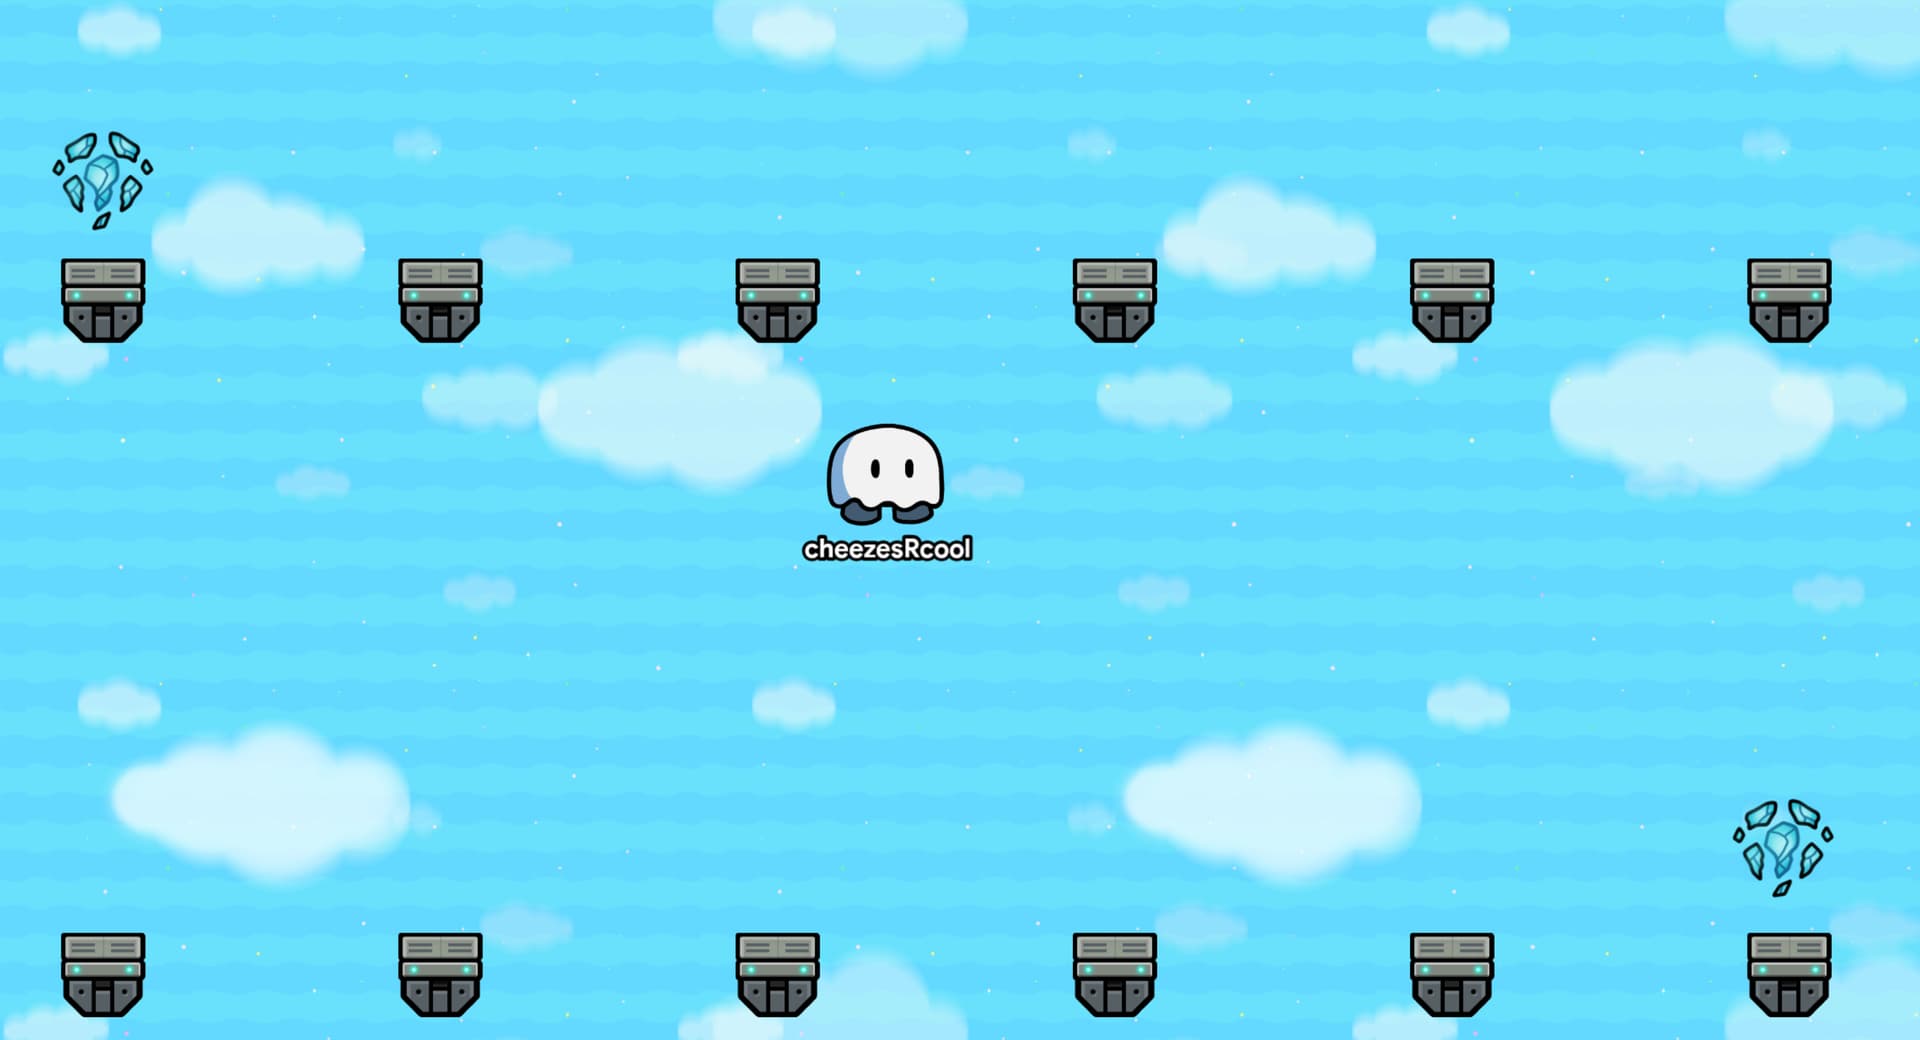
Using different props or making new shapes using barriers can help out with this. If we take a look at this picture from the gameplay section,
you might notice that there’s all sorts of different shapes being made with the barriers!
There’s lines, a blocky-lookin’ C, a little backward seven shaped thing, a whistle shape and some sort of baton looking thingymajigger.
All of these are used to make an interesting looking set of jumps, that look more appealing, then a bunch of 2 by 1’s.

Try layering terrain!
If you’re using different types of terrain in your parkour, you might notice that they all transition into each other, like this.

However, you might not want that. Maybe, you want the grass in the picture to still have grass on it. In that case, you can use layering!
You can remove the stone that’s on the layer the grass is on.
layer 3 / middle is the default layer
Then, you can go to a layer that’s not the layer that the grass is on, and put the stone there. Now, the grass is back, not all trampled by the stone brick on top!

Don’t use lazars at the bottom of the map!
this is your choice! if you don’t want to do this, you don’t have to.
Now, it could just be me, but I prefer using coordinates to respawn the player when they fall instead of lazars. Heres what I do for this part.

If you can’t read my handwriting, that’s okay. It’s horrible, as all my teachers know, when I write too fast.
Here’s what it says, slightly reworded.
- Set playerY to the players Y cord (pos)
1.5. (optional) do same thing for X pos- Check if the players pos is in a certain area (say y is below 3)
if you’re checking both x and y then use two checks for x and y before step 3- Respawn player if check(s) pass(es)
Make sure that everything is only updated for individual players, and not everybody playing.
unless you want to make a party game or something?
Poll (how good was this guide?)
- Amazing!!
- Cool guide!
- Its okay. Could use some improvements.
- Kinda mehhhhhh???
- pretty mehhhhh
- please stop making guides please my eyes hurt looking at this thing that you’ve made
why did you make this i’ll never recover from this mess of an guide i’ll suffer forever and ever
losing sleep at night remembering something like this exists
losing money at day going to therapy
losing friends in my social life that have no more interest in my husk of an personality destroyed from thinking about this and this only
losing the beauty of nature on my vacations because of my being blinded by this hot garbage
losing everything i’ve ever wanted
losing everything i’ve ever loved
losing everything - Isn’t this a dupe? I’m reporting this!
Thank you for reading!
If this doesnt get flagged and deleted, please give me suggestions on what to add or change. This is my second guide, so I would love to make this better than the last one that wasnt related enough to Gimkit.
unused image