Terrific tutorial, @Xa67! You’ve provided a clear guide for adding custom images to mini-games in Gimkit Creative. Here’s some feedback on your tutorial:
What you did well:
Concise Instructions: Your instructions are concise and easy to follow. Each step is straightforward, allowing readers to quickly grasp the process.
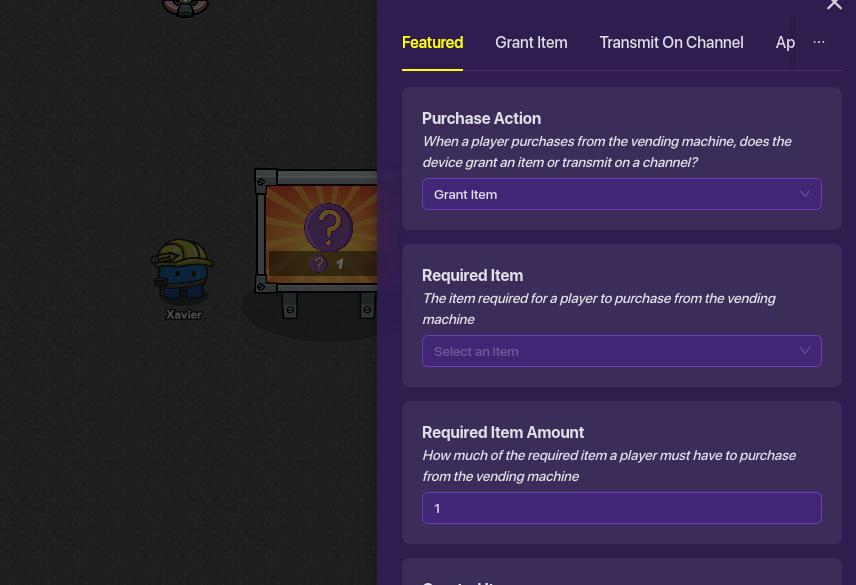
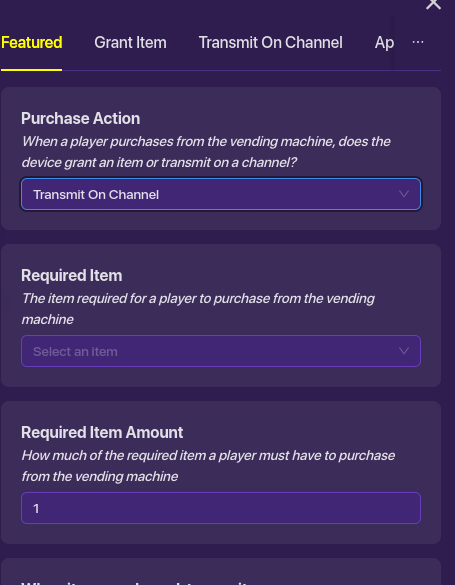
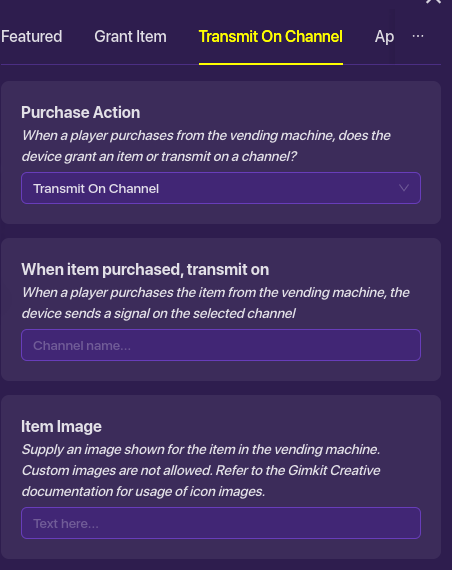
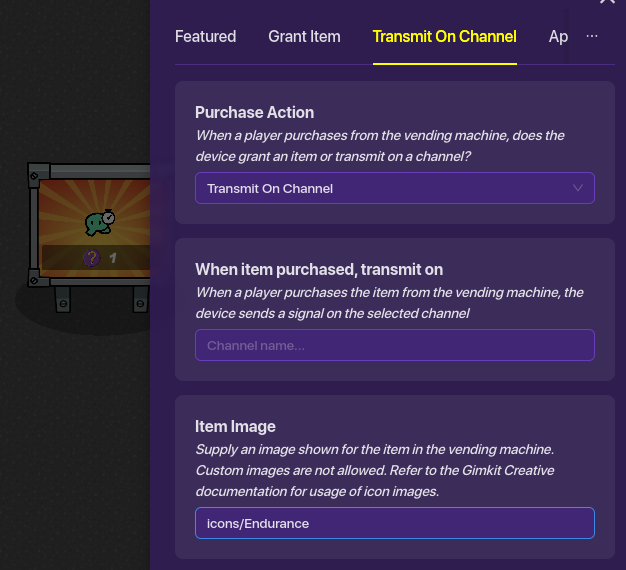
Relevant Visuals: The inclusion of screenshots provides visual aid and helps readers understand the specific steps and settings required. This visual support enhances the tutorial’s effectiveness.
Resource Reference: Directing readers to the Gimkit Documentation Website for finding icons is a valuable addition. It allows readers to explore a variety of options and select the desired icon for their mini-games.
Areas for Improvement:
Clarity on Item Image Input: Some readers mentioned the absence of the “Item Image” option. To address this, consider providing further clarification or additional troubleshooting steps to assist readers in locating or accessing the “Item Image” option. This would ensure that readers with different interfaces or versions of Gimkit can follow along successfully.
Addressing Additional Features: While your tutorial focuses on adding custom images, it would be beneficial to mention how to incorporate popups or any other related features. Expanding on these aspects would make the tutorial more comprehensive and provide readers with a well-rounded understanding of enhancing their mini-games.
Rating: 7.5 out of 10
Your tutorial provides clear instructions and helpful visuals for adding custom images to mini-games in Gimkit Creative. By addressing the areas for improvement and providing further clarity on the “Item Image” option, you can make the tutorial even more user-friendly and accommodating to various situations. Additionally, expanding on other related features like popups would further enhance the tutorial’s value. Keep up the fantastic work!
Regarding your replies to readers:
Your replies show a willingness to engage with readers and address their concerns promptly. It’s commendable that you provided troubleshooting assistance and suggestions to help readers overcome issues they encountered. This approach fosters a supportive and helpful atmosphere, contributing to a positive learning experience for readers.