so i saw that there are already some topics on this but they are all pretty old and dont have pictures.
i was just hoping someone could maybe remake one of these or someone that already made one repost one of them so i could get some pictures.
im kinda lost w/o pics so…
ima go sleep rn bc i go golfin tmr morning pretty early so il check back later tmr
thx in advance fellow forumers
is that a real word… probably not but im tired so now it is i guess
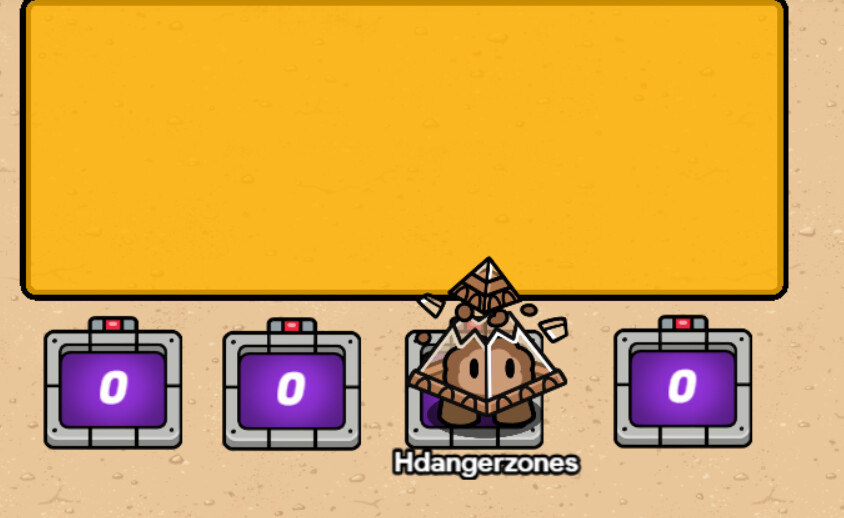
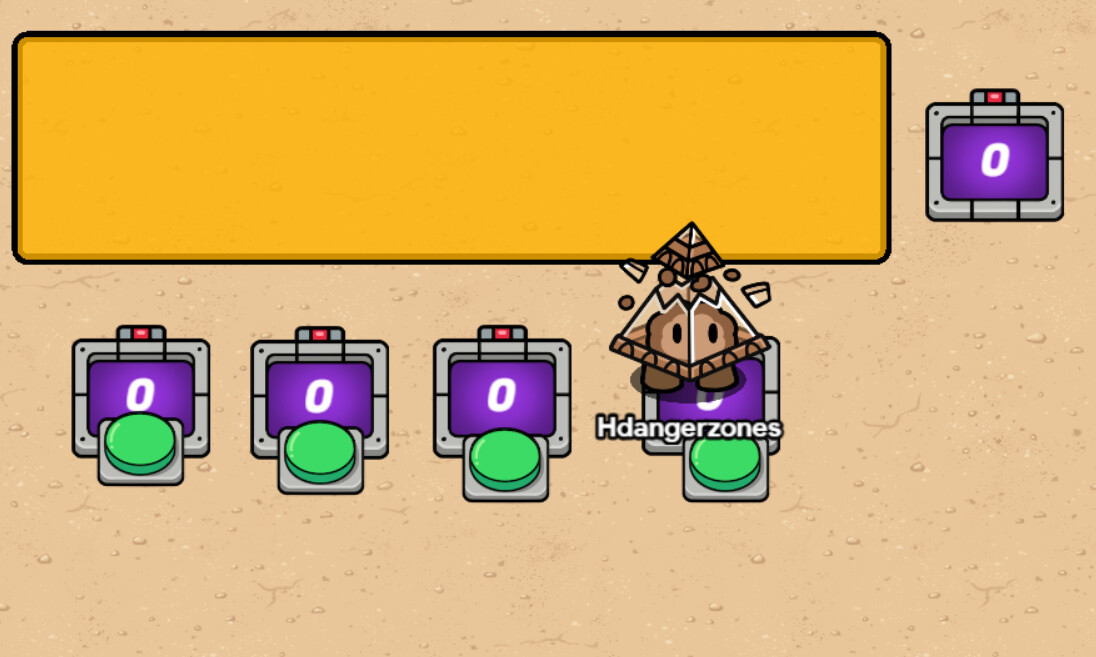
It looks like this in-game
If This is What you're looking for
You will need:
4 buttons (I made them invisible, but they can be visible if you want them to be)
5 counters
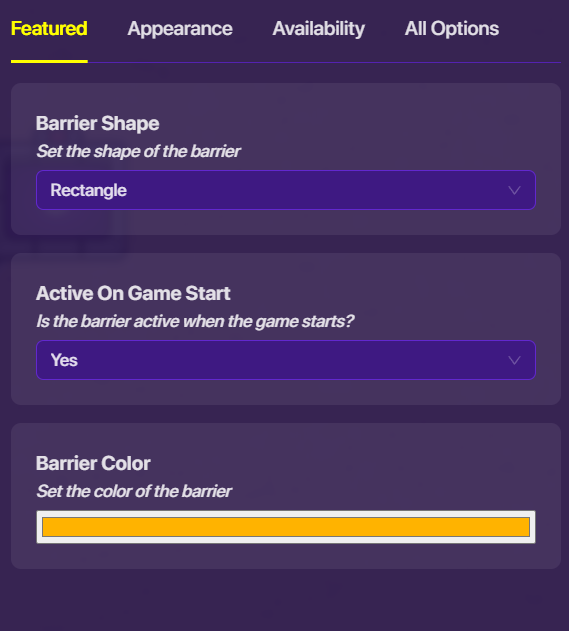
And a barrier
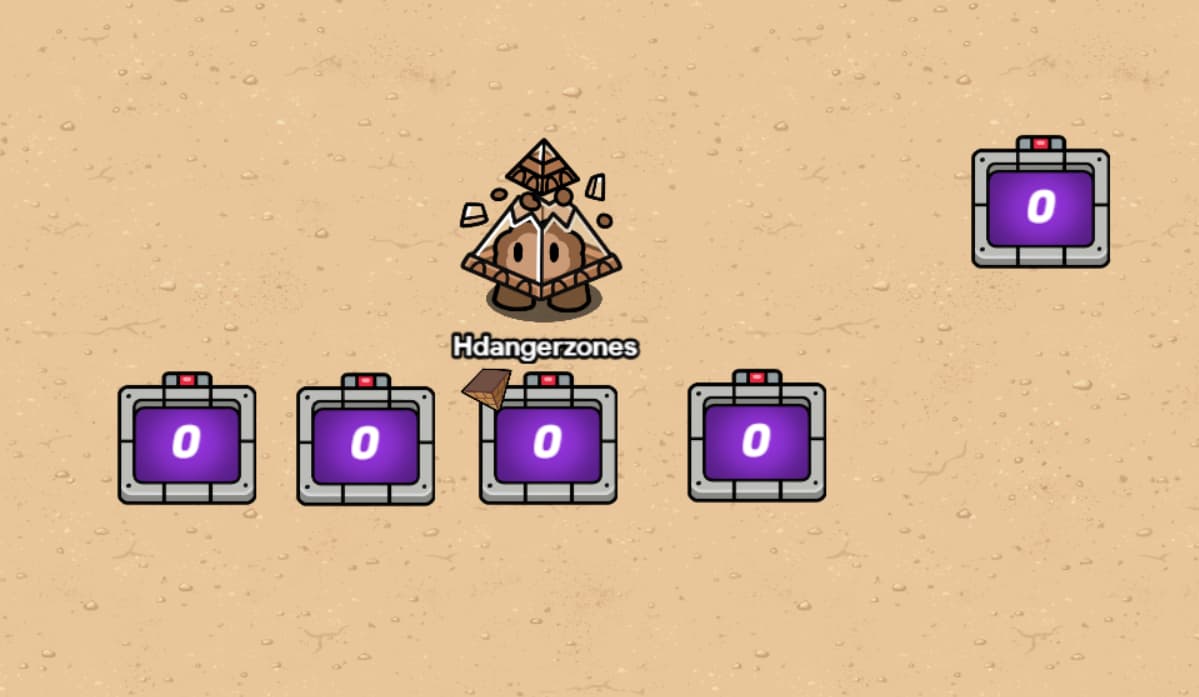
Setting up the counters
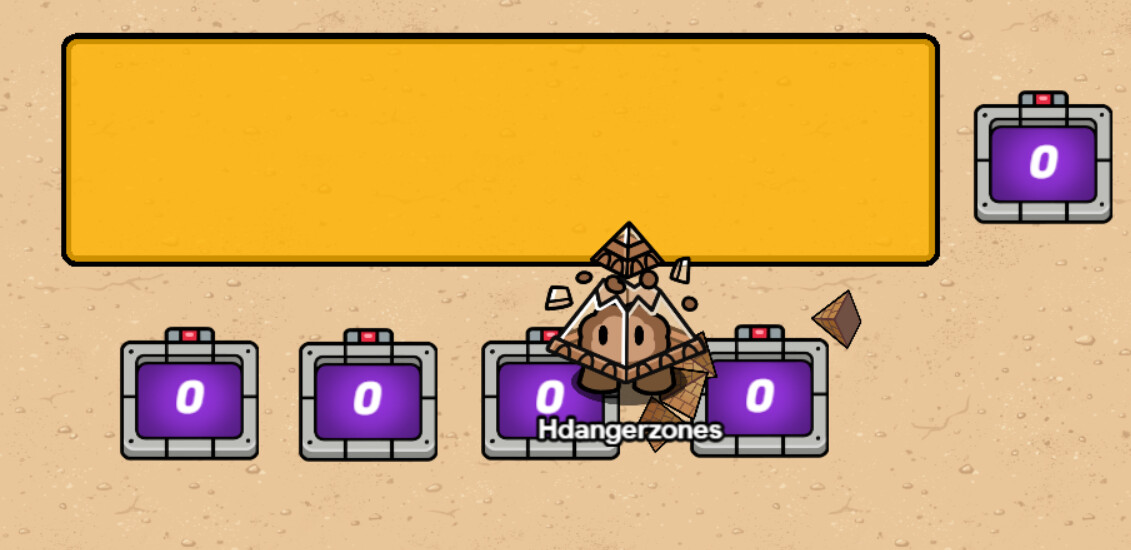
Place 4 of them below the barrier. You can use the grid snap setting to make them line up precisely if you want to. Place the fifth one to the side, and MAKE IT INVISIBLE!!!
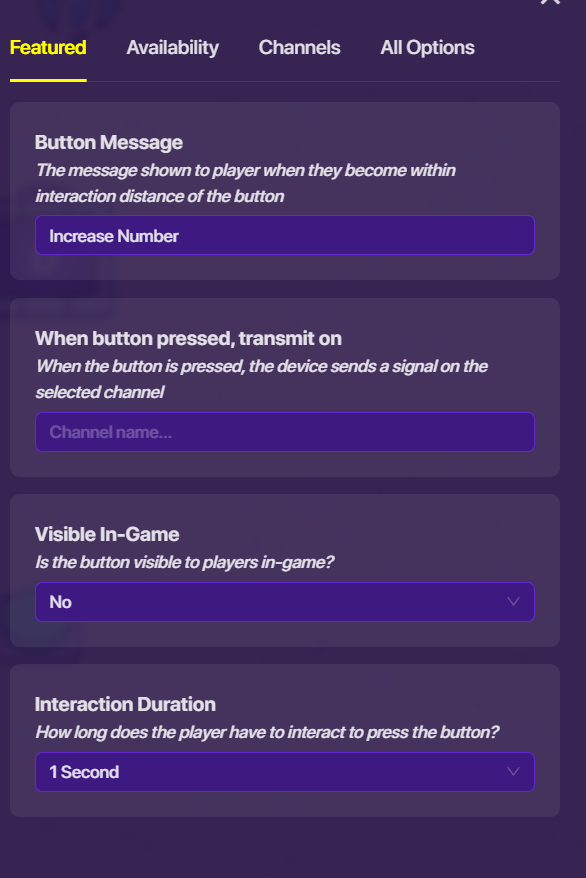
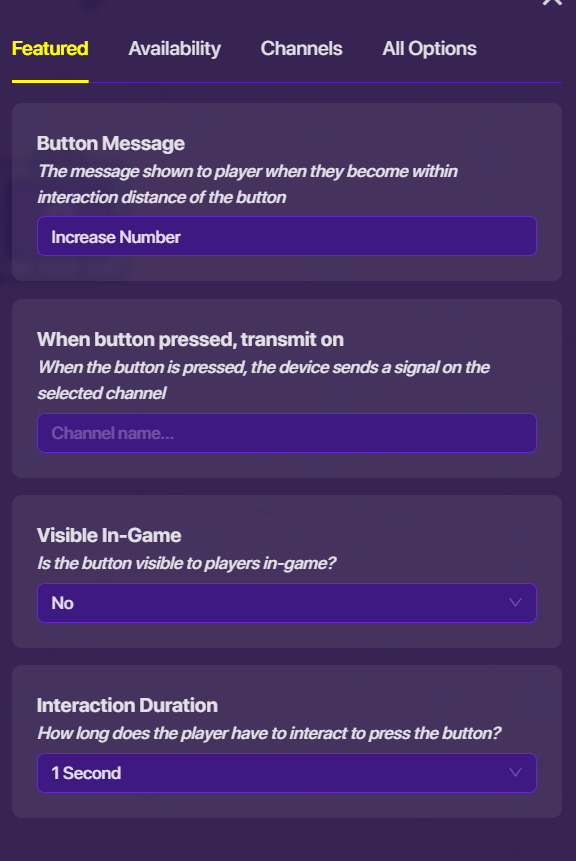
Set each button down on top of each counter. (It doesn’t have to be right on top, but close to each counter). I made mine invisible, but they can be visible if you want them to be. The button settings are:
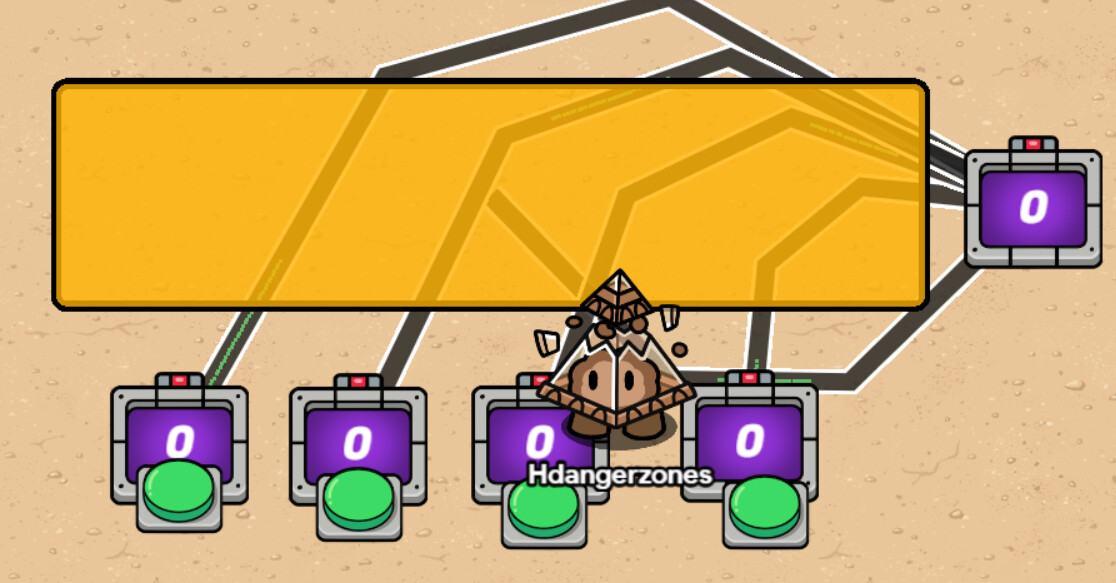
Wire each button to their respective counter (Button pressed > increment counter).
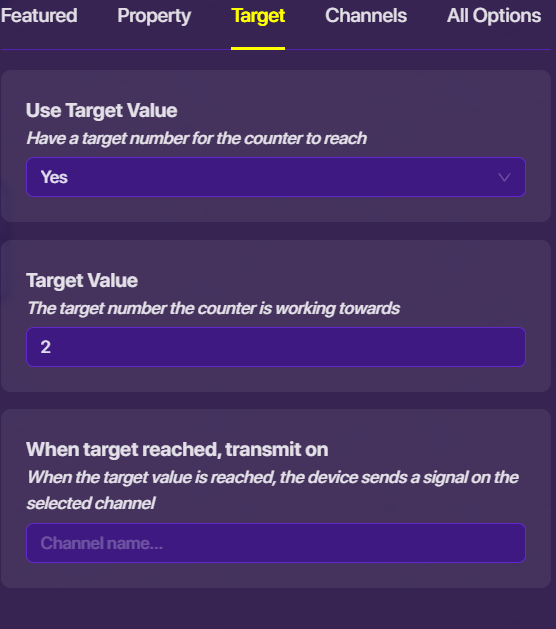
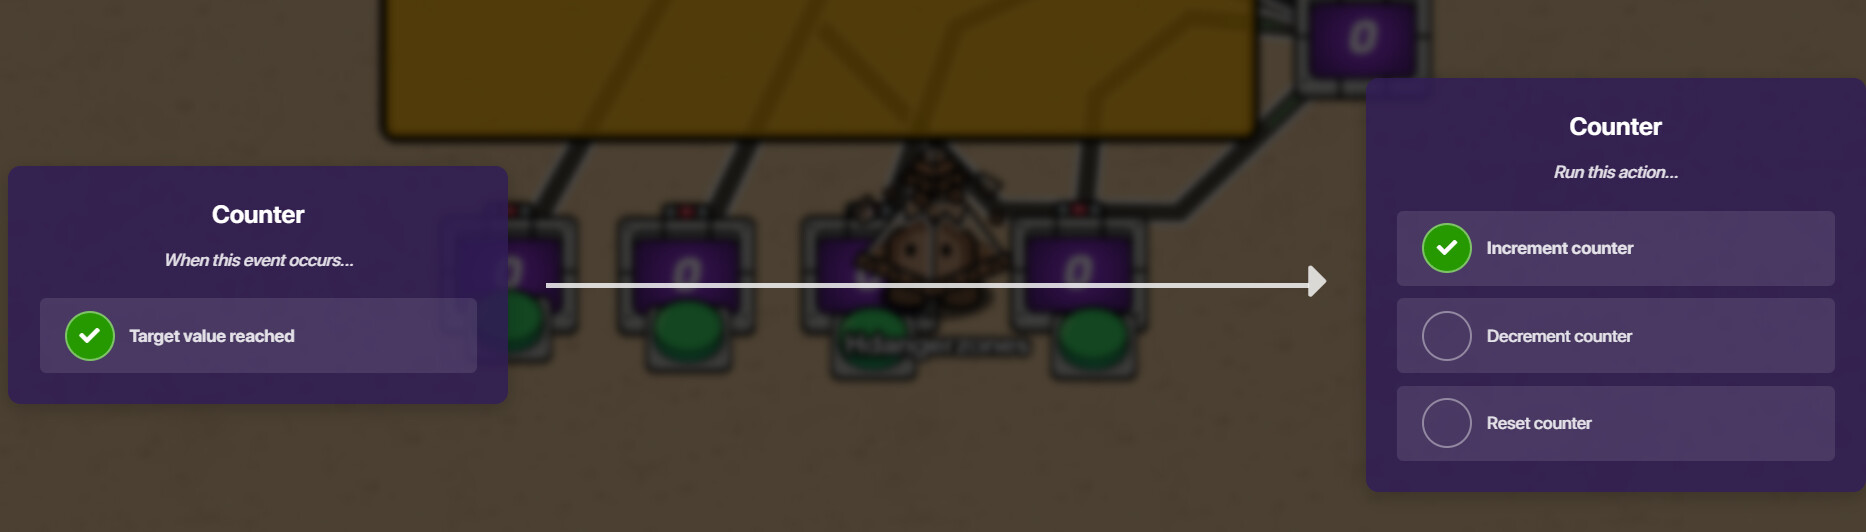
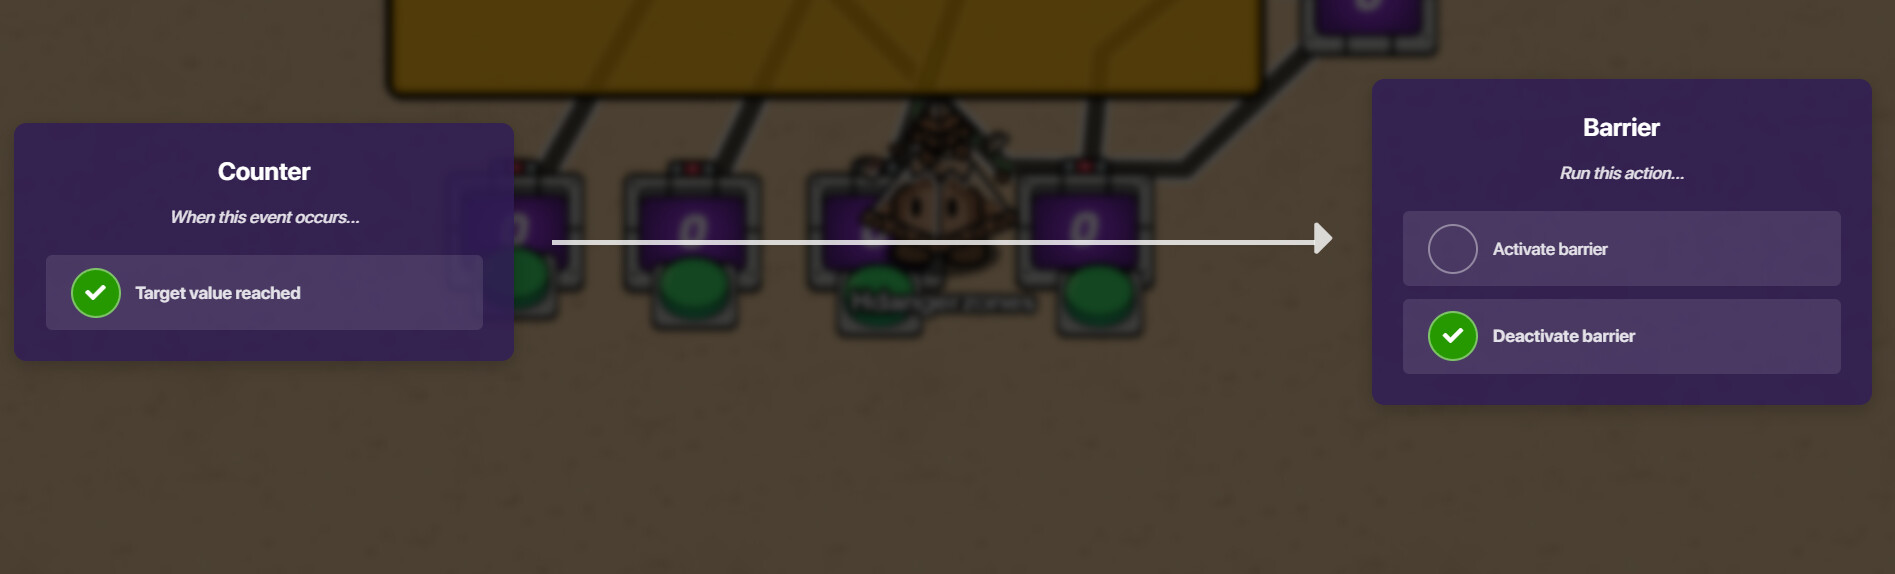
Now, last step! Wire each of the counters to the invisible one (Target value reached > increment counter). Finally, wire the counter to the barrier (target value reached > deactivate barrier)
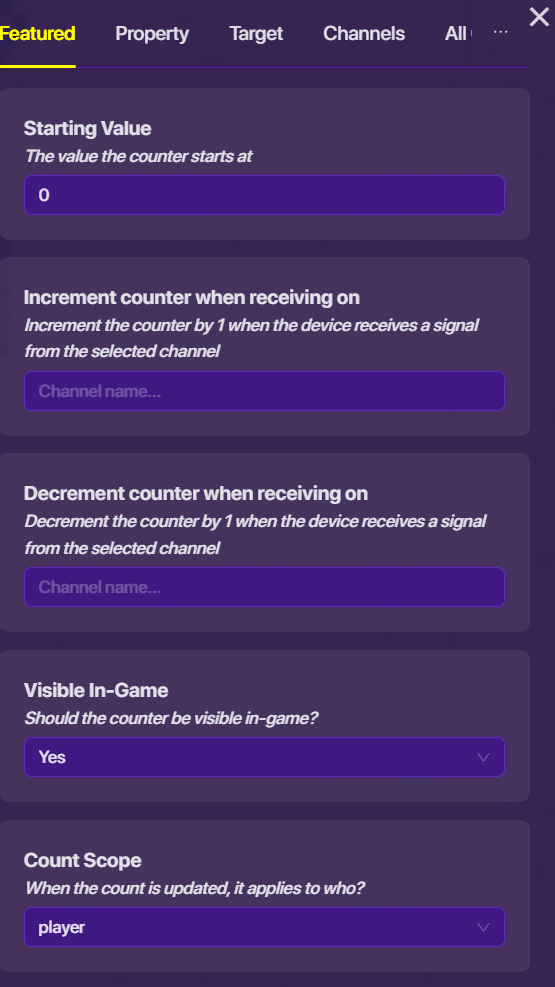
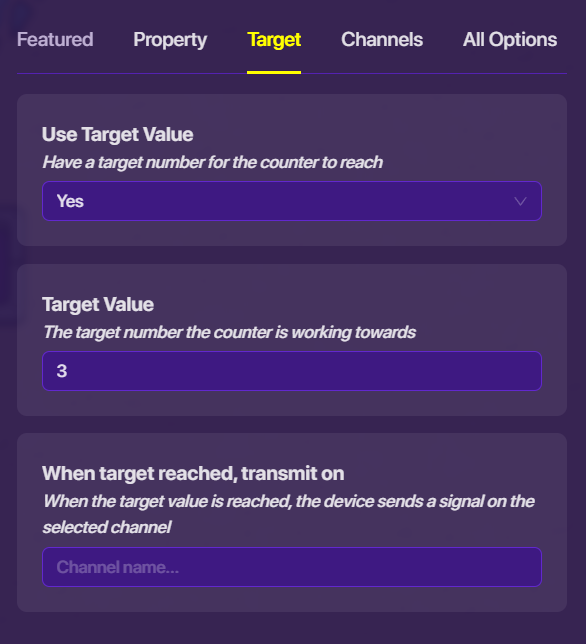
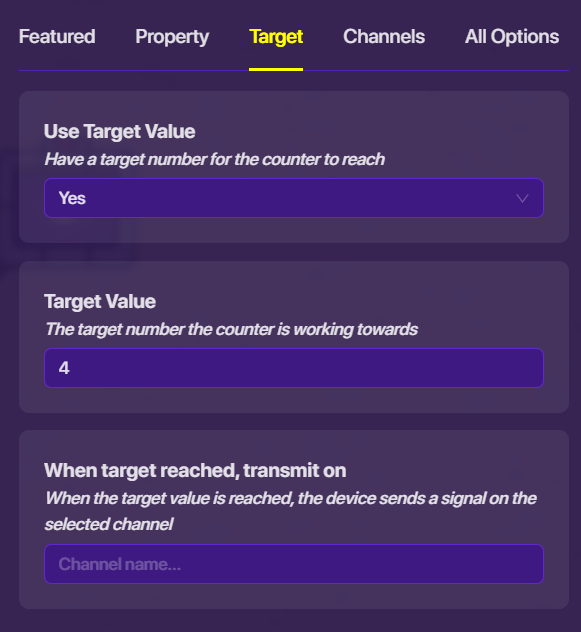
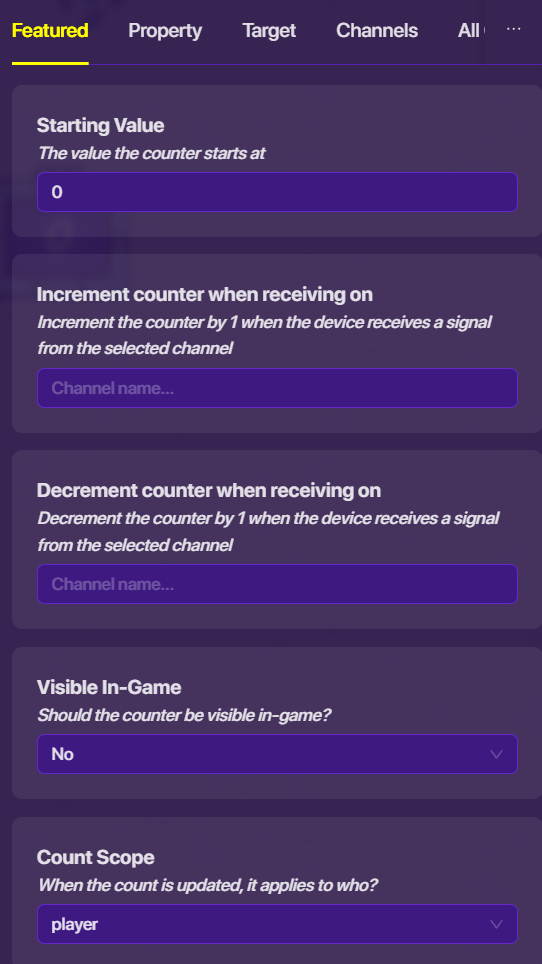
Eh, it doesn’t matter. Here are the settings for every device and wire there! Counters
Digit counters here. For my passcode I did “1234”, so the values are 1, 2, 3, and 4. General counter settings (ones that every digit counter will have)
You will need:
4 buttons (I made them invisible, but they can be visible if you want them to be)
5 counters
And a barrier
Setting up the counters
Place 4 of them below the barrier. You can use the grid snap setting to make them line up precisely if you want to. Place the fifth one to the side, and MAKE IT INVISIBLE!!!
Set each button down on top of each counter. (It doesn’t have to be right on top, but close to each counter). I made mine invisible, but they can be visible if you want them to be. The button settings are:
Wire each button to their respective counter (Button pressed > increment counter).
Now, last step! Wire each of the counters to the invisible one (Target value reached > increment counter). Finally, wire the counter to the barrier (target value reached > deactivate barrier)