This is my first art guide, so let’s see how it goes!
In this guide I will be showing you how to make an airplane in Gimkit Creative.
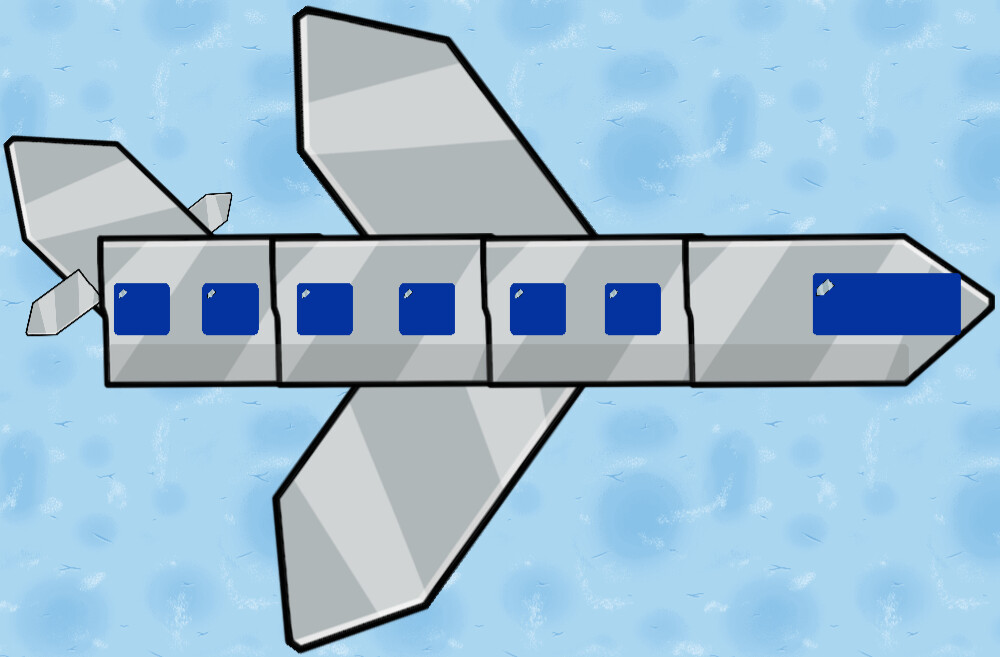
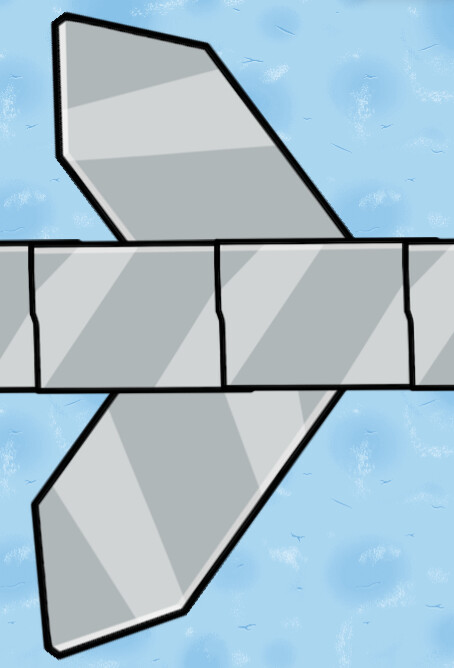
This is what the finished product will look like:
I will be using metal signs in this guide, though they look rather blocky. Barriers are generally much better in gimkit art as they are cleaner looking and can be adjusted easier, but the only reason I didn’t use them in this guide is because barriers can’t be rotated, meaning no triangles with barriers. Making an airplane requires triangles, and rotating stuff, ruling out barriers (insert sad face here).
Anyway, lets get started!
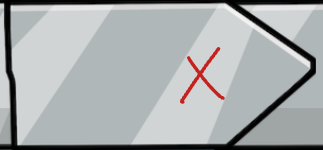
Starting with the head of the airplane, we’ll use this metal sign:
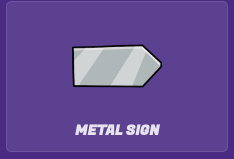
Place it down, and adjust the size to your airplane desires.
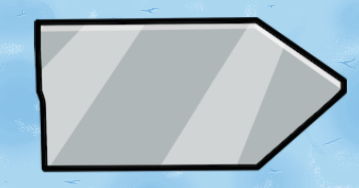
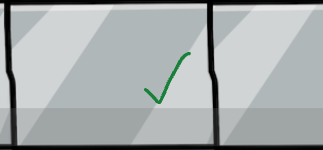
To make the body of the airplane, I’ll actually continue using this metal sign. Why, when they’re going to be rectangles anyway? Because this metal sign doesn’t have the bolts like the rectangular ones do, and I prefer it without the bolts.
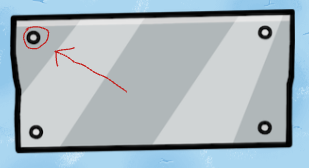
Yup, those are the bolts.
Just remember when placing down the metal signs for the body, that they are lower than the one before it, so the triangles at the front don’t show.
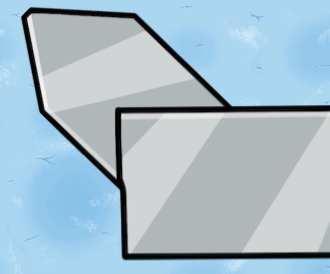
Alright, once you’ve finished copying and pasting the body of your airplane, it’s time for the tail. Copy one of the metal signs, and rotate it to the angle that you want for the tail. Make sure it’s below the last metal sign for the body.
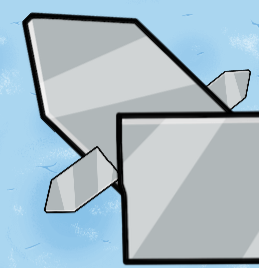
You can leave it at that for the tail but I added two more smaller metal signs to the little wing things below the tail. Don’t know what they are called, but they’re on airplanes.
Now that we’re finished with the tail, it’s time for the wings. Copy, you guessed it, another metal sign, and rotate it. Make both of them below the body of the airplane.
Here’s what it should be looking like:
Now we’ll add windows. For windows I will be using blue barriers, and you can use whatever transparency level you want.
Also for the little shine in the corner I used a really small metal sign.
Copy and paste those over the plane.

Now you should basically be done, but one last thing I added was a little shadow on the bottom of the plane. Just adds an extra little touch. It’s a long barrier that’s this color:
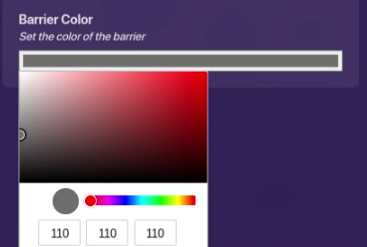
And is at 25 transparency.
Now you should be finished with your airplane in Gimkit Creative! Honestly I think from now I might stick to device guides because art in Gimkit is not my strong suit, but if you enjoyed this guide a