Introduction
In this guide I will show you how to make a good-looking starting line with a timed activation and an animated go-light for all your race-type gamemode needs.
Part 1: The Starting Line
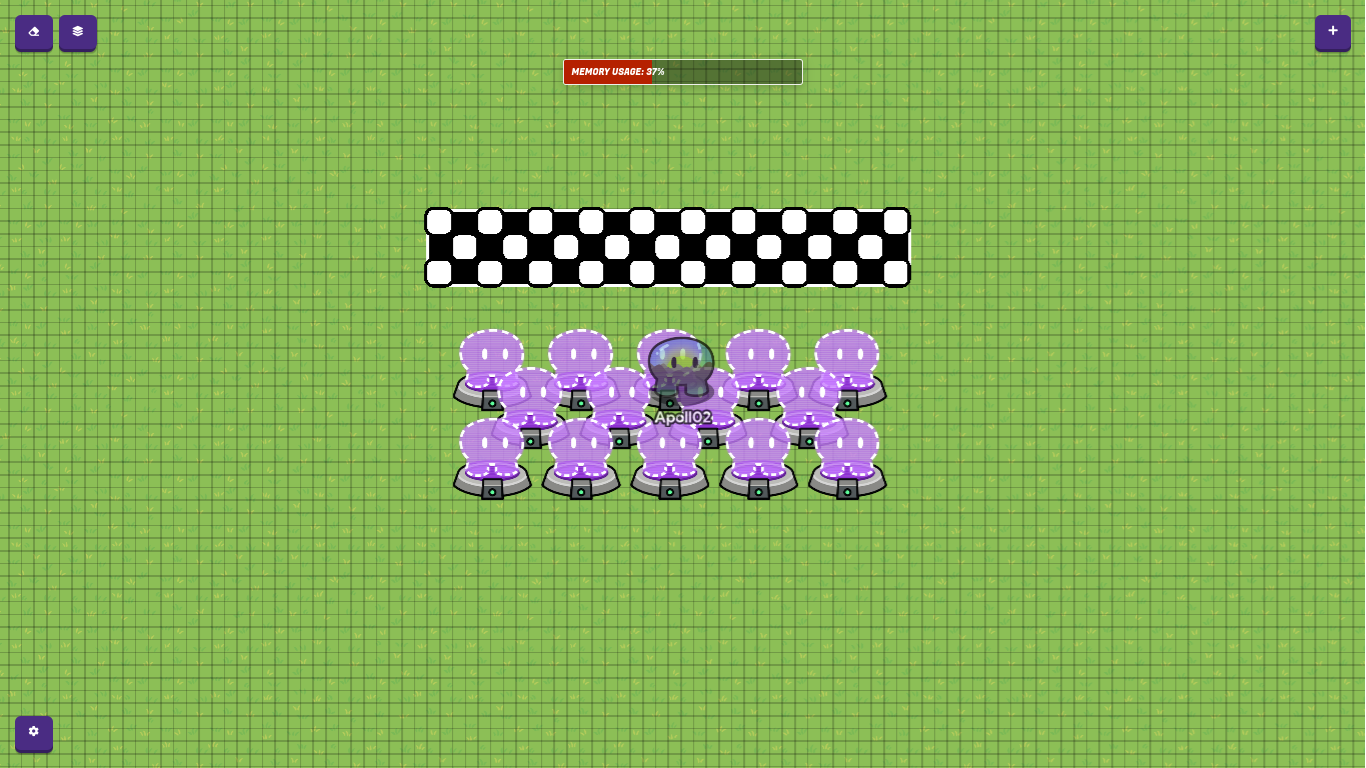
- Make sure grid snap is on and set to 16, then place spawn pads like so:

Keep in mind that this can be adjusted to suit the needs of the map it is implemented in.
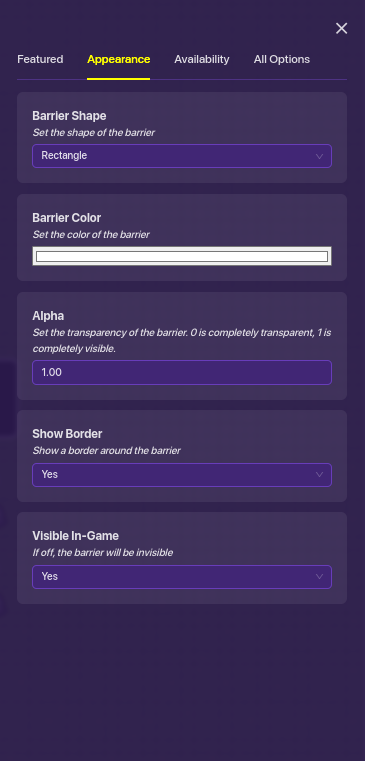
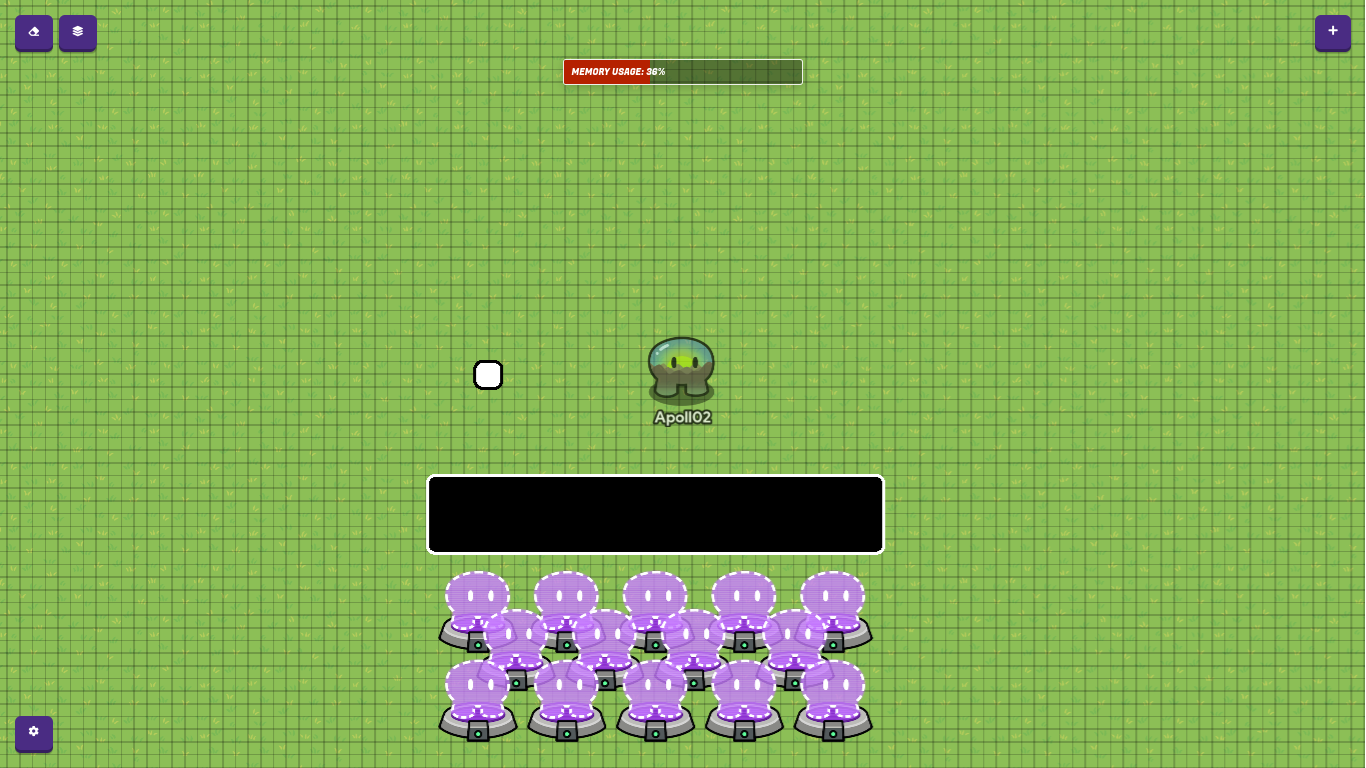
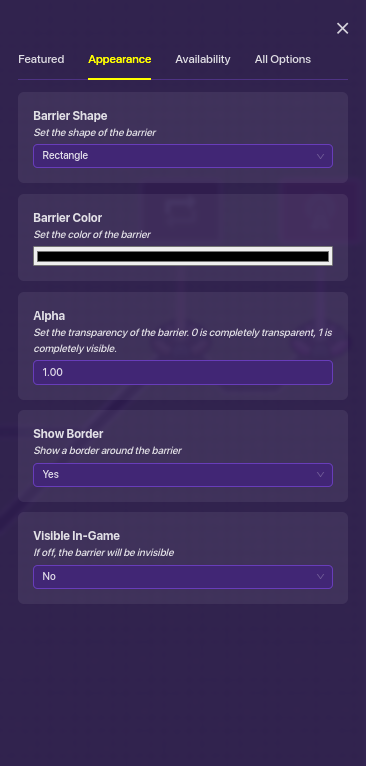
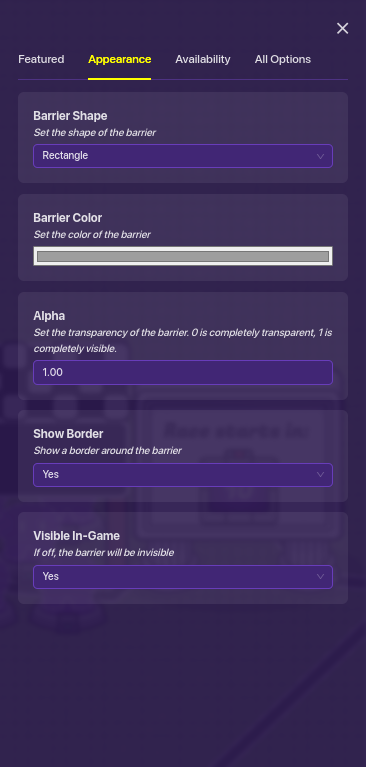
- Make a barrier and change the appearance setting to match this:
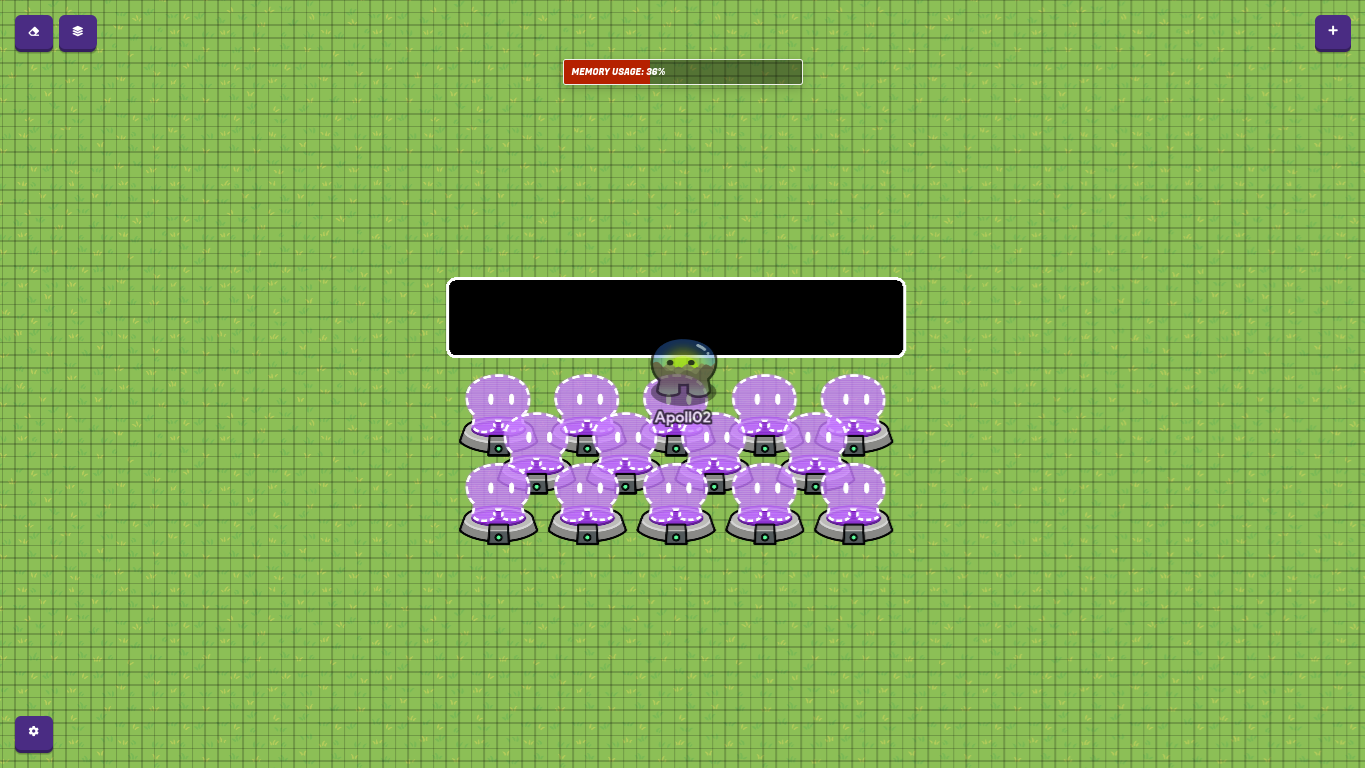
Make sure collision is off. Then adjust the size of the barrier to be slightly larger than the edges of the spawn pads. Your product should now look something like this:
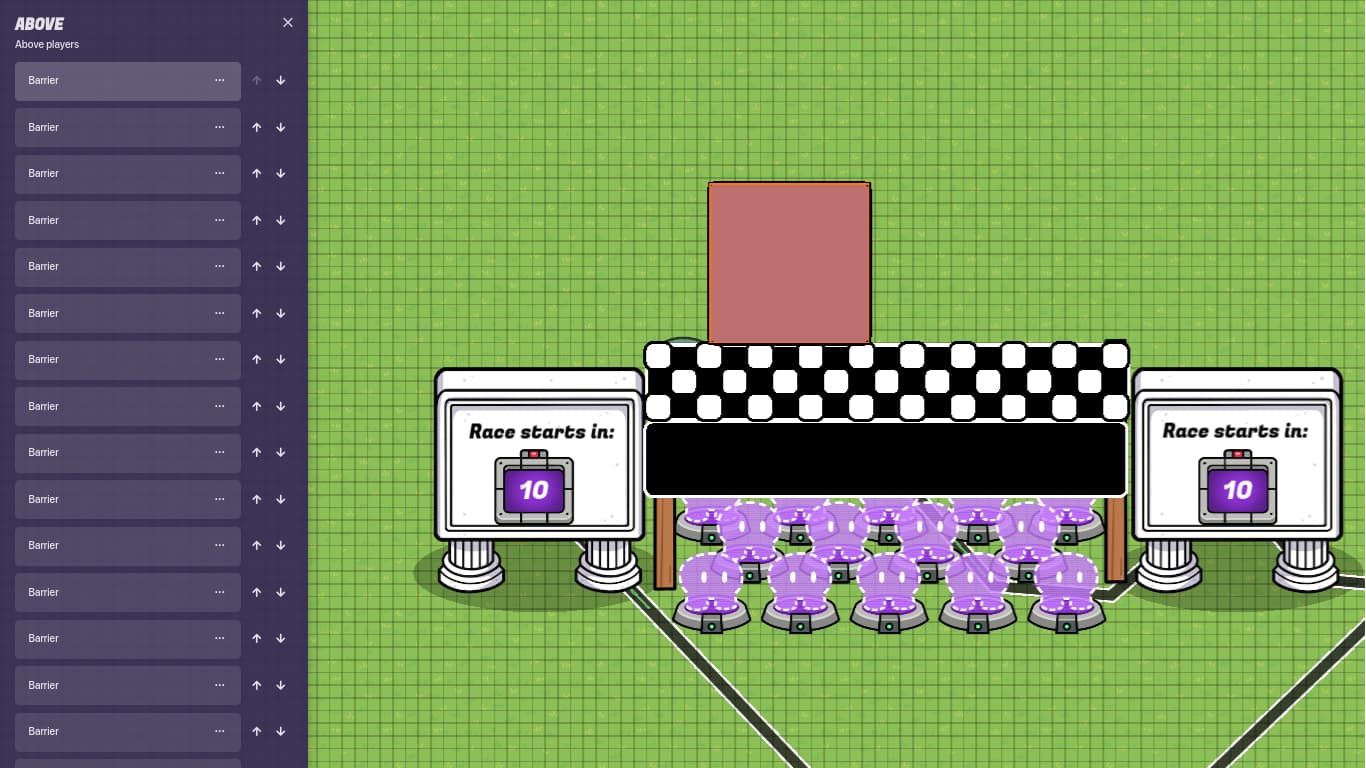
- In layers, make sure your barrier is set to above layer like so:
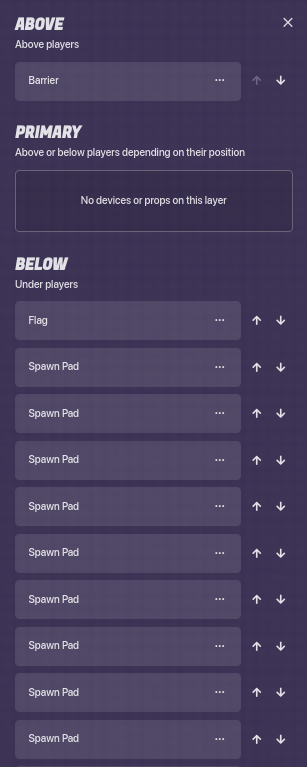
You can do this by opening the layers menu, scrolling down until you find the barrier, pressing the three dots, and selecting “Move to Above Layer.”
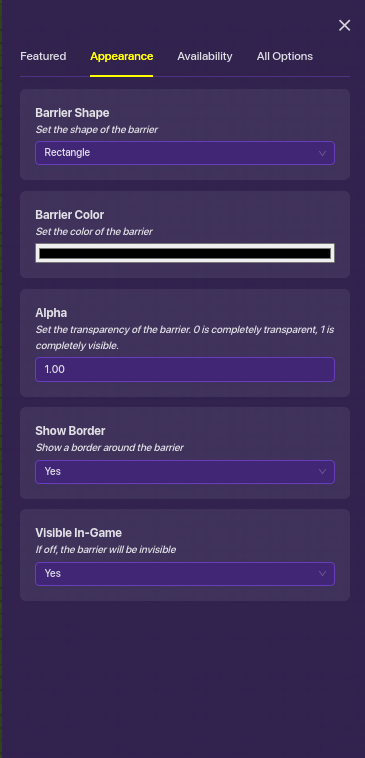
- Make a second barrier and configure the settings like this:
- Next click on the barrier and select “Change Size.” Drag it to reach its smallest possible size. For reference, it should be this size:
Check again to make sure collision is off.
- Open layers and move the white barrier above the black:
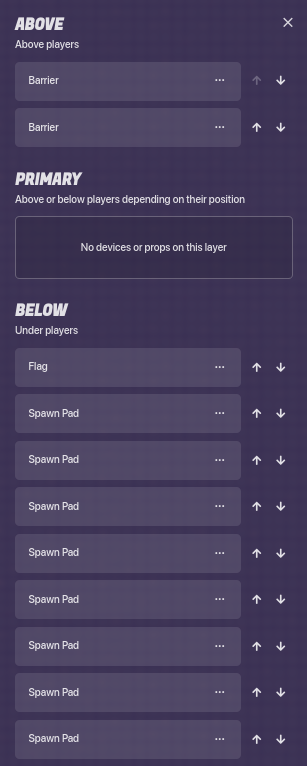
- Position the white barrier above the top left corner of the black one as shown. You may need to adjust your grid snap settings.
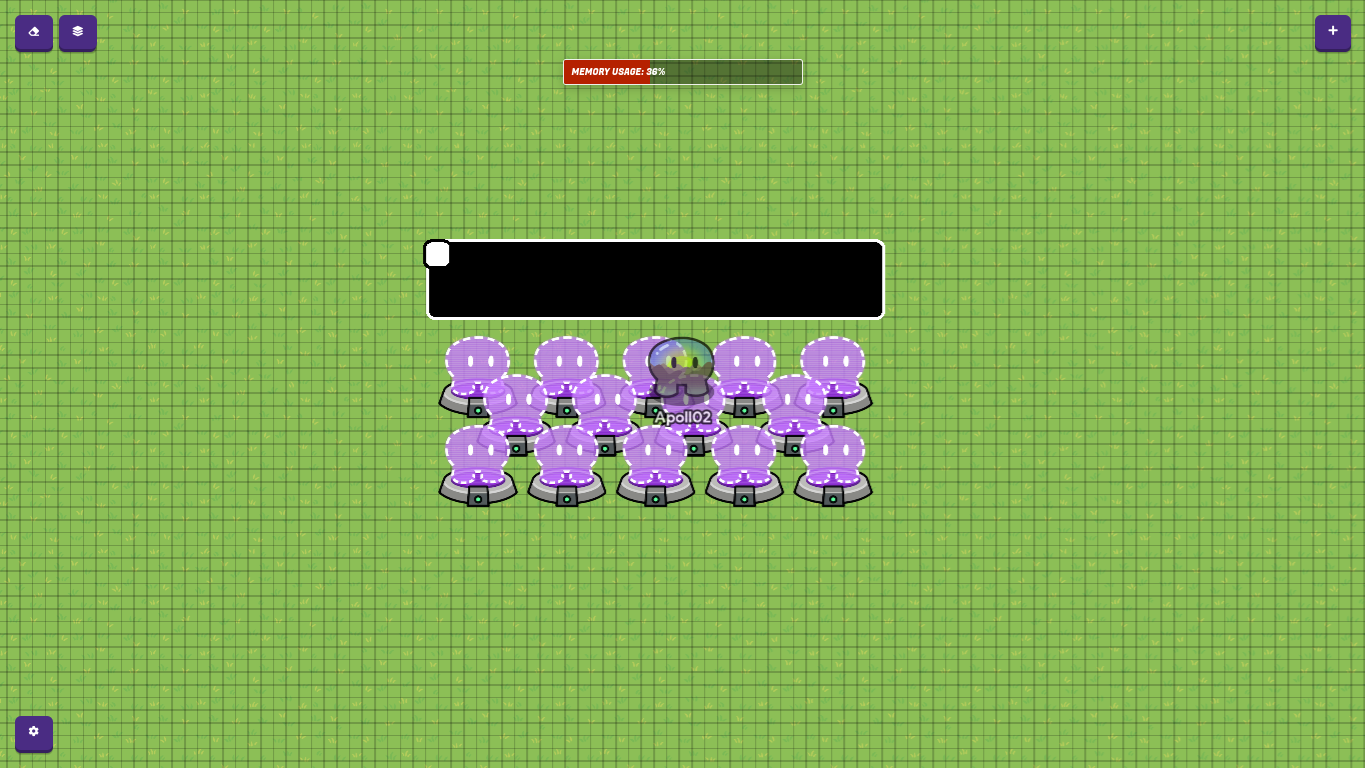
- Make a copy of the white barrier by hovering over it and pressing “c.” Move the copy to the bottom left corner of the black barrier. Make a second copy and move it up and to the right so it touches only the corners of the other white barriers. Your pattern should look like this:
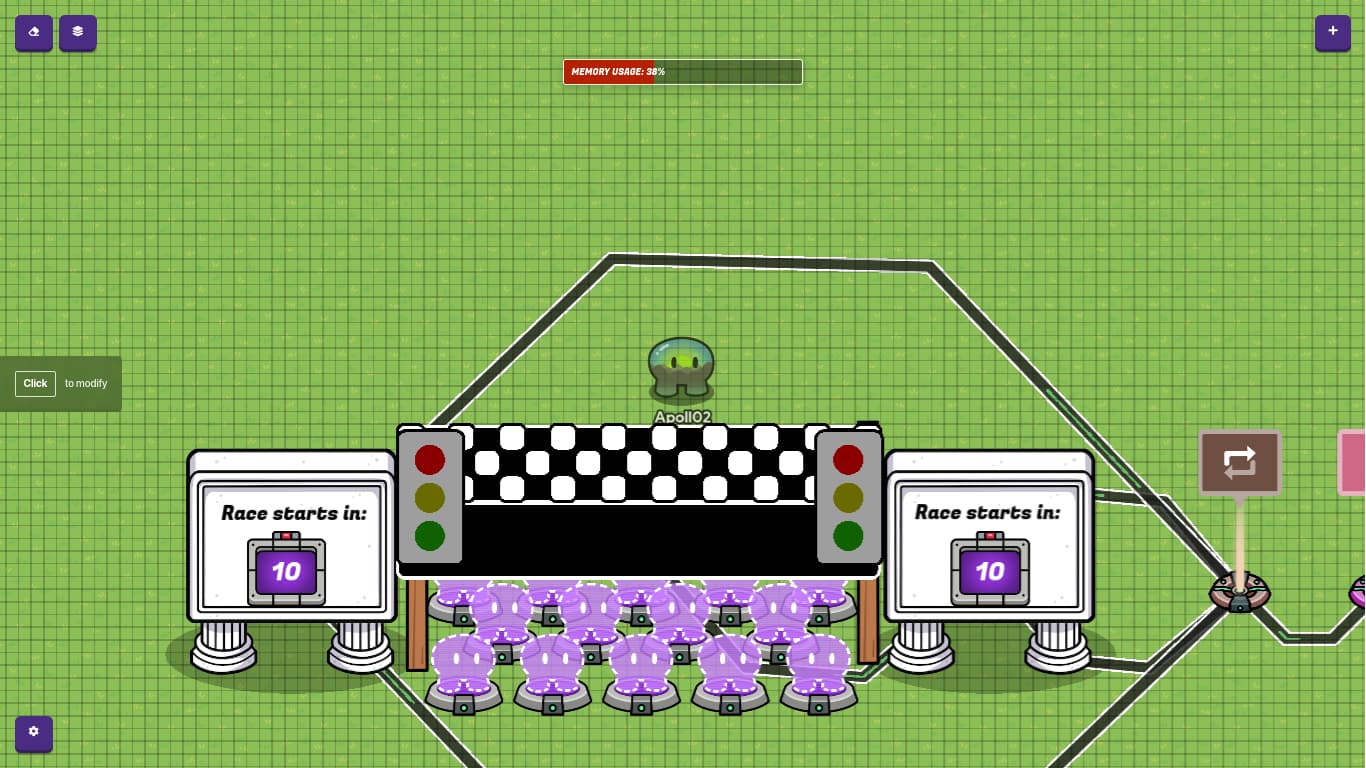
- Repeat this pattern all the way across until the whole thing is a black and white checkerboard. Reposition as necessary.
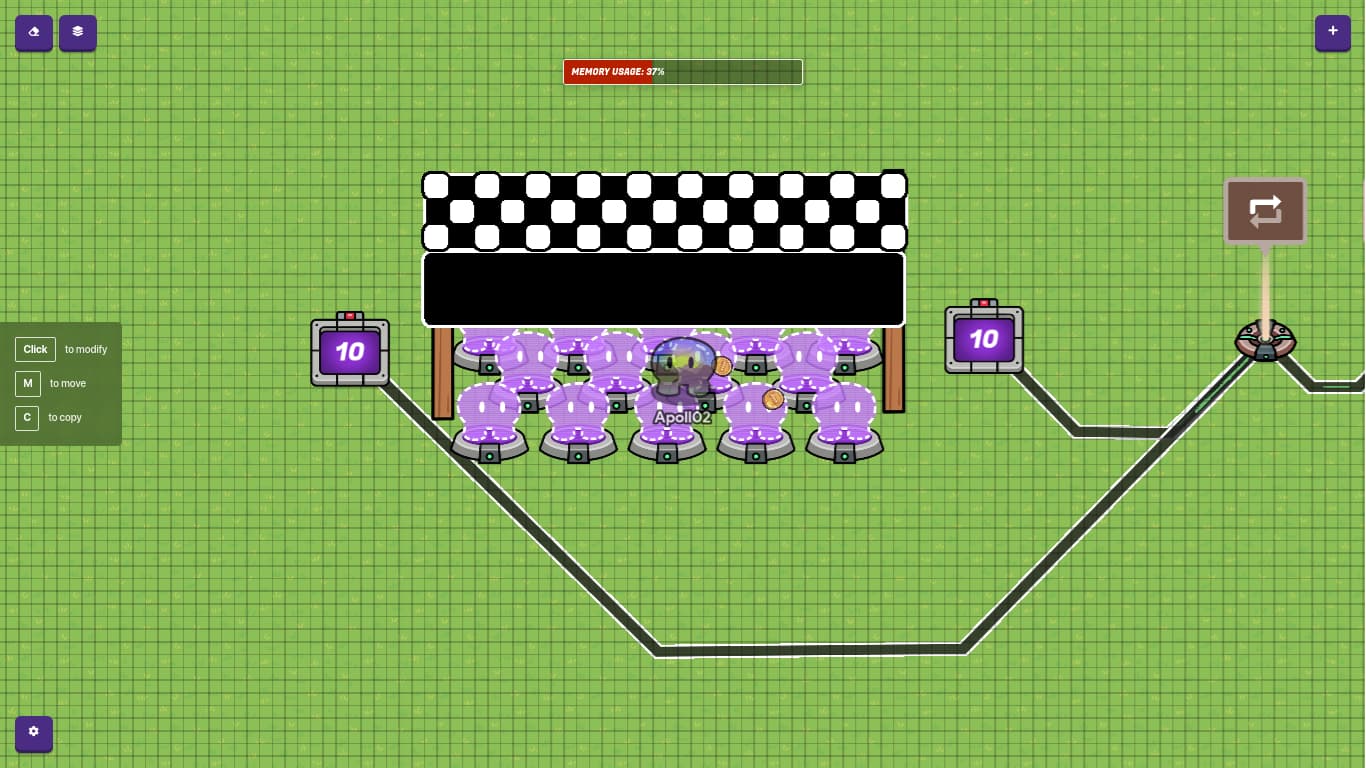
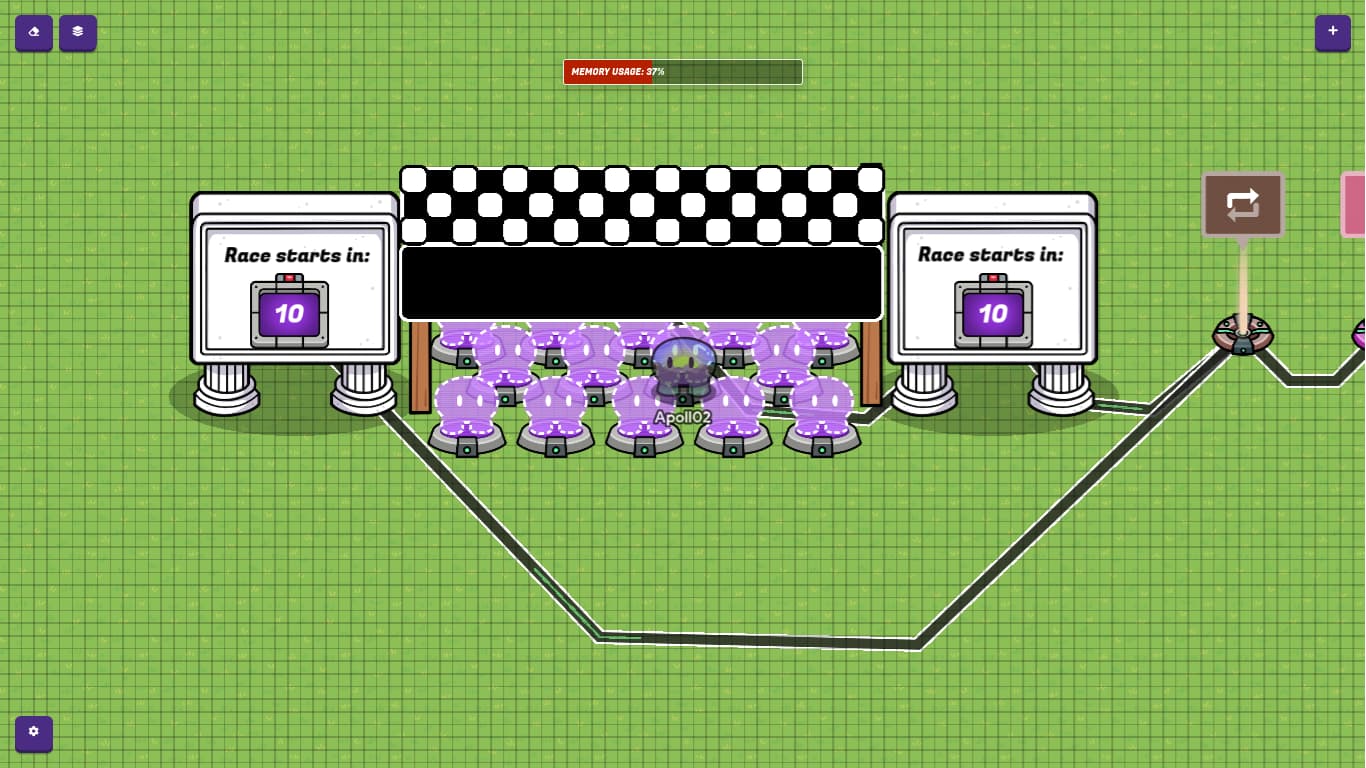
Note: you may need to adjust the size of the black barrier to make a seamless right edge. It should now look like this:
- Next add two medium dark wood poles to either side and adjust their size as necessary.
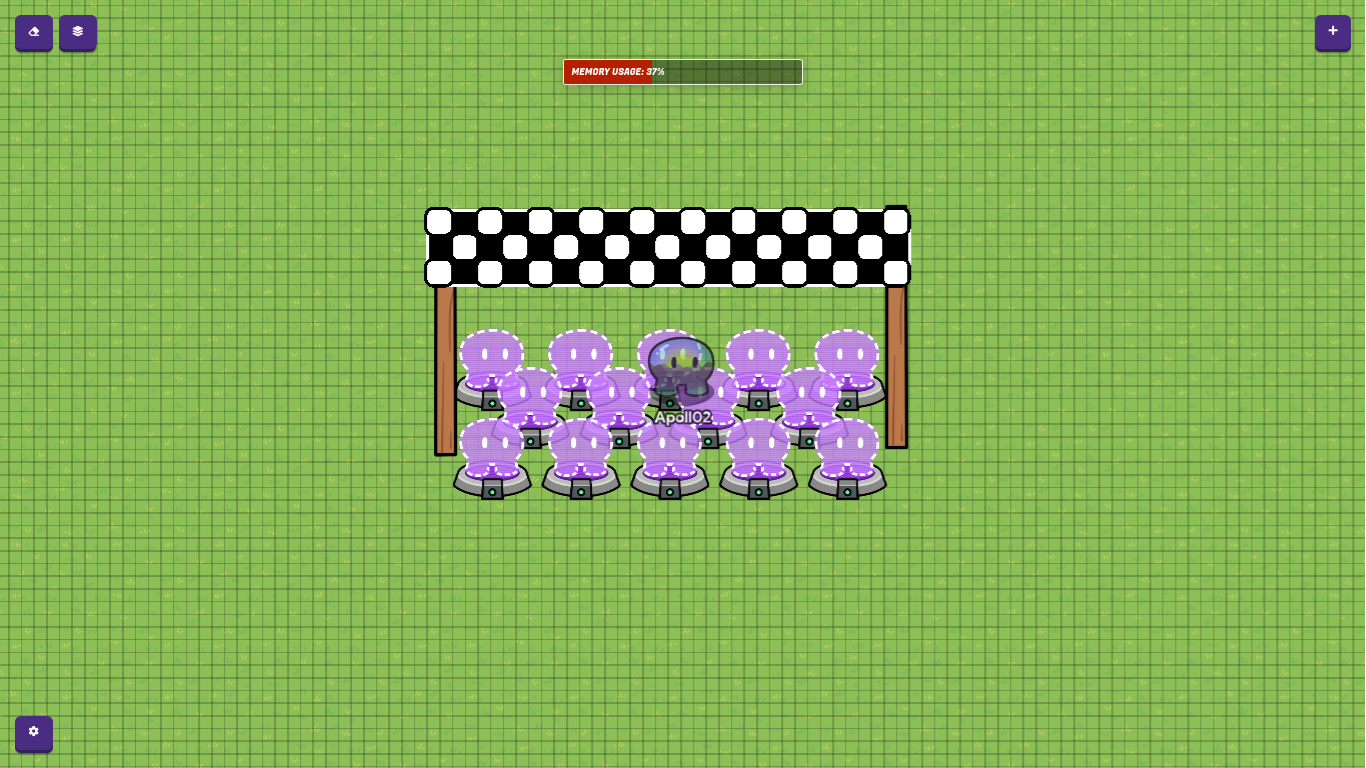
And that is all for part 1! You can leave it as it is, or, for a timed start, continue to part 2.
Part 2: The Countdown Timer
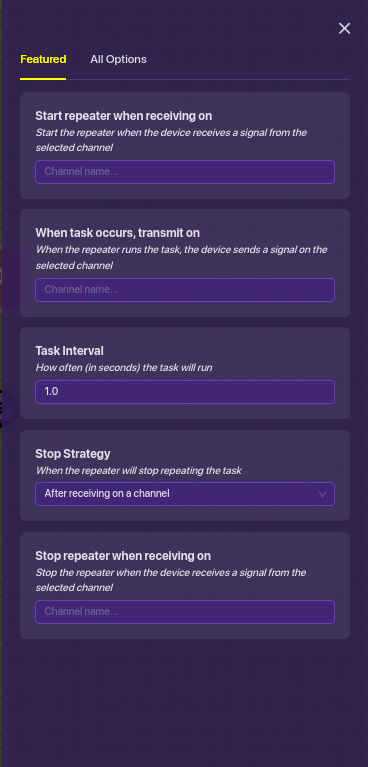
- To the right of the starting line, place a life cycle and a repeater, and set the repeater up like this:
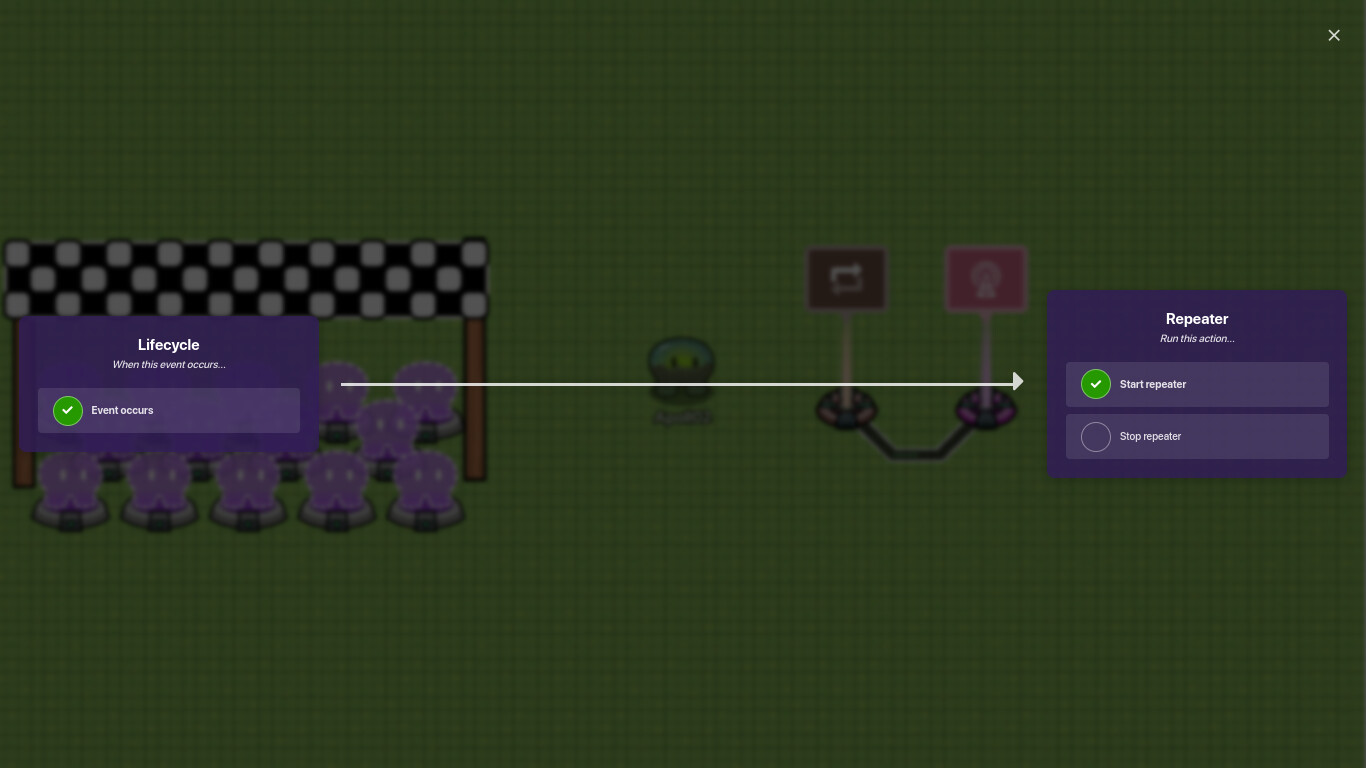
- Then, wire the life cycle to the repeater like so:
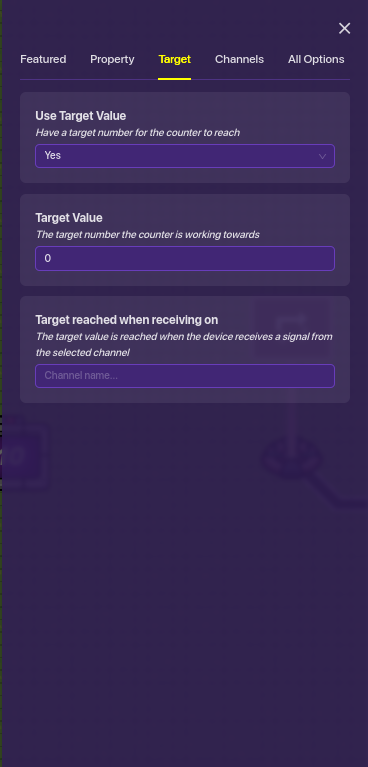
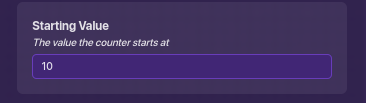
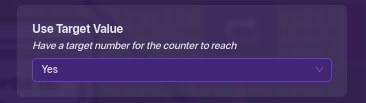
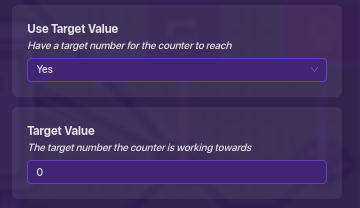
- Place down counters on either side of the line and set their starting values to 10. Then adjust their target settings to match:
- Wire the repeater to the counters like so:
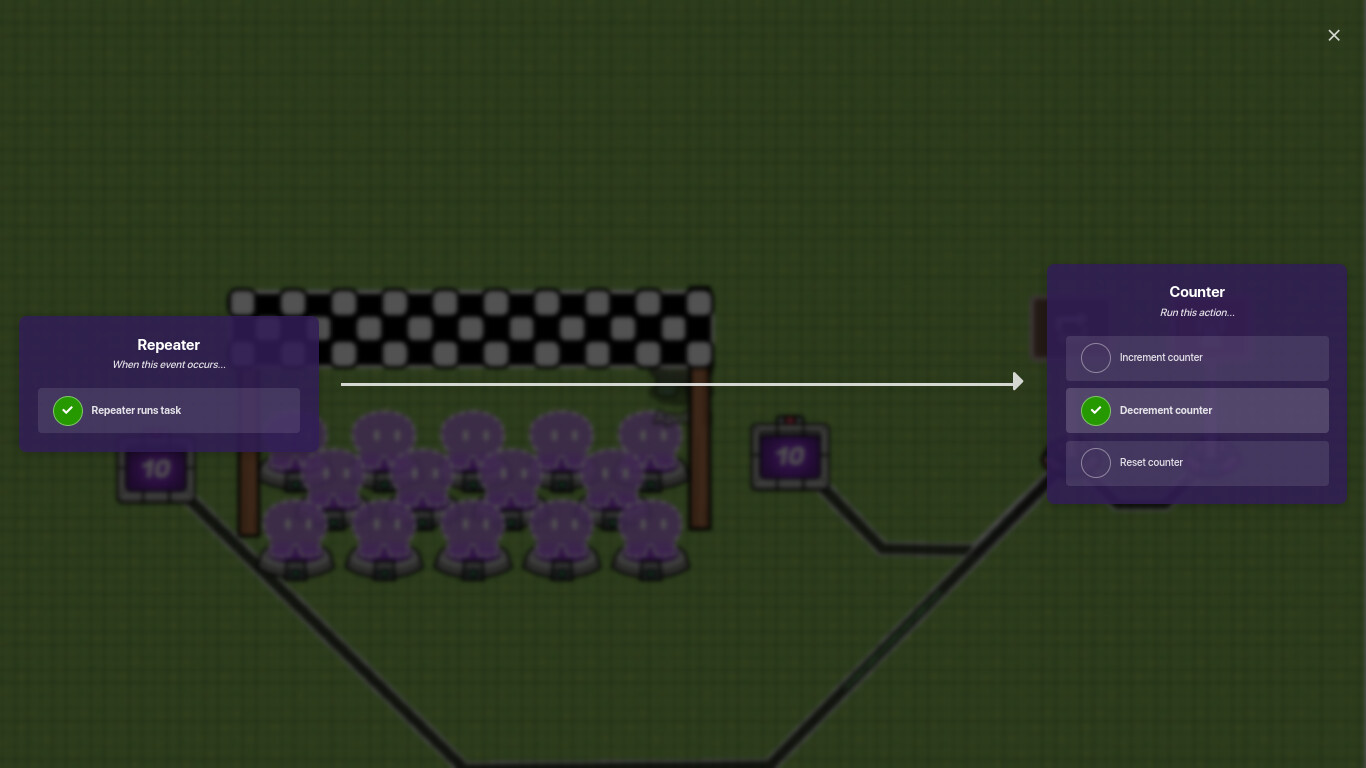
You also need to wire the counter to the repeater so that it says: “Target value reached → Stop repeater.”
- Make a copy of the black barrier, and position it directly under the banner. Then in settings, configure “Visible In-Game” to “no.” You will need to make sure that the spawn pads are not so far into the barrier that the player spawns inside of it.
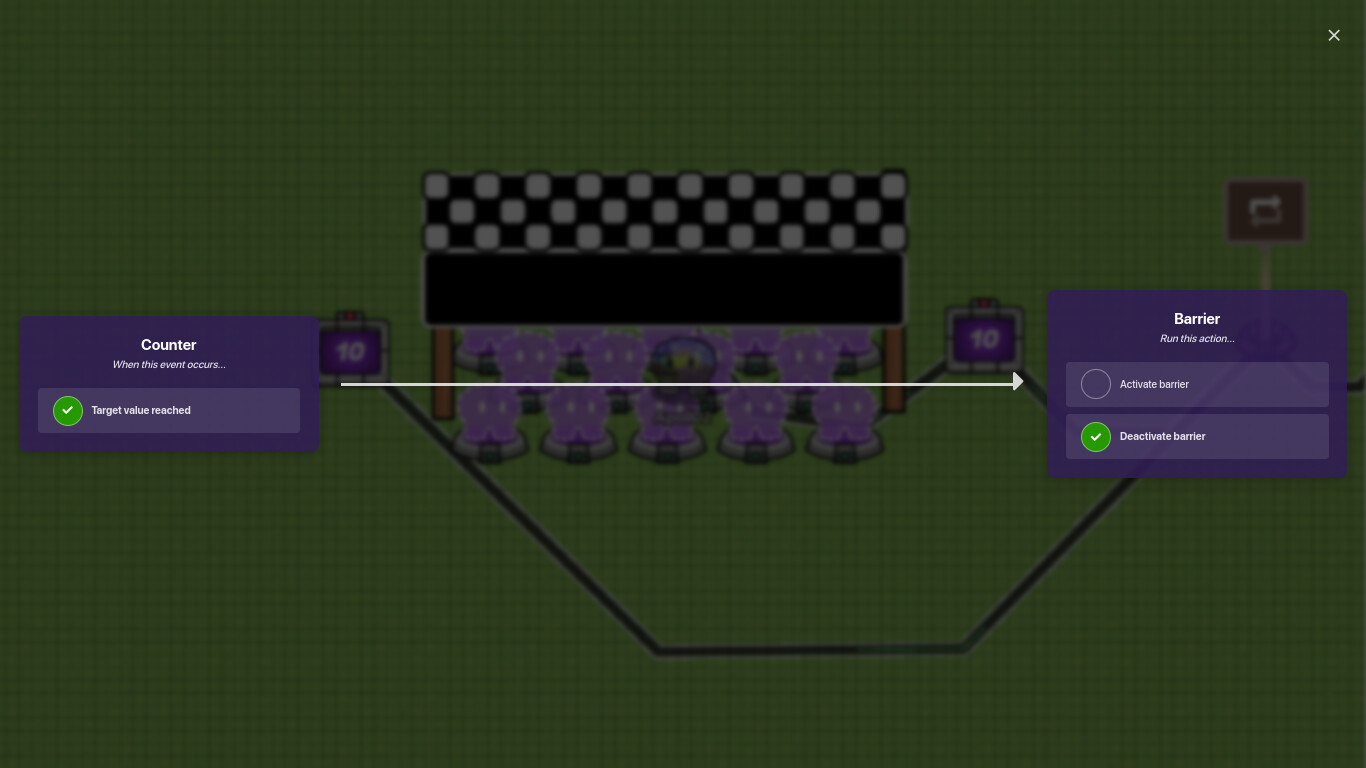
- Hit “z” and run a wire from the right counter to the bottom black barrier. Select “Target value reached” and change to “Deactivate barrier”.
- Add two marble signs and place them behind the counters. Increase the size of the signs until they are centered and the top of the counter is about half way up the sign. You may need to adjust layers to make sure the counters are visible in front of the signs.

- Add two text devices and center them on each sign above the counters. Set the size to 30 and add the text: “Race Starts In:”. You can change the font to whatever you like. I prefer the Gimkit font, Fugaz One, and if that’s the one you choose, you’ll need to adjust the size to 25. Once again, you may need to adjust layers.
Part 3: The Go-Light
This part is really just for fun and decoration, and is entirely optional in the finished build.
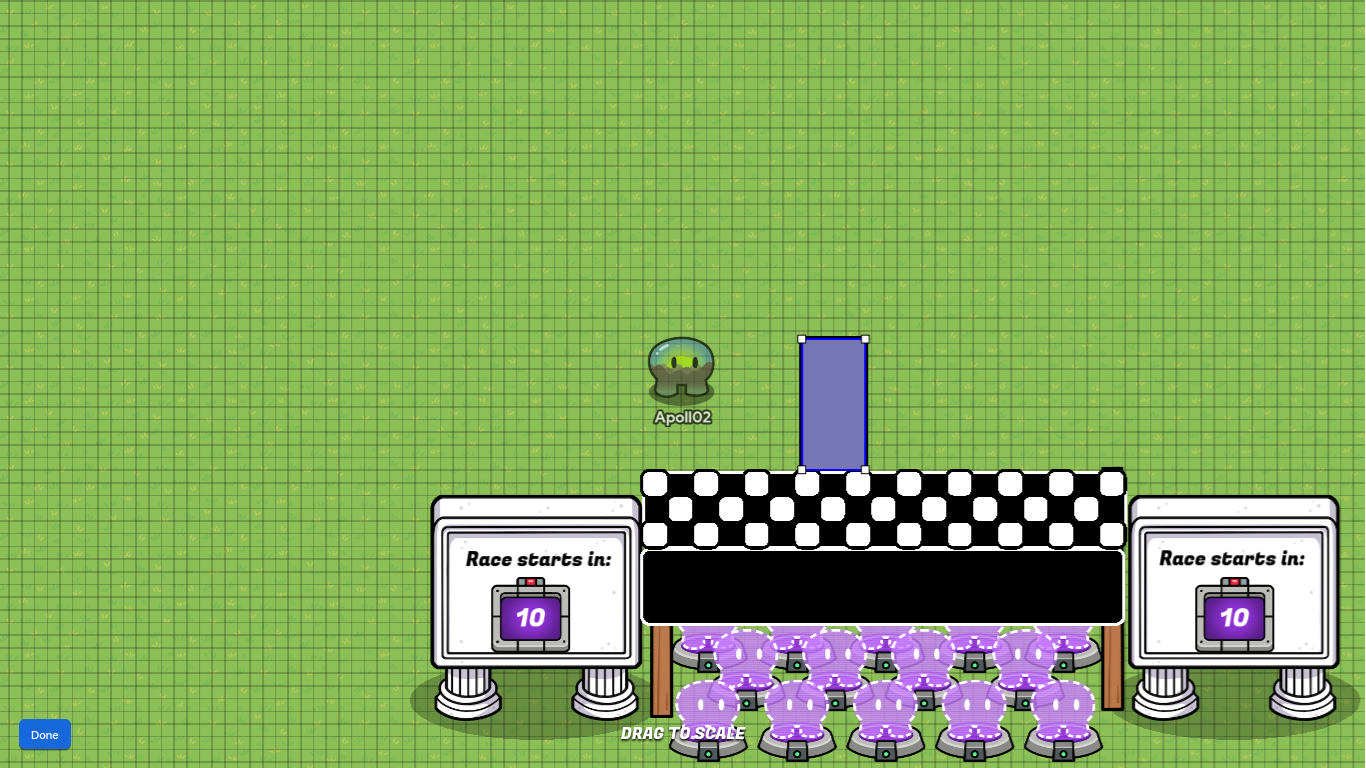
- First add a barrier and turn collision enabled to “no.” Adjust the appearance setting to look like this:
- Move it to the top in layers, then calibrate the size to make it a vertical rectangle of your enlargement choice.
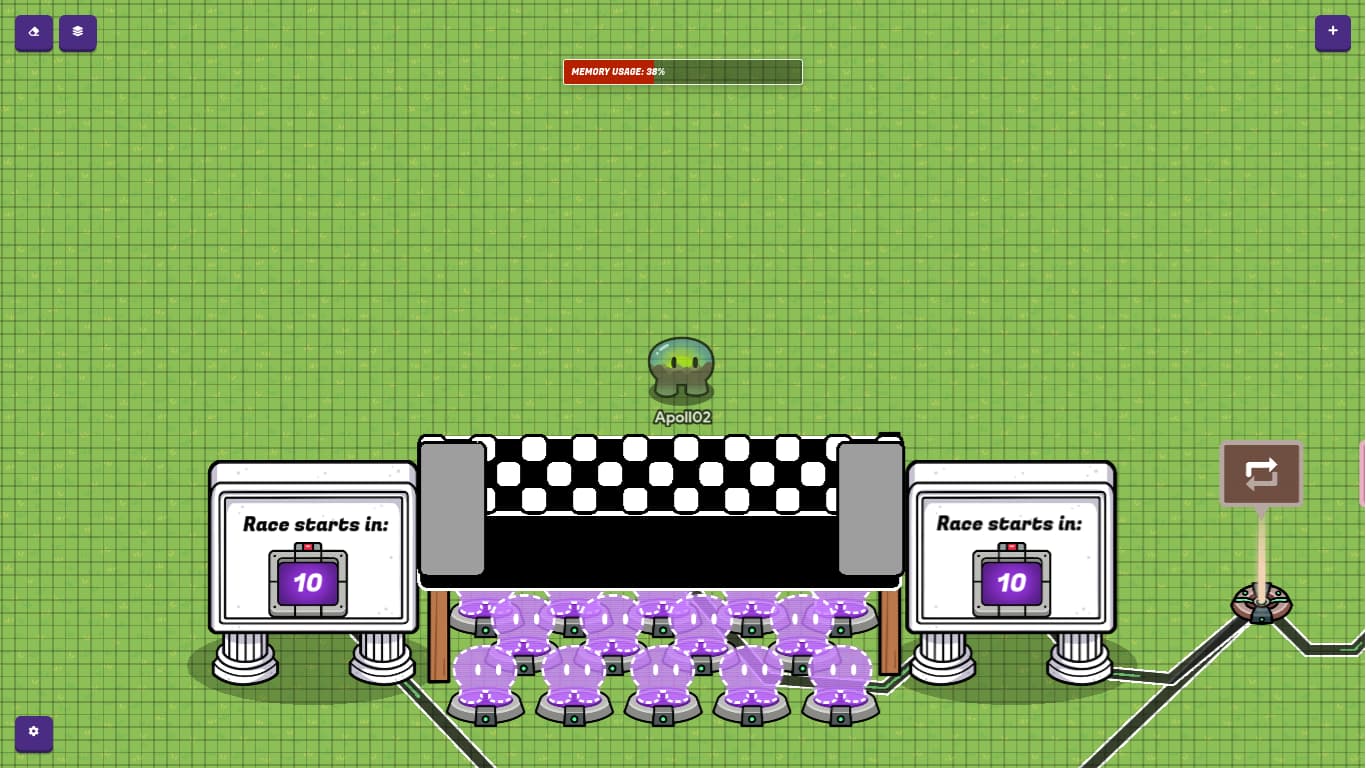
- Position it as you desire, and if you want, you can make a copy to have two of them.
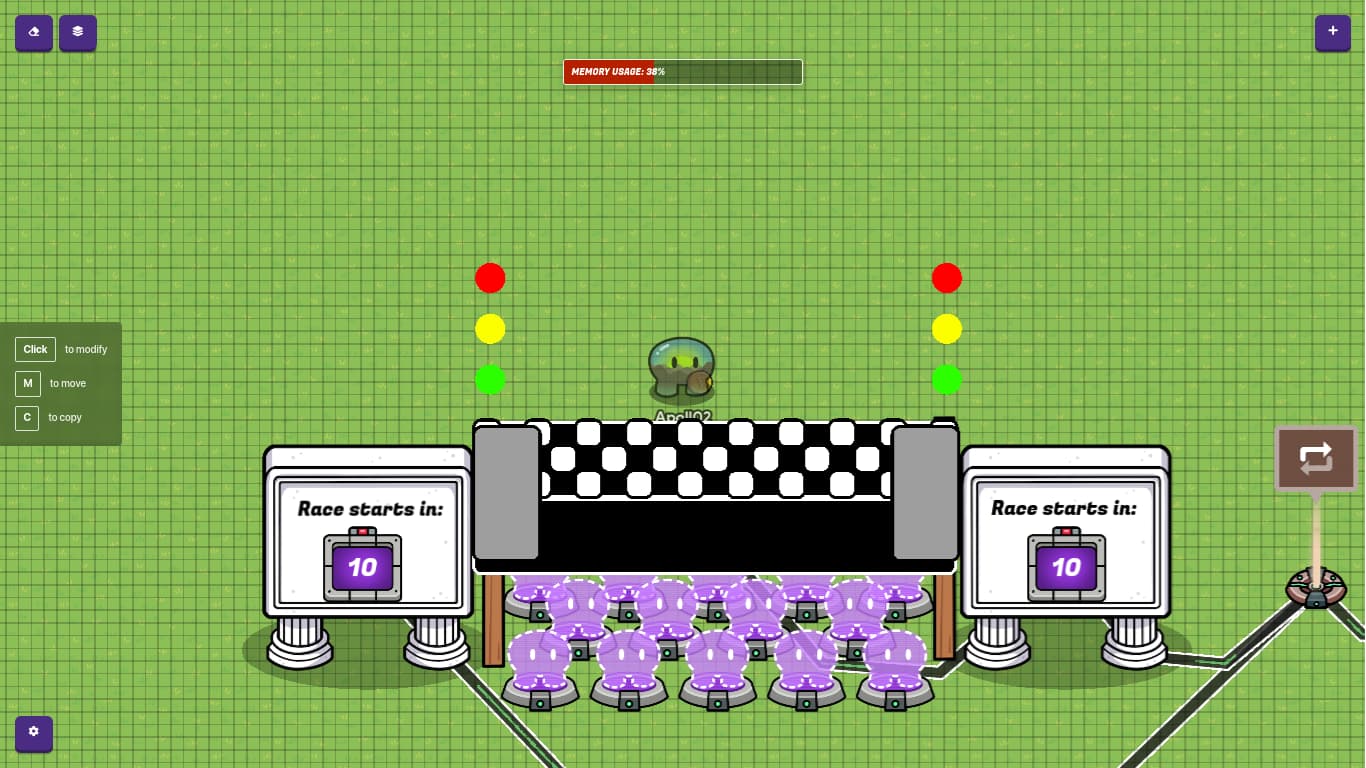
- Create three more barriers for each stop light you have, and set them to circles. Modify the scale as needed, and change the colors to red, yellow, and green. It may be easier to simply make copies of preexisting barriers and alter them, as these, once again, will have to be at the very top layer. Do not yet add these on top of the bases. You will also want to disable borders, as this will make the later animation look weird.
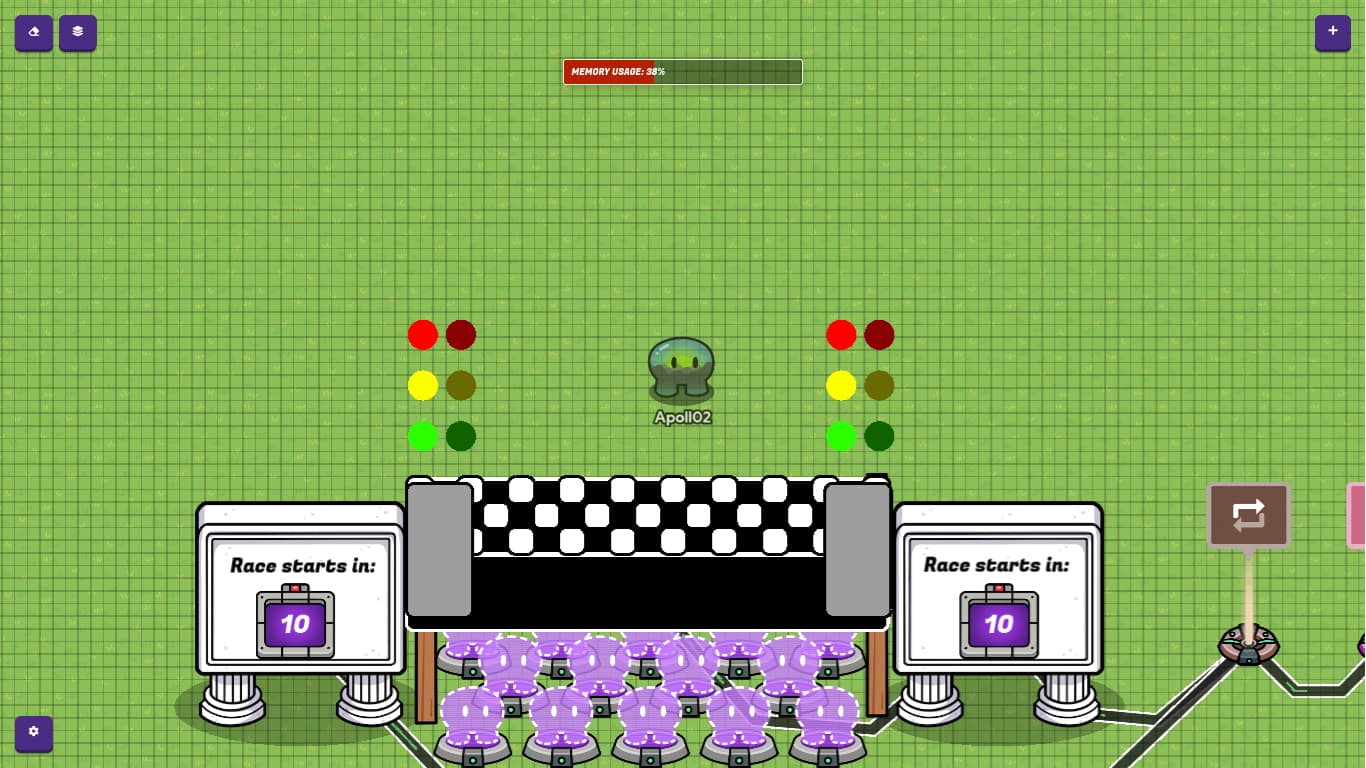
- Make a copy of each of the circles and deactivate “Active on game start” for the originals. Then turn down the brightness of the copies’ colors.
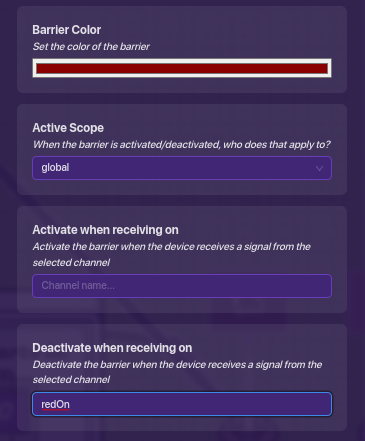
- Open the settings menu of a bright red barrier and find the section labeled: “Activate when receiving on”. In the box under that, type “redOn.” For bright yellow, type “yellowOn.” For bright green, type “greenOn.”

- Now open the settings menu of a dark red barrier and find the setting labeled “Deactivate when receiving on,” In the box under that type “redOn.” For dark yellow type “yellowOn.” For dark green, type “greenOn.”
- Now you can move them into place. You may want to adjust grid snap settings.
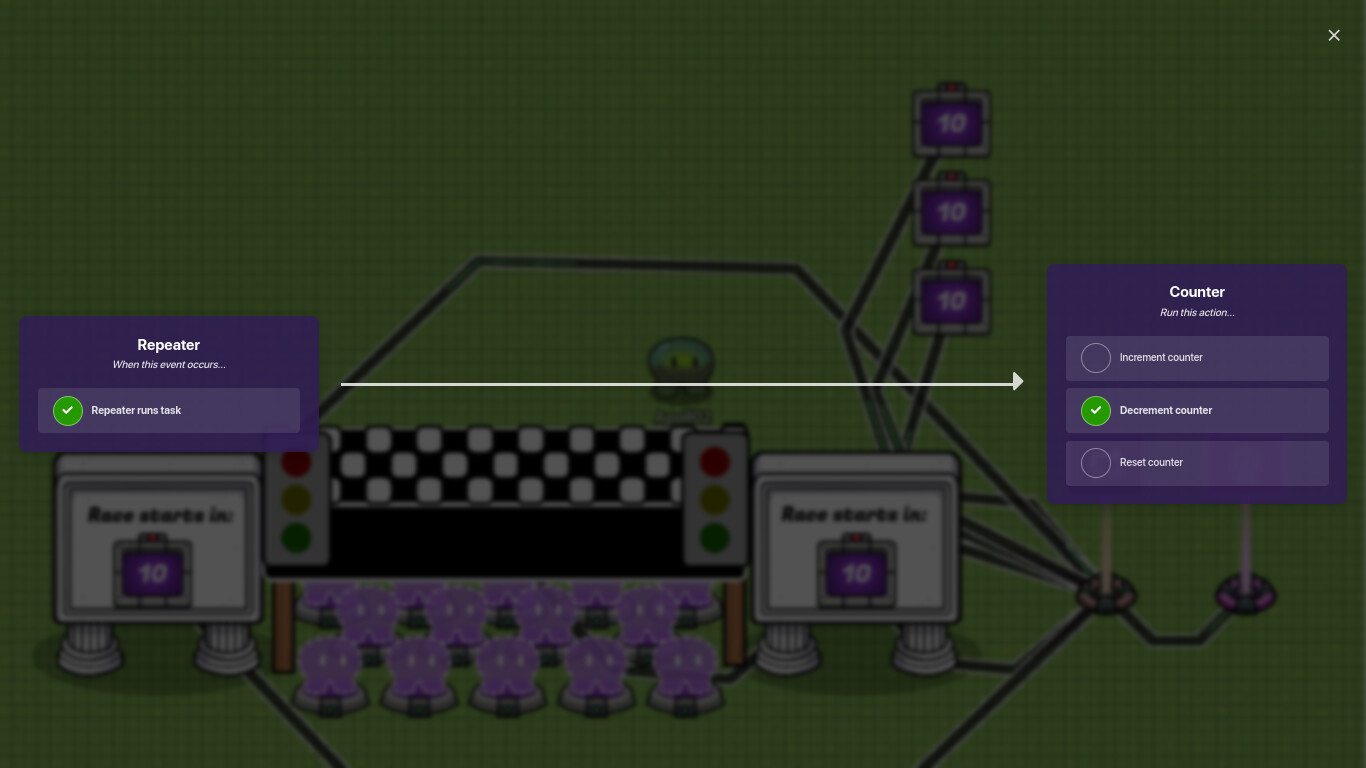
- Add three new counters and configure the first one like this:


- The second and third should be configured the same but with different target values. For the second one set the target value to one.

For the third one set the target value to zero.
- Connect the repeater to all three counters like so:
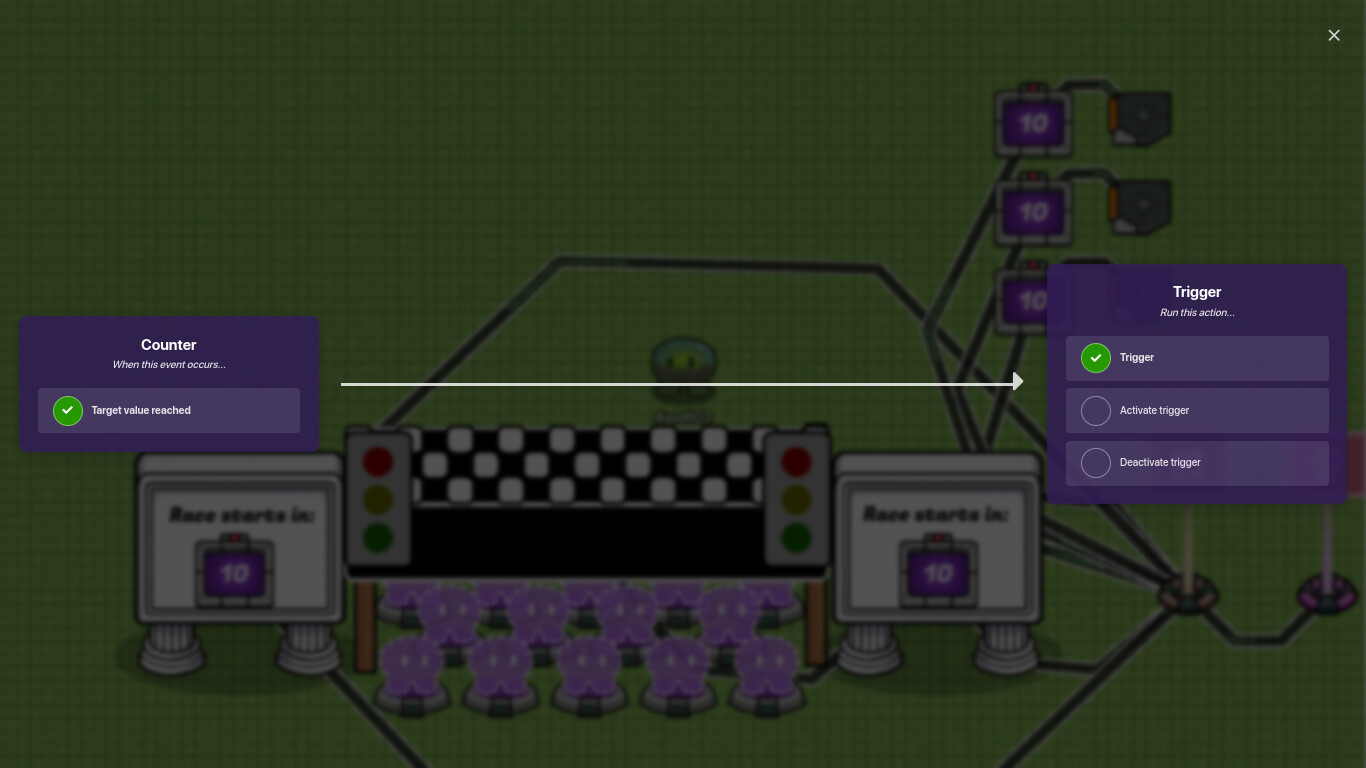
- Because there is no setting in the counter to broadcast on a channel when the target value is reached, we’ll have to use triggers. Go ahead and place down three of them; one next to each of the counters. Make sure the triggers aren’t visible in game, and then run a wire from each counter to the trigger next to it like this:
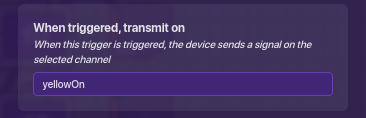
- Finally, go into the bottom trigger and change the settings to say: "When triggered, transmit on “redOn”
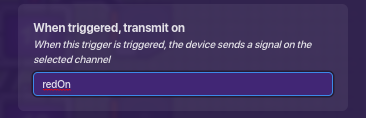
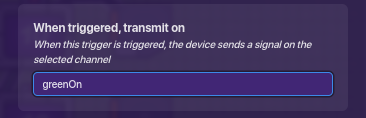
Now do the same with the second and third, but for the second use “When triggered, transmit on: yellowOn”.
And for the third, type “When triggered, transmit on: greenOn”.
And that’s all for this guide!
Conclusion
Hopefully, if you’re still here, you found something in this guide helpful enough to keep reading. If you did, please like and comment any thoughts, suggestions, or problems you discover. I hope you enjoyed this guide, and happy gimkitting! Chupacabra!
What should this guide be rated? Tell me below!
- (Difficulty:
 )
) - (Difficulty:
 )
) - (Difficulty:
 )
) - (Difficulty:
 )
) - (Difficulty:
 )
) - (Difficulty:
 )
)