In this tutorial, we will make a modern-looking main menu that you can click on.
1 - Create the Graphic
A good main menu has 2 parts. One of the most important is the visuals. A good main menu graphic will allow the user to be introduced into the game.
Let’s start with a camera view. For mine, I shrunk the Y scale to the lowest possible, as I want the player’s character to be included. Changing the X scale changes the size of the assets used in the menu. I set mine to be ~8 tiles, making the camera view a square.
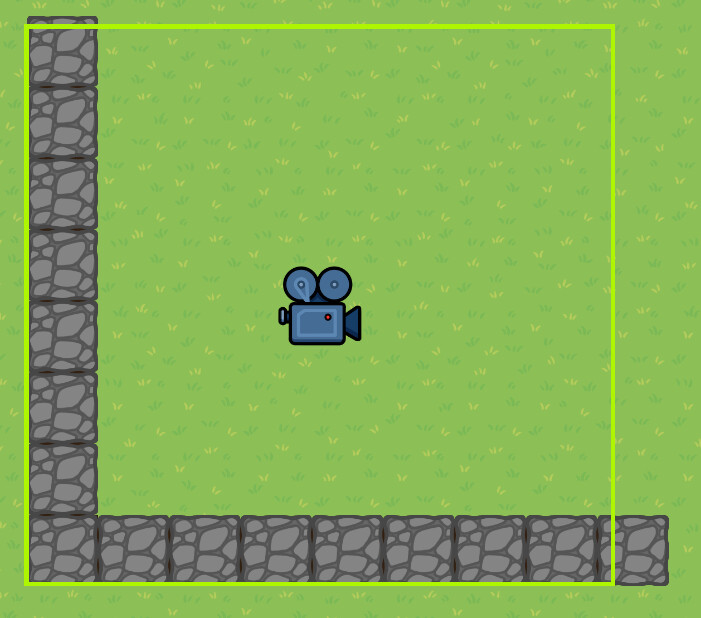
Next, mess around with where you want the player to be positioned. If you want to make the player invisible, position them behind where you would put your menu. I’d recommend stopping and starting the game to get the best location.
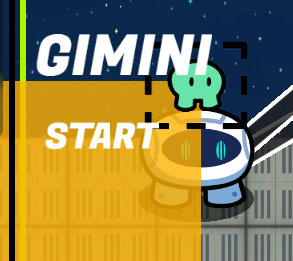
With your spawn pad added into the camera, add some visuals to the graphic side of your menu. I added a space catwalk to mine. Remember, this is just an example, so you could add literally anything, from images to NPCs, to your graphic.
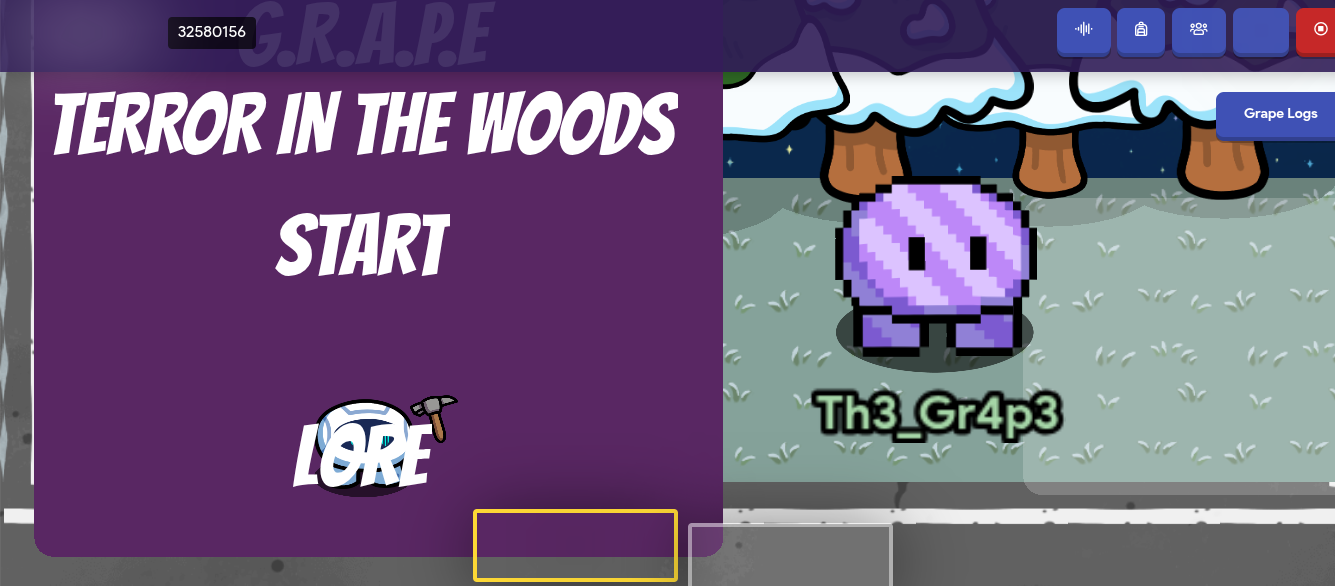
2 - Create the Menu
To create a good menu, you can use layered zones to create a large colored rectangle.
Why not barriers? Even though they may be cheaper, they block projectiles. This is important for later.
Add some text for the title of your game and some buttons below it. I recommend 2 buttons, as you can always make teleporters that bring you to extra menus, or use blocks to change the value of the text buttons.
Make sure the text and zones are in the above layer.
It’s looking great! But hold on… How do we interact with it?
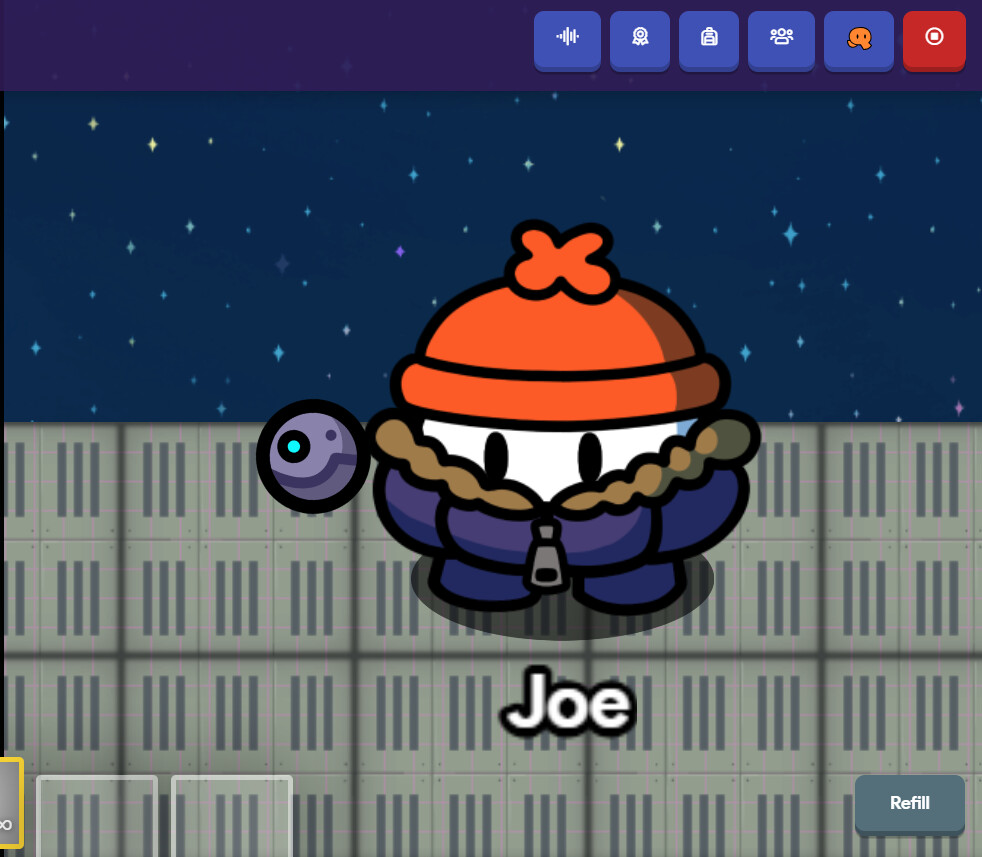
3 - Interacting with the Menu
There’s a reason my gim has been holding a zapper this whole time. In order to interact with your mouse, you’re gonna have to fire projectiles at the text boxes.
Create a new sentry with 1 health, 1 second respawning, and low stats. Hide it behind the zones so it becomes invisible. Place a barrier half way over it. This allows the user to fire at the sentry, but it won’t be able to fight back. Copy the sentry so that it is in front of each of your buttons.
Next, place down these 6 devices:
- Lifecycle
- Team Switcher
- Starting Inventory
- Inventory Item Manager
- Speed Modifier (x2)
- Spawn Pad
Attach the lifecycle to the first speed modifier, so that when you start the game, you’re speed is set to 0.
Attach the team switcher to the sentry you want to start the game so that when it is eliminated, your team is switched. Switch their team to team 2, and make it so that the main menu spawn pad is only for team 1. In order for players to respawn, move the spawn pad you placed to where you want the game area to be and set the team to 2.
Make the starting inventory item a zapper, or any other ranged item. The inventory item manager should be set to that same gadget. In the inventory item manager, set the respawn behavior to delete (override should be true).
Finally, attach the second speed modifier to the sentry so that your speed is reset when you enter the game. With all of these devices added, you should have a working interactable menu.

Challenge
With this tutorial complete, try to make a second menu that opens when you click a button in the starting menu. There are many different solutions, and it’s important to learn how others approach it. If you figure it out, share it with us! If you’re struggling, go see how other people tackled it, and ask questions if you need!