This idea popped into my head one morning while browsing the discovery tab.
I was playing through the Community Picks and found various games that obviously used properties for their functions but had run out of memory and nothing more could be added.
So, therefore, for all you map pioneers, here is how to Crossover Properties!
I’m going to be using a simple example for this so everyone understands the point and how to achieve it. I’ll split this up into theory and practice.
Theory
This is the raw mechanics and how it works. This is the rough idea that I posted in the linked topic, go check it out: Could we cross the properties over? Surely we can use the same property for multiple parts of the actual AI functions. The idea that we use a certain property in one part of the bit the player would interact with in some way and then take part of the same function and use those property values later on as long as we resetted to the original before we started over again on a new cycle . Of course this wouldn’t work with some functions that are used in the crossover between a certain input and output but anything other than the ‘bit in between’ could be stored and then reused again in a later function. This would save plenty of memory over time. Thankfully, within the current boundaries, we can duplicate and store a number of property in blocks and extract which therefore gives us the advantage of this system working. I estimate (don’t trust me too much) that this could save over 5000 memory within our current system ideas. If I had more time rn I would test this and I might try tomorrow. This is a hypothesis as of now but I believe a Duplicate, Store, Extract system would work. Please correct me otherwise.
Please understand that I was addressing others in suggestion, please don’t reply to that the text. Hopefully, that gives the general idea.
In short, property is used for a system that only happens at a certain time, property resets, property is used in another system that should only be used after the first system has finished, then property resets after system 2 finishes. Afterwards, the property can be used for more subsequent systems, as long as they all end before the next one starts e.g. System 2 finishes, Properties 1+2 reset to 0, System 3 starts, Property 1 used, System 4 starts, Property 2 used, both systems end, both properties reset to 0. Therefore, this would create a chain that would usually take 4 properties to use but instead takes 2. In a high density game this will save a lot of memory. [1] Amazingly, the same is mostly true with triggers, but for those unable to convert the system, here’s the explanation for triggers:
Ok, here we go, listen carefully. Triggers are one of the most used devices across the current pool of Community picks [2], coming likely quite close to properties although I can not exactly say a number. [3] Likely every map that uses some basic-intermediate block code uses at least one, the more complex maps using more. Anyway, say we have system 1, a complex mess of devices, using many triggers. In creating, you notice you’ve used a lot of memory you needed later on. Don’t panic! At the end of system 1, you will have at least one trigger left over.
So Step 1:
For those who don’t know, you can add multiple channels to a device, simply add a comma between the two you want to use. Using this multiple times will help in Step 2: The Property section repeatedly making my life easier.
So, now take system 1, finish the code that is used in System1, and deactivate the trigger. When system 2 comes around reactivate the trigger. By this point you may have noticed that System 1 will run twice and system 2 has already ran 1 once out of turn. Therefore, we have to create a stopper, if you know the exact time frame of the first system then you can just use wire repeaters to stop System 2 working before a time. If not, you will need to make system 2 only work when you have 2 of an item, therefore you make run one of system 2 grant 1 item, say bait and then set a 0.1 second wire repeater before step 2 actually activates and making step 2 only work when you have 2 bait. This can be multiplied to step 3=3 bait and so on.
Now you should be able to reuse properties and Triggers at will for different tasks as long as you have a short wait [4] in the sections. So, now we go to practical ![]()
Practical
I’m doing properties first as they are fundamentally easier to use with this. Ironically I have to use triggers to make this part so you can combine the two systems. This is not what you should copy into your map, this will not do anything, this is a demonstrational section that you can mould into your own components. I REPEAT, DON’T USE THIS EXACT SYSTEM IN YOUR MAP! Please change this for your needs.[5]
Step 1
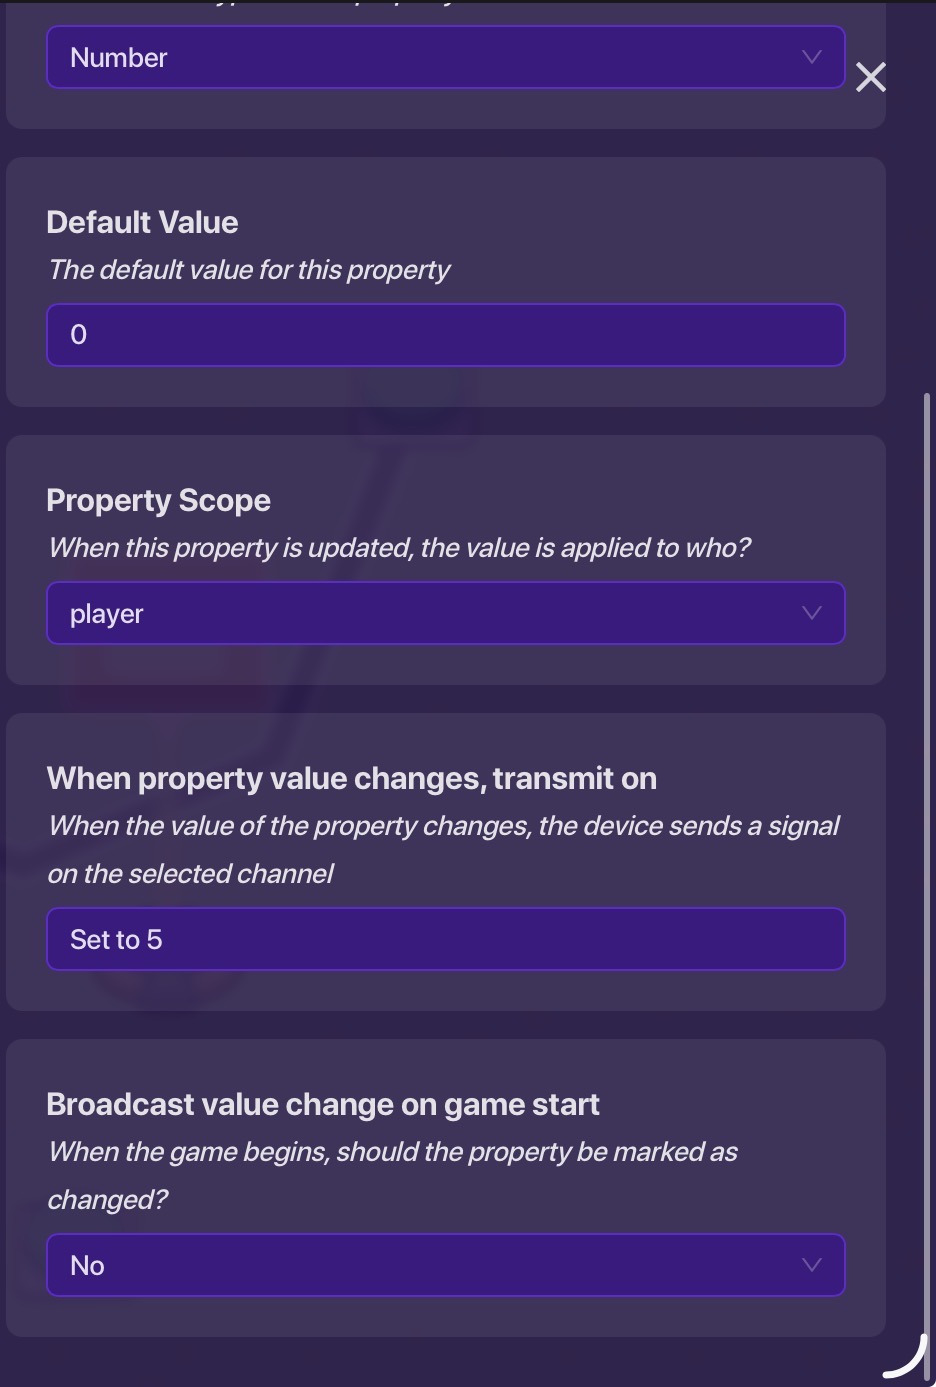
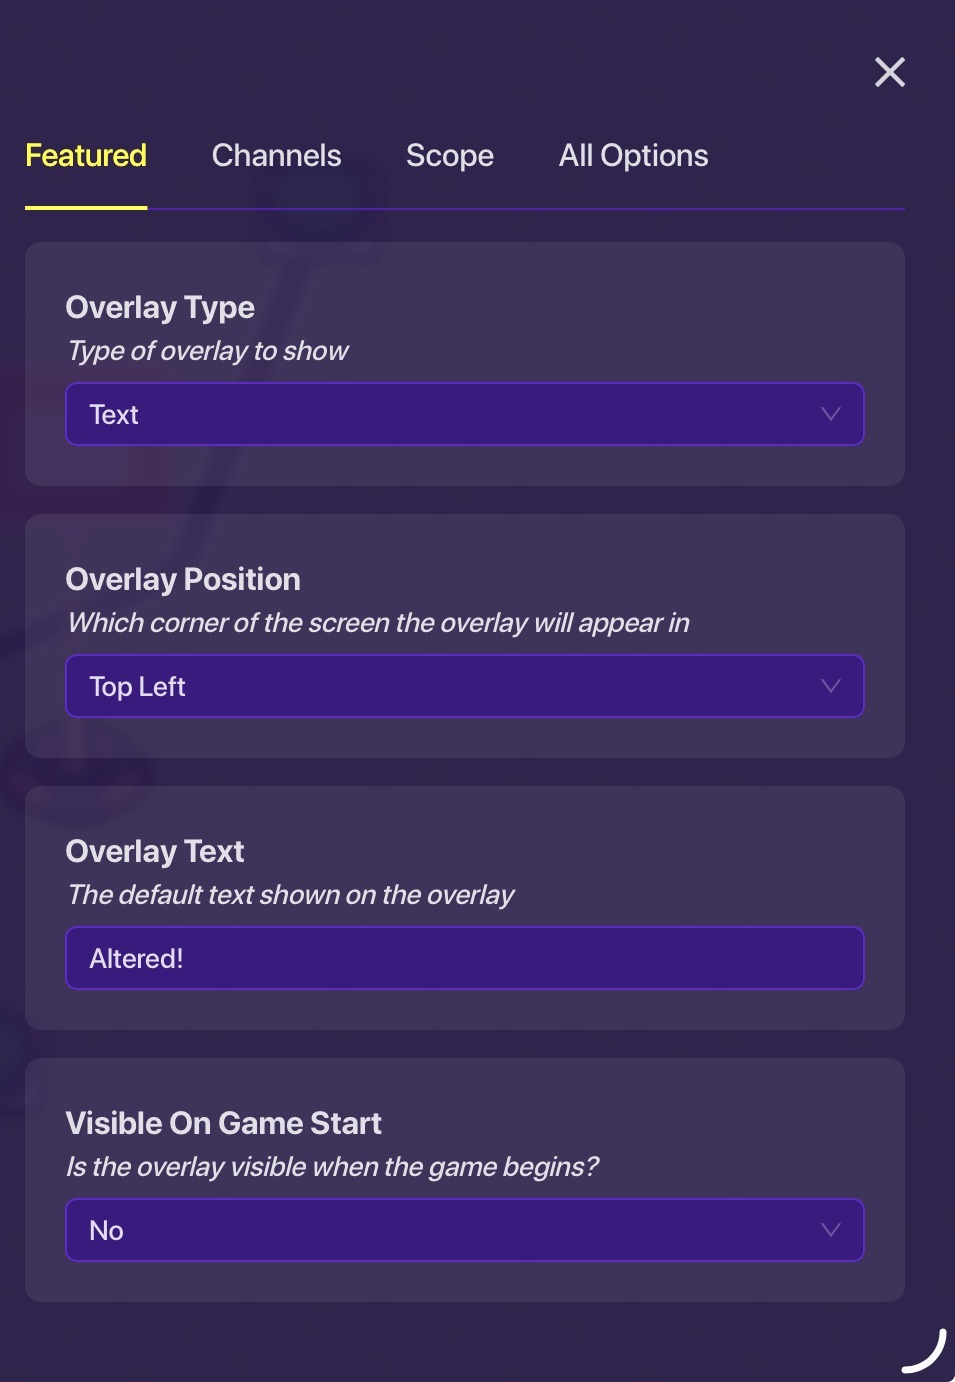
Ok, Step 1: I placed a property, set it to player scoped and called it change and added these settings:
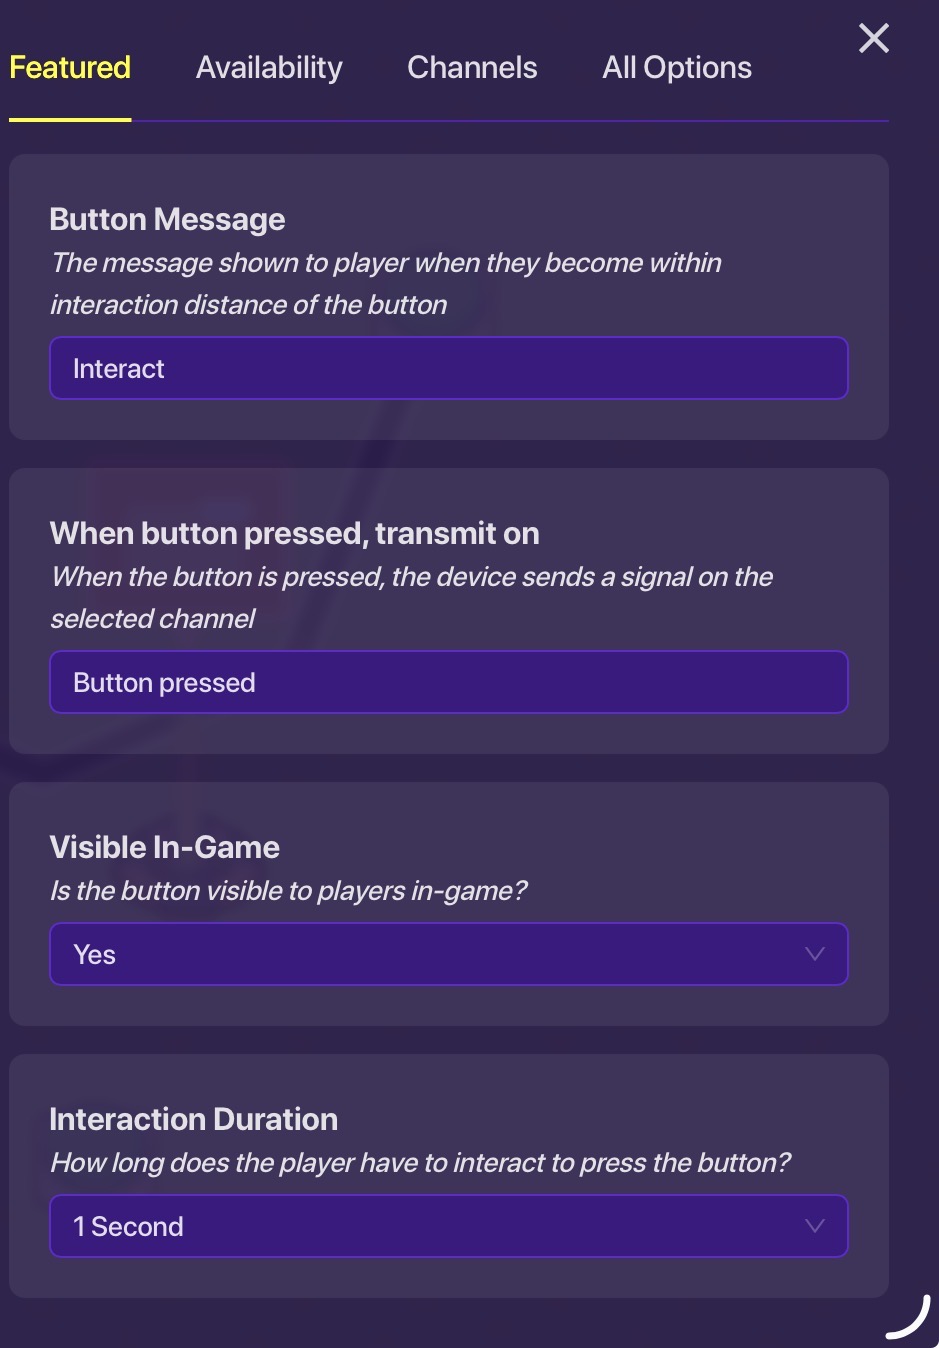
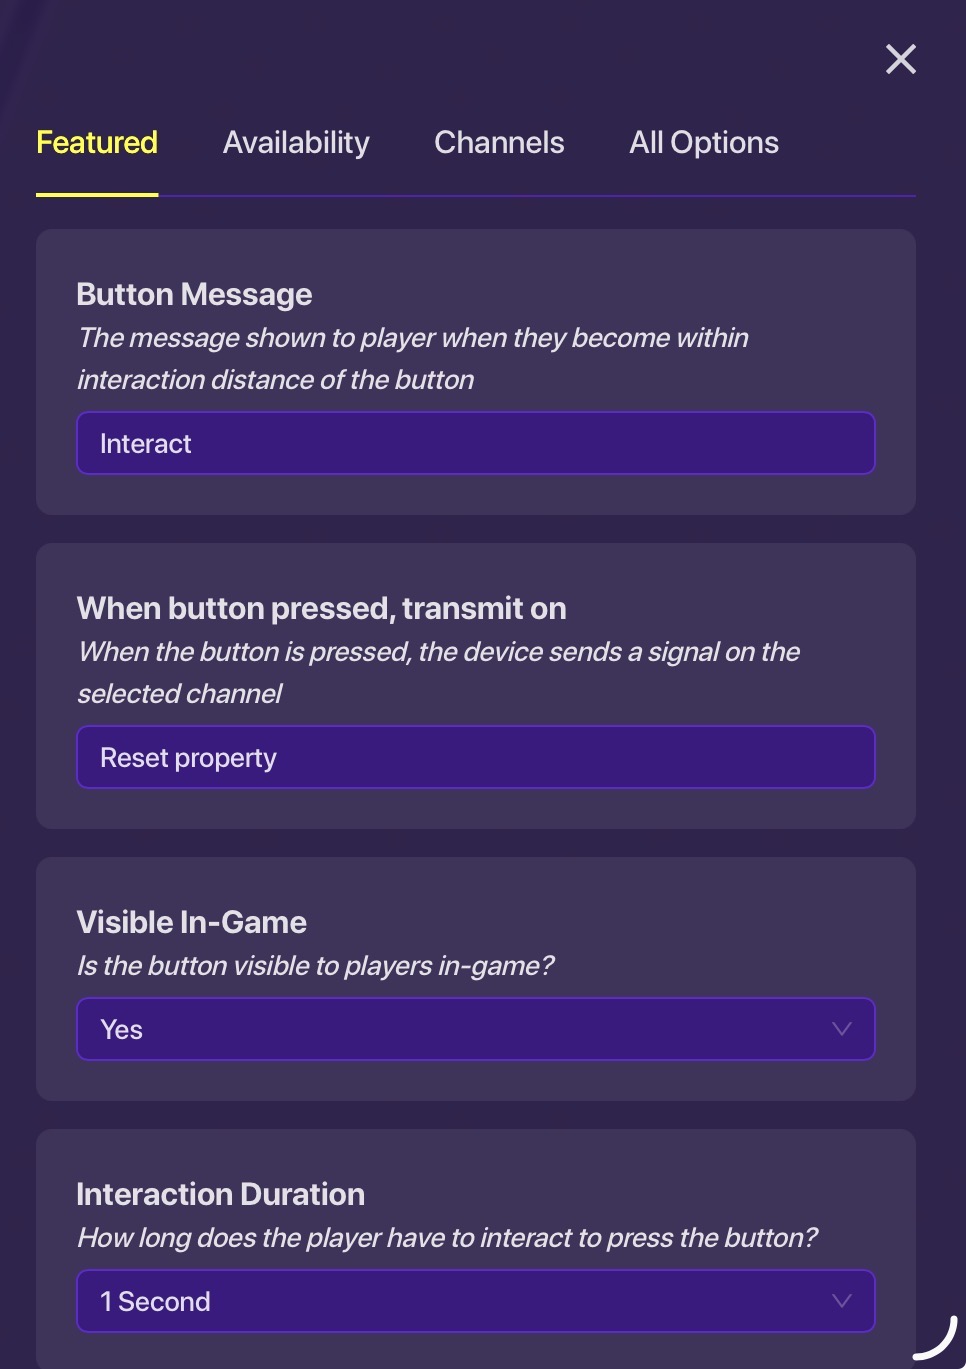
Next, a button with these settings:
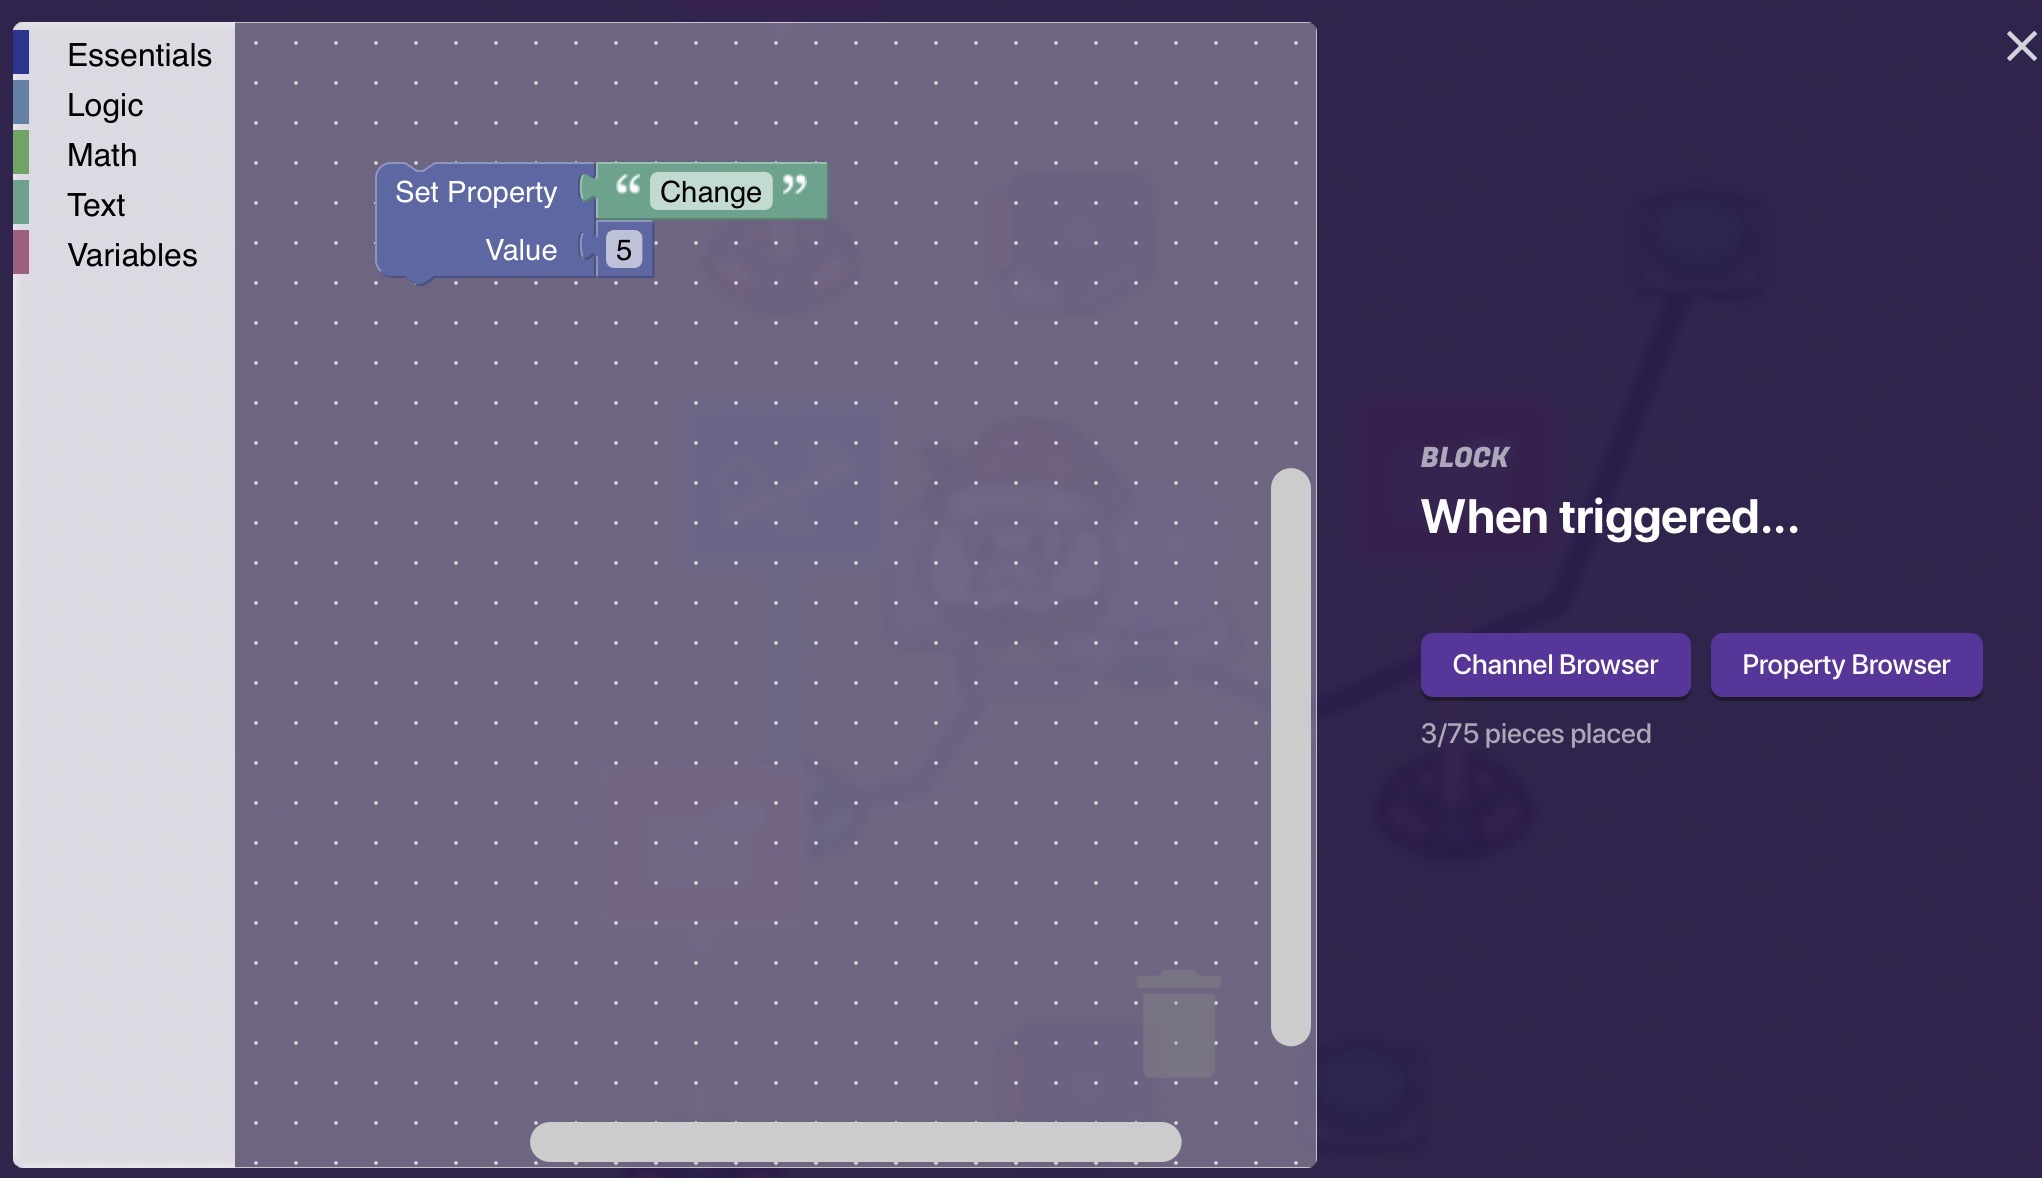
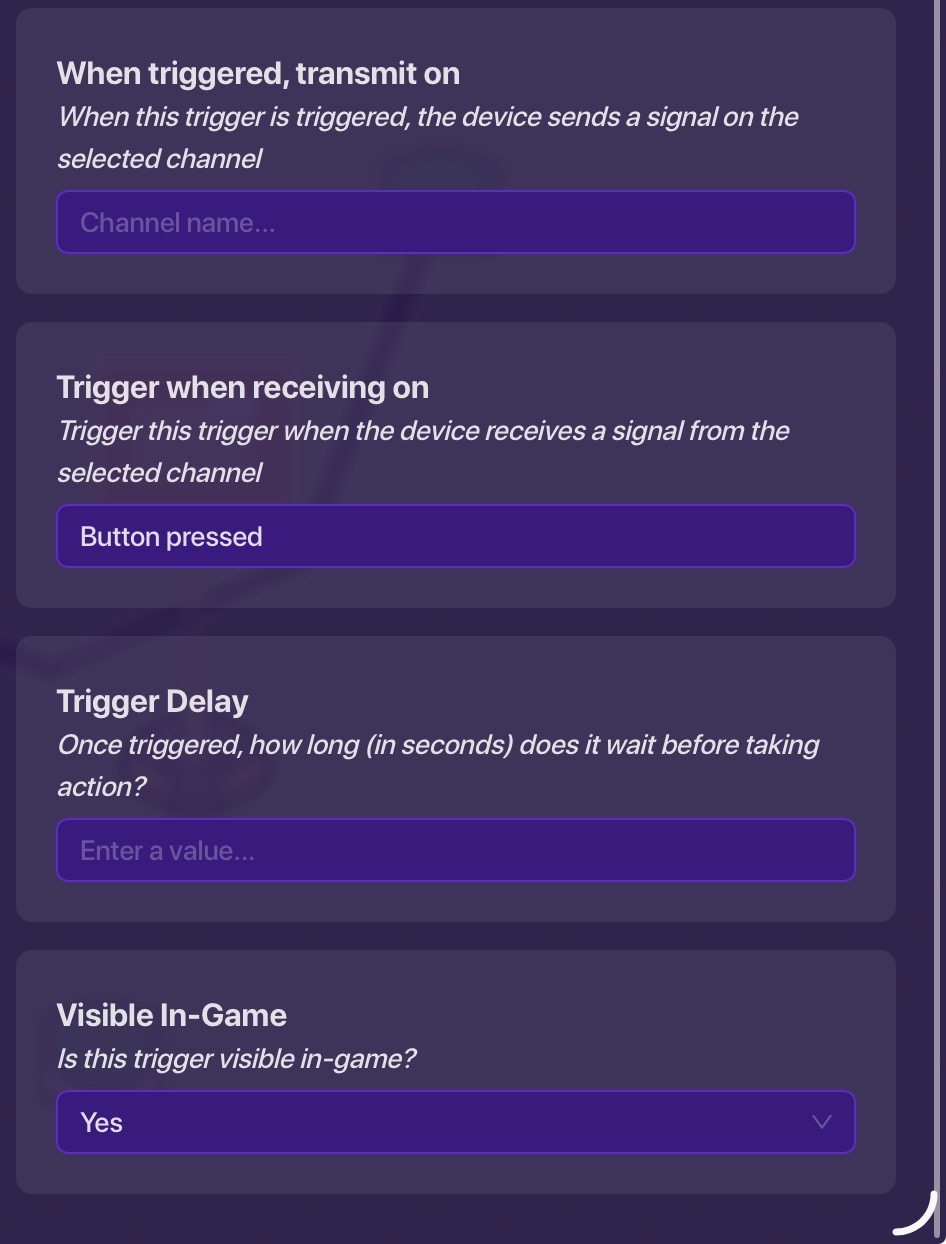
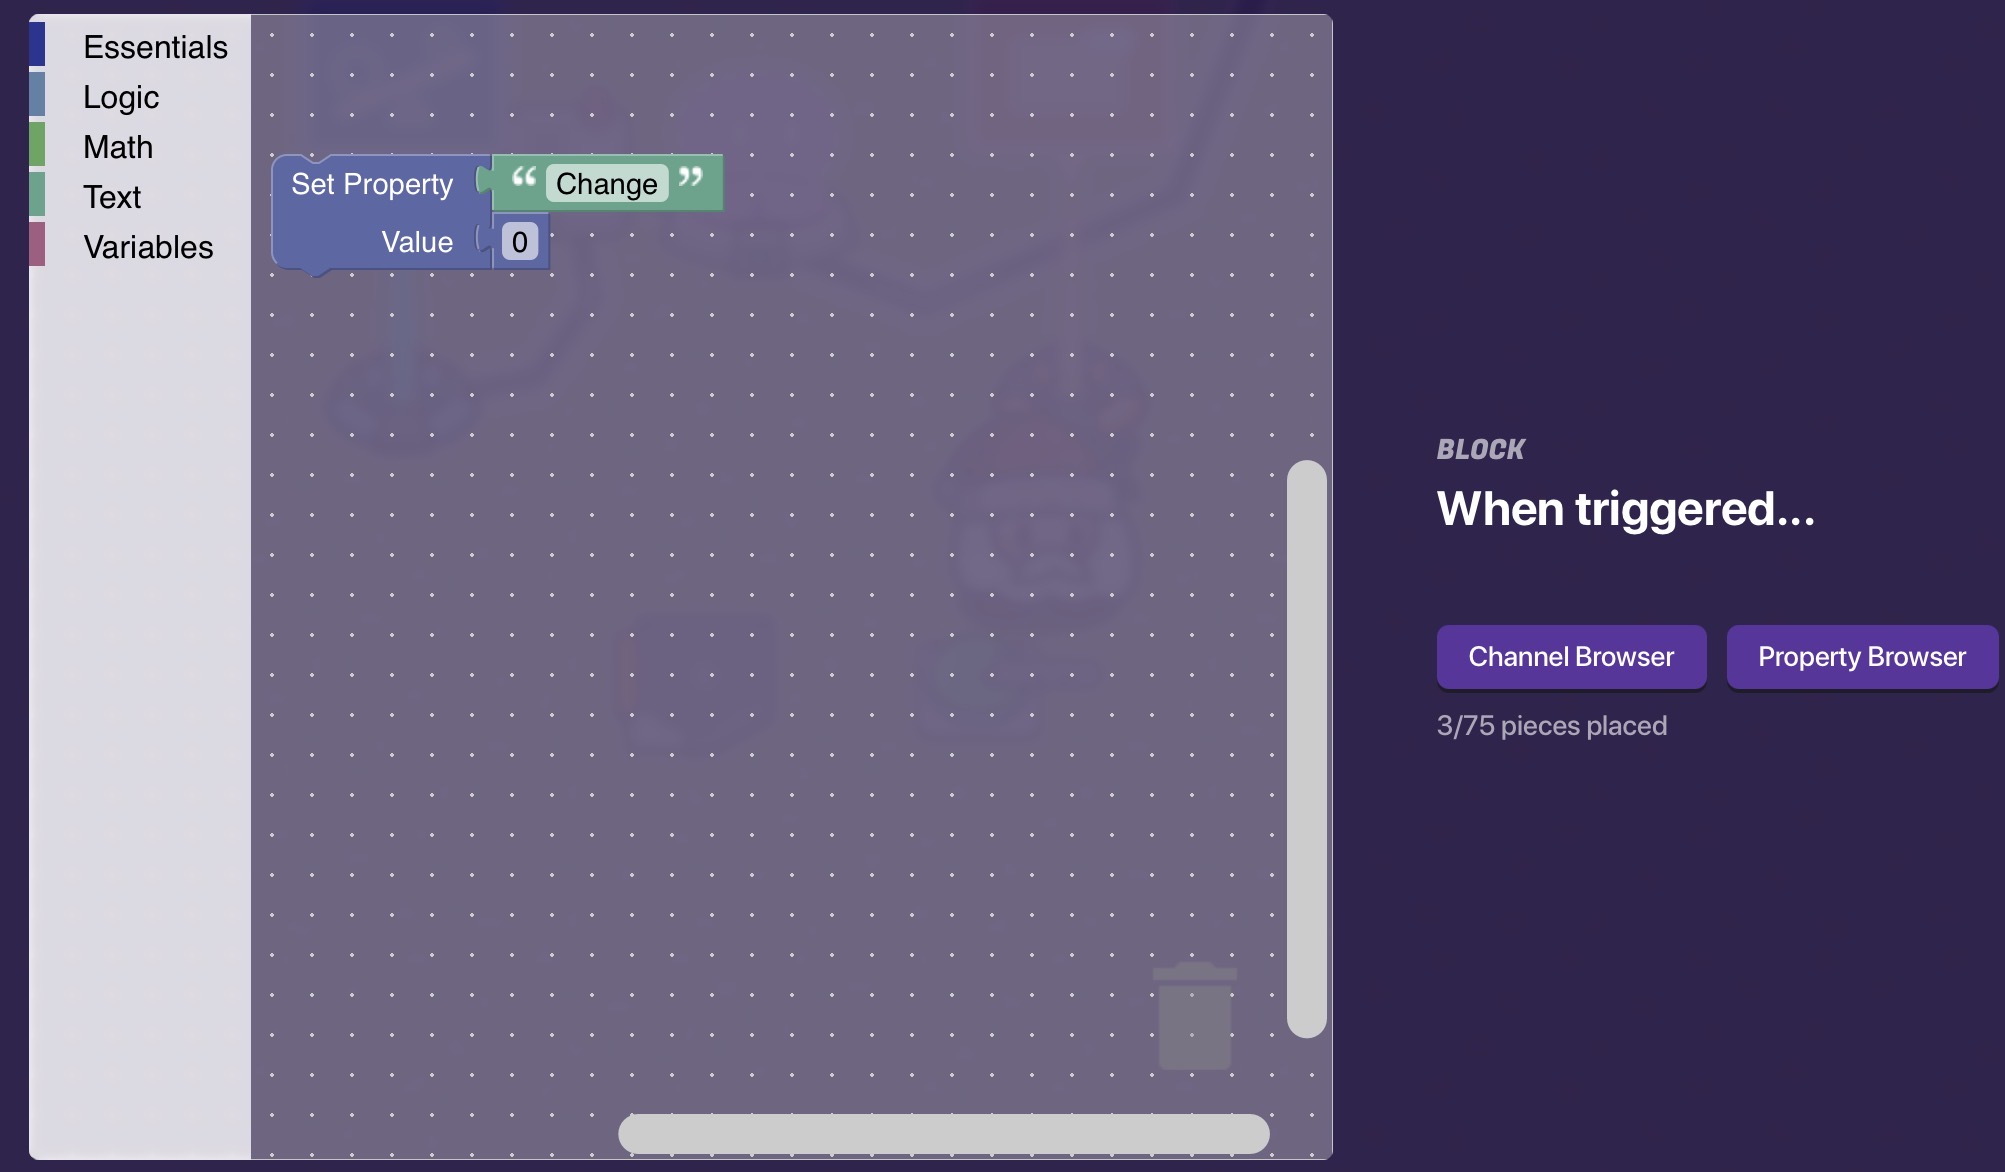
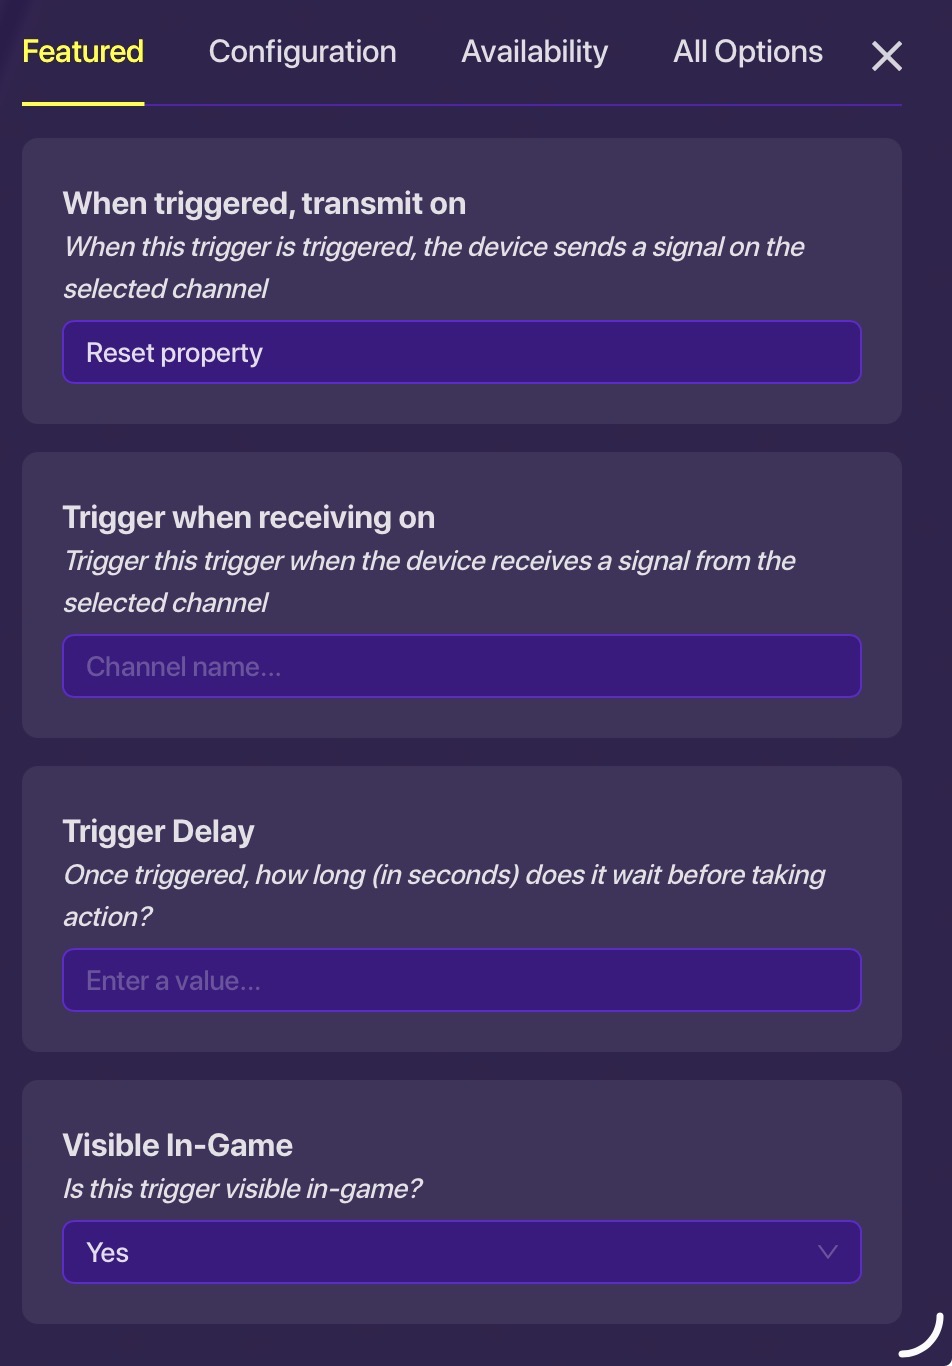
Then a trigger with these settings and this block code:
Also wire the button to a 0.1 second wire repeater that is wired to a button with these settings:
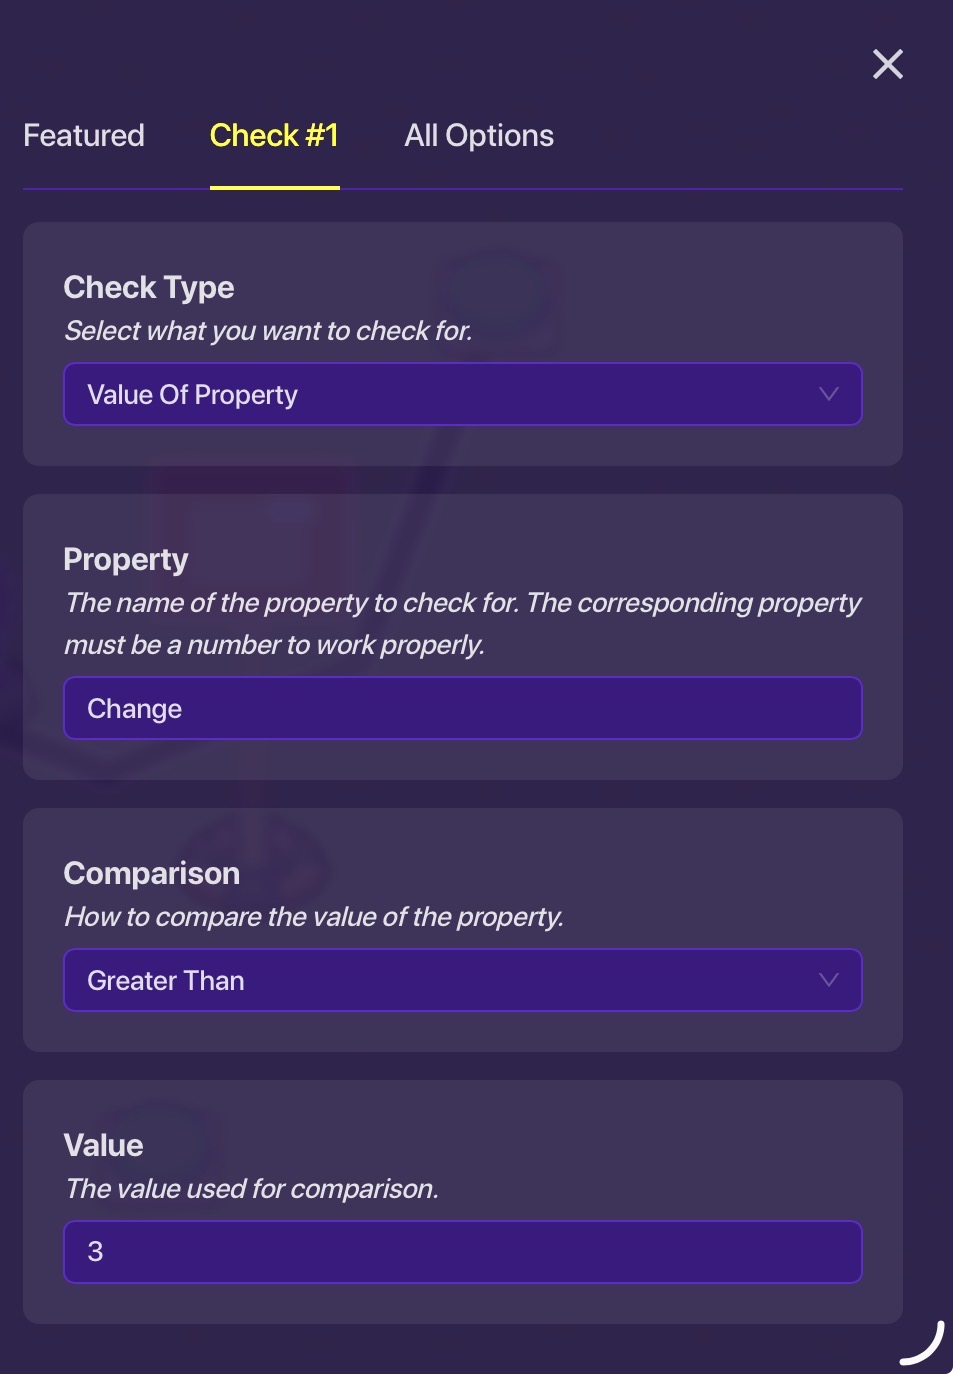
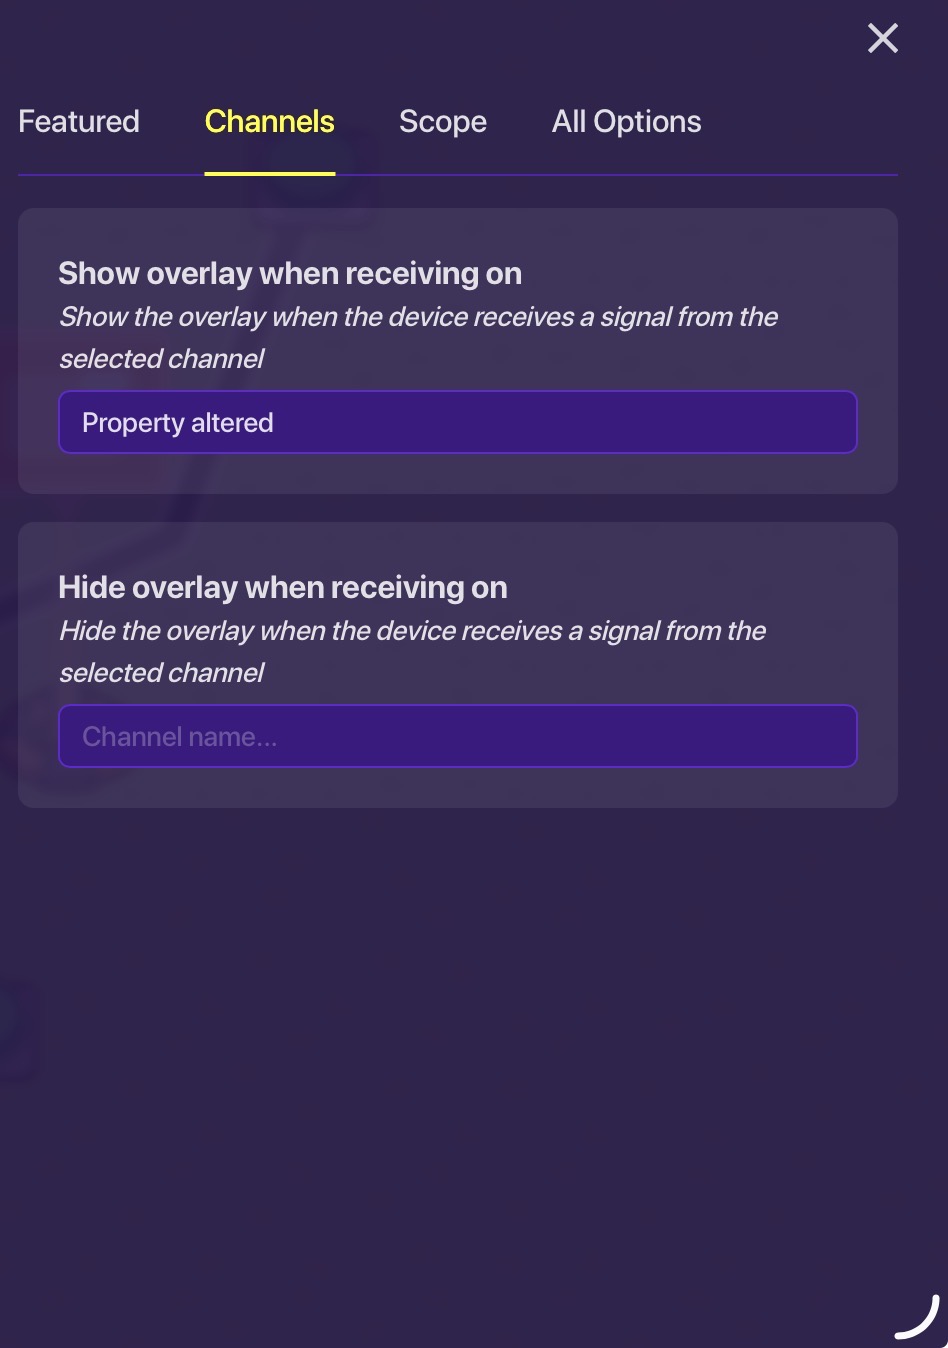
And a game overlay with these settings:
Step 2
This is the function that resets the property after you have used it for your purpose of choice.
Take another button and set these settings:
And a Trigger to these settings:
This full system should use the property and reset it, with a little added stuff for explanation.
Final Product
Button pressed, property set to 5, which pops up Altered! sign. Then, button 2 pressed, sets property back to 0.
Assuming in our system we needed 5, it was used and then reset for system 2, you have now used a property or trigger and reset it to its original value for further use. I understand that I haven’t made the trigger part. Please use the theory and the pictures from properties to make that for your needs.
Thank you to these guides for giving me info and help in creation and thank you for reading:
There are tons of guides and topics and properties, but these are the topics that helped me most in my research and helped me magic away myself from procrastination in creation of this. Special thanks go to this topic, which set me started on this guide:
You will find some of the original text in there too.
Feel free to give me suggestions on what to add in future, or ping me for any help regarding this topic.
Thanks,
Jonn