Hello, Gimkit Community! I’m bluey_rosa and here’s a second version of my Tag-and-Hide-And-Seek Guide! If you have not read that guide, you might want to now: Tag Guide Part 1
Or if you already have a lobby you made yourself or using another guide, you can use that too, as long as you have one or more tag zones!
Note: I used the standard and easy method of assigning tag teams, Method 1 in my guide. If you used a random version, don’t worry-yours may look a bit different, but it’ll do the same thing.
Now, before I started making the actual game, I put a Camera View Device so that the people in the lobby cannot see outside.
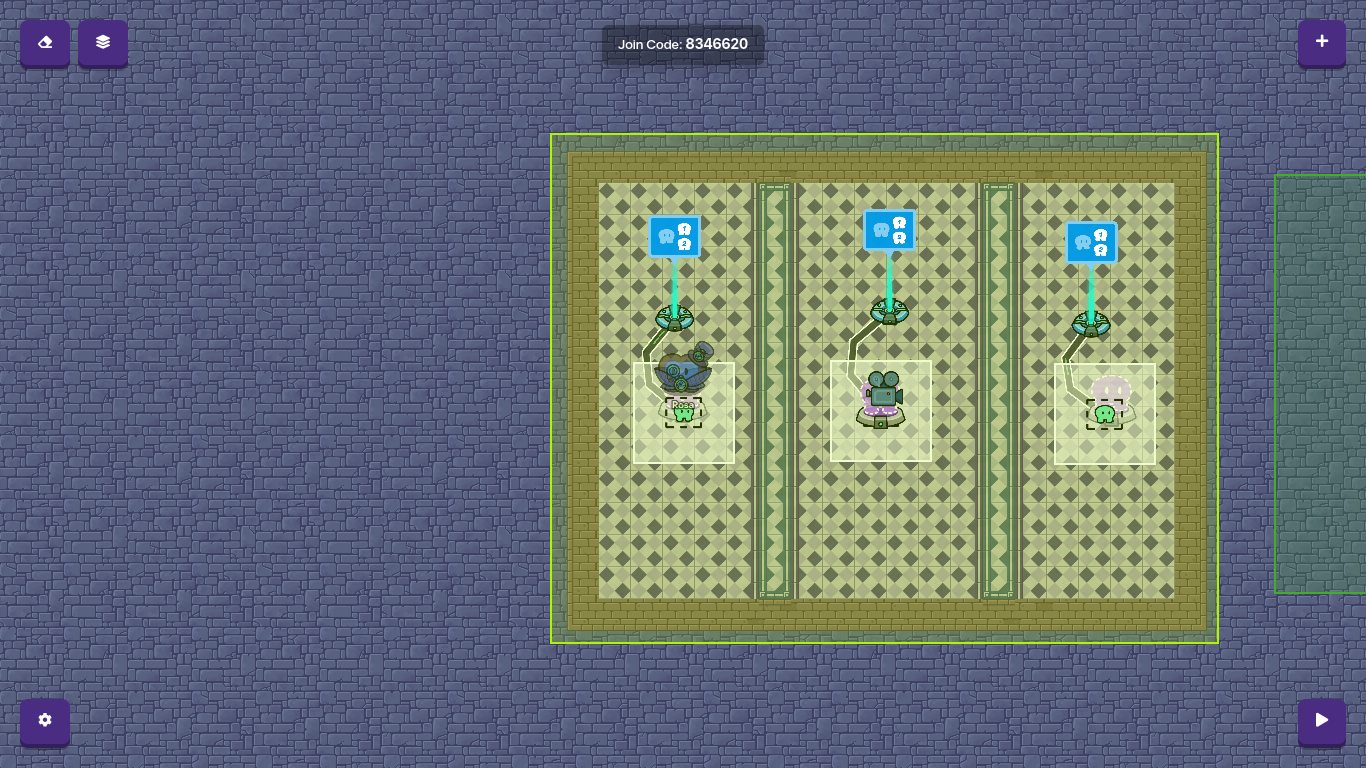
Step One: Making a Till-Game Counter
A till-game counter is what I call a timer that counts until the game starts. There are different ways to do this, but I’ll use the game overlay device.

Place it close to the lobby so you don’t get confused. This part will require a bit of blocks, so follow carefully!
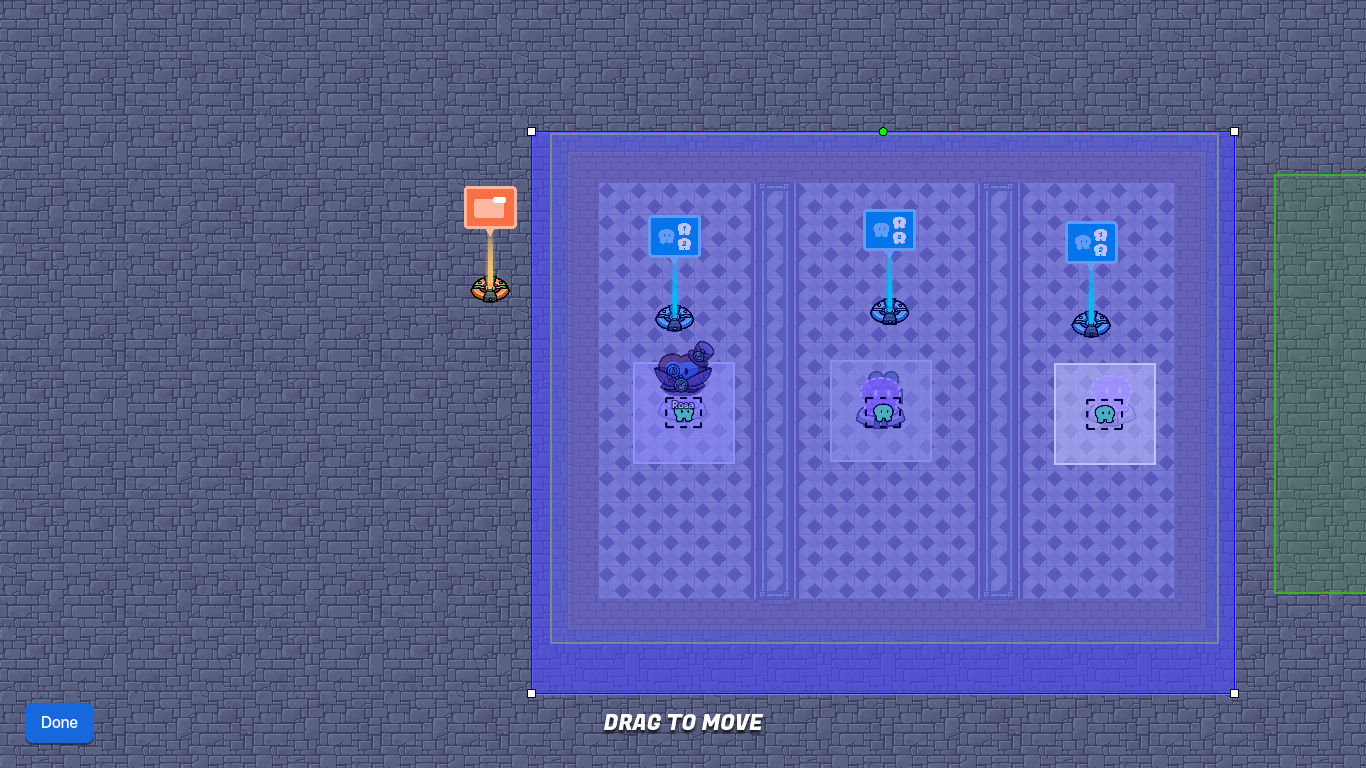
Make a zone that covers the whole lobby. Make sure the corners are thoroughly covered.
While you’re still clicked into the zone, go to ‘Channels’ and type these messages:
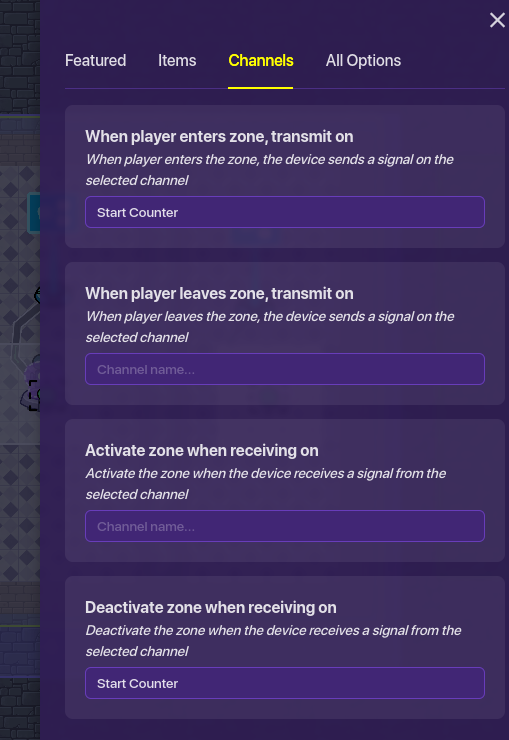
Note!!! Make sure that both channels have the EXACT SAME WORDS!
Add a repeater Device.
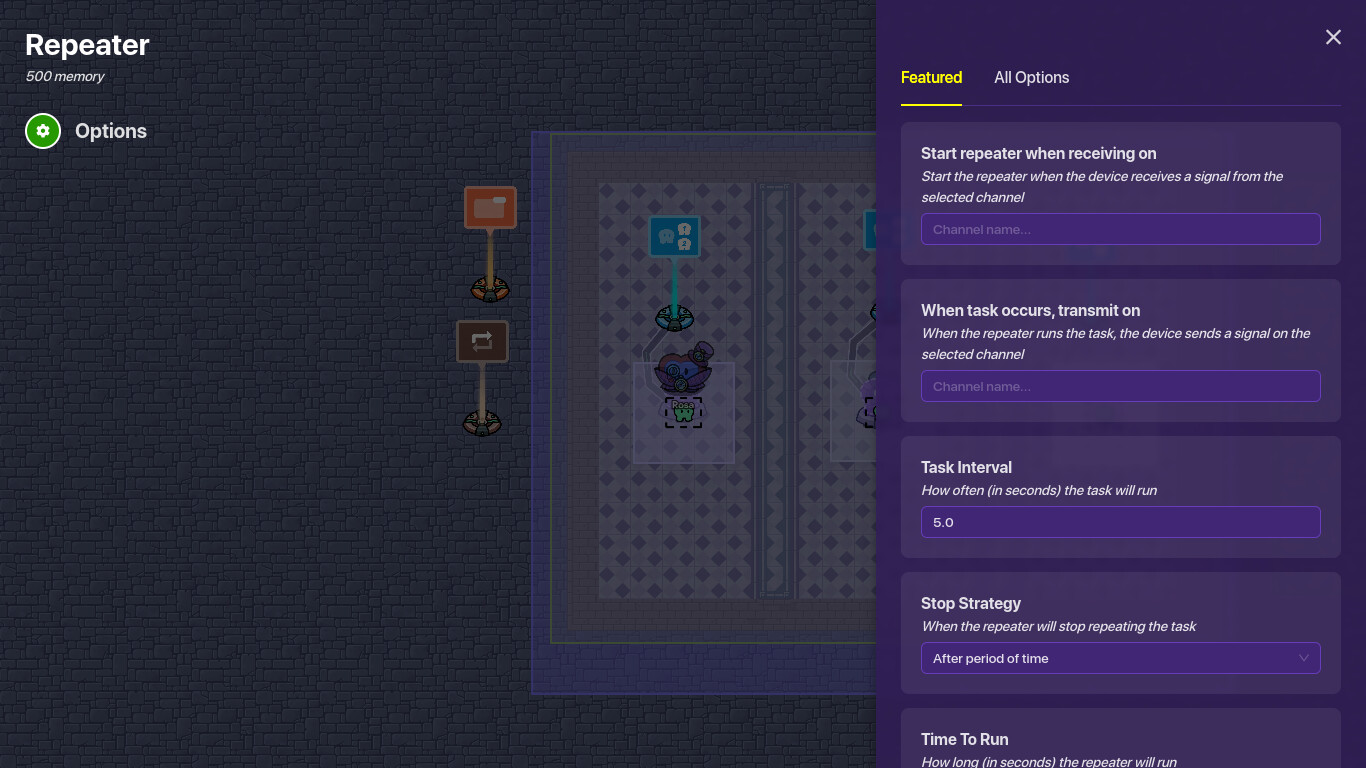
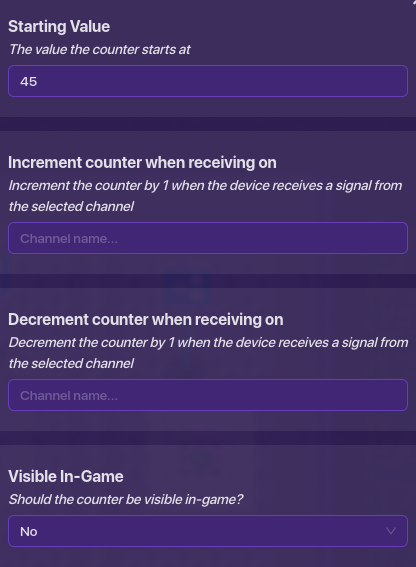
Make the repeater start when receiving on the channel, ‘Start Counter’, or whatever name you used, and set the interval to 1 second. For the amount of repetition you want it to run, use a number between 30 seconds and two minutes. (30~120) This gives enough time for all players to enter the game. I used 45.

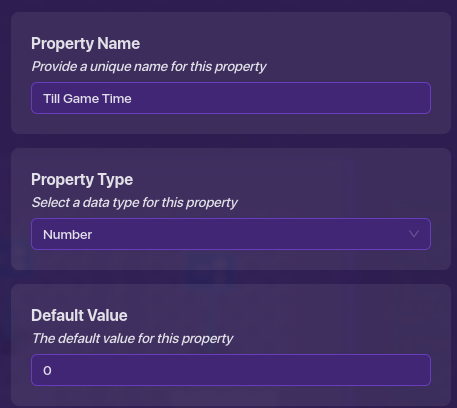
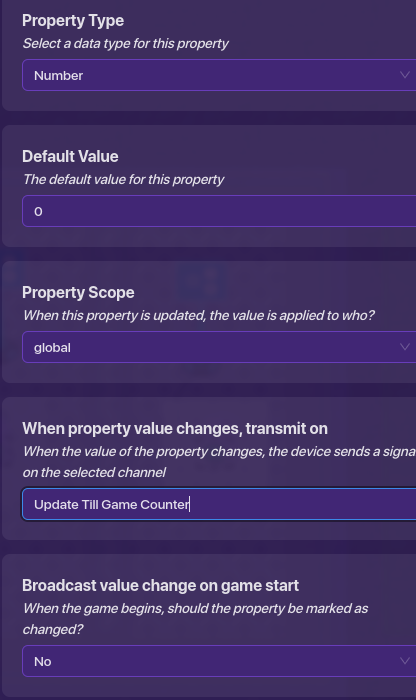
Add a property and a counter. Name the property, ‘Till Game Time’ and change it to a number value. Then, set the counter’s default value to the number you chose above. Make it not visible in-game.
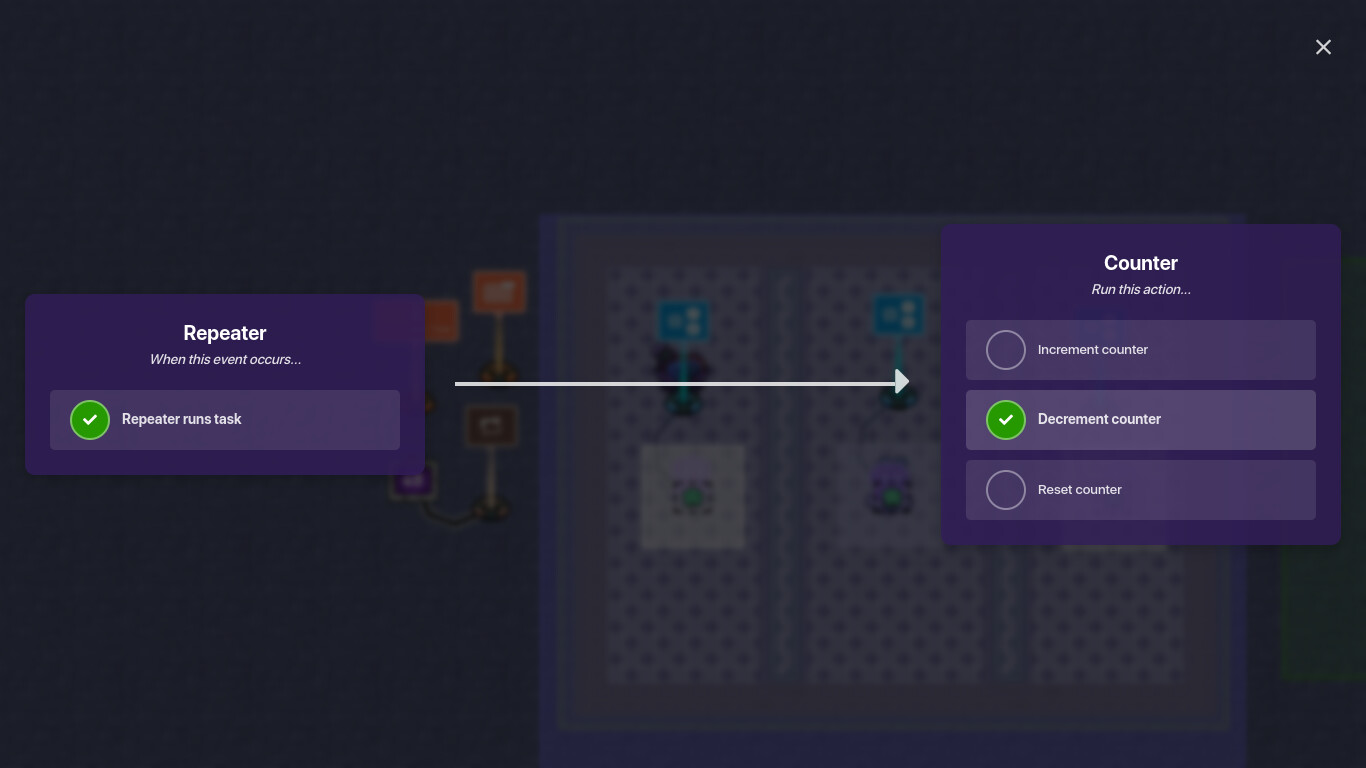
Add a wire between the repeater and the counter, making it so that when repeater runs task, decrement counter.
Go into the counter and set its property to Till Game Time.
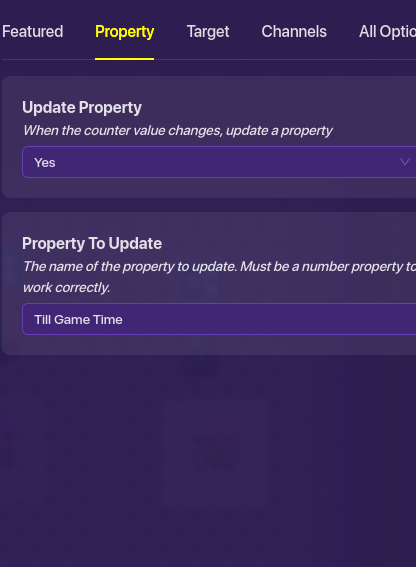
Go into the property, and make it transmit, ‘Update Till Game Counter’ when its value is changed.
Make a block in the Game Overview, make the channel ‘Update Till Game Counter’ and add these codes:
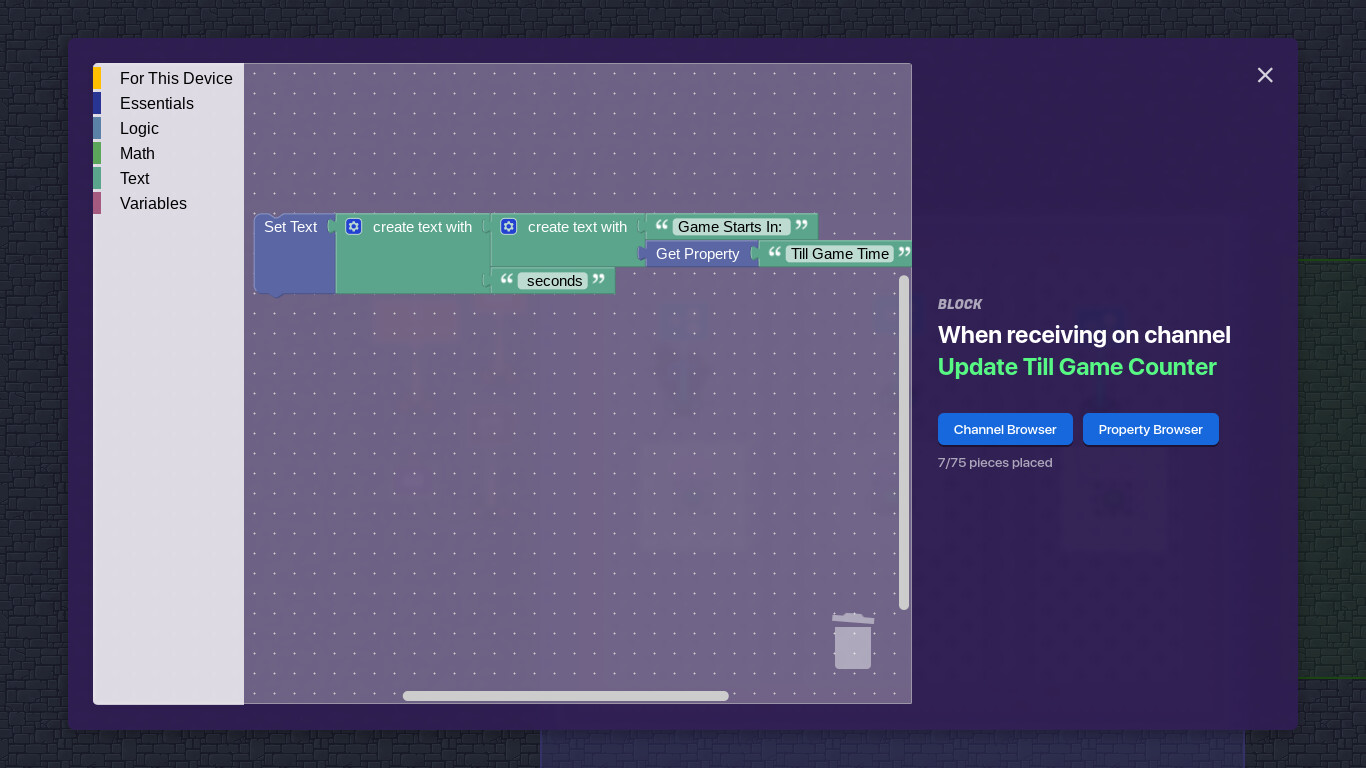
When you start the game, it should display a time that counts down every second.
- Yes, it worked nicely!
- No, it didn’t.
- It didn’t, but I fixed it.
- Yes, it worked well.
- Totally!
- No, it didn’t work.
- No, it was too complicated.
- Yes, but it was too complicated.
- Yes, but it didn’t work.
- Yes, but needs improvement.
- No, needs improvement.
- Absolutely NOT!
Step 2: Make the Arena
This is a fairly easy step, for it’s mostly art, not devices and codes. Use your imagination! Use barriers, emojis, and props to make this happen! If you search, there should be many guides about how to design your game well. Since this isn’t an art guide, I’ll make some brief explanations about what I did and move on.
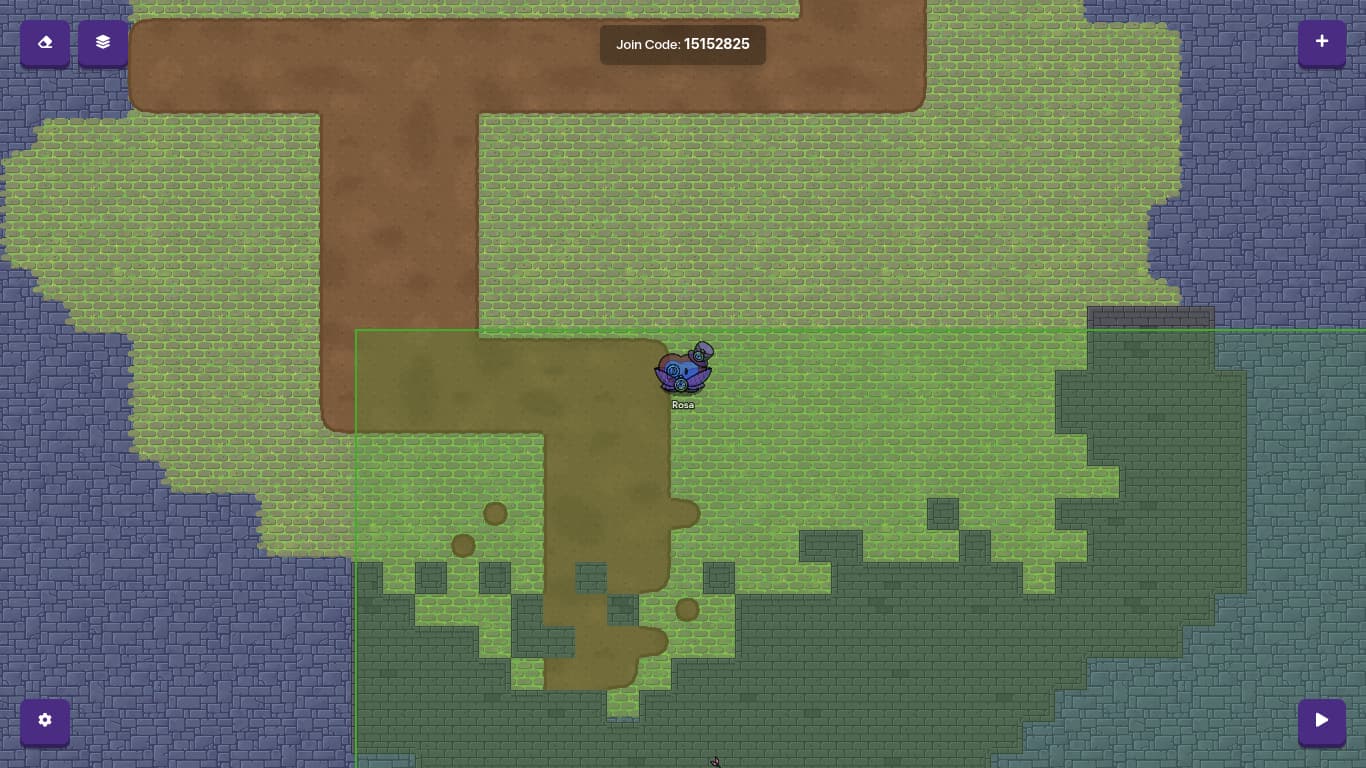
Tip 1: Use an appropriate terrain.
This means that if you’re making a beach, but use a space shuttle floor, it wouldn’t be the best design, unless it’s a special case, such as a view of the beach from a space shuttle. But that’s rare. I’m doing a medieval theme, so I did patches of grass pavement and a stone floor that will be the dungeon.
NOTE! If you put a lot of effort to the terrain then you suddenly is too close to the lobby, drag your mouse so it covers all the devices. Click M and move it somewhere farther off. You’ll have to recreate the terrain, though!
Tip 2: Add some props.
Add street lamps, rocks, plants, bushes! This makes the game look more realistic!
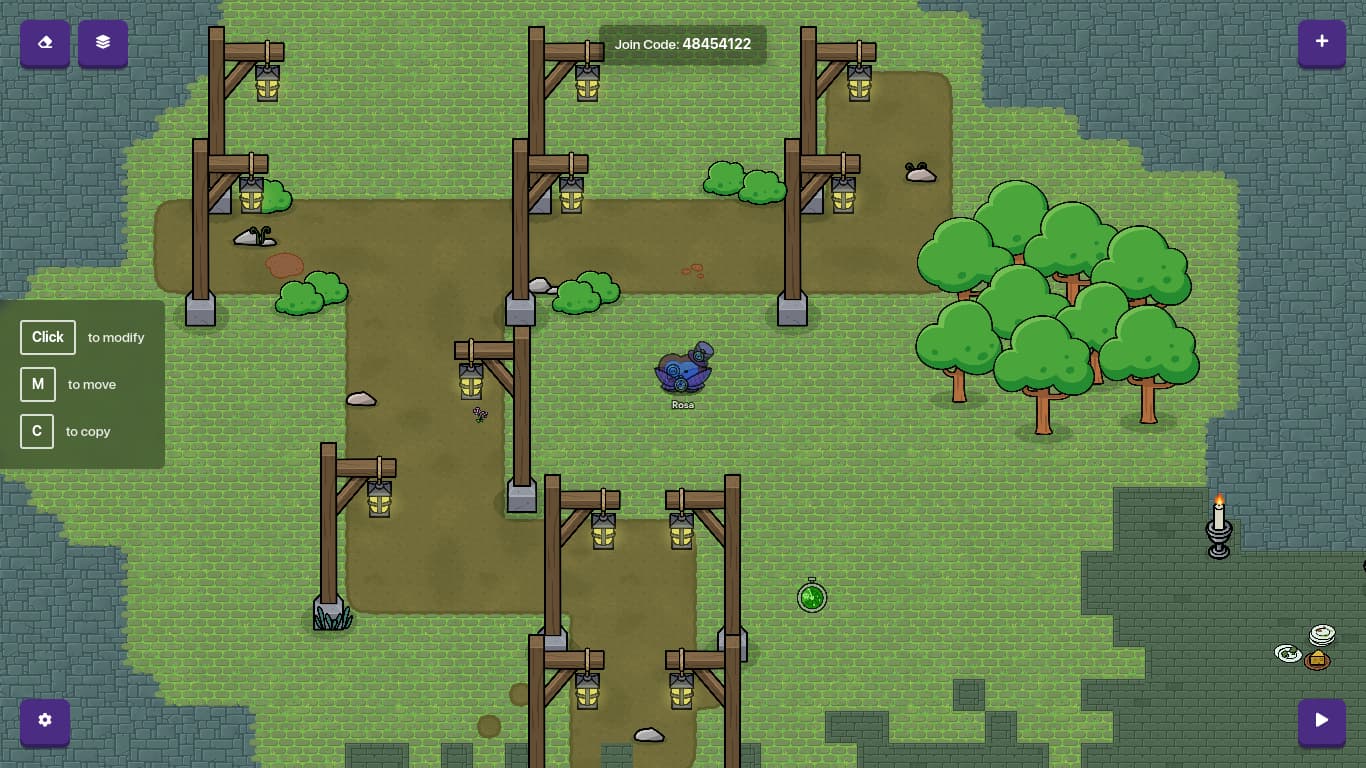
Use emojis in Text Device to create different shapes like fire!

Ok. I think that’s enough for props!
Tip 3: Add INTERACTIVITY!!!
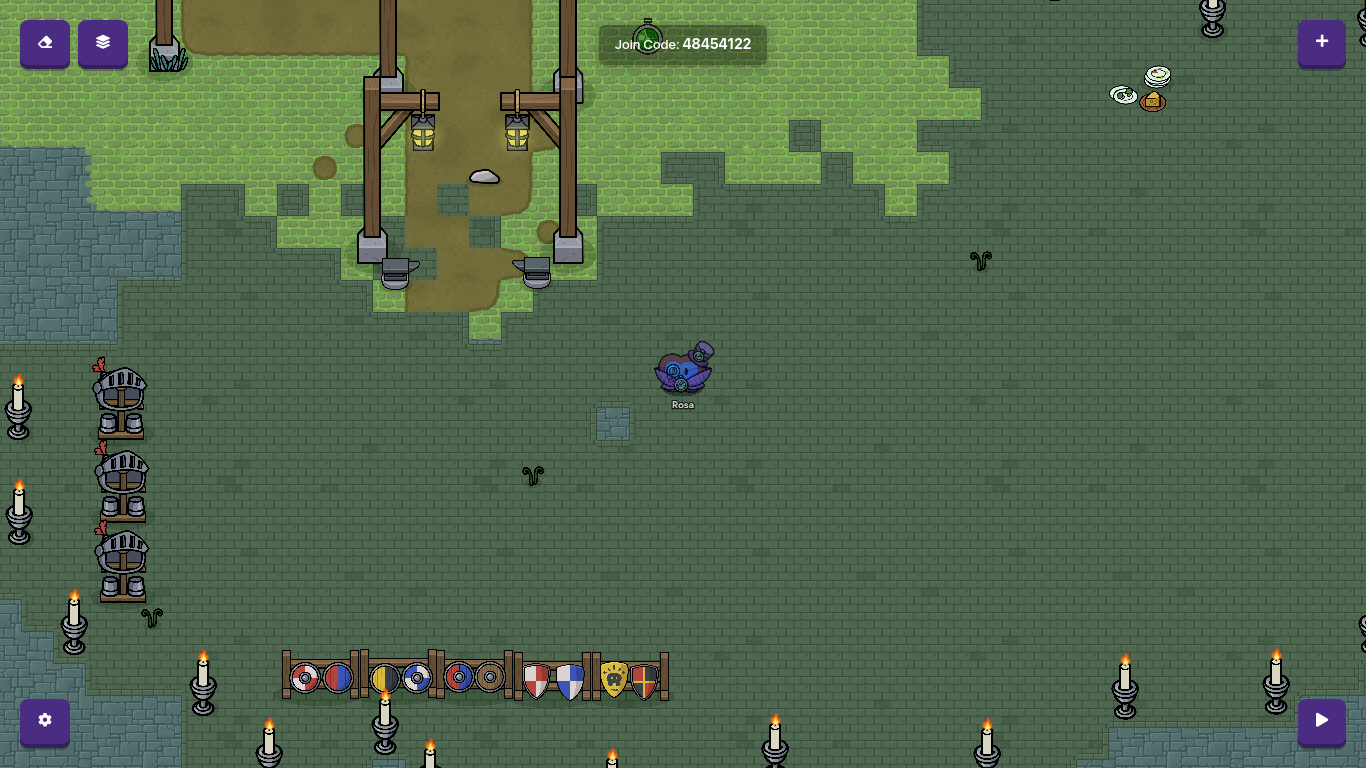
It’d be boring if there was just this map, right? So we add buttons. For example, around the table we might add a button that, when you press it, the food disappears and you get energy! Or you can add trapdoors and secret rooms, too.
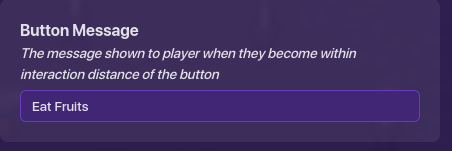
First, make a button. Make its button message to whatever you want it for- in my case, ‘Eat Fruits’.
Then, adjust its size. I like to make it big so even you don’t have to struggle to find just the right spot to press it.

IF YOU WANT IT TO DEACTIVATE AFTER PRESS, FOLLOW THIS STEP: IF NOT, GO ON!
Deactivate after press
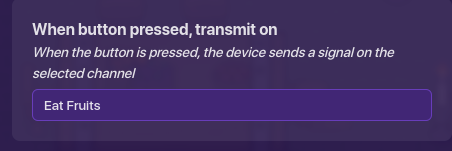
First, make the button transmit a channel. I chose, ‘Eat Fruits’. (Figures! LOL)
Then, go to the channels tab and make it deactivate after "Eat Fruits’.
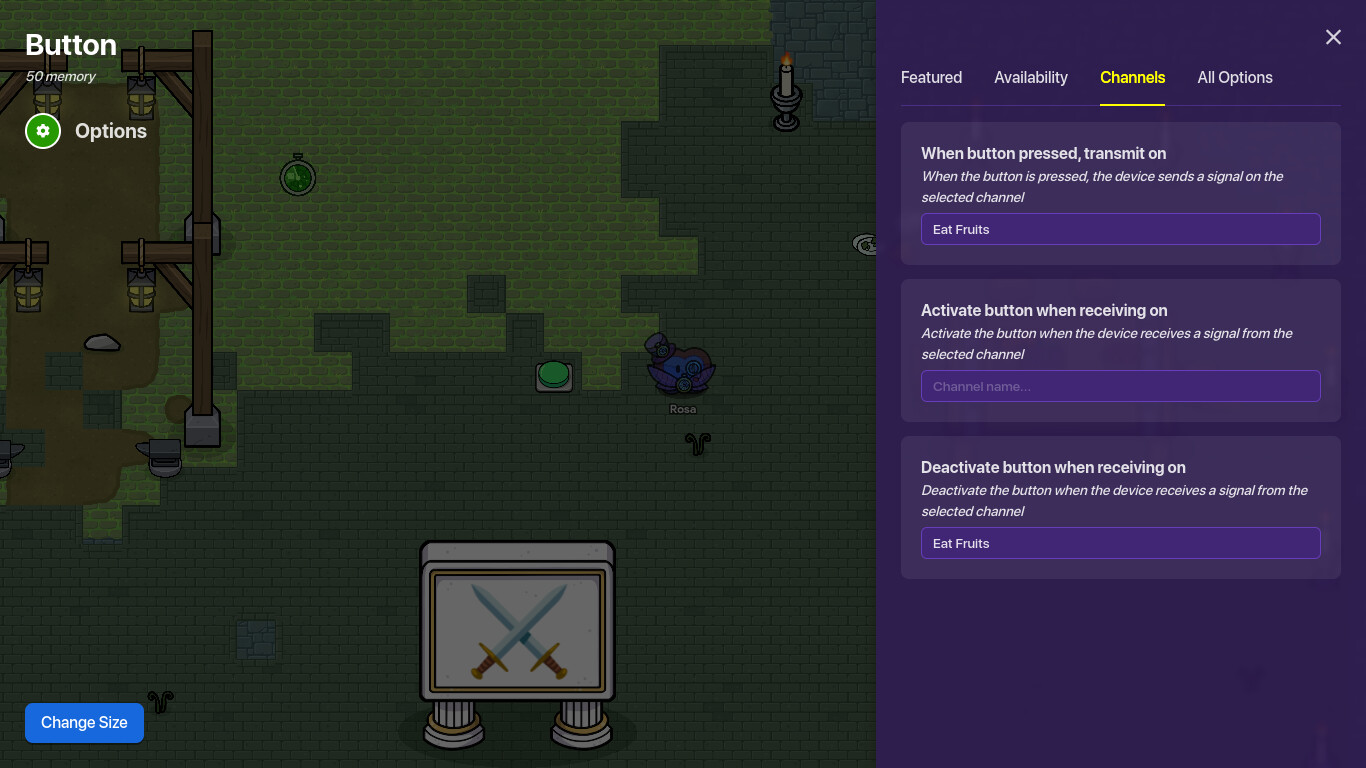
As always, make sure they both say the same thing!
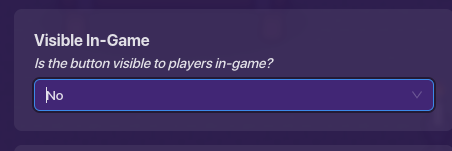
Then, make it not visible in-game, since I don’t think a medieval town had huge green and orange buttons just lying around. Although I could be wrong.
Its visibility doesn’t affect the whole game and its functionality, but it does increase its quality.
Then, just move the button towards your desired location. Since you can’t see it anyway, I’m going to put it in the ‘above’ layer so I can edit it afterwards.
Then, you have a few choices. You can get:
-An item granter
-Health granter
-Popup/Notifications
-Item spawner
-And anything else.
I usually use a combo of notifications and item granters. If you’re making a tag game and are debating between pop-ups and notifications, here’s a tip:
Keep it in mind that during a tag game, a player has to move quickly and probably doesn’t want to have to click EXIT POPUP every time they push a button.
Here’s what I did:

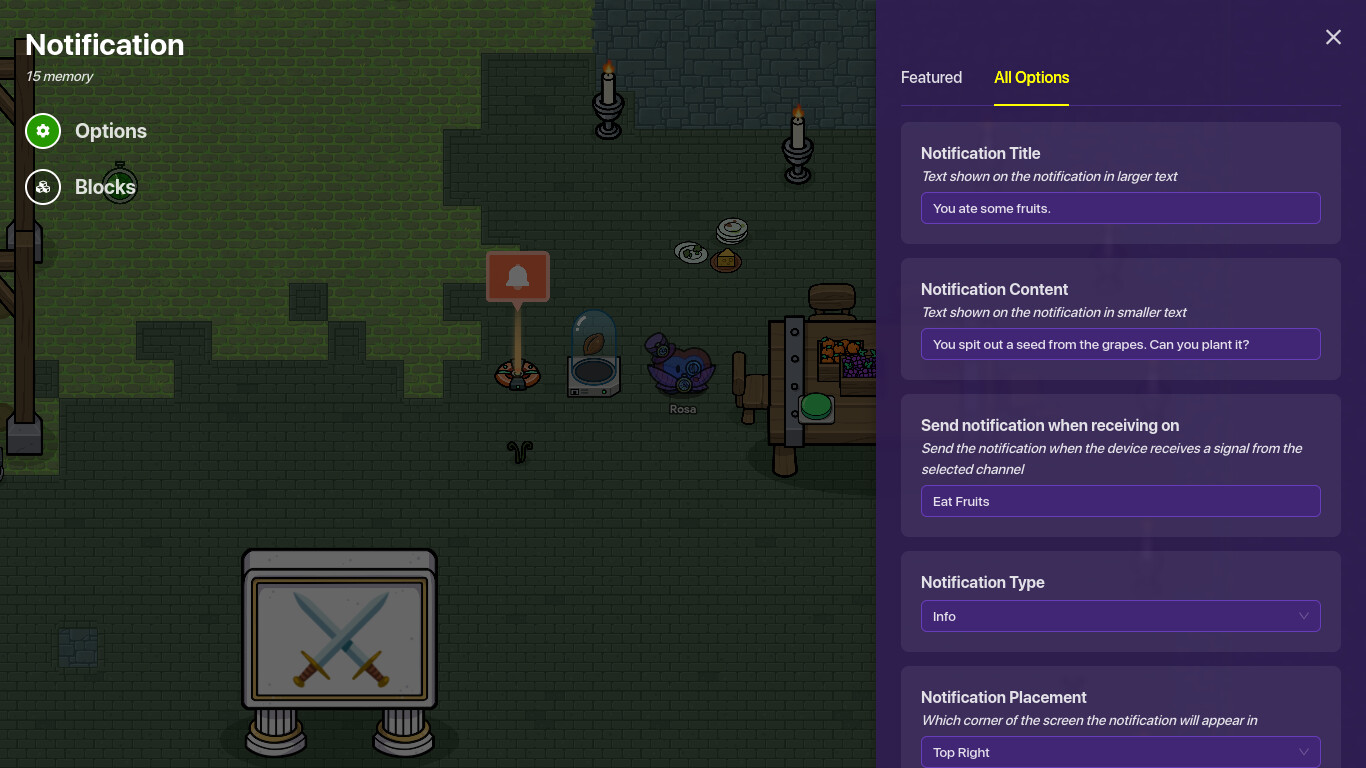
For notifications, you can go to ‘all options’ and make its type an error, warning, success, info, or none. None is the default. Info has a blue circle and an ‘i’ at the start, while success has a green check and warning has an orange ! and error has red X.
Use wires or channels to connect the granter, the notification, and the button. That’s all the tips I can give you, and the next guide will have the actual game itself! Bye and happy gimkiting!
- I enjoyed it.
- I didn’t enjoy it.
- I benefited from it.
- I didn’t benefit from it.
- N/A