NOTE!! This is a sequel to this guide:
If you haven’t already, I’d really appreciate if you’d go read it first!
Anyways, I decide to make this sequel due to someone suggesting it in the comments of the first one. So, without further ado…
THE INSTRUCTIONS!!!
Since there are 2 rooms to this cottage, I’ll split them up into 2 sections
Main Area
The first and main part of the cottage, it’ll take the most time.
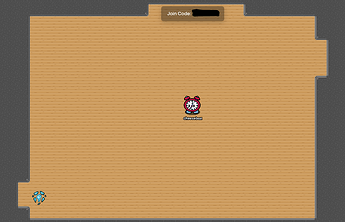
To start, you’ll want to set up the floor plan, so surround the floor with dark scrap.
P.S.
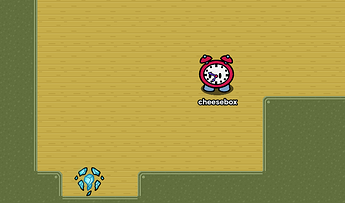
The reason I have a teleporter is because the front entrance is… uh… here.
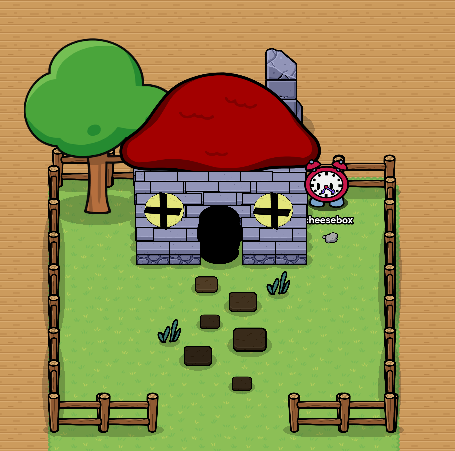
I was trying to recreate the cartoon trope of the exterior being comically smaller than the interior.
P.P.S.
Later on, I moved the entrance and teleporter to the left of the bottom side, because it helps to prevent accidentally teleporting back out.
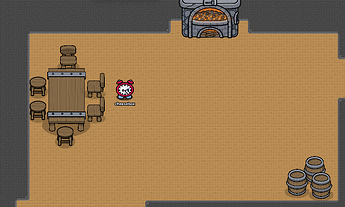
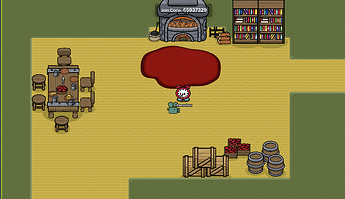
Then, add some basic props to distinguish different parts of the room and fill in big empty spaces (ex. table + chairs = dining area)
From there, start adding some more detail-oriented props to give each area a sort of ‘personality’.
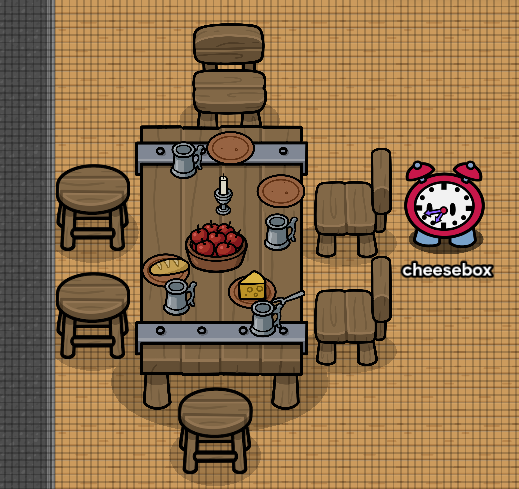
For the table, I added food, cups, plates, and a candle to make it seem like a big dinner just happened.
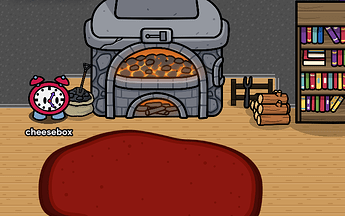
For the furnace, I added a bag of coal with a shovel, some firewood, a fire poker and rack using a medieval fork and an empty shield display, and a rug using some dirt props
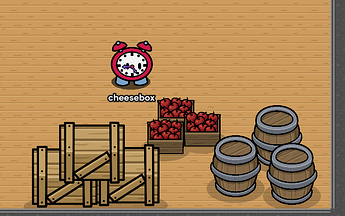
Just to fill up some empty space, I added a little storage corner type area, because why not?
I also added some bookshelves parallel to fill up the corner by the furnace.
In-between the main area and the bedroom is a hallway, but honestly I don’t think making a hallway needs any explanation…
The Bedroom
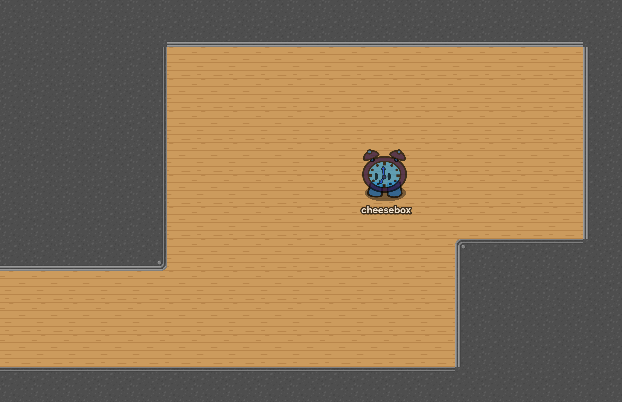
At the end of the hallway, outline another, much smaller area in dark scrap, and fill it in with more of the same flooring, or you could fill it in with something else to look like carpet, like dry grass!
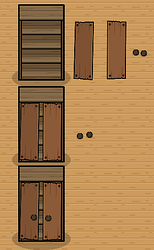
Once again, fill it in with more props to distinguish areas. I added a desk where the cottage owner works on his latest novel, a wardrobe (instructions below), a nightstand, and a bed, of course.
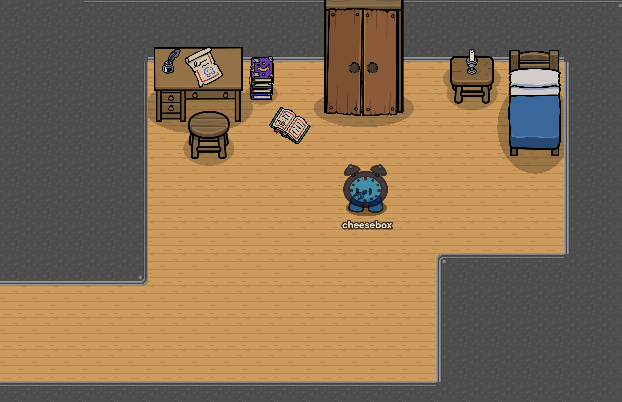
And now you have the inside of your cottage!
But what if you don’t want players peeking into the room down the hall?
If you want to hide certain areas from a player until they reach a certain point, then it’s a job for the camera view device!
Place down one in each room, then resize it to where you want each player to be able to see.
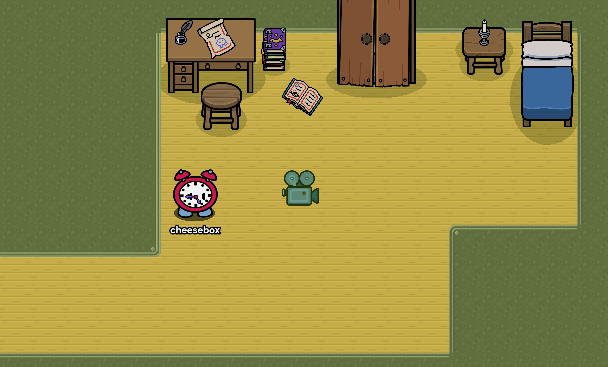
The Camera View device is super helpful if you want to encourage the player to explore everywhere, because it’ll keep them curious about what lies just out of view!
And that’s a wrap! I’m actually really proud of how this guide turned out, especially since it’s noticeably longer than the past few guides I’ve created. I was already planning on creating an interior, and having the extra satisfaction of creating a guide so that other people may create something similar really pushed me to finish it. As always, thank you for reading, and please let me know what you thought of my guide!
