Yup, we’re doing this. Now, you may be asking:
“eiqy, you haven’t finished your Interland Part 1, Advanced Biome Building Guide, or Power of Randomizers guides yet, so why are you making a guide if you haven’t finished them?”
But I love procrastinating. Now, it’s time for the guide.
(geez, after writing lore, “Cursorian” hits different)
Beginners
This is where everyone starts unless your name is Blackhole927, getrithekd, or Shdwy. For beginners, you’ll need to learn some devices.
Learning the Interface
Before you learn about building in Gimkit Creative (GKC), you’re gonna have to learn about how to use the GKC interface.
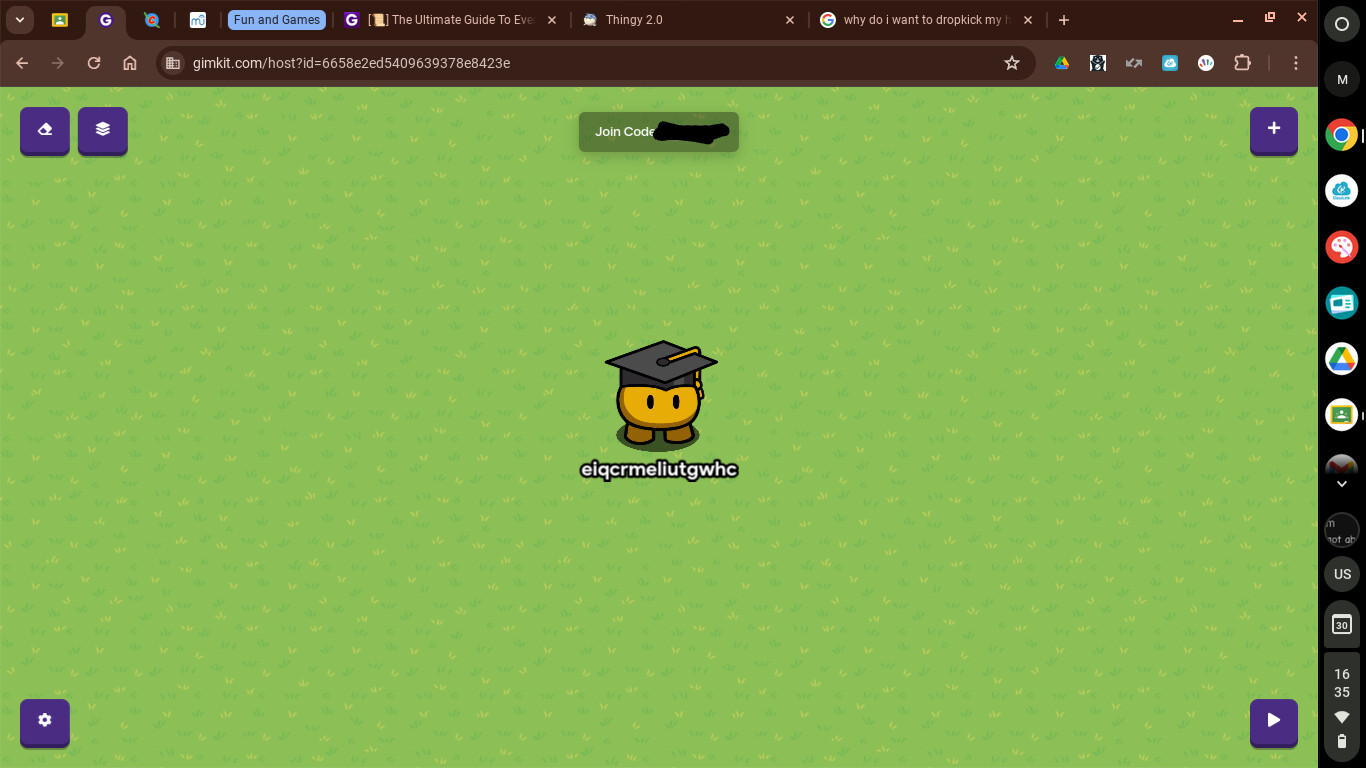
In every corner, there is a button. Here’s what each button does:
- In the top-right corner, there is a plus (+) symbol. Clicking on it gives you a menu of what to add. This includes terrain, props, devices, and wires. We’ll get to those later.
- In the top-right corner, there are two buttons: a rectangle (eraser) and some rectangles (layers). We’ll also get to those later.
- In the bottom-right corner, there is a play button. It allows you to playtest your map without using a showcase link or anything.
- In the bottom-left corner, there is a settings button. It opens up some settings, like editing options and publishing your map.
Now, with that out of the way, we should be good to move on.
Essentials
There are some essentials you’ll need to learn, too. For example, layering and the Prodigy Math soundtrack (wait, what?).
Layering
For layering, you can use the layering menu. In there, you may encounter the map option bug, but that’s not major. Some things to note are:
- If you have too many things in the layering menu, it will lag. A lot.
- The layering menu is very useful for things like signs.
You can also layer terrain. Here are some more things to note:
- Walls are always layered above floor terrain, even on different layers.
- If you don’t layer your terrain, not only will Cellofive refuse to play your game, it will also be bland and, no offence, ugly.
Devices
For this part, just use TUGTED. The people who made it are much better at explaining devices than I am*
*Actually, it’s really because I consider every device to be for beginners and I’m not listing all of the devices here, let alone explain all of them.
Anyways, the rest of this section will be dedicated to explaining two device systems that are pretty easy to understand, use, and make.
Trigger Clock/Loop
This is fun to say. A trigger clock/loop is a trigger that triggers another trigger that triggers the first trigger and does something. Hmmm, not enough uses of the word “trigger,” but still is explainable. It should look something like this, depending on what you want:
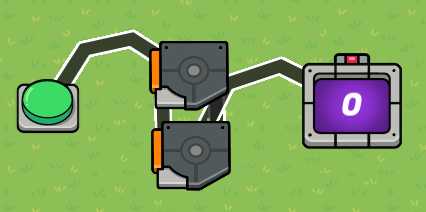
The trigger loop is very useful. It can replace the repeater, and trigger clocks can be used for in-game overlay clocks, which I can explain to you but I haven’t tested it out yet.
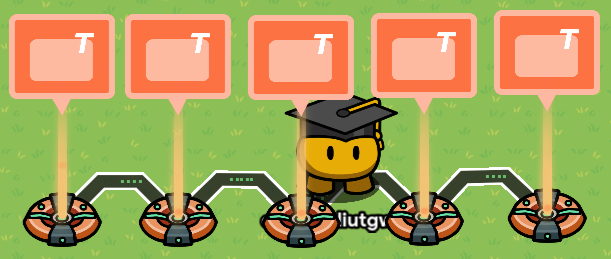
Simple Dialogue
With enough popups, you can make a big dialogue chain with popups. Now, for the basic version, it’s kinda like this:
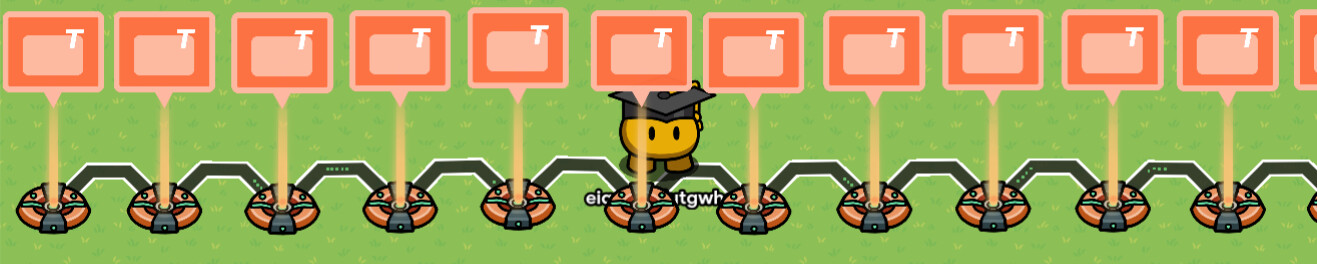
I’m not going to get into the advanced version, because that’ll probably be another guide. But I digress, and these popup chains can be extremely long. In fact, it can look like this if you try:
Fun fact: I’m writing this on the last day of school (May 31st for me), which is why I have the Graduate gim on (for those who know the other reason… cool).
Concepts
Beginners need to learn concepts too, y’know? So, here’s a list of concepts that are beginner-level easy (or what I consider to be that easy).
Advanced Update Order (AUO)
Blackhole927 discovered AUO not even a month after GKC’s release. He discovered Advanced Wire Order, or AWO. But the basic premise (for AWO, at least) is that whatever is placed first is done first. To learn more, go to this guide:
The others may not be as easy to understand as AWO, but the guide and the replies explain it well.
Scope
Why is scope’s difficulty so exaggerated? It’s not even hard to understand. Scope is just who gets to do or see (or some other verb). For example, if you have a visibility scope of player on a prop, then not everyone will see the prop. But if you set the scope to team, then one team or the other (or both) will see that prop.
Zone Render Distance
First found by Grey_Stone here:
…Zone Render Distance, or ZRD, is a bug-like phenomenon where if you teleport out of a zone, the previous zone’s effects can still be felt.
Animation
Not a concept, but I consider animation to be easy. At least in GKC. It’s harder in real life. Right, @speedy_kd4? Anyways, animation, whether you’re talking GKC or real life, is chock-full of repetition.* I bet the only reason why animation is considered “hard” is because of repetition. Don’t be afraid of it.
In simple prop animations, it’s not that hard, but if you’re talking about multi-prop animations, then that’s a slightly different story. It just involves more wires (and possibly more devices).
*I don’t need speedy_kd4 to confirm this one, but animation in real life isn’t completely repetition. It’s just drawing different versions of the same thing [1], but I don’t want the explanation to be too complicated or long.
Block Code
On the surface, block code isn’t actually that hard. Block code can actually be very simple to use. Of course, I’m talking about simple block code like a randomizer. But some block code that’s considered intermediate-level can also be placed here. Like what? No idea.
Intermediate
I would say many users fall into this category, but my categorization of what things are in here may be interesting to you!
Devices
This will be dedicated to explaining device systems rather than devices, which was already explained in the beginner section anyway.
Concepts
This took me a bit to find, so enjoy!
Advanced
Lemme see… well, this is the last of my ideas compiled into one section, so enjoy, I guess.
Concepts
There is only one concept I’ll put in here. And you know what that concept is? It’s whatever is in here. I’m not kidding. That’s actually the whole section.
And that’s it! And I did kinda copy VoidFluffy about the dialogue thing, but mine’s been around for a bit longer (not the same form, though). Anyways, this took a very long time to make, so a like would be appreciated!
- 1
- 2
- 3
- 4
- 5
- 6
- 7
- 8
- 9
- 10
For a reference, you can search up animation timelapses to see how people do it. ↩︎