This is a wiki. DO NOT GRIEF.
Click the box before editing:
DO NOT CHECK THE BOX FOR FUN. If you do, the checked box isn’t real and neither is your sense of safety.
User Assignments
@Kingo’s doing formatting
@Boss_1s is doing generic edits (grammar corrections, spelling errors, minor formatting errors, place holding, getting rid of randomly spawned backticks ![]() , etc.) and mini-guiding
, etc.) and mini-guiding
So I don’t know what I was thinking when I made this; not a good way to start a guide lol.
I think we all know that I am not a device person. I enjoy art and simple mechanics more than I do abstract work. But then I found this topic. One of those “Good Ol’ Discussions”:
I scrolled through the topic and its replies, then compiled a list of all the devices that can be broken down into other existing ones. Those that can be broken down are to be called ‘Constructables’. Those that the constructables are broken down into are the ‘Atoms’ of GKC Devices.
THE PLAN: Make a list of all the ‘Atoms’ and how the other devices (Constructables) can be made from them.
As far as I know, there are 52 released devices in Gimkit Creative, and the discussion in ClicClac’s older topic named 11 of them as “atoms”.
The Atoms
Item granter – Only device that can remove or grant items to a player. This plays a crucial role in most games. Memory: 35

Inventory Item Manager – Works with the ‘Item Granter’ to interact with the player’s inventory; again, it’s the only device that can do what it does. Memory: 215

Button – It’s a unique device that lets you interact and serves almost something close to a GUI if you count blocks, channels, and properties as the real workings behind the game. Memory: 50

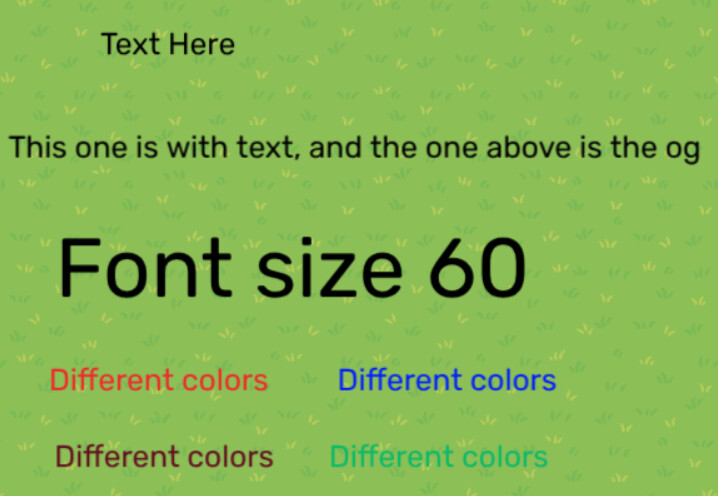
Text – The only convenient way to display words. Memory: 60
Popup – This one I’m not sure about, because it could actually be a notification with different choices, but as that is impractical (a word I will use instead of impossible) to recreate, I will include the Popup as an atom for now. Memory: 50

Notification – Sends alerts in-game and can carry block code. It might not be an atom as it is interchangeable with the popup, but it’s more useful as it can carry code. Memory: 15

Trigger – We love triggers. Honestly my favorite device, it can do almost anything and is way better than a repeater. Memory: 40

Property – Stores data in numerical or word form, and also can be used to update the score in a game instead of knockouts or in-game time. Memory: TBD

Damager – Deals damage to a player. It can be used instead of something like a laser. Memory: 10

Questioner – Introduces questions to a game. This one is special because it’s the only one that has some sort of access to the bigger web–if GKC as we know it is a small section of the whole Gimkit website, the questioner is sort of a thin link to the bigger Gimkit website as it accesses sets you can create or borrow from other people. Memory: 250

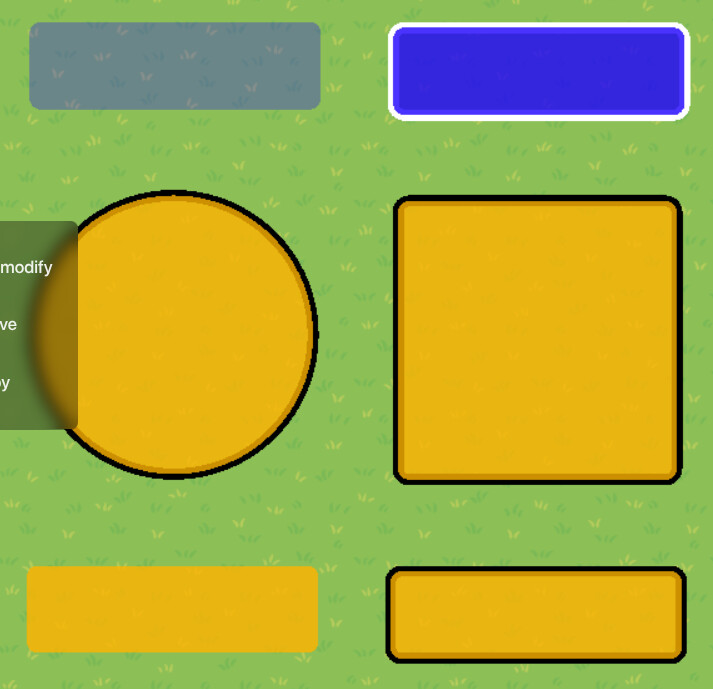
Barrier – Blocks off areas and doesn’t let you enter. This one’s a little questionable as you can approximate it with some triggers or just use props, so I may edit it out later. Memory: 20
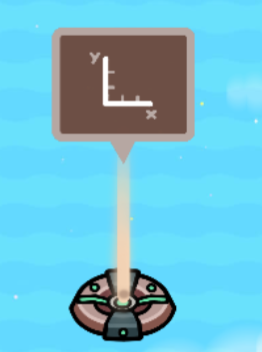
Camera Point – Allows players to “detach” the camera from pointing at the player to a different location. Because this can’t be constructed with other atoms, it is an atom itself. Memory: 100

End Game Device – Allows players to end the game. It can be used to create complex systems to control the when and where the game ends. As it is the only device that can actually end the game and cannot be recreated with other atoms, as of 8/11/2025 it is now promoted to an atom. See this post for more info on why it is an atom.

Coordinate Device – Tracks the coordinates of a player. It is very useful in scenarios where one needs to pass a certain X or Y value to move on, finish the game, etc. It is also useful just for tracking purposes, like how far away the nearest player is. Sadly, I forgot to write this little bro down, so I’m doin’ it now ![]() .
.
There is also one backward compatible atom so far (in which a constructable can also be an atom and be made by atoms):
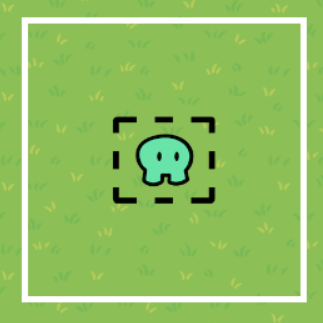
Zone – Detects whether player(s) are entering or leaving a specific area. This is the only backward compatible atom so far; it is backwards compatible with a trigger. You can see the recipe for a zone in the Constructables section. Memory: 30
Constructables
This section is a list of all the “constructable” devices–kind of like composite numbers in math, they can be made from the atoms. This concept may be useful as there is a chance a setup using the atoms will be less memory intensive than the actual device. Just check the memory comparisons at the end of each line - the atoms’ memories have been added together for convenience. I’ll add setup and how to do it if I have time. [1]
Wire repeater → trigger Memory: 5 vs. 40
Steps
Pretty simple to recreate a wire repeater with a trigger:
- Grab a trigger. The settings should look like this:
- Wire your input device to the trigger
When something --> Trigger - Wire your output device to the trigger
When triggered --> Something
Note that you can use the delay pulse function from the wire repeater in the trigger as well, just use the trigger delay function.
LESS MEMORY EFFICIENT


Movement meter → timer[2] + item granter Memory: 400 vs. 100
Steps
finalizing and testing
Starting Inventory → Global property + item granter Memory: 10 vs. ≥35[3]
Steps
To be written
Laser → Trigger + damager Memory: 250 or 75 vs. ≥70
Alternative: Zone + damager (Memory: 250 or 75 vs. 60)
Steps
The following steps use the trigger recipe:
- Grab a trigger. The settings should look like this:
You can change the Allowed Team setting if you want. - Copy the trigger as many times as you need to “stretch” out the damage zone.
- Grab a damager. The settings should be like this:
Optional: add a barrier with no collision to make it look like you’re “passing” trough the laser, add 20 memory


The following steps use the zone recipe:
- Grab a zone. Under
When Player Enters Zone, transmita(or something else). - Click the change size button in the zone settings, and stretch out the zone as much as you want.
- Grab a damager. The settings should be like this:
Finished Product:


[image]
With trigger recipe (added barrier decor for your convenience  )
)
[gif]
With zone recipe:
[gif]
MORE MEMORY EFFICIENT
Counter → Text(w/ block code) + property + trigger Memory: 25 vs. ≥1095
Steps
- Grab a text device. Customize it to your liking, but leave the text to display section blank.
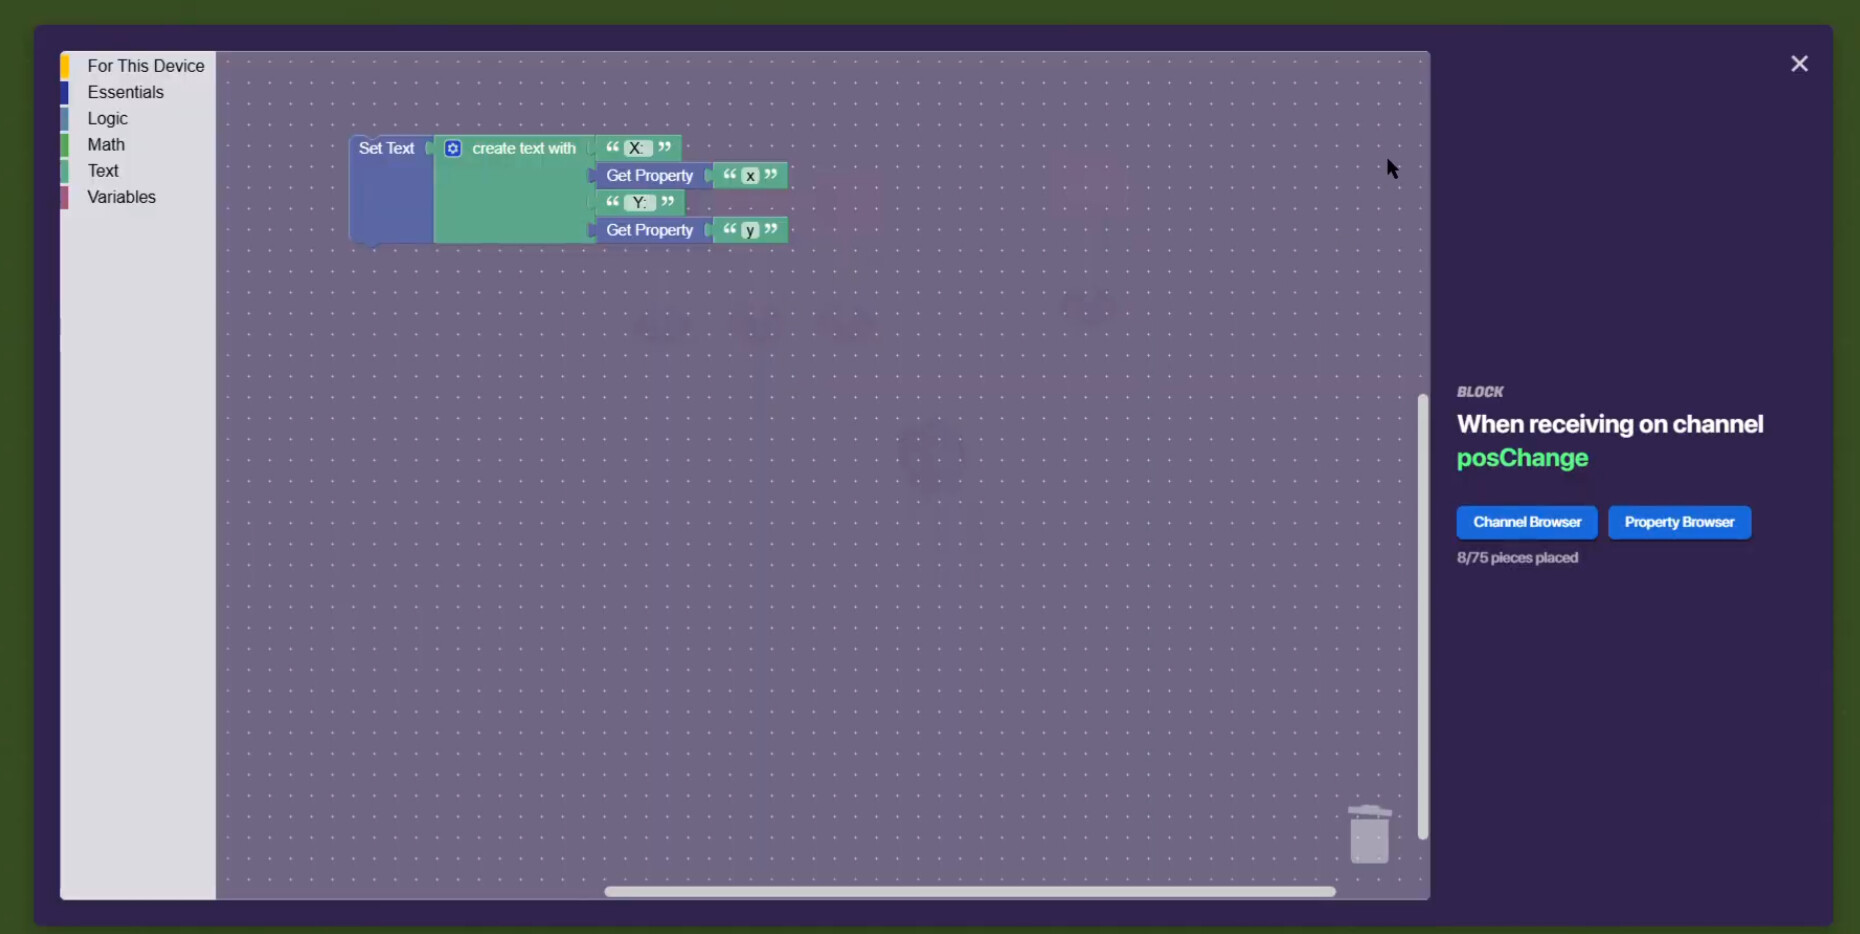
- Go to the device’s blocks, and create a new block When receiving on channel
counter_a. - Follow the block code here:
For those of you who can’t access the image, the code is below (in python), it shouldn’t be too hard to convert:

import gimkitBlocks as gimkit

gimkit.textDevice.setText(gimkit.essentials.getProperty("counter"))
gimkit.essentials.setProperty(name="counter",value=gmikit.math.add(gimkit.essentials.getProperty("counter"),1))
[4]
4. Time to add the corresponding property device! Grab a property device, and name it counter (or whatever name you used in the block code). Set the type to number, and When Value Changes, Broadcast To counter_b.
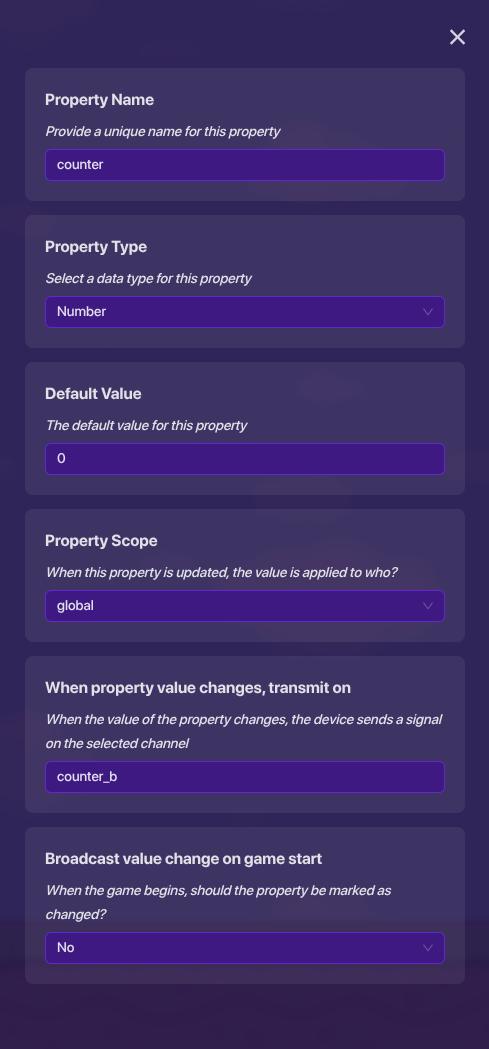
Now, note that from here, this could go two ways. The instructions on both sides of the split are pretty much the same, except it depends on whether you’re counting up or counting down.
5a. If you’re counting up, in the property device, set the default value to something greater than 0.
5b. If you’re counting up, in the property device, set the default value to something less than 1.
5c. If you don’t care what number you start on, put anything as the default value. Just make sure it isn’t a hexadecimal player id lol
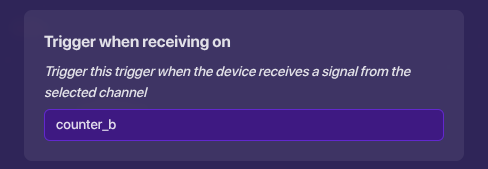
6. Grab a trigger. Under Trigger When Receiving On, put the channel counter_b. Customize everything else to your liking. For example, if you’re making a timer, you could set trigger delay to 1 and broadcast on counter_a when triggered.
7. Finally, go into the Blocks section, create a new block
When Triggered. Add any code you want, depending on what you’re making. Just don’t forget to add this block at the bottom of your code:
broadcastOnChannel -> counter_aAnd violà! You’re finished.
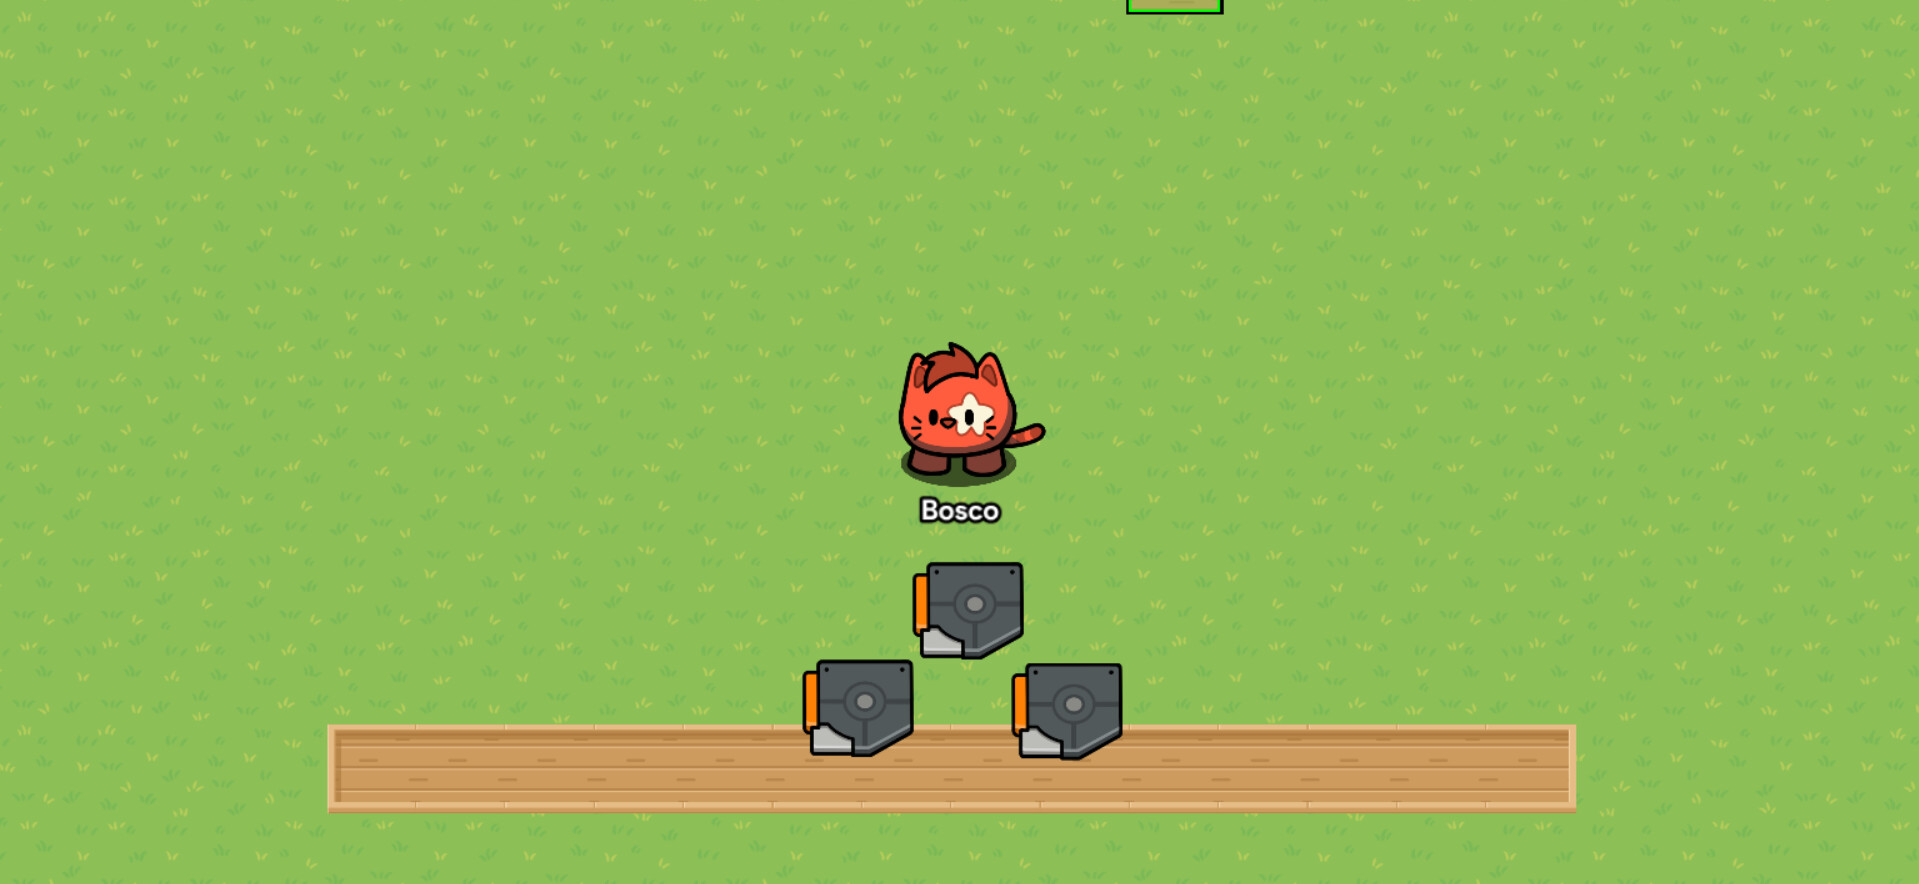
Optional: Make your text look like a counter with a barrier. Additional memory required.
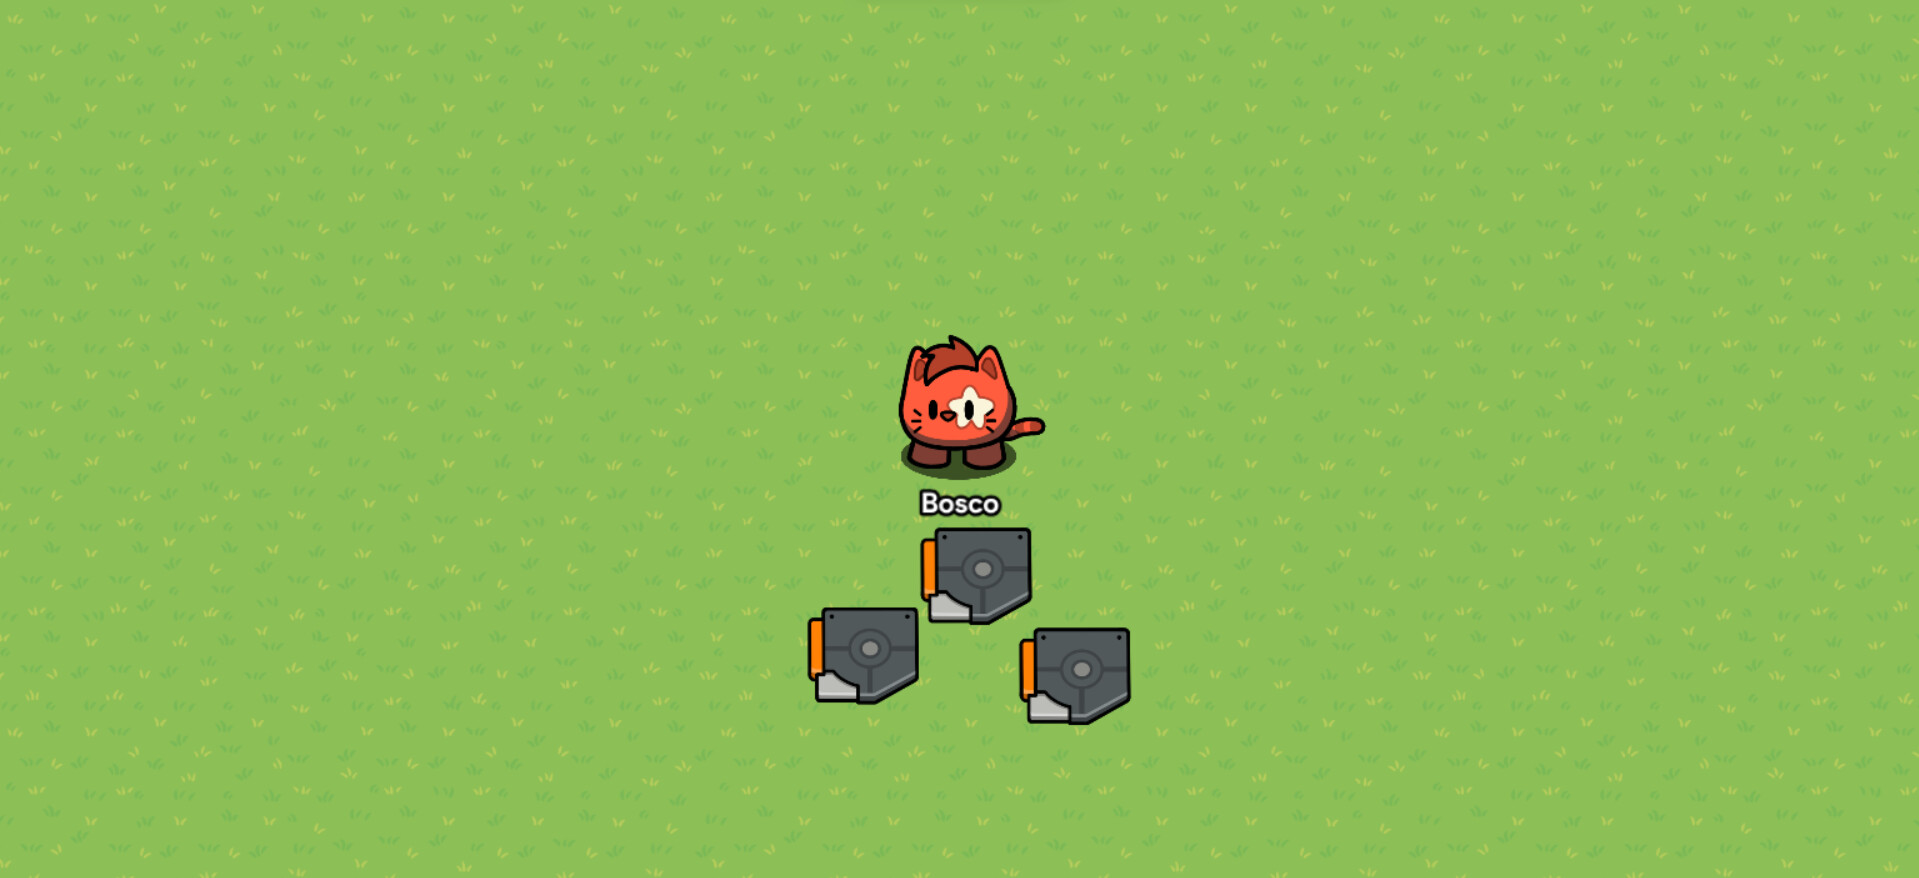
Finished Product:
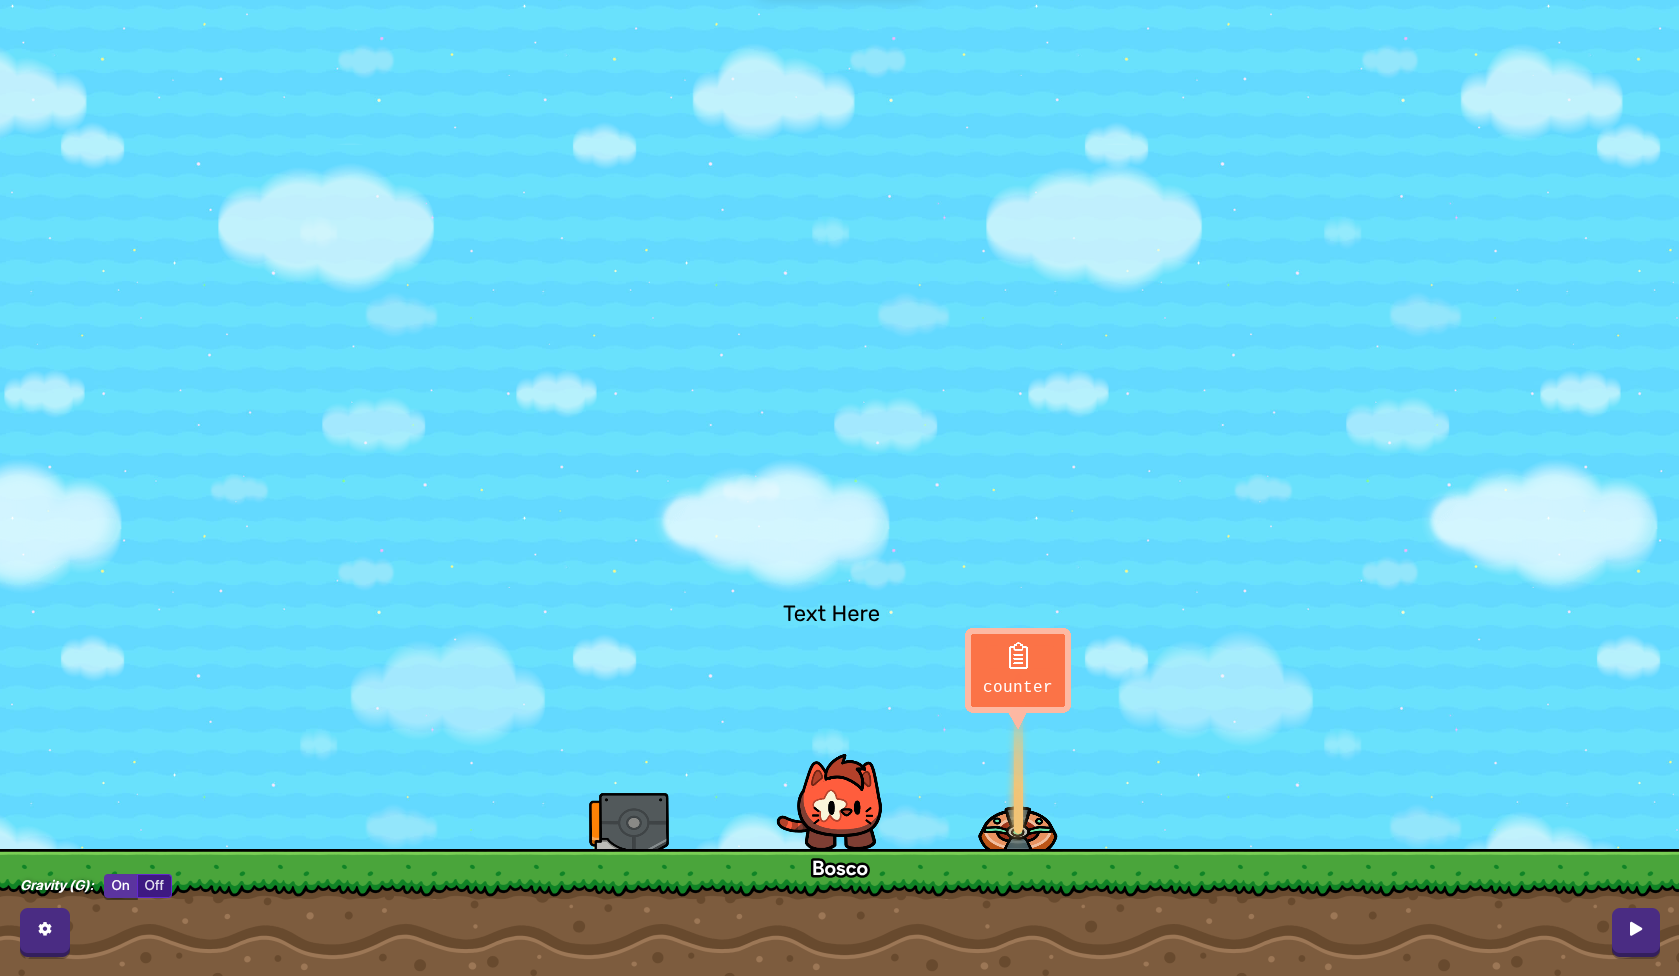
In Action:
[gif]
WAYYY LESS MEMORY EFFICIENT
(You can always use repeaters if you want)
Checker → Trigger (if-do block code) + Property Memory: 35 vs. 550
Steps
![]() BLOCK CODE IN USE
BLOCK CODE IN USE ![]()
Before you start, read this topic:
Court: Trigger VS. Checker (And an explanation on what a Trigger Check is)
Anyways, I digress.
This shouldn’t be a problem if you know block code. Honestly, the setup to recreate a Checker is fairly simple:
- Grab a trigger.
- Create a new block “When Triggered”.
- Put your check with the property you’re checking in a logic block, namely the boolean block:
[img]
And you’re done! For other settings, like item checking, you will need a system that copies the amount of items to the property.
EXTREMELY MEMORY INEFFICIENT
Item Spawner → Button + Item Granter Memory: 8 vs. 85
Steps
To be written
Knockout → Knockout Manager Memory: TBD vs. 10
Steps
To be written
Laser Manager → Damager + Trigger Memory: 32 vs. 70
Steps
To be written
Zone → At least 3 Triggers Memory: 30 vs. ≥60
Alternative: Coordinate device, 2 Property Devices, Checker, Terrain (for 3x3 use 9 pieces, change to you liking) [5] Memory: 30 vs. 3557+/3558+[6]
Steps
Trigger
For these steps I’ll use four triggers for a teeny-tiny zone, however you can change the amount of triggers to your liking when it comes to it. Also the recipe says three or more because you can do the following steps in platformer mode on the ground some terrain using three.
- Grab ONE trigger. Set player collision to on, and visible in-game to off.
- Copy the trigger, and place it to the top left or right of it, like this:
(uh, name reveal) - Repeat step two but with the bottom right/left and right/left of the original trigger.

(Optional: make the zone look like a zone with a barrier device with collision off, will cost you 20 additional memory)
FINISHED PRODUCT

With the terrain mentioned in the intro:
Maybe a bit bigger?

WAAAAAY LESS MEMORY EFFICIENT
Slim’s Way
See the post below please, I basically took @SlimExtraterrestial’s video from their guide and put it into words. ALL CREDITS TO SLIM.
- First, place a coordinate. Set it so that the x value is recorded in the property
x, and y recorded on propertyy. Also set it so that when coordinates change, broadcast onposChange. - Grab two properties. Both of them should be the same settings (number type, no default) but one should be named
xand the other namedy. - [Optional] Grab an overlay device. This overlay will show your current coordinates. First, set all scope settings (Content and Visibility Scope) to player, then create a block that runs when receiving on
posChange, and finally, add the following block code:
Set text -> combine text {
-> "X: "
-> get property -> "x"
-> "Y: "
-> get property -> "y"
}
- Draw your zone using terrain.
- Grab a checker. This checker will check whether or not your coordinates match the zone borders. In other words, it checks if you are in the zone. First, set the checker to run when receiving on
posChangeand to broadcast onzoneOnePassif the check passes. Also set the number of checks to 4, and the Pass Condition toAll checks must pass. - Still in the checker, it’s time to edit the checks. You will have to constantly switch between editing and playing in order to find the correct coordinates to compare against.
- Under check #1:
- Check Type: Value
- Property: y
- Comparison: greater than
- Value: whatever your lower border’s y val is
- Under check #2:
- Check Type: Value
- Property: y
- Comparison: less than
- Value: whatever your upper border’s y val is
- Under check #3:
- Check Type: Value
- Property: x
- Comparison: less than
- Value: whatever your left (eastern) border’s x val is
- Under check #4:
- Check Type: Value
- Property: x
- Comparison: greater than
- Value: whatever your right (western) border’s x val is
ALL STEPS BELOW ARE THE OPTIONAL ONES.
- Grab a notification device. It will send a notification when you enter the zone. The notification can be whatever you want. In the video,Slim used the notification “You Entered A Zone!”. Just be sure to notify when receiving on
zoneOnePass.
THE END
Oh, and this isn’t recommended cause it’s very memory inefficient
Lifecycle(set to Game Start or Player Joins Late) → Trigger + Spawn Pad Memory: 50 vs. 50
Steps
The following steps are to recreate a lifecycle with Game Start setting:
- Grab a trigger. Make sure the player collision setting is on.
Team Allowed and visibility settings are up to you. Make sure the trigger broadcasts something to put the “lifecycle” to use. - Grab a spawn pad. Make sure the spawn pad is directly above the trigger.
Optional: instead of channels, you can always use wires. However, that will cost +10 memory per wire. If you are using wires, make sure to wire the trigger to the output device.
Finished Product:

(Um what definitely not in playing mode ![]() )
)
(looking for the end game device? It’s been promoted to an atom! See the atom section for more info.)
Ball Capture Zone → trigger(w/ block code) + zone Memory: 200 vs. 540
Steps
To be written
Tag Zone → trigger(w/ block code) + zone + respawn Memory: 1500 vs. 850
Steps
To be written
Relay:
- set to
All Players→ trigger(scope global) Memory: 20 vs. 40 - set to
All Players on My Team→ trigger(scope team) Memory: 20 vs. 40 - other options would require player count systems (will be added later when systems section is created)
Steps
To be written
Thanks to @eiqcrmeliutgwhc for the following:
Vending Machine = Button + Item Granter(s) Memory: 125 vs. ≥85
Steps
To be written
Item Spawner = Button + Item Image + Item Granter Memory: 8 vs. 85 (without image)
Steps
To be written
Repeater = Trigger Memory: 500 vs. 40 & 80[7]
Steps
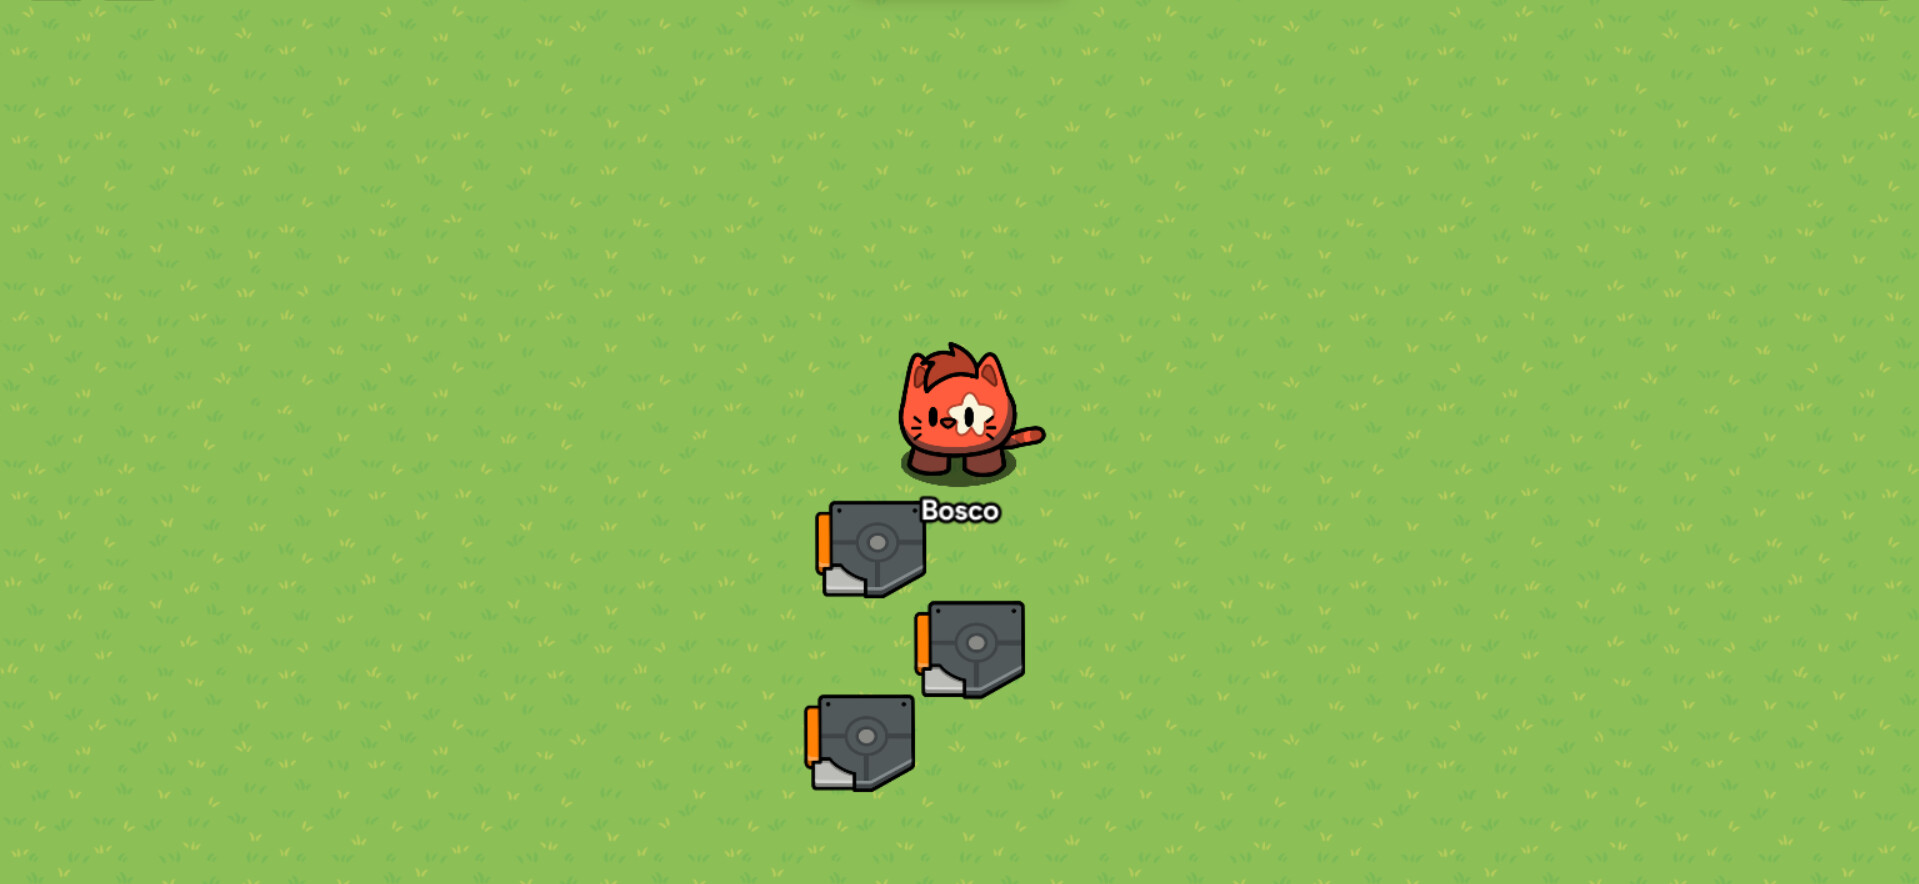
**How to recreate a repeater?** There are a couple of ways to do this (see this topic for more info!) with only a trigger (loop system), I choose these two for this mini-guide: - **single trigger** - **double trigger**Single Trigger
I don’t even need step numbers for this, because of how simple it is.
All you gotta do, is choose a channel name (let’s say repeat) and slap it into the trigger’s Trigger When Receiving On setting and When Triggered, Broadcast On setting. Finally, add a delay. The End.
[image]
If you want it to stop it at some point, you can type in multiple channels
using commas, or be very inefficient and add a block. Idk, it’s your choice.
[gif]
(Still under construction)
In addition, I’m thinking the questioner could be a popup, but it forces the players to only answer from one question set.
This guide is honestly a massive WIP, but it’s interesting and I see some potential for this subject. I will need help from you amazing sleep-deprived forumers as I am not the best with devices. Thanks for reading and now I’m gonna go play some Minecraft bye!
Credits
@ClicClac for the original research topic
@ars3nic for this research topic
Contributors:
@Boss_1s [note from ars3nic: HUGE shout-out to him for contributing so much to this guide! I appreciate it.]
@Dungeonmaster
@eiqcrmeliutgwhc
@getrithekd
@Blackjack
@Toothless
@Kingo
Everyone else that more or less contributed by posting(SlimExtraterrestrial, PhoenixWander, AstralLuke, Fergo, TinanYx, Fulcrum-19, Coderdash)
To-Do list
hack cough
Uh this is for me or whoever wants to edit this guide. My memory’s trash so yeah
- List devices by function
and memory usage - Tweak and refine formatting
- Check accuracy or practicality of constructables
- How-to section for constructables
- Add systems, i.e Player I/O or Turing Machines
- Figuring out which of the 41 constructables are
impossibleimpractical to be built with atoms (post #46)
Also
It’s a small section of the guide (movement meter) that I’m still workshopping (don’t work rn) so here:
for Ars
Grab a counter from the devices menu.
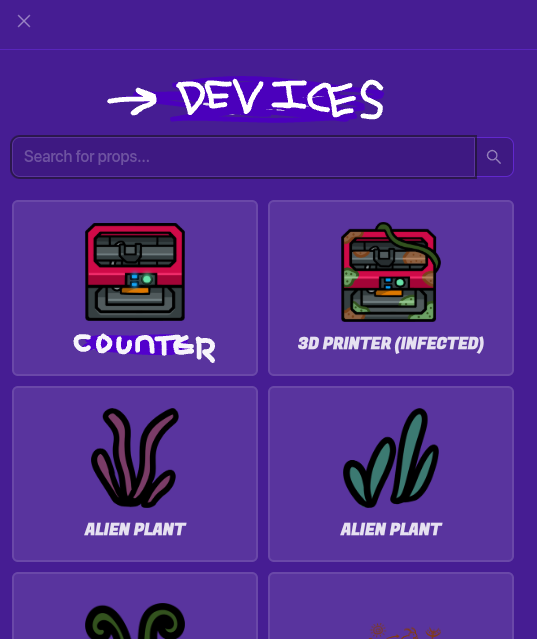
Yes, that’s the devices menu, trust me. TRUST MEEE
And make the target value of the counter one (1). Have the initial value (or starting value for all you non-educated peasants).
Anyway, next get a trigger. The settings for it should look like this.

Wire them together like so:

The bottom wire is triggered → increment counter
And the top wire is target value reached → trigger.
Next get an item granter, this dude (no not Bob, or me):
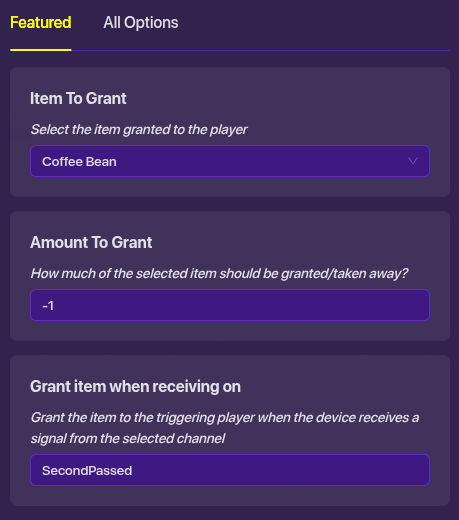
The settings for the item granter should be like this, except replace “coffee bean” with wherever you get your energy. Not sleep, of course :P
Note: some constructables have
zoneas an atom, this is the actual zone device, even though the zone itself is backwards compatible with a trigger (see posts #64~#67) ↩︎counter + trigger ↩︎
A definitive value cannot be determined as there are multiple other devices that can be used to do the Global Property and activate the item granters. Hence I’ll do the minimum of 35 ↩︎
(Technically you can name the
counterproperty whatever you want.) ↩︎Optional: Notification, Overlay ↩︎
includes terrain ↩︎
This is why we don’t use repeaters…sigh ↩︎