Alright so in this guide I will be showing you how to make Santa’s Village and Work Shop! Hope you Enjoy!
What you need:
- Medieval Streetlight Lamp (On)
- Text
- Wooden sign
- Waypoint
- Filling Cabinet (Both White & Black)
- Anvil
- Wood Fired Oven
- Compressor
- Molten Lava Bucket
- Wooden Fence Vertical
- Wooden Sign
- Wooden Pole
- Snowy Tree
- Spawners
- Metal pole
- Barrier
- Tents
- Table
- Desk
- Stool
- Purple Seat
The ENTRANCE
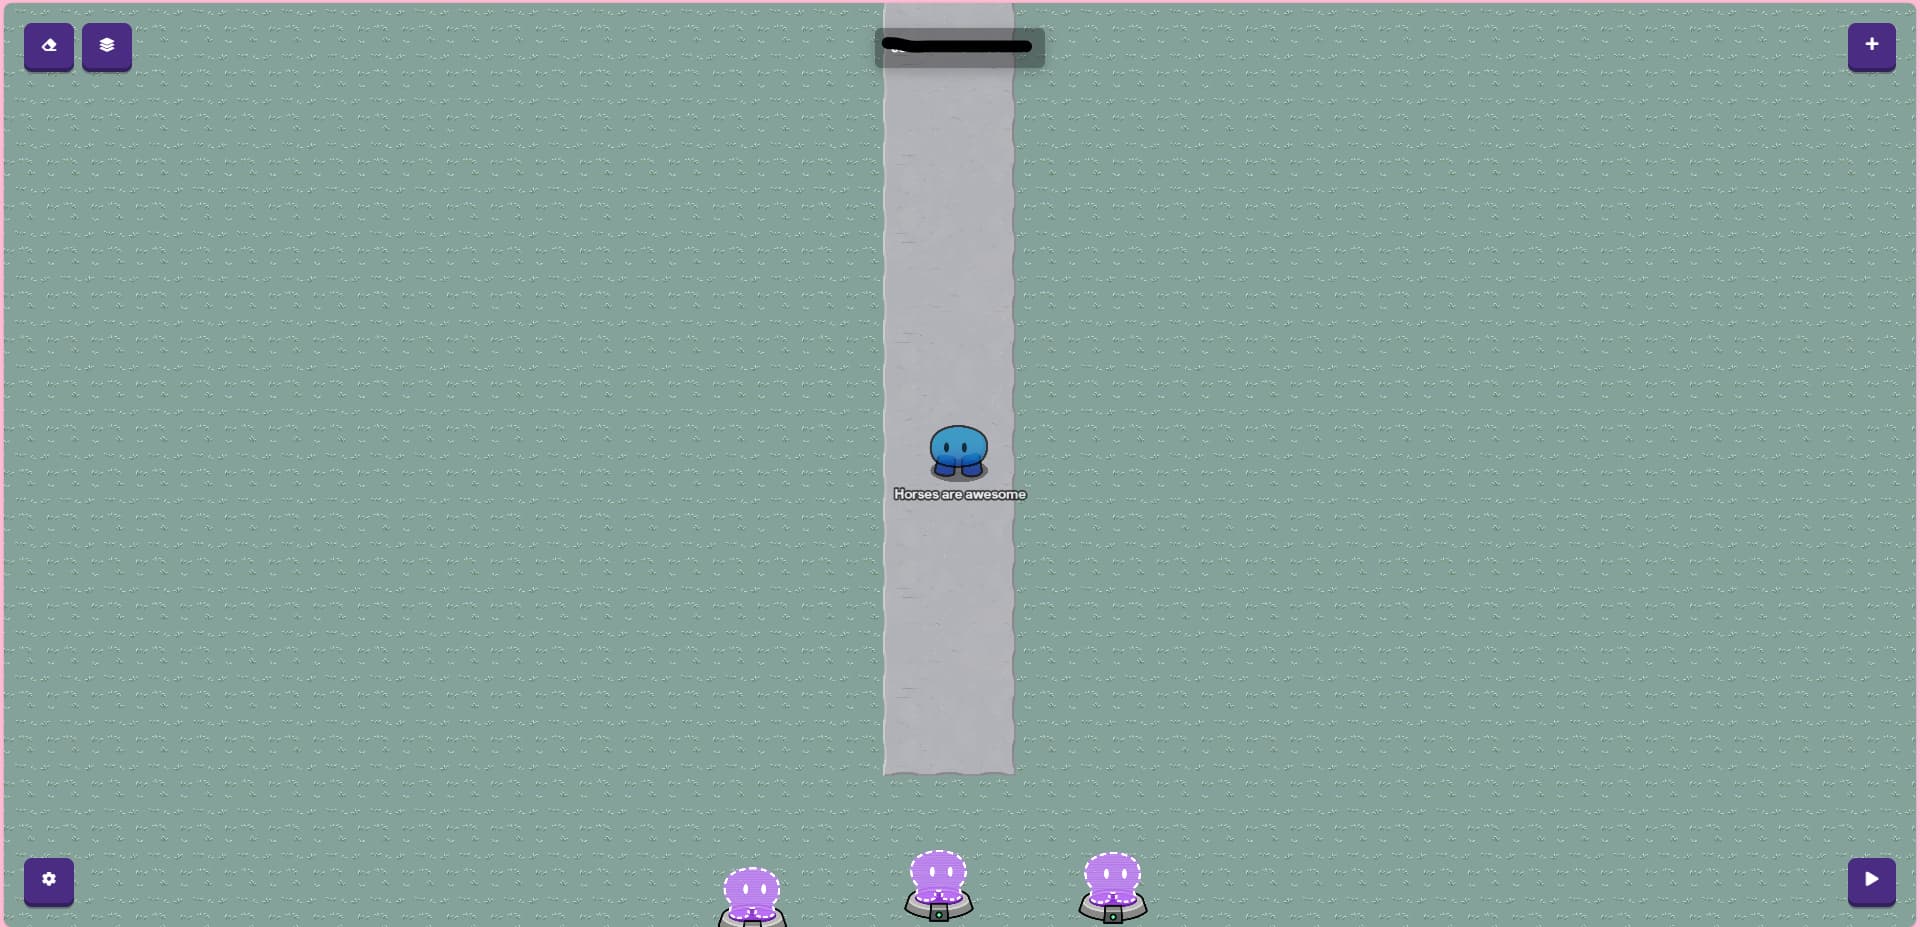
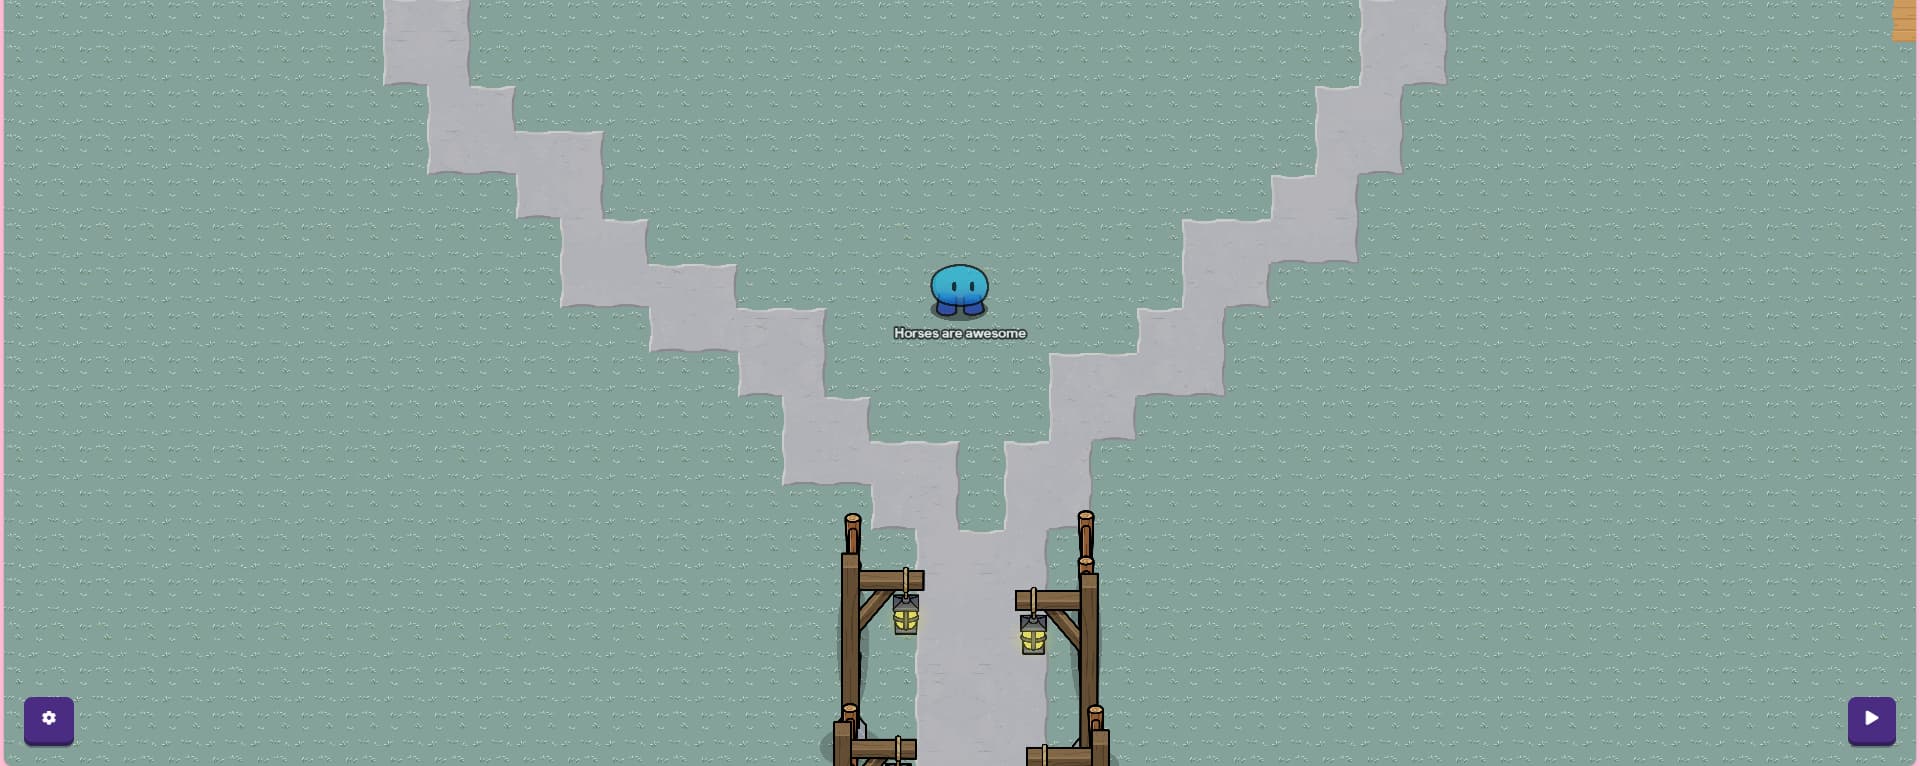
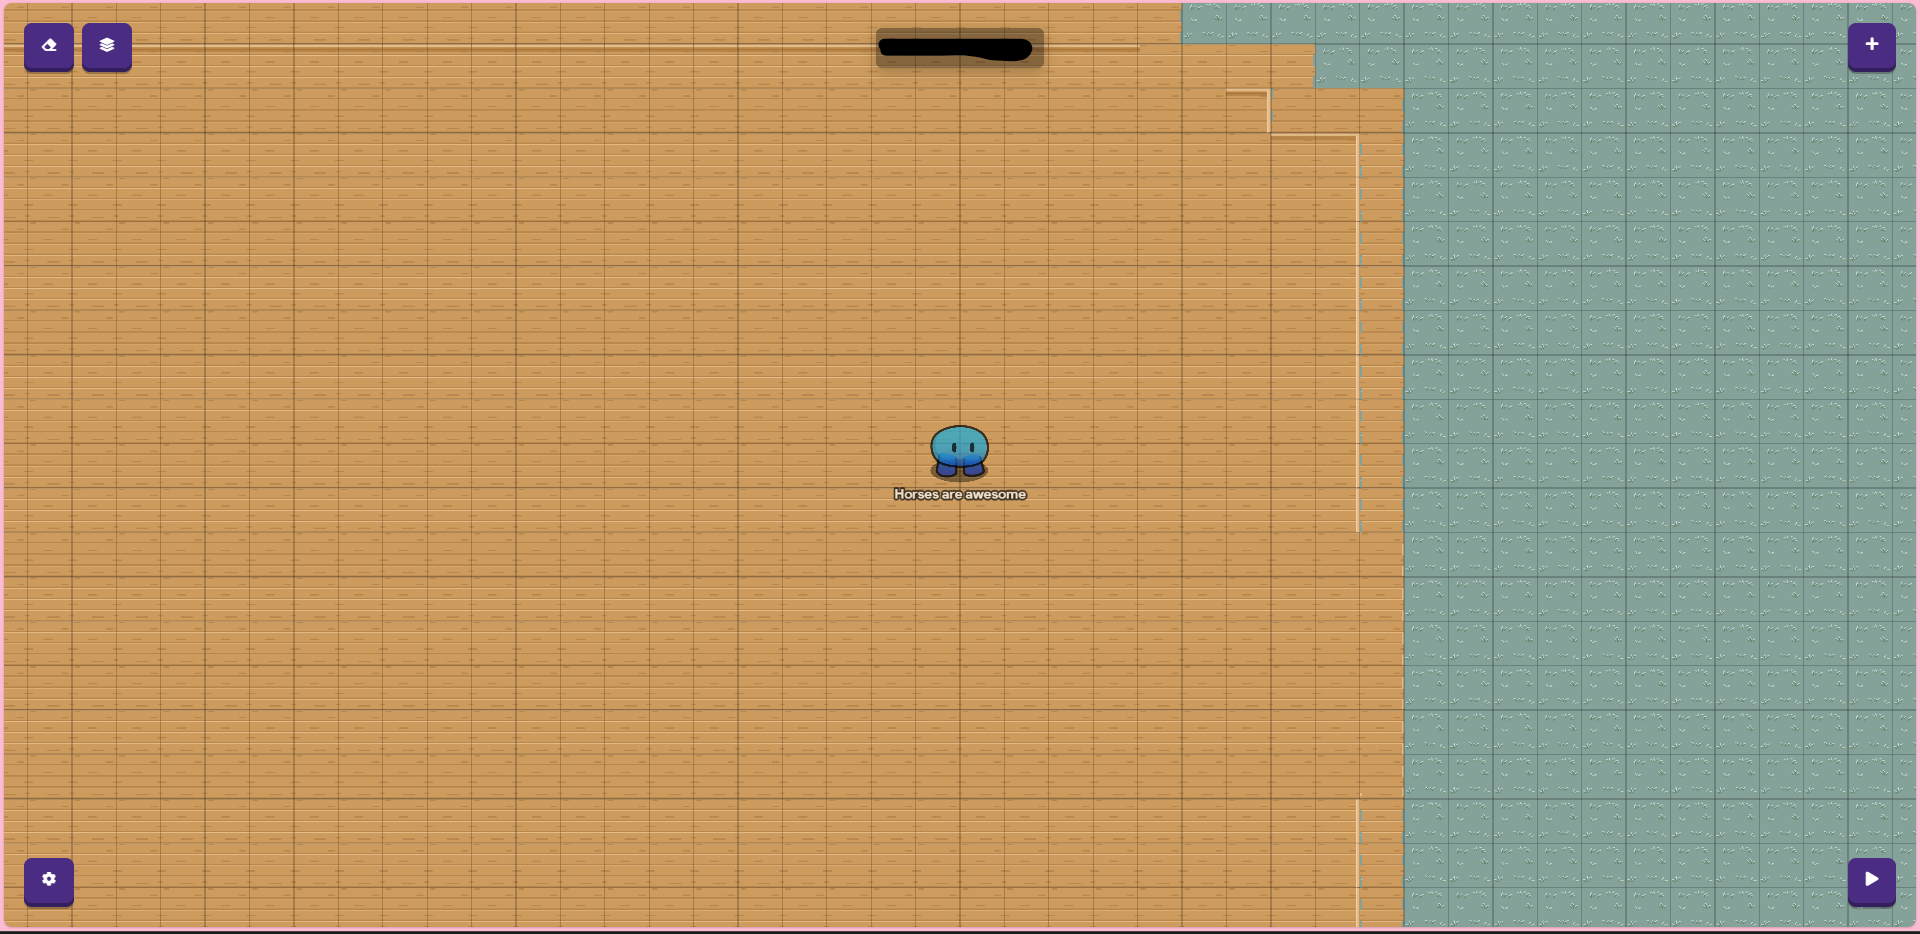
Alright For the entrance, start off with going to the settings on the bottom left corner and then clicking Map options it should show Featured. Then where it says Background Terrain, click on the drop box and select snowy grass (or snow if you want!).
Now that you have the background, let’s place down some spawn pads, so we now were to put the pathway.
Place 2-4 down, depending on how many you want, like this:

Now we have to add the path! Go to terrain and click concrete, make it 3 by 3 and have it to the middle layer. Okay now place the 3 square down as long as you want it to be, but not too long!
Like this:
Now, we have to add the lampposts (/ Medieval Streetlight Lamp (On)). Put 6 down to the right of the path, try to make it evenly spaced. Like this:
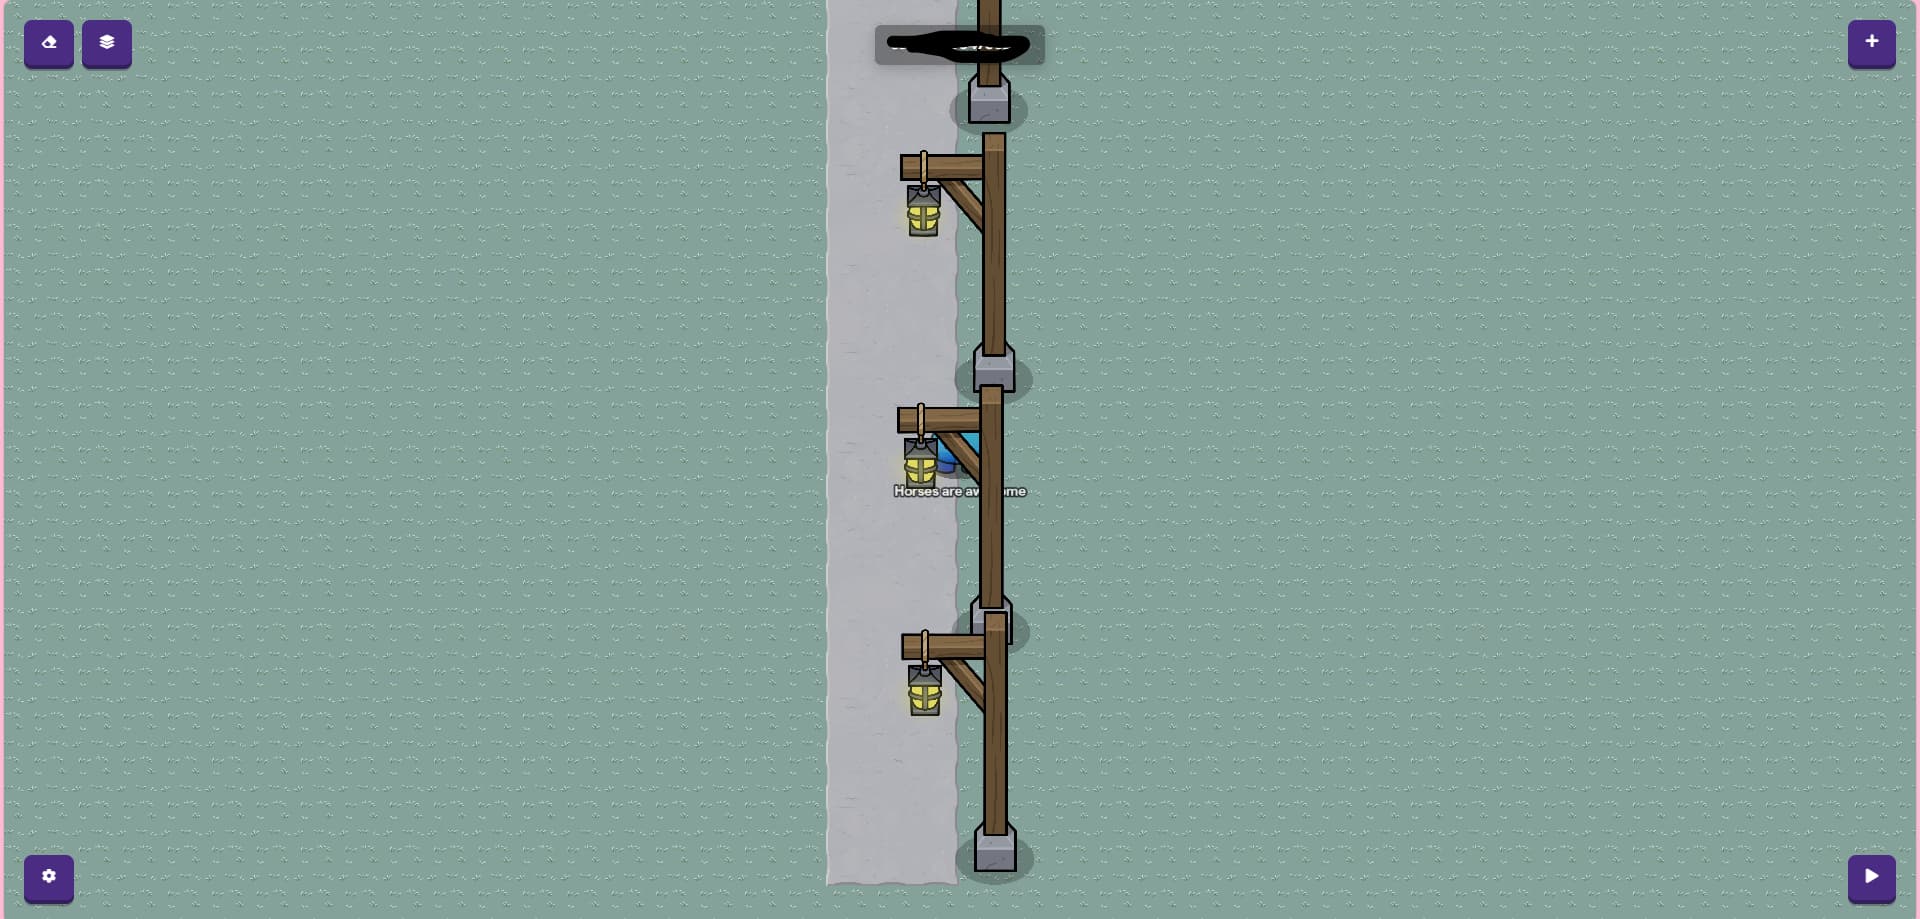
Click c to copy the light post when you have your mouse hovering over it. Then click on that one and make it flip so it’s facing inward then add 5 more to the left side copying from the one that is flipped on the left side. Try to make them as parallel as you can to the others on the right. (Make sure to have 12 in total (6 on each side!) Like this:
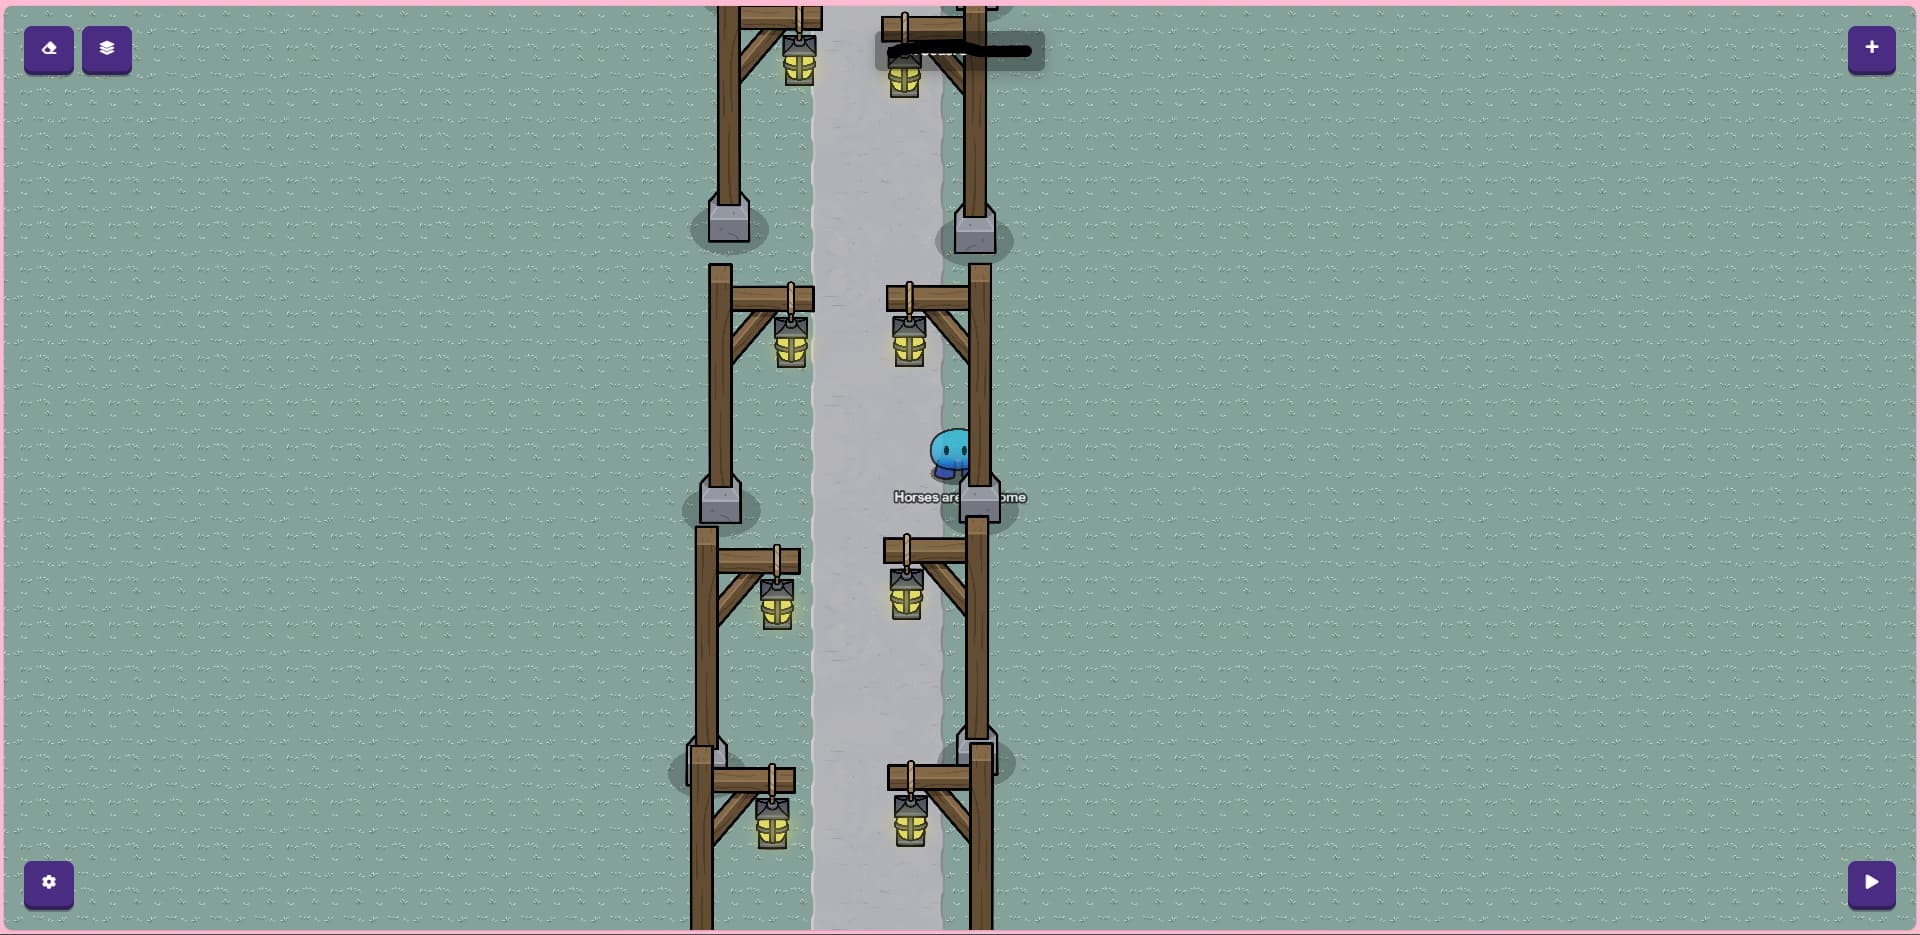
Now we can have the Wooden Fence Vertical in-between each lamppost! (You might have to make them smaller in order to have them fit!
Like this:

Almost done with this part!
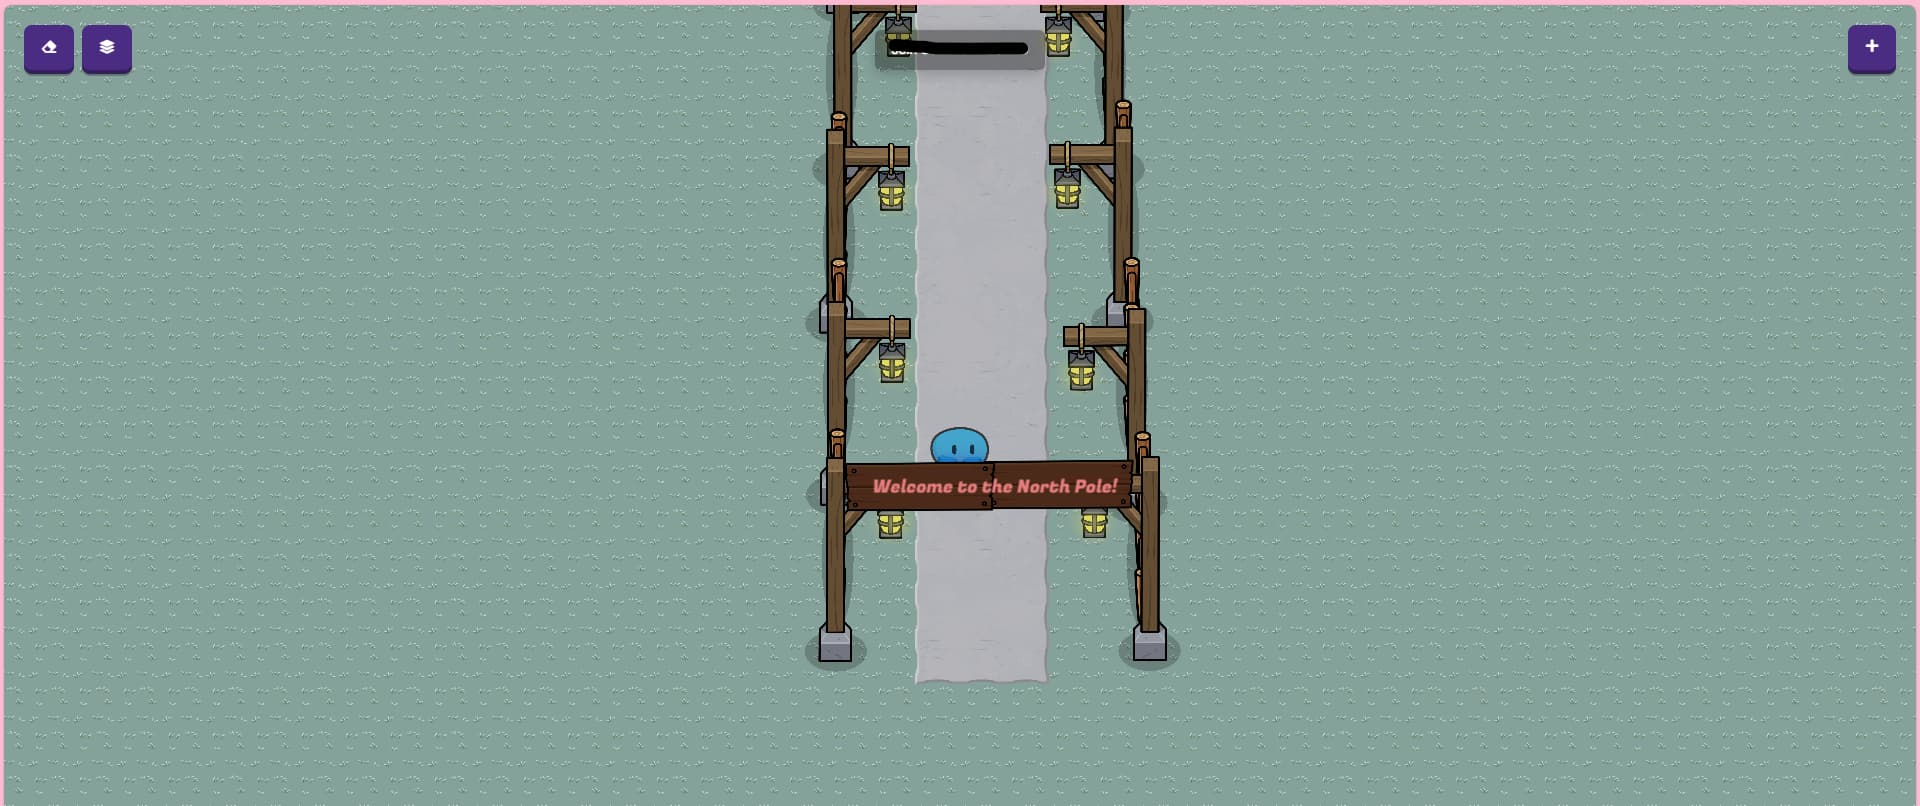
Now, how will our guests know it’s the North pole? Well, we have to have a sign! Alright let’s do this! (
First grab two wooden signs, then go to appearance and make the tint a darker brown. Now do the same to the other one. Alright Layering time! Move the wooden signs to the top spot in the primary, that way the text is able to go over it. Now move the signs over the first pair of lampposts. Now the text, devices → Text and then click on it. Now we have to say, “Welcome to the North Pole!” in the Text box. Now go down to Text size and make it either 26 size font or 29 size font. Then after that, go to Appearance, and make the text font, Fugaz One. Then make the color either a bright red, or pinkish color.
It should look mostly like this (if you chose the pinkish color):
Alright you did the entrance, good job!
Now move onto the next step!
The two Paths
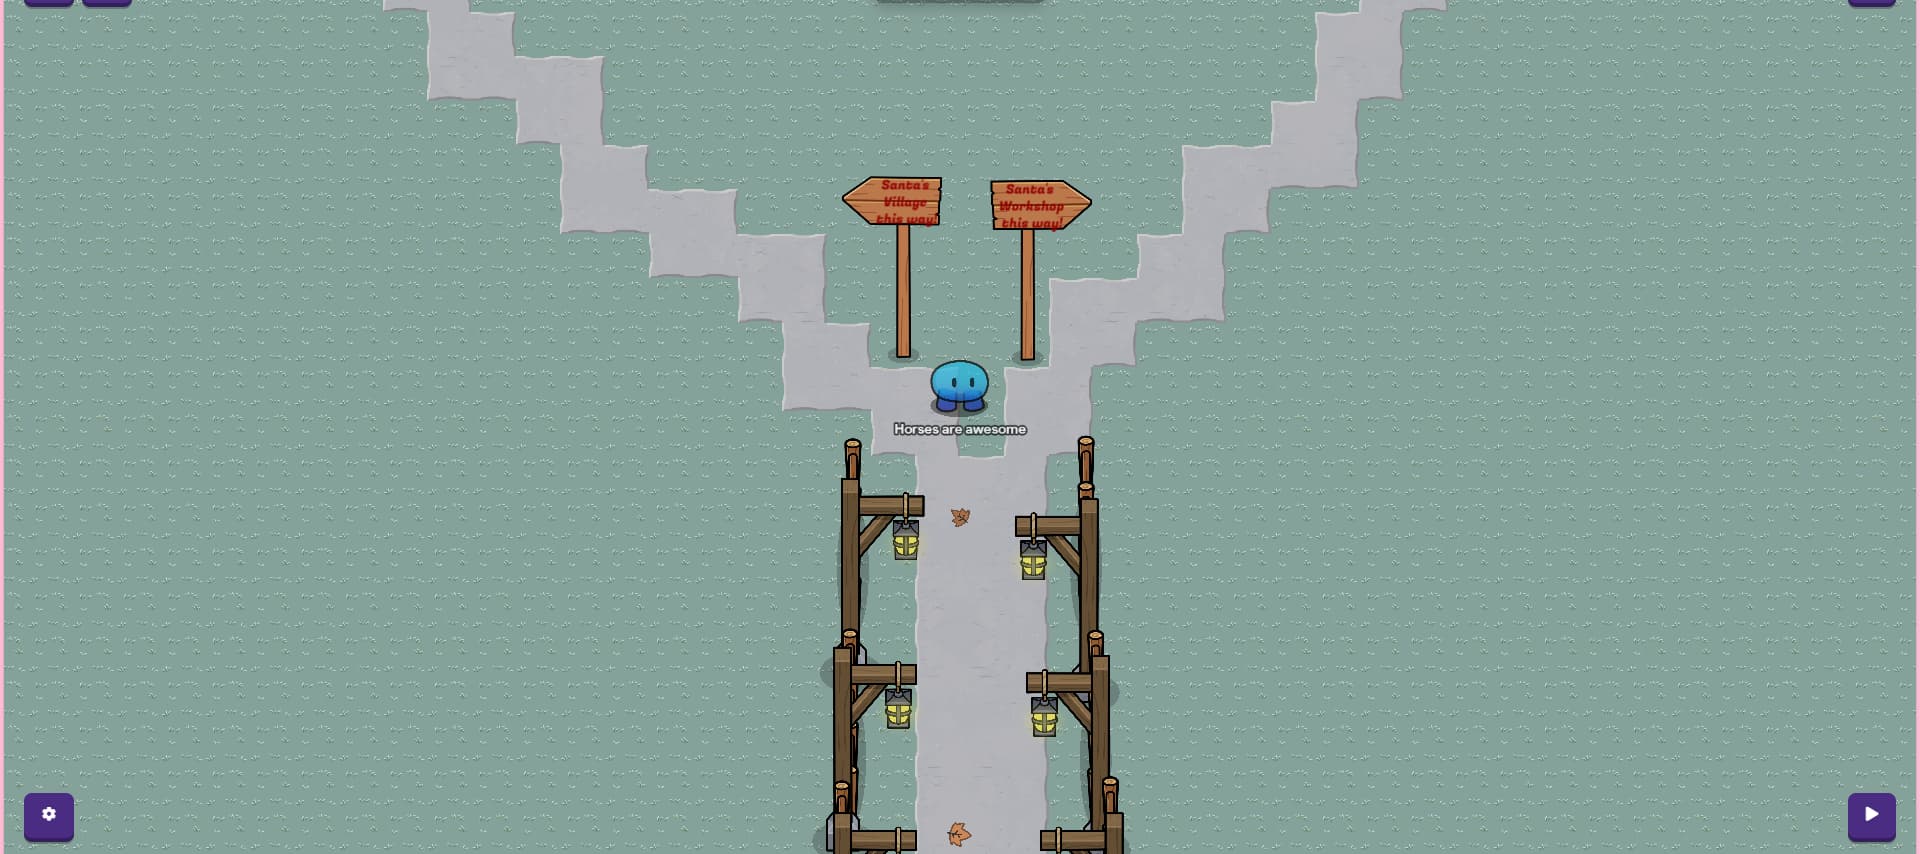
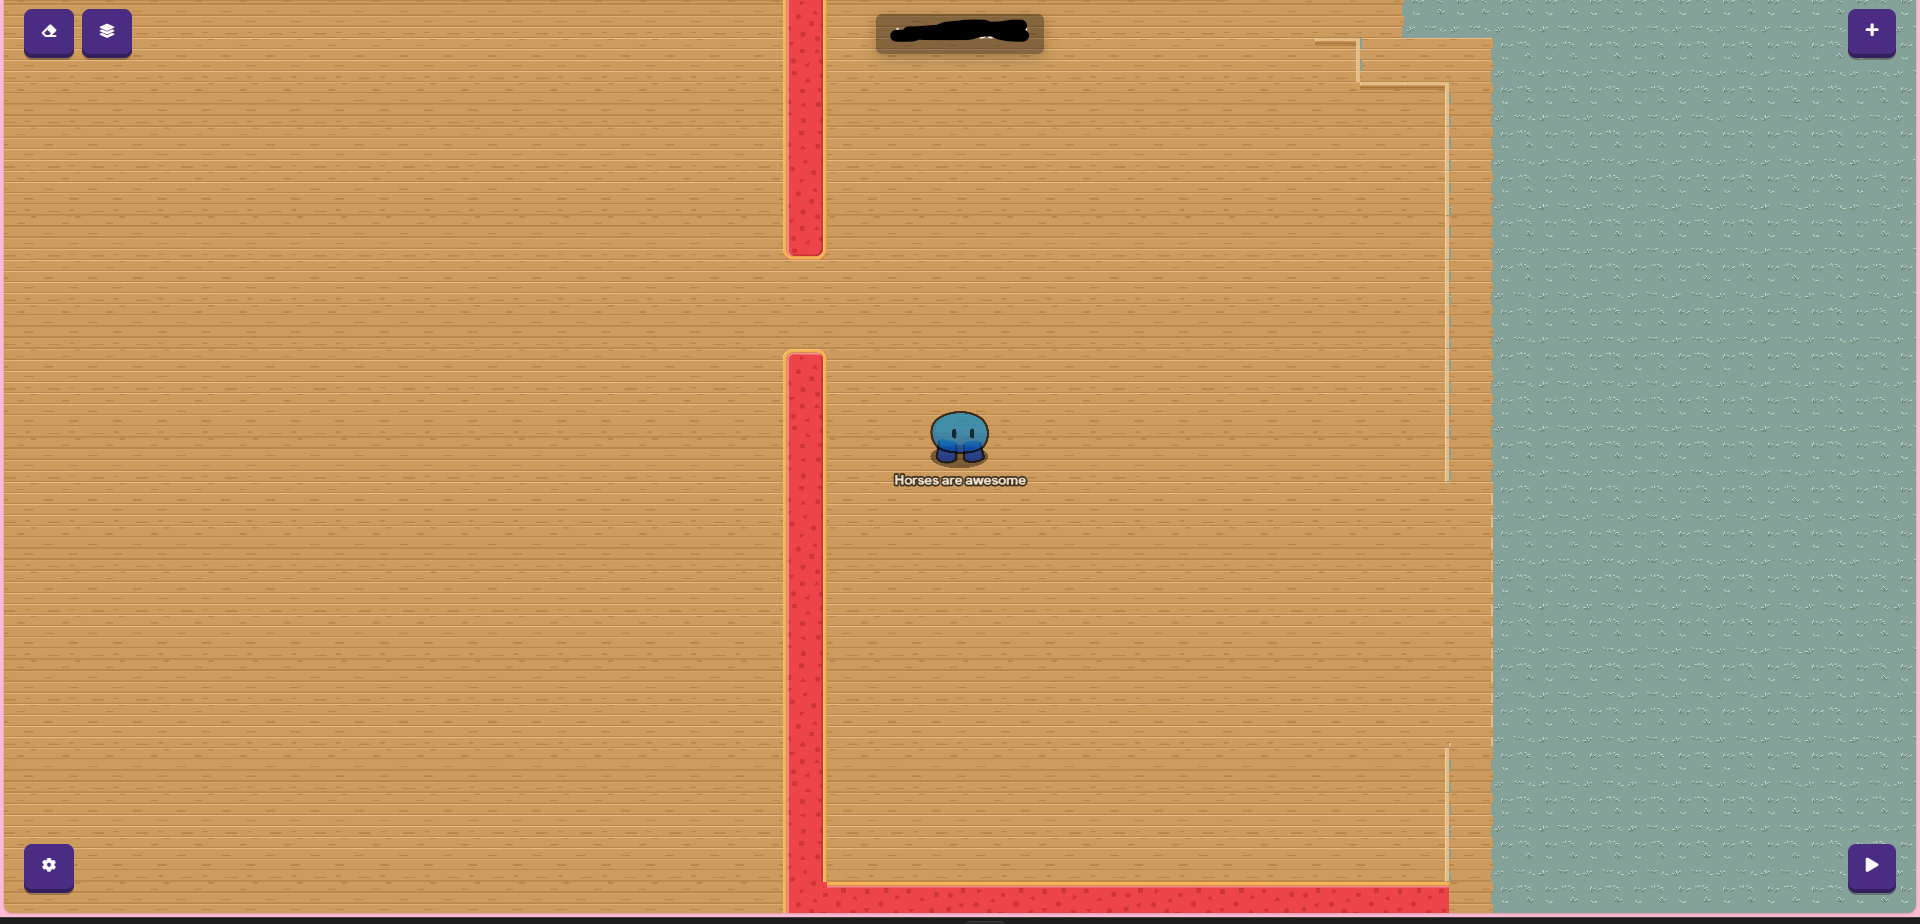
Alright so now that the entrance is complete, we need to make a path to Santa’s Workshop and to Santa’s Village!
First, go to terrain, choose concrete, and then make it a 2 by 2 and middle layer. I make it a bit of a pattern to go diagonal. If you can, try to follow it (or you can make your own!)
I’ll let you have time to do it.
15 Minutes Later
Ok, good job! I bet it looks great! Now we can add a post and a sign so they know where the village and workshop is.
First, go to props, search wooden pole and grab one of the thicker ones. The search again wooden, and grab the wooden sign the have the point to the end in indicate where you are telling them where it is. Alright. If the sign is behind the pole, go to layers and move the sign one above the pole and that should fix your problem! Now highlight (if you dont know how, drag your mouse aross whatever it is you want to highlight (usually several objects) and then stop once its highlighted all that you want it to, now with your mouse hovering over it click c to copy the sign and pole then click when you want it to be).
It should look somewhat like this:

Now that the sign is down, we have to add text! Grab a text from devices, go to layers move it to the above layer and then type into it exactly like this (well not exactly exactly, you can word it differently if you want, but because the signs are smaller, you want it to be small enough!)
On the right:
“Santa’s
Workshop
this way!”
On the left put:
“Santa’s
Village
this way!”
Like this:
Alright you did completed the two paths!
The Christmas tree
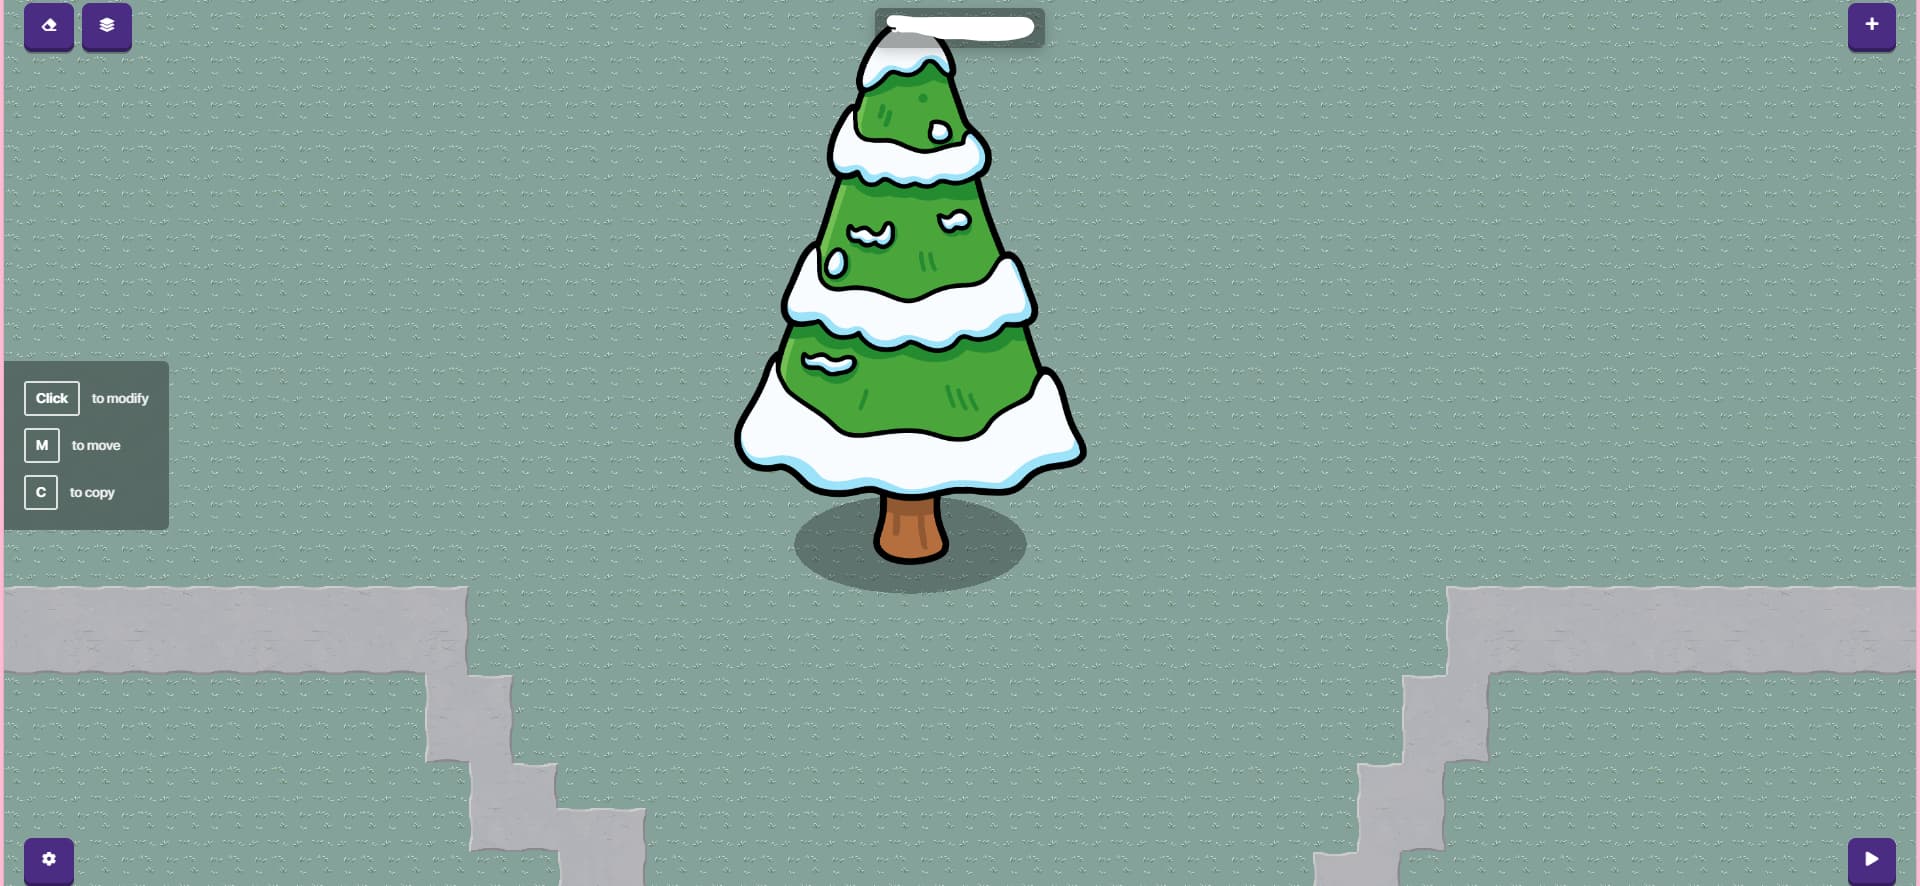
Now in all of the Christmas moves, we usually all see the Christmas tree, so this has to be mandatory. Alright let’s do this!
First, go to props then search Snowy Tree, and pick the lighter one and the one that has more snow on it in even layers. Now click on it and change the size, make it big and I mean BIG! Like this:
Now we can start to decorate, grab a text and layers make it go to the above layer. For the star, make it 100 font size and put the star emoji in. After that, copy the star, make the font go down to 56. For the decor, i used this emoji (don’t quite know what it is…)
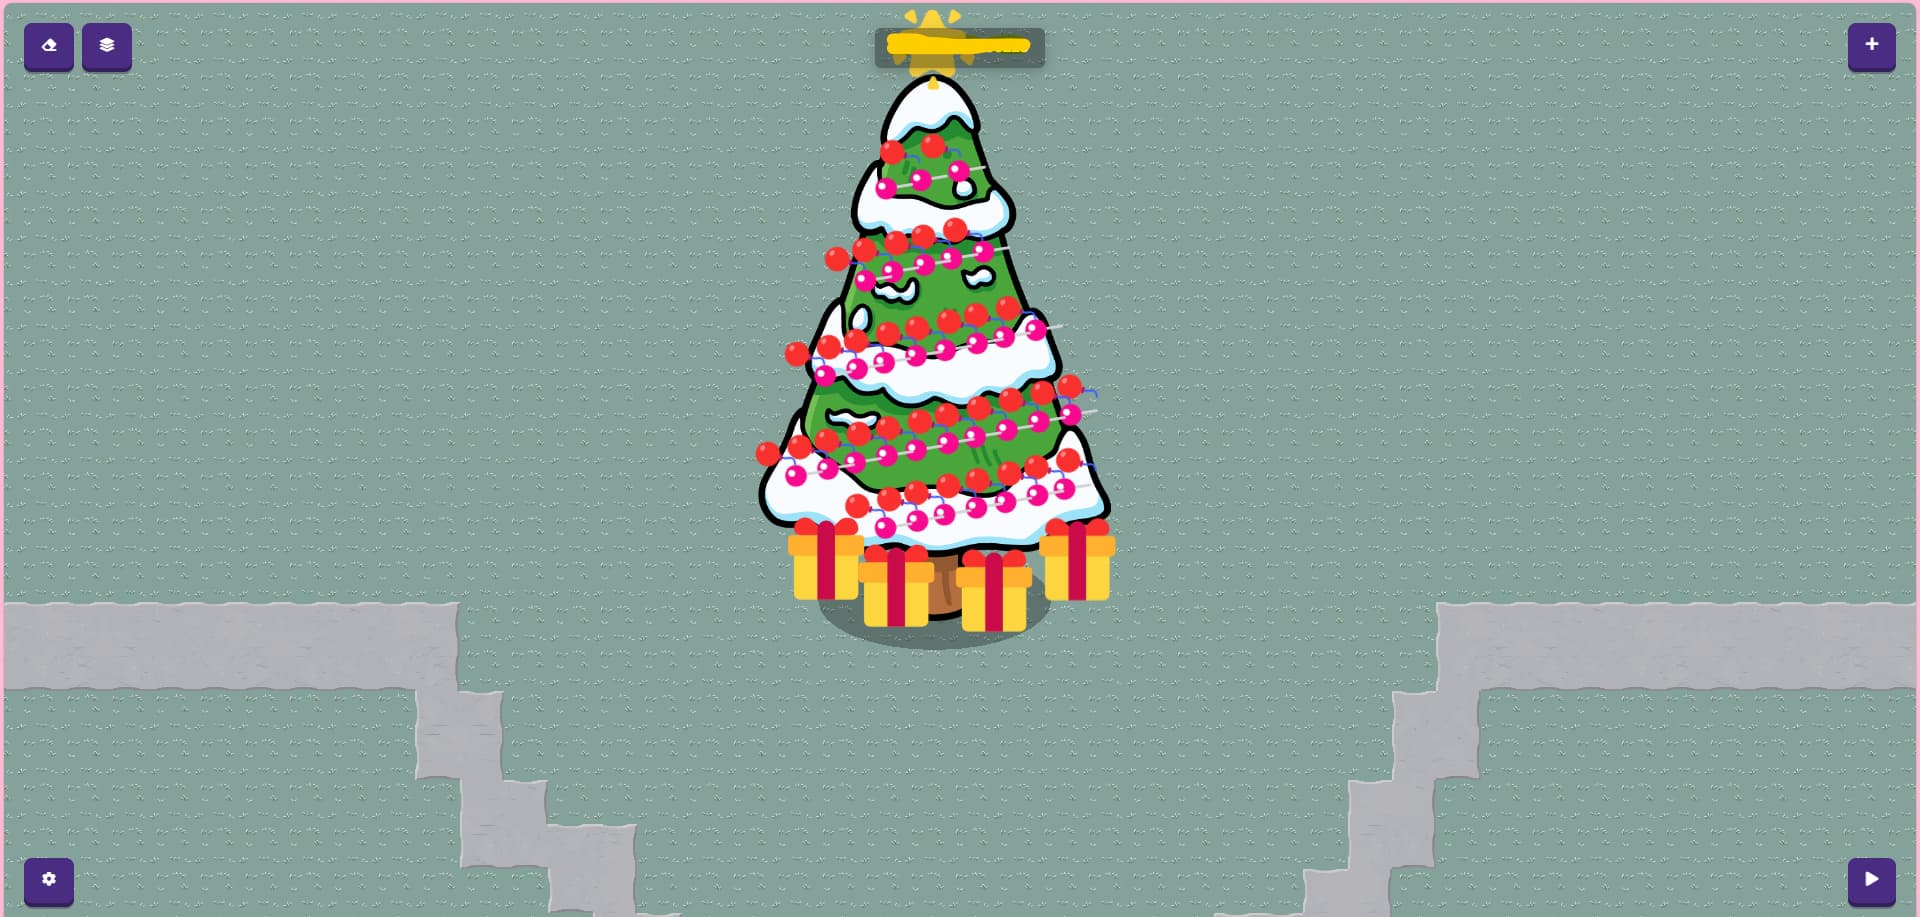
You can copy mine if you want i don’t mind - after all, it is a guide!
Alright, you made a beautiful Christmas tree, good job!
Santa's work shop
Ok, so here is where some things are going to get tricky.
First make a path using concrete (2 by 2 leading it from our diagonal path straight to the right) and then go to grab boardwalk, then place a 4 by 4, i placed it where the concrete is in the middle of it. I did 5 up and 5 down of full 4 by four squares and then 15 to the right full 4 by 4 suares.
Now this is optional but before you get to all the way of the 15 full 4 by four squares, you can do this:

Now that we have the floor, just outline the building with exposed boardwalk and put it to wall. And Make SURE to not close of the entrance!!
Alright! Let’s start decorating!
Santa's office
Let’s start with Santa’s office.
First, let’s make the room and then we can decorate it!
Go to terrain and select the plastic (red)
Out line his office, but make sure it has an entrance! I suggest to make it on the top right corner of the workshop!
It should look somewhat like this:
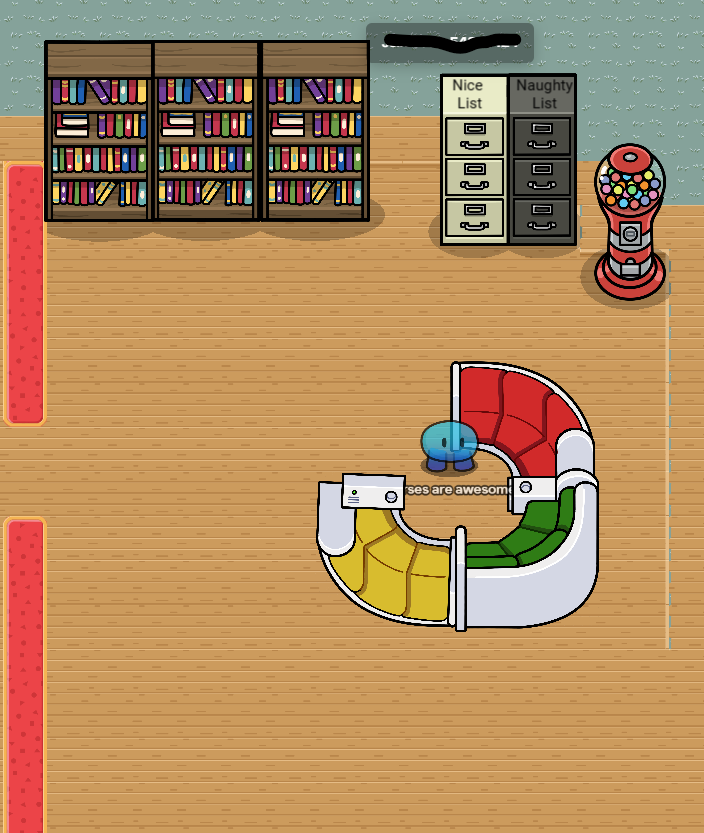
Now for the decor! Start by adding two filling cabinets (one white and one black). Then add a text, on the white one say “Nice List” and one the black one say “Naughty List”.
Then add some sofa’s. You can make them Christmas color themed if you choose to. Add some bookshelves so he can read and a gumball machine just because!
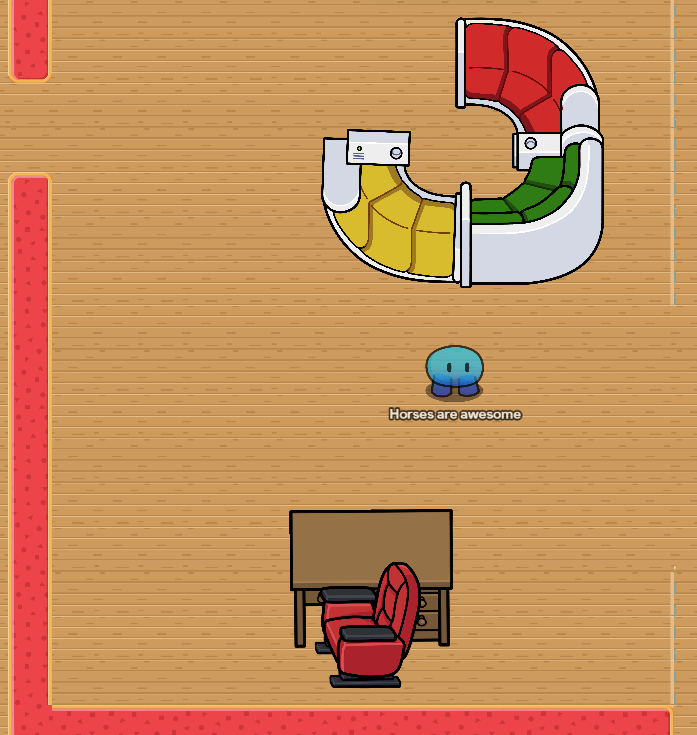
Then add a desk and a Theater chair so Santa can be comfortable. It should look similar to these pictures:
Great job you finished Santa’s office! Now for the workshop!
Workshop
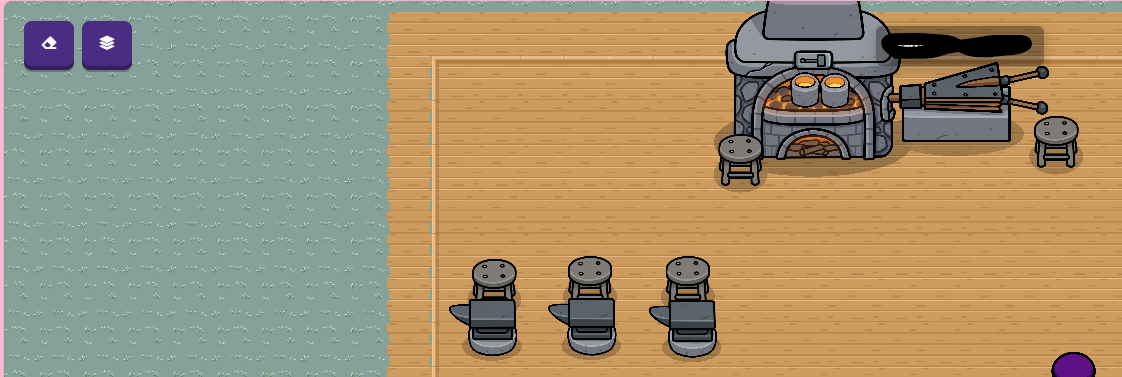
First go ahead and grab 3 anvils, a wooden fire oven, a compressor, two lava buckets and 5 metal stools. Assemble it like this:
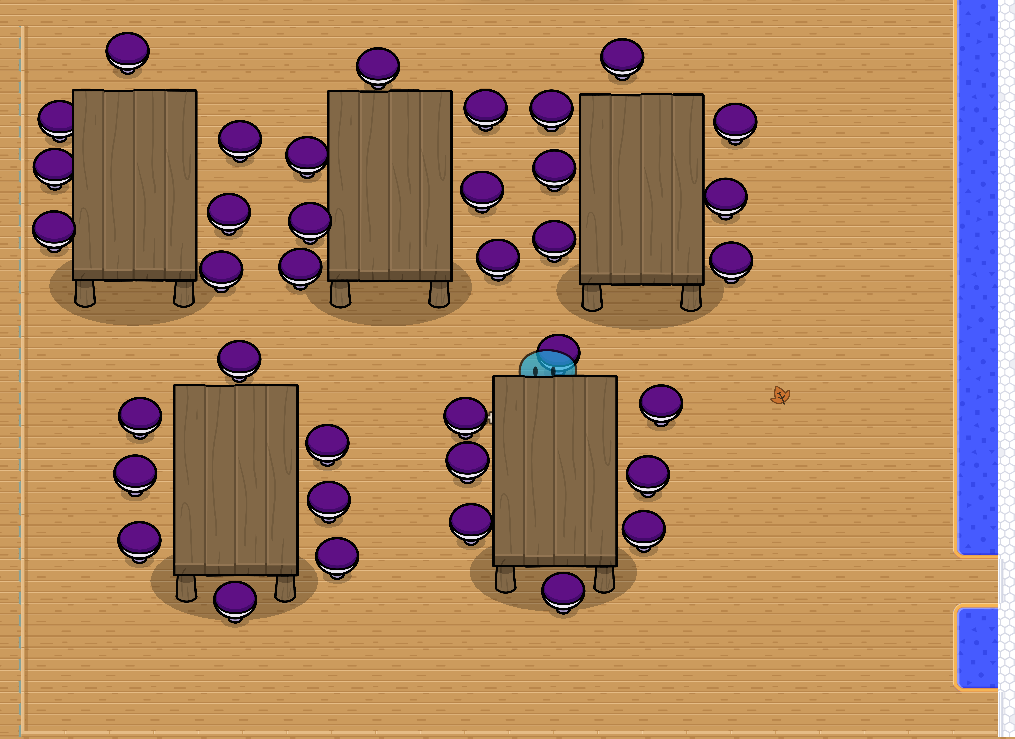
Add some tables any and everywhere, but make sure to leave space for the kitchen!
Then after you are satisfied with the tables, go ahead and add purple seats like this:
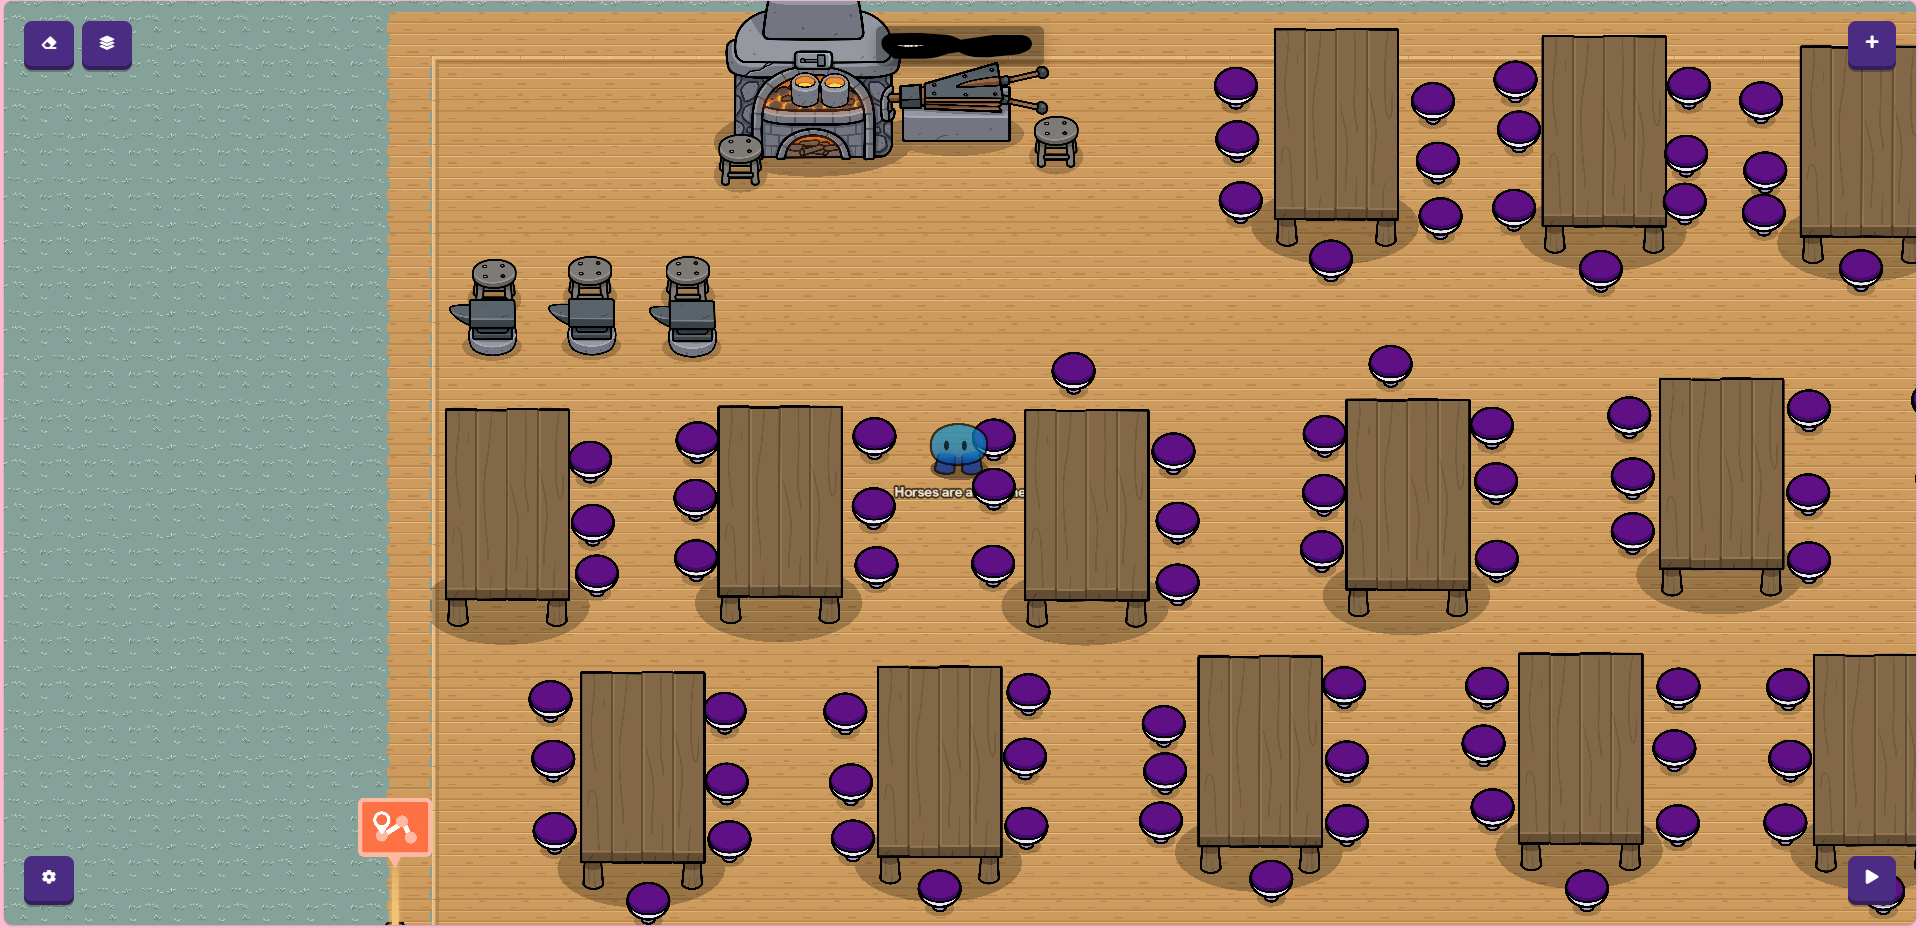
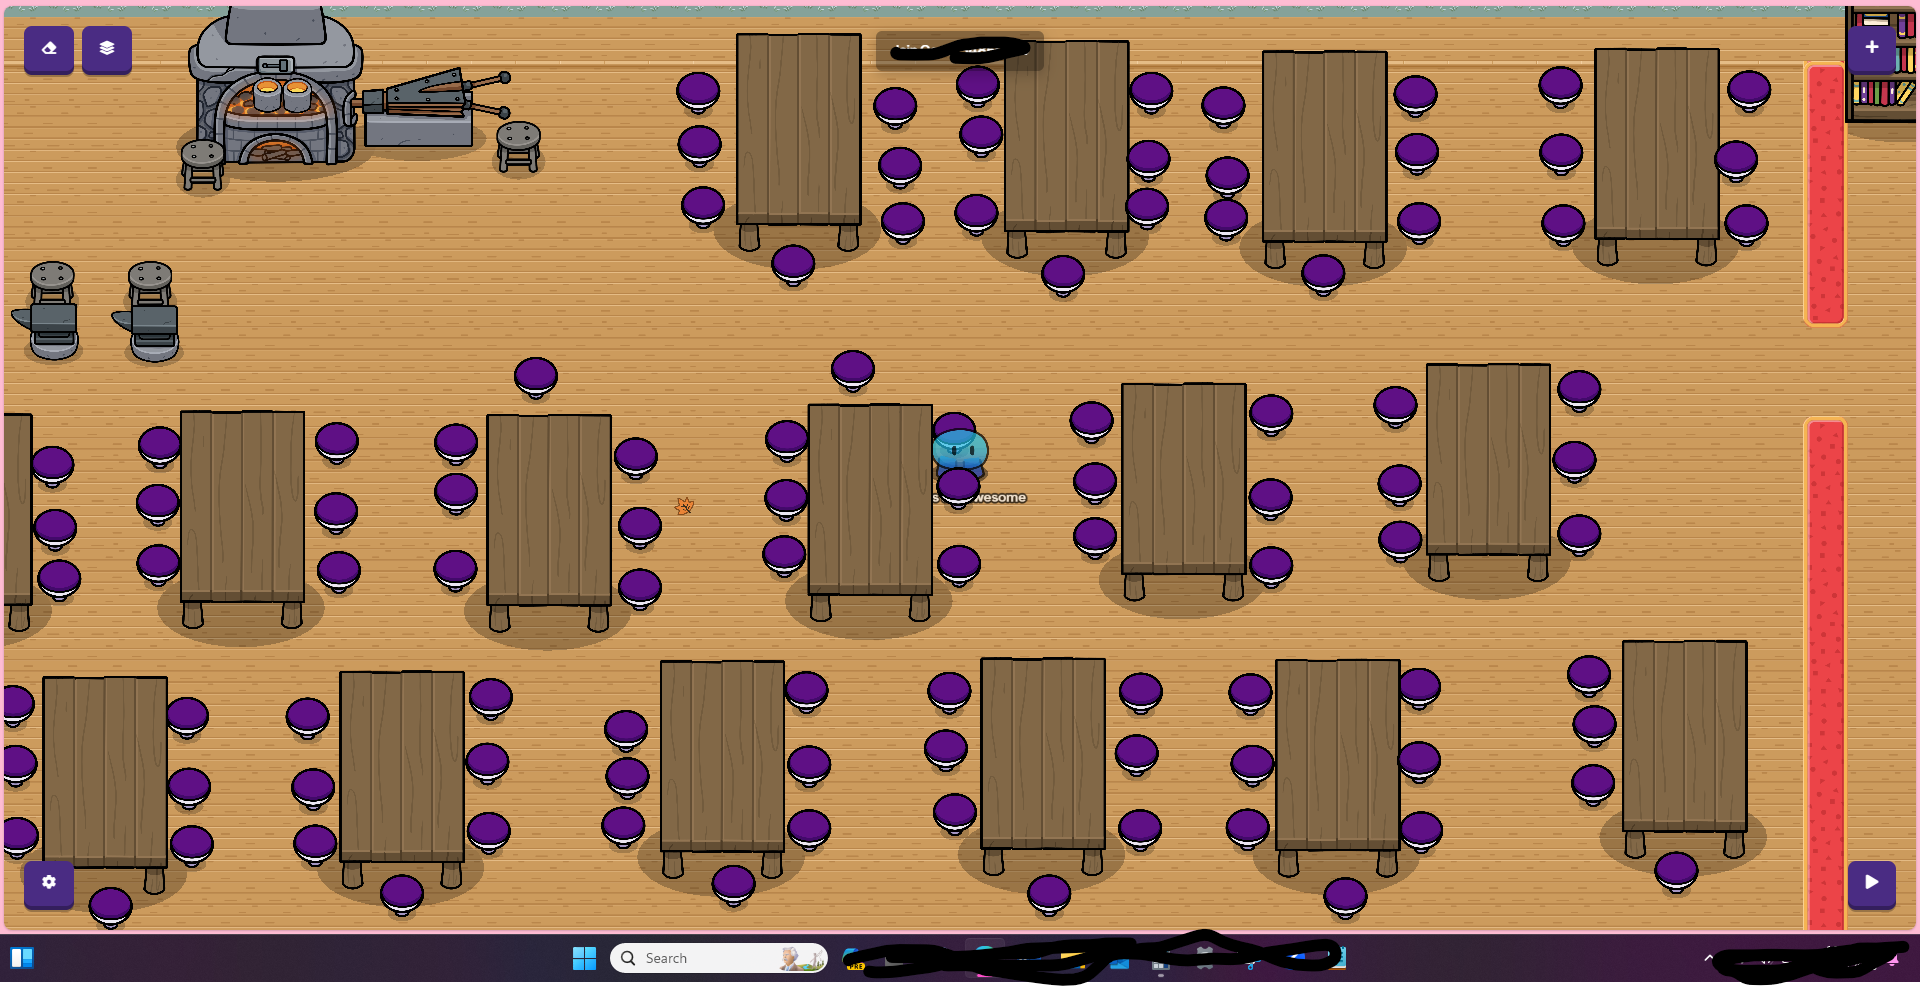
Then since we dont have elves, you can add friendly sentries.
Like this:
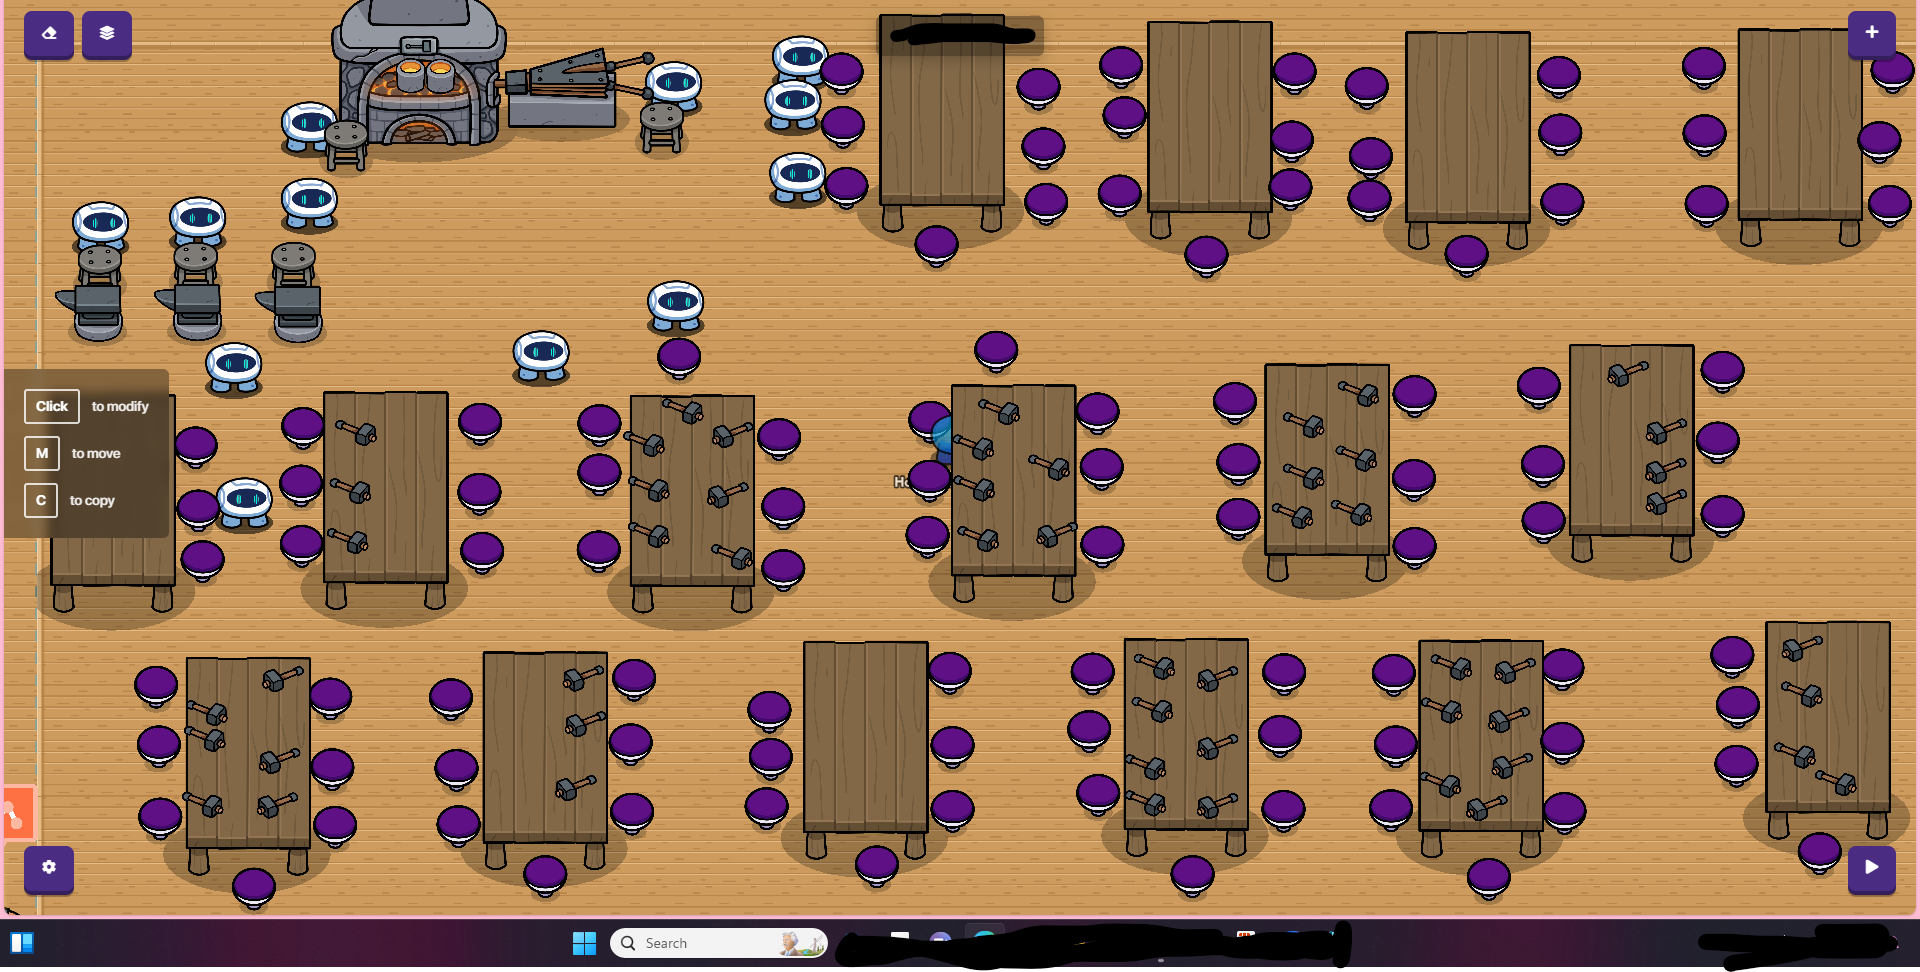
Great job we did the workshop!
Now go to the next step for the kitchen!
The Kitchen!
Now for the kitchen we can put it under Santa’s office, for when he’s hungry it’s not a lot walk ;). Alrighttt!
First outline the area with plastic (blue) walls, make sure to have an entrance!
Once you are done outlining, fill it in with white lab floor!
Now for decor! Grab a wooden fire a LOT of white tables, bread, text (that has a cake emoji and cookie emoji in it).
Now to place it all together, like this!

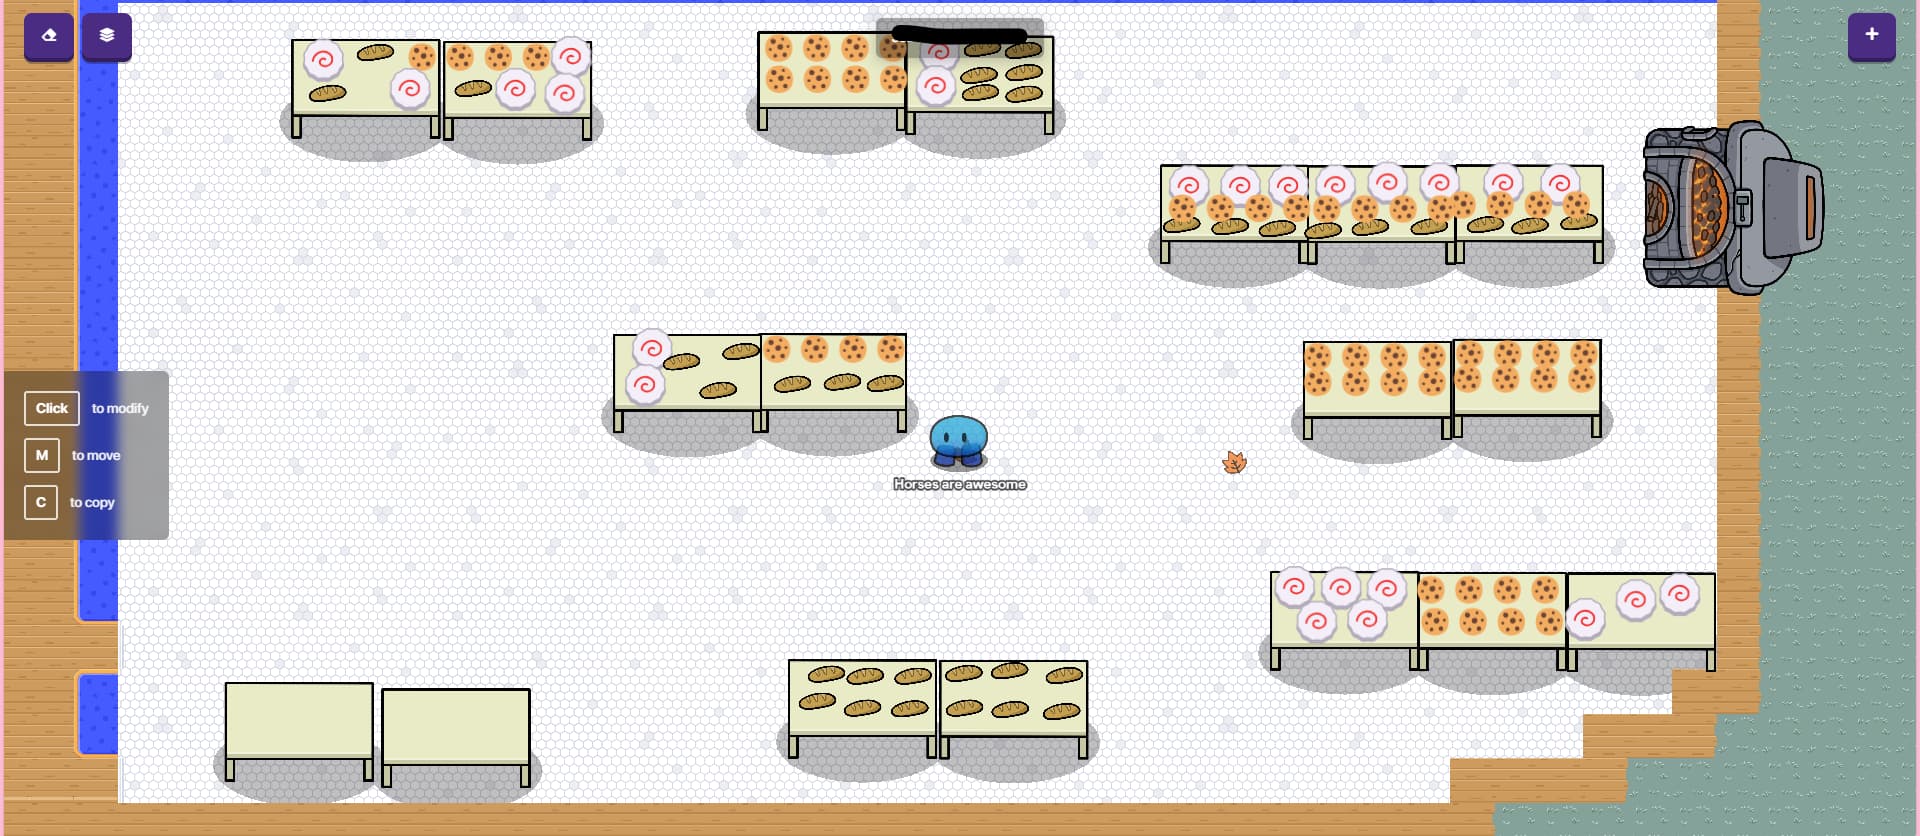
Alright and like we did before, add some sentries (you can also name the Elf or something if you want!)
Like this:
Great job you are officially done with the kitchen!
Awesome work! You finished Santa’s Workshop!
Last thing, bear with me for a little longer! Your doing great!
Santa's Village
Alright for this one, tents, and terrain will help you!
Grab 3-5 blue and or red tents and then place them down to have enough space from each other but close enough.
Now that that’s done, let’s make some small cabins for the elves.
Use boardwalk to make a small house shape and then use asphalt for the door and frozen lake for the glass.
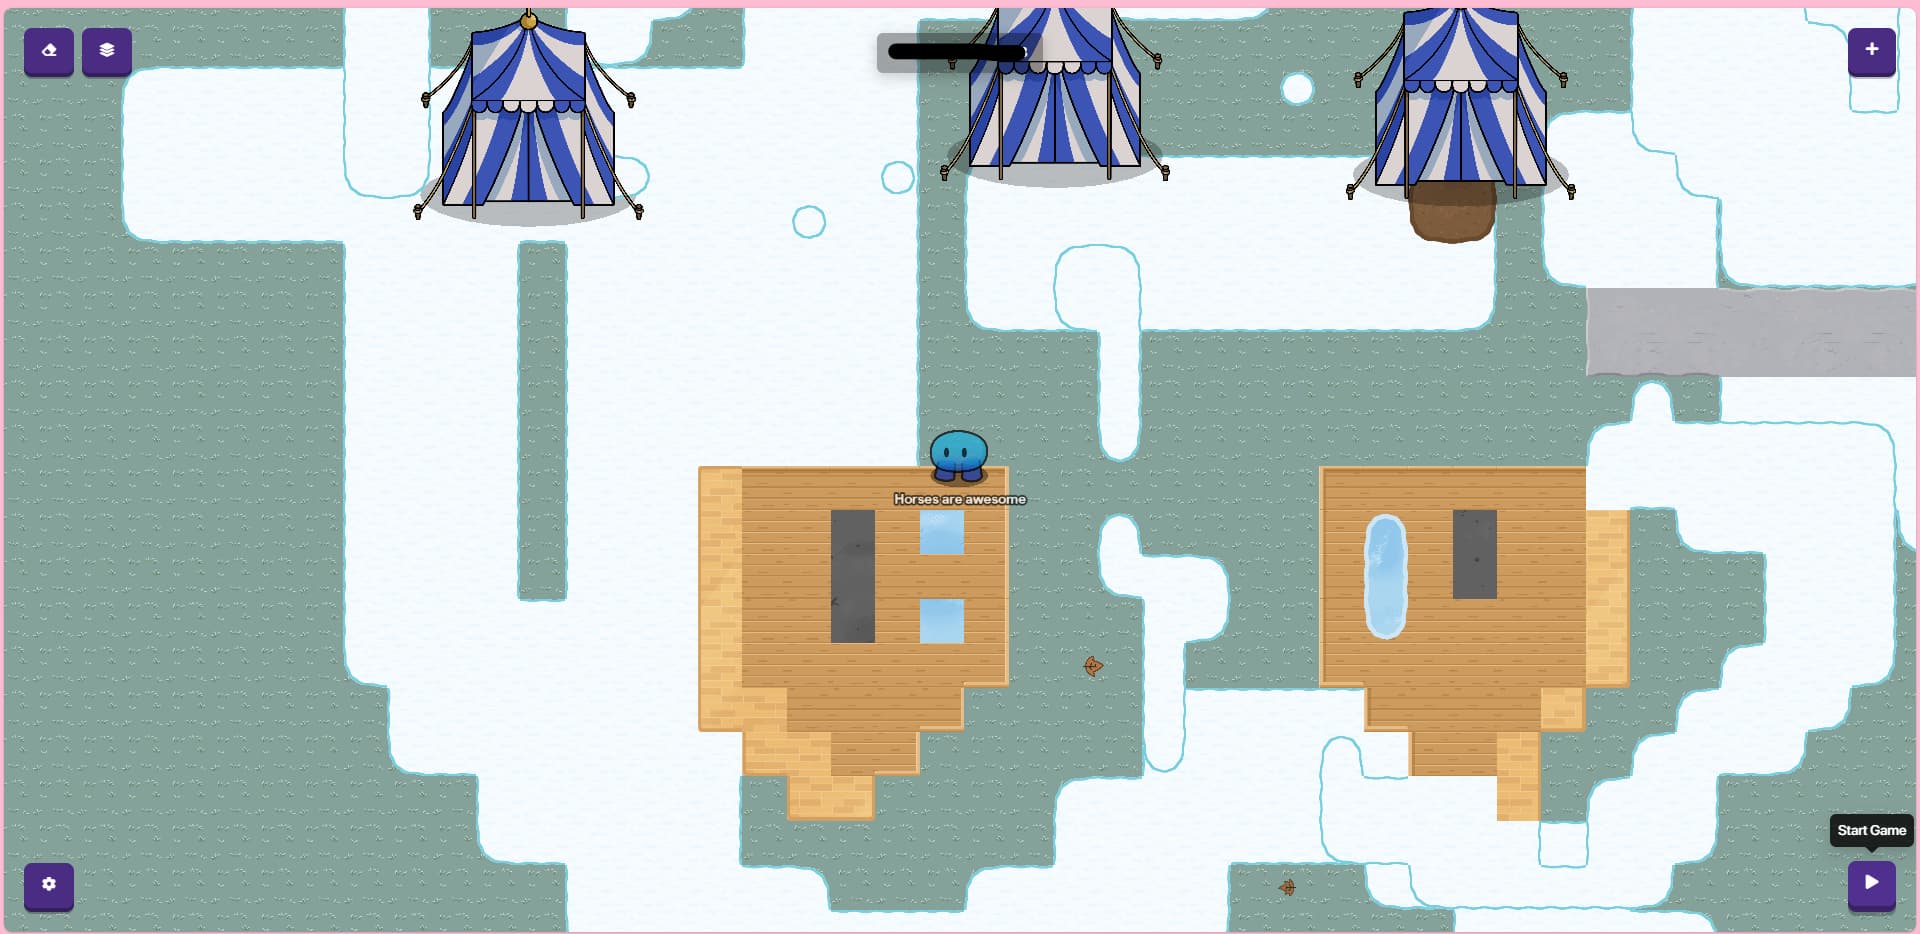
Add some snow too!
Extra
If you want to try this for a little decor for the entrance to the North pole!
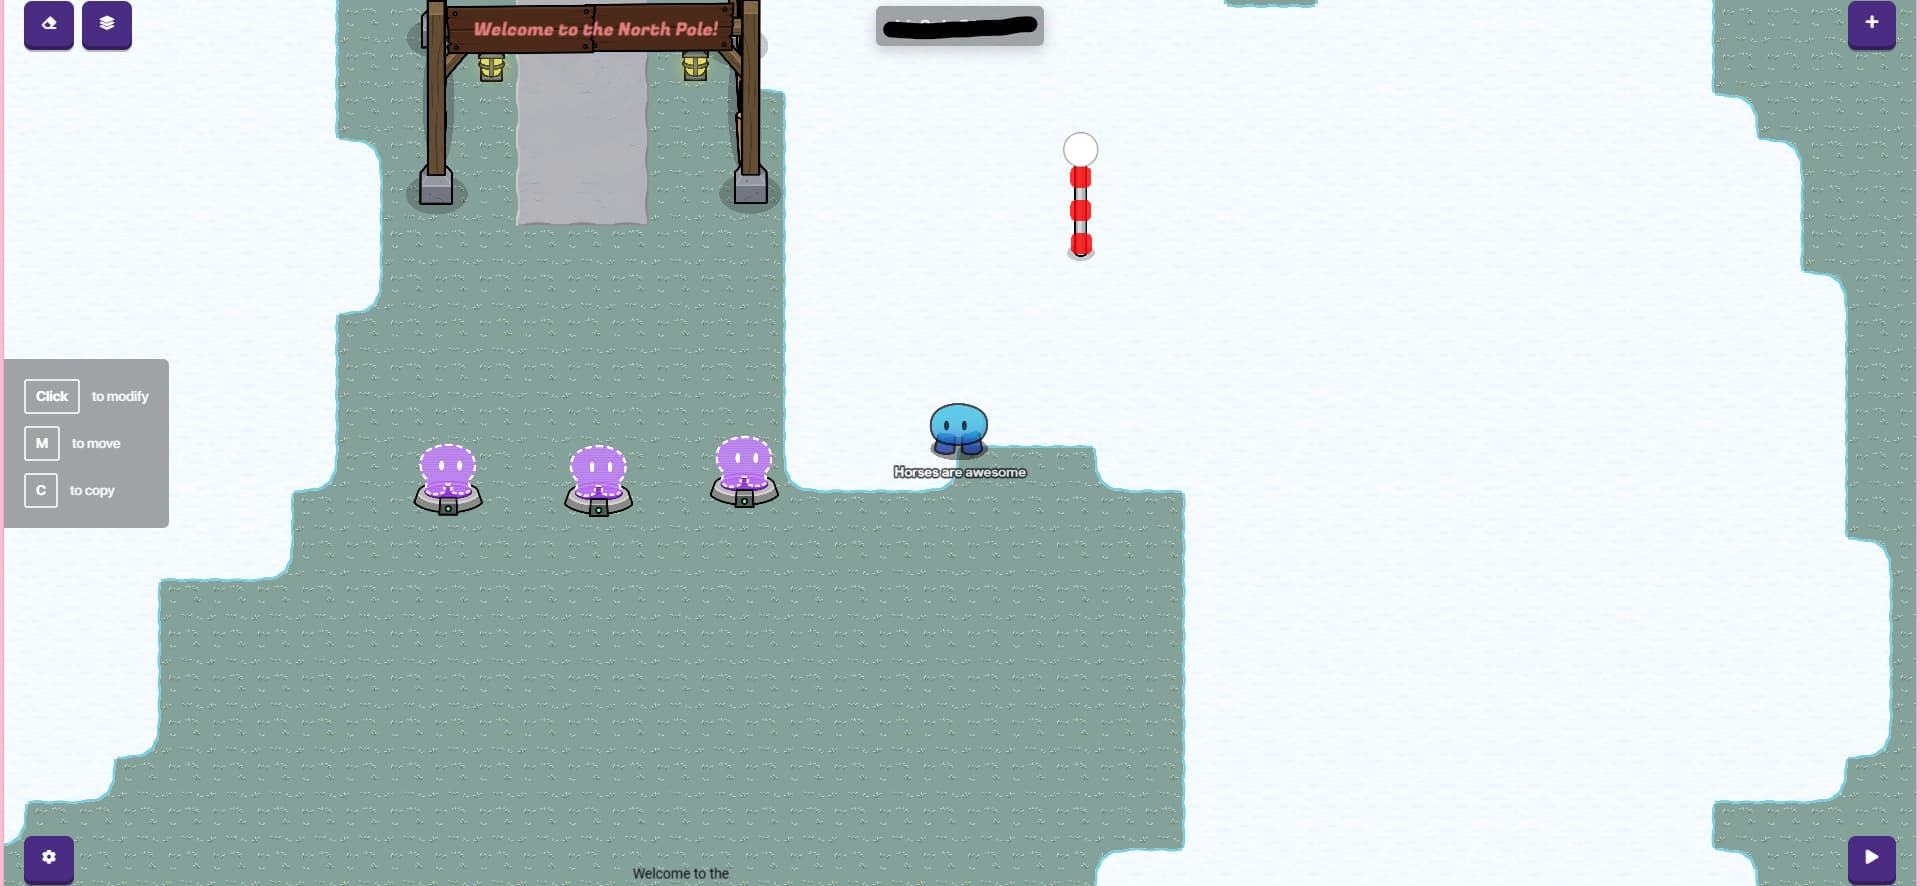
You Need:
Barrier (red)
Metal Pole
Text (white ball emoji) (Font size: about 50-69)
Alright so place your metal pole down and grab your text with the white ball emoji. Place the text on top of the metal pole (layers if needed) and then use three barriers, make them small and red then place them on the pole, seperate from one and other. It should look like this:
Alright your done! I hope you enjoy it and happy almost gimstmas!
@Horses_Are_Awesome