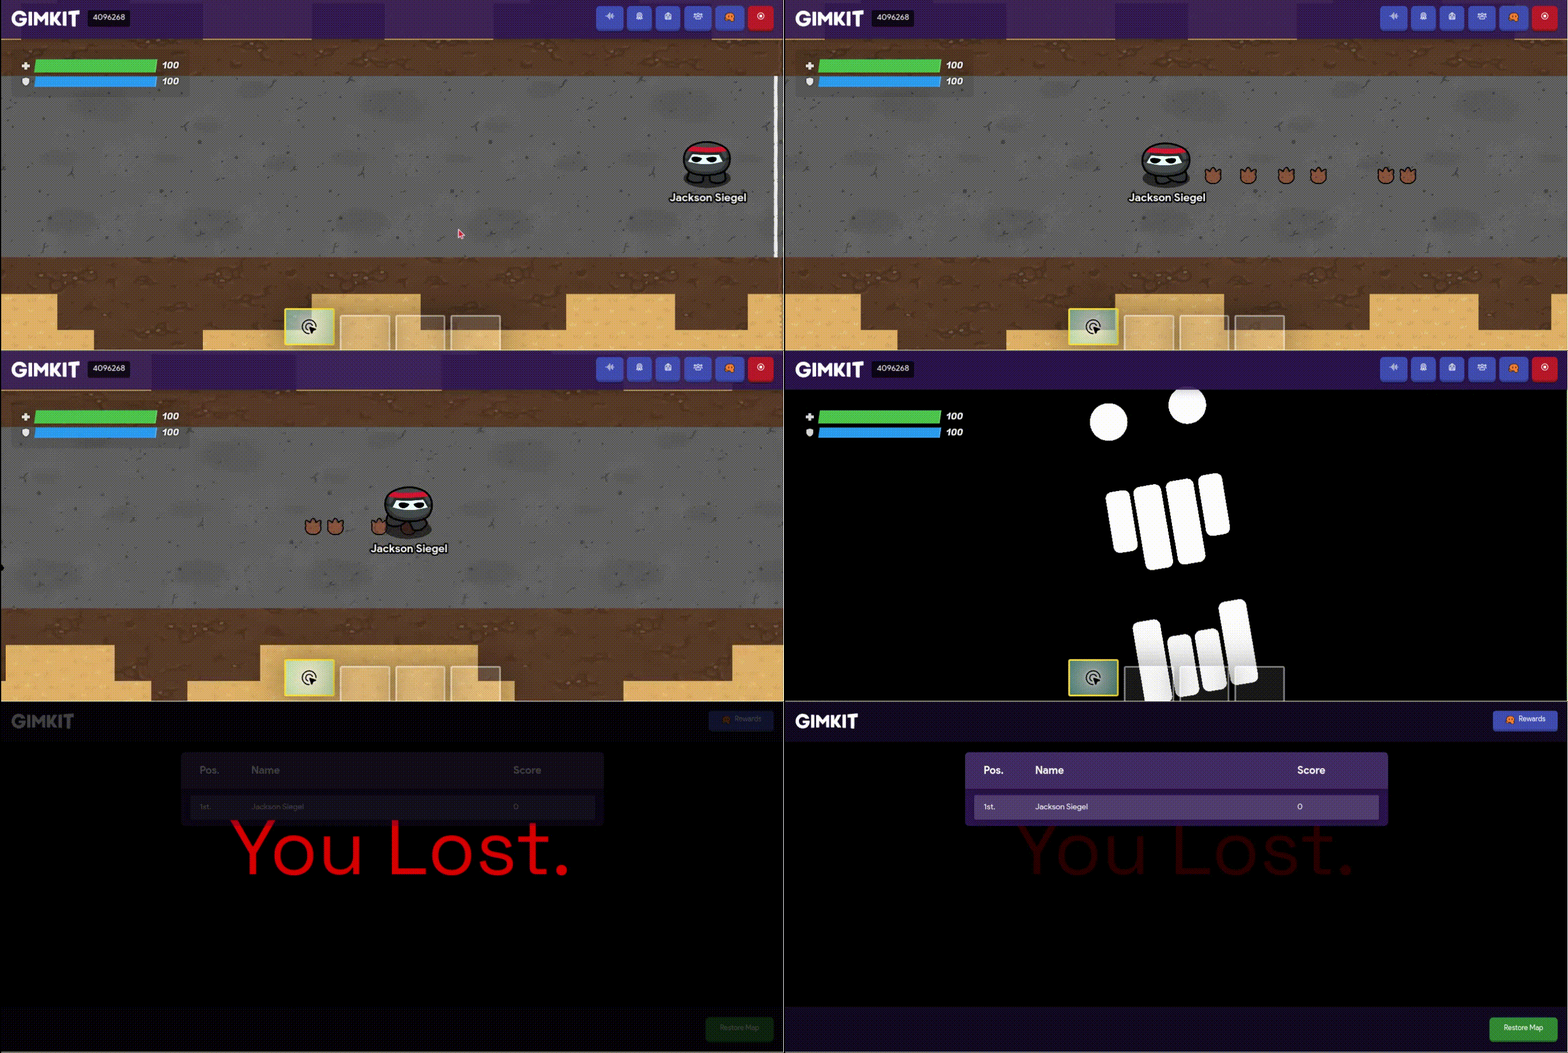
Now, I’m sure there are many guides on how to make different kinds of Jumpscares. However, I am making a horror game, which should come out soon because I just started today. Anyways, this Jumpscare uses a little more modern Gimkit Technology, as it uses the Camera Point device. (Plus it covers the whole screen, so you could use this for a flashbang if you so choose.) Let’s get into the build.
==Materials Needed:==
- 1 Camera Point
- 1 Camera View
- 1 Wire Repeater
- 1 Button (Although this could be replaced with a trigger or zone if you want.)
- 1 Barrier
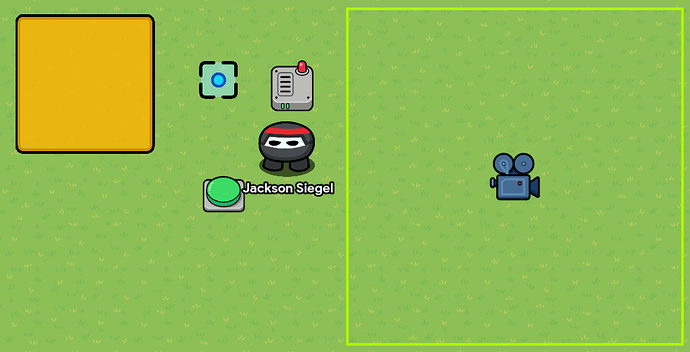
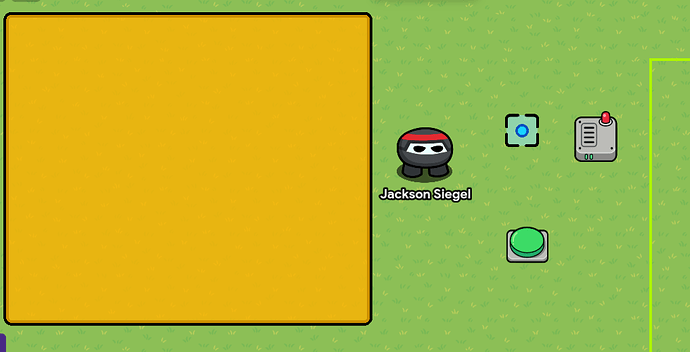
First, click on your Barrier and change the size to however you want. I’m gonna make mine this size for the tutorial.
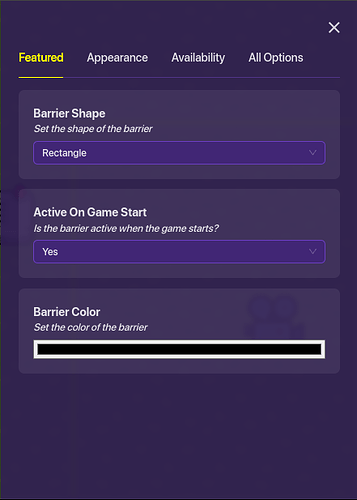
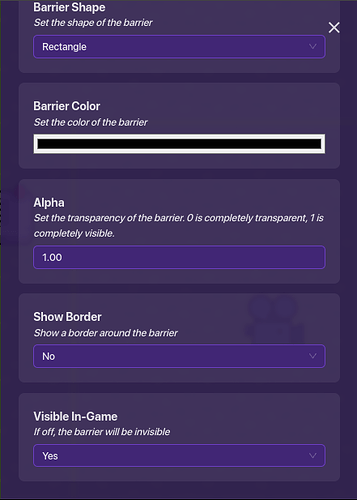
Second, click on your Barrier, and in ‘Featured’ change the color to (0,0,0). After that, click on ‘Appearance’, change the Alpha (Transparency) to 1, and change the border of the Barrier to no. You should have something that looks like this:
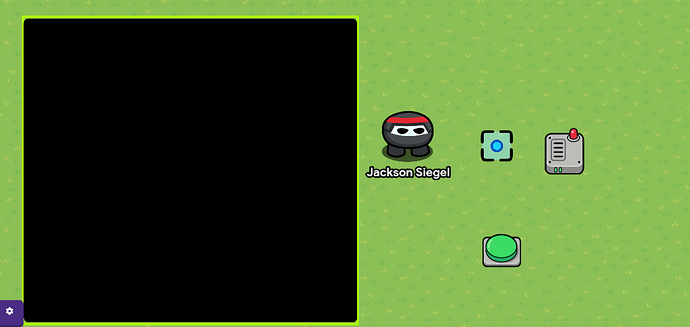
Now, click on your Camera View, and move it to the Barrier. Make sure it’s just slightly smaller than the area of the Barrier.
Now, you can put whatever you want in the black area, but I’m not going to just for the tutorial.
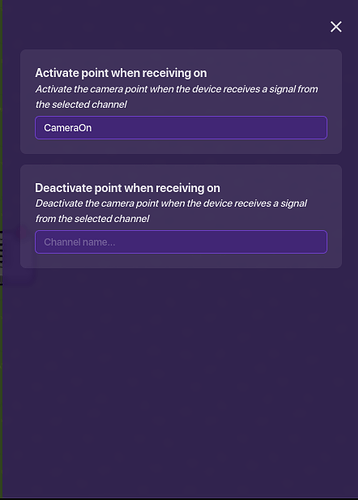
Next, let’s work on the functioning part of the jumpscare. Click on the Camera Point and add a setting where the Camera Point is activated when receiving on a channel called ‘CameraOn’.
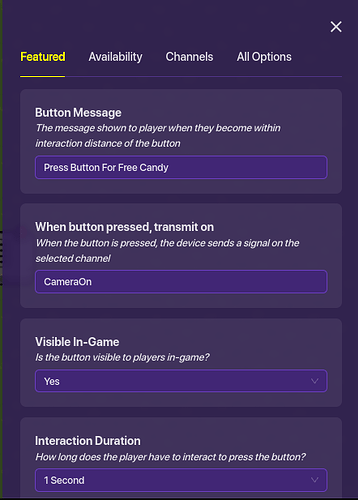
Next, click on the Button and change the name so that it’s not ‘Interact’ and add the ‘CameraOn’ channel to the Button.
Finally, we can move on to the Wire Repeater. Click on that, and change the time to 3.5 seconds. Now, 3.5 seconds is a bit lengthy for a jumpscare, but you can choose how long it lasts for.
Now for the fun part: the wiring! Don’t worry, its super easy. First, wire the Button to the Wire Repeater like so:
Next, wire the Wire Repeater to the Camera Point like so:
Now, move the Camera Point so that it’s roughly in the middle of the Barrier, move the Button so that you can’t see the Barrier on your screen, and you’re good to go. This means now you can do something like this:
