Disclaimer: There could be other ways to make a timer that is better but this is way works pretty well.
Anyways I find that these timers are very useful when used with functionality not just to track time.
To make a timer follow these steps
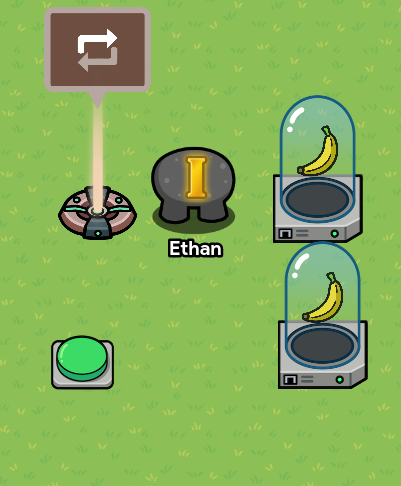
Set up a Button or whatever is needed to trigger the timer and add a channel for the when-pressed channel,
Connect it with an Item granter using the when-pressed channel, this channel will connect the button and item granted. The granter will set the time and also count down the time.
In the item granted change these settings
Item to grant: A item that you would not use
Amount of item: Amount of seconds you want your timer to be
Then after that place a repeater these are the settings
Starting channel: Same as a button pressed channel
When a task occurs transmit on: Your Choice
Task interval: 1 sec
Time to run: Number of items granted
You then place another item granted these are the settings
Item to grant: Same as number 3
Amount: -1
It should look like this:
Grant item when receiving on: Same as 4 When task occurs.
6. congrats you made a timer, if you want to check when a timer finishes have a checker hooked up with the repeater that constantly checks if someone does not have the item that the timer uses. Then sends a signal when the timer hits zero and there are no more items.
Exceptional job on your tutorial, @CrudeMapMaking! You’ve demonstrated a remarkable ability to provide clear instructions and guide readers through the process of creating a timer in Gimkit. I would rate this tutorial a 7/10, here’s some feedback:
Certainly! Here’s a revised response with separate paragraphs for each strength and improvement, followed by suggestions for fixing and how it would improve the tutorial:
Strengths:
Simplicity and Clarity:
The tutorial excels in its simplicity and clarity. The concise instructions make it easy for readers to follow along without feeling overwhelmed. To further enhance this strength, consider breaking down complex steps into smaller, more digestible tasks. This would ensure that readers can easily grasp each instruction, resulting in an even smoother learning experience.
Step-by-Step Instructions:
The tutorial’s step-by-step format is highly effective. By breaking down the process into manageable chunks, readers can easily replicate the desired outcome. To further enhance this strength, consider providing additional context or explanations for each step. This would help readers understand the underlying principles and empower them to adapt the instructions to their specific needs.
Visual Support:
The tutorial’s use of a screenshot as visual support is commendable. Visual aids can greatly enhance understanding and provide a reference point for readers. To build upon this strength, consider incorporating more visuals throughout the tutorial. Additional screenshots or diagrams can clarify complex concepts and reinforce readers’ comprehension.
Areas for Improvement:
Explanation of Choices:
While the tutorial provides clear instructions, it could benefit from explanations of the choices made. Clarifying the rationale behind specific actions and settings would help readers grasp the underlying principles. To address this, consider including brief explanations alongside each step, highlighting the reasons for making certain choices. This would deepen readers’ understanding and enable them to apply the concepts to their own projects effectively.
Contextual Information:
Providing context is essential for readers who may be new to the topic. Introducing the tutorial with a brief explanation of the purpose and significance of timers in Gimkit would enhance their understanding. To achieve this, consider including an introductory paragraph that outlines the importance of timers in game design. This would provide readers with a foundation of knowledge to better appreciate and apply the tutorial’s instructions.
Clarification of Time Units:
In the tutorial, specifying the time unit for the desired number of seconds is important. Clearly indicating whether the value represents seconds, minutes, or any other unit will prevent confusion. To address this, ensure that the instructions explicitly state the time unit being used. For example, specify whether the value should be entered as seconds, minutes, or in another relevant format. This clarification would eliminate ambiguity and improve the accuracy of readers’ implementations.
By incorporating these suggested improvements, the tutorial would become even more user-friendly, comprehensive, and informative. Building upon the strengths and addressing the areas for improvement will result in an enhanced learning experience for readers. Keep up the great work!