!!! This is Important !!! (Thats why I put it at the Top)
This isn’t entirely my own, this is an expansion of what I think needs to be added to other Deathrun tutorials. Meaning this Isn’t a complete guide, so if you want to build a full map, you need to check the other guides. ↓↓↓
https://forum.creative.gimkit.com/t/how-to-make-a-deathrun-map/26532/1
Map Proportions.
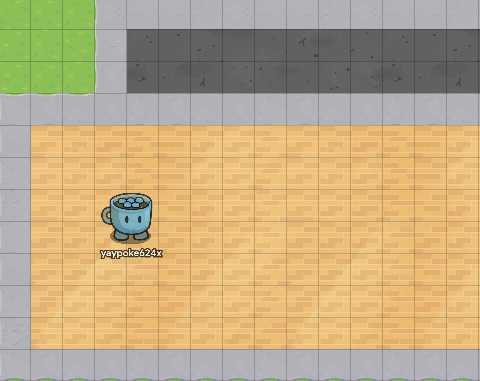
All the Deathrun Community guides I’ve seen had a proportion of 5 width of Runner, 5 width of Death, but for my map, I went with 7 width Runner, 2 width Death as shown in the picture.
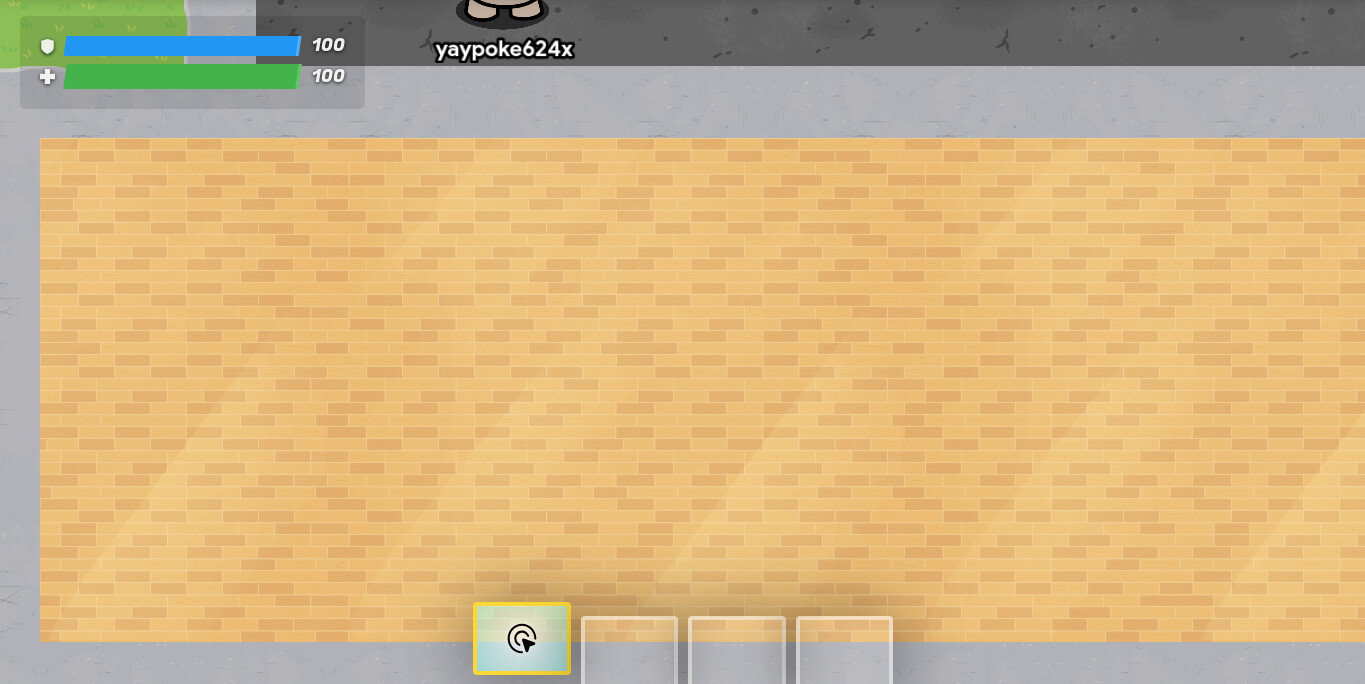
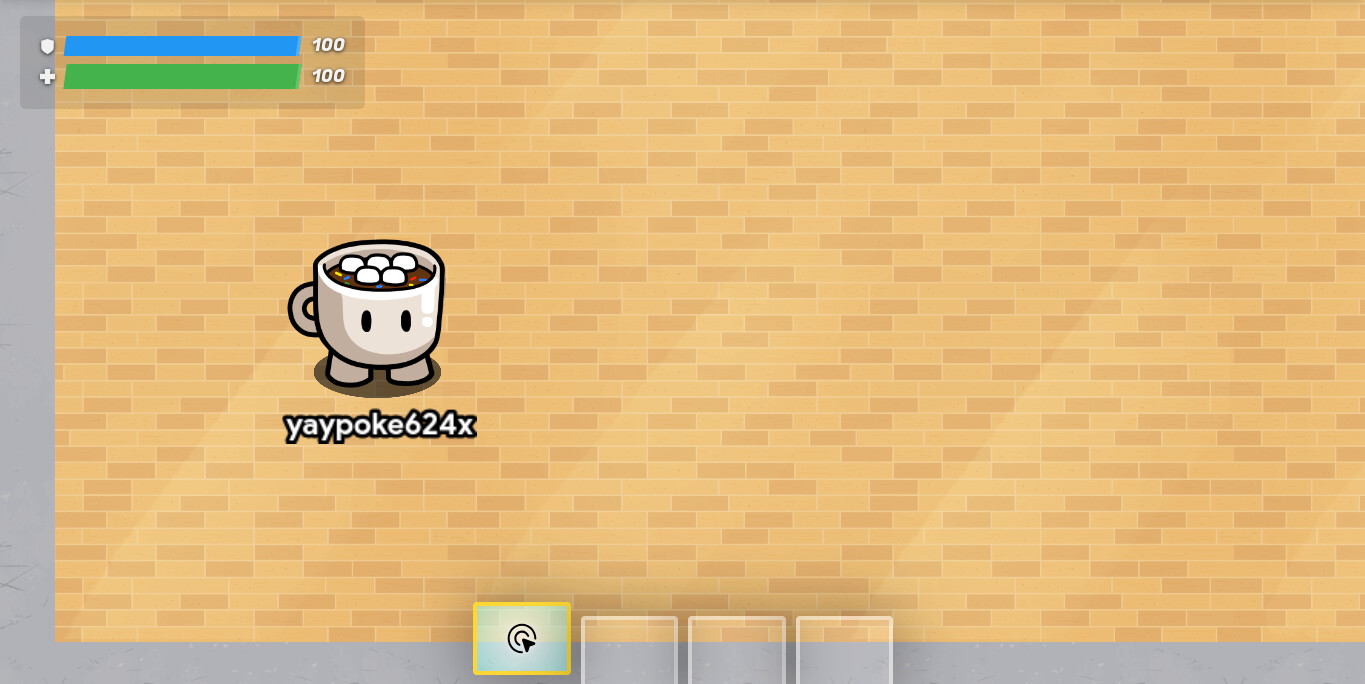
The length of the map is limited to how much your brain can come up with (And the Memory Limit) How are we going to make this work? because in game it looks like this:
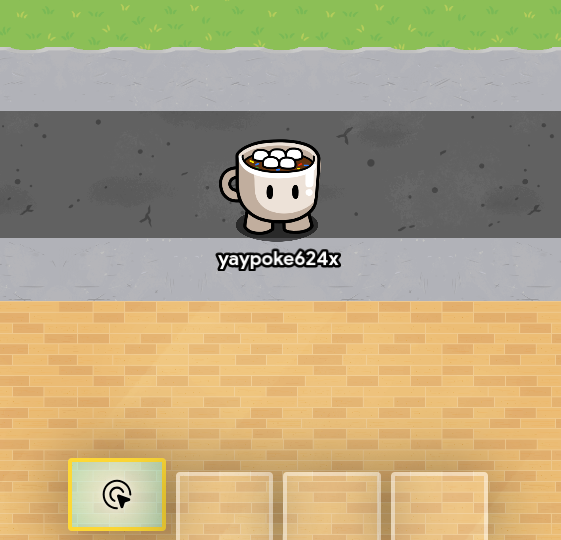
You can’t see the entire map which is a problem, so we use Camera Views. 2 to be exact.
The first camera view is going to cover your whole map. Death, Runner, the whole thing
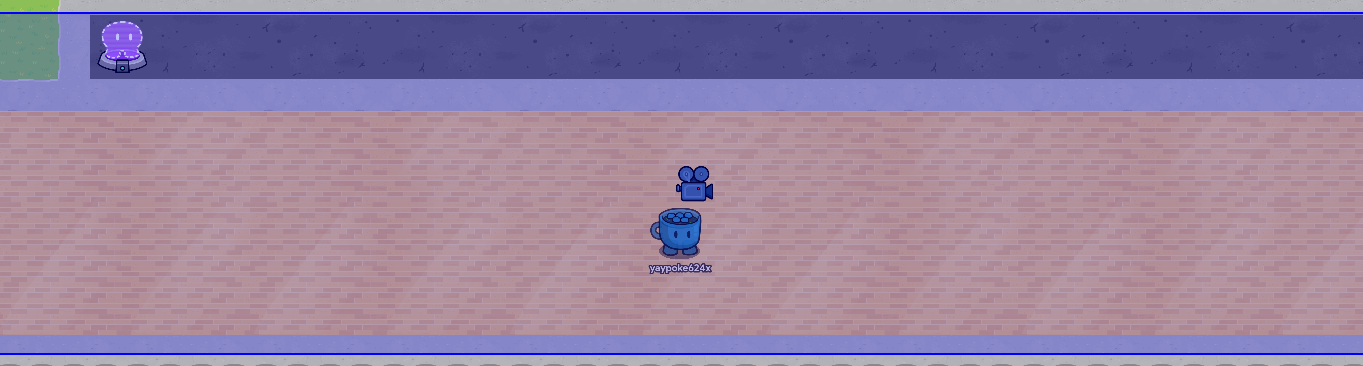
The second camera view is going to cover only the runner side. (I’ll get to why later)
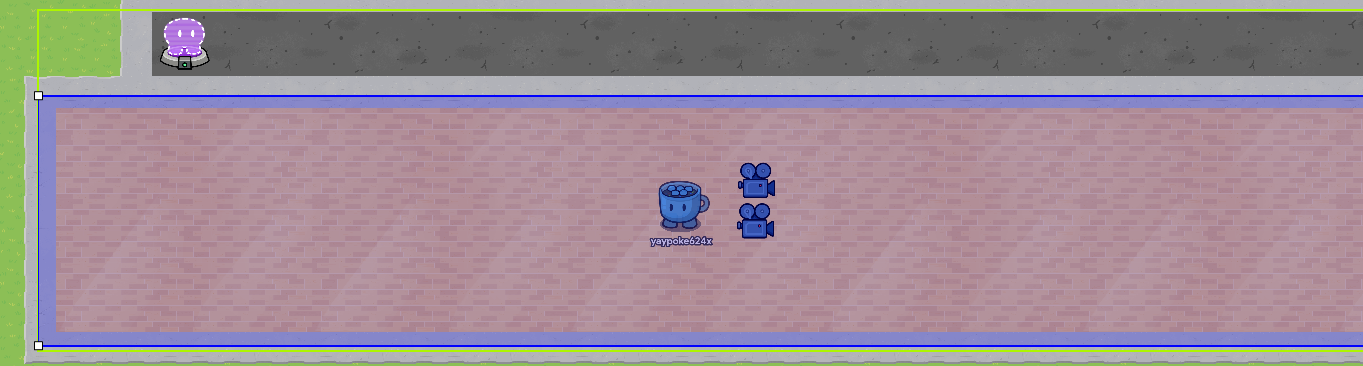
Make sure that in layering, the camera view that is only covering the runner side is on top of the one covering the whole thing. Otherwise, setting up the second camera view is useless.
The reason why we set the camera views up like this is so you can’t see Death as a Runner, but you can see Runners as Death
It isn’t fun when you SEE when Death is about to activate a trap
Just assume that they’re going to activate a trap and try to bait it out.
Because after spending a month developing and testing my map, play testers found it fun not knowing where the traps were. That’s the second reason the camera views are set up like this.
Assuming you followed this, congrats. You have just set up the map, next is Traps.
Traps
This part is more reworking the way traps are rather than trap Ideas
The trap system I see on the existing community guides is a one time use, So I have created a (Really inefficient) way of making traps multiple use.
You Need:
- 3 Triggers
- A Button
- A Trap
You are going to want to set up the triggers and button like this:
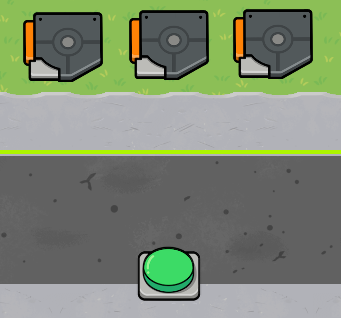
The trap itself can go in any direction or position
Changing the Trigger Delay:
- The one in the middle should stay the same, do not touch it.
- The Trigger Delay of one on the right should be how long (in seconds) you want the trap to stay on
- The Trigger Delay of the one on the left should be the trigger Delay of the one on the right added to how long you want death to not use the button.
Wiring the Trap:
- Wire the button to the Middle Trigger
When Button Pressed: Trigger
- Wire the Button to the Trap
When Button Pressed: Activate [Trap Name]
- Wire the middle trigger back to the button
When Triggered: Deactivate Button
- Wire the Button to the trigger on the right
When Button Pressed: Trigger
- Wire the Trigger on the right to the trap
When Triggered: Deactivate [Trap Name]
- Wire the Middle Trigger to the left Trigger
When Triggered: Trigger
- Wire the left Trigger to the Button
When Triggered: Activate Button
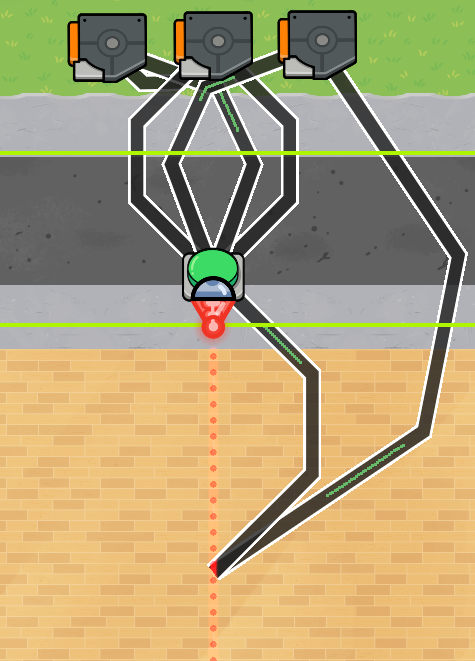
I am aware that this is a lot of connections, and I am aware that there is probably an easier way to do this, but this is the way I came up with. You finished product should look something like this:
Making sure that there is no sign of a trap at all makes the experience better. even though it will be hard, “The fun part about Deathruns is learning where the traps are and baiting them out” -Me, 2024
That basically sums up how to fix the trap system and make it multiple use.
Team Picking
The Revamped Team Picker takes @ItzJay’s Team Picker and makes it where the more people there are, the higher the chance of there being a second Death.
The Lifecycle should be set to Game Start
The Relays should be set to Random Player
Team Switcher should be set to Team 2
It should look something like this:

There is a 50% chance of both players being Death if there are only 2 players, so 5-10 players is recommended when using this system.
You are also going to want to make sure that the team settings are set to Cooperative.
@ItzJay’s tutorial should tell you how to set up the Spawn Pads
Starting Inventory
A Starting Inventory of a Blaster or a Zapper can open up new possibilities for progression, such as Unaliving a sentry (That is always there) to get an item that is required to move on. You can also place destructible walls to block the path with a trap that could catch players off guard
.
.
.
That is everything I believe needs to be expanded on, make sure to check out the other guides (at the top) if you want to make a full map. and maybe give me some ideas of what guide to make next