Hello, welcome to my nice little guide-
where i’ll be teaching you how to make my custom Gim using Barrier art, and texts!
what you’ll need:
Specifications and color numbers:
x1 outlined circle, RGB# 232, 189, 89
x2 outlined purple circles, RGB# 184, 51, 255
x2 outlined black barriers- at RGB# 0,0,0
x2 non-outlined black barriers-, also at 0,0,0
x2 purple non-outlined barriers-, same as outlined purple circles.
x2 non-outlined purple circles- also the same!
~~
STEP 1, ASSEMBLE:
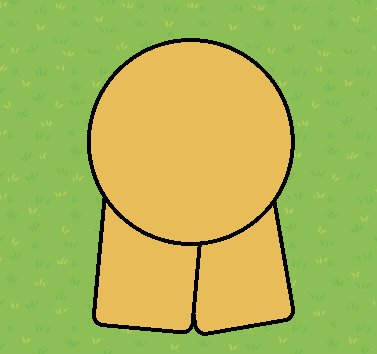
firstly, attach the round head, and rectangular legs. this can be done by taking the skin tone circle, making it above the legs (in layers), and putting it on top of the legs!
Image:
~~
STEP 2, FRONT HAIR (bangs)
Next, Take your two outlined purple circles, and put them behind the head layer!
- make sure they’re slightly smaller than the head, and above the leg layers!
Image:
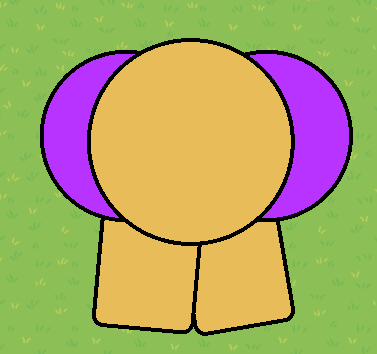
-I think I made them poke out a tad too much…!
~~
STEP 3, TOP HAIR
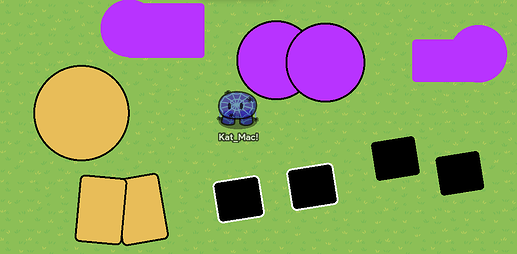
after, take your purple outlined barriers-- and attach them like the picture at the beginning of the guide! *on the very top! Then, you’ll place them on the “above” layer- on top of everything so far!
Image:

though, I added a little bit more to the hair! (and I used outlined barriers to cover un-needed lines!
~~
STEP 4, SHOES+HORNS
Next, take the OUTLINED squares, and place them OVER the legs, and make sure they fit the size, and not covering the whole leg!
Image:
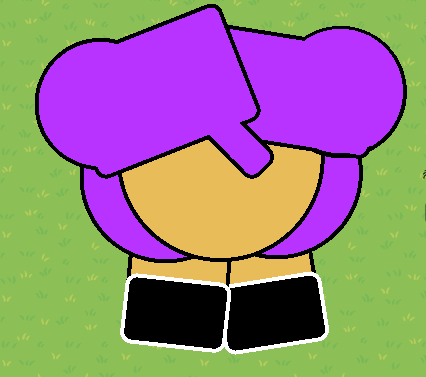
then take two, or four black non-outlined barriers- to make my horns!
Image:
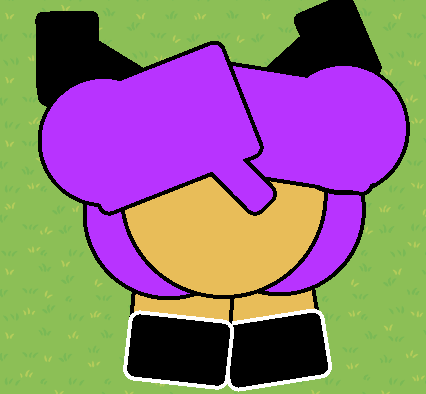
decent enough!
~~
LAST STEP, EYES AND TAIL!
lastly, go grab three text devices!
now right click in the text area, and pick the special characters:
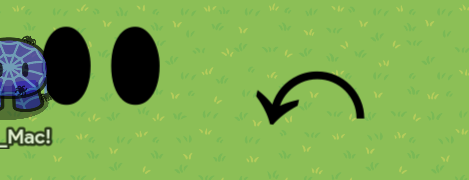
and move the ovals on the face-
and the curved arrow behind everything!
FINAL RESULT:

You can also add minor details to make your barrier-art Kat_Mac look even cuter!
have fun!
and lemme go eat some macaroni,
because I’m always hungry~
:3
(and instead of pinging and saying “cool guide”, just like it-)
