Continuing Discussion from How to make a Survival Game where you NEED a few things to survive | Difficulty 4/10
In that guide, I added all the mechanisms of dying. Well, how to you not die? I will be showing you how to add to your percentage of hydration. You can implement this into other systems as well.
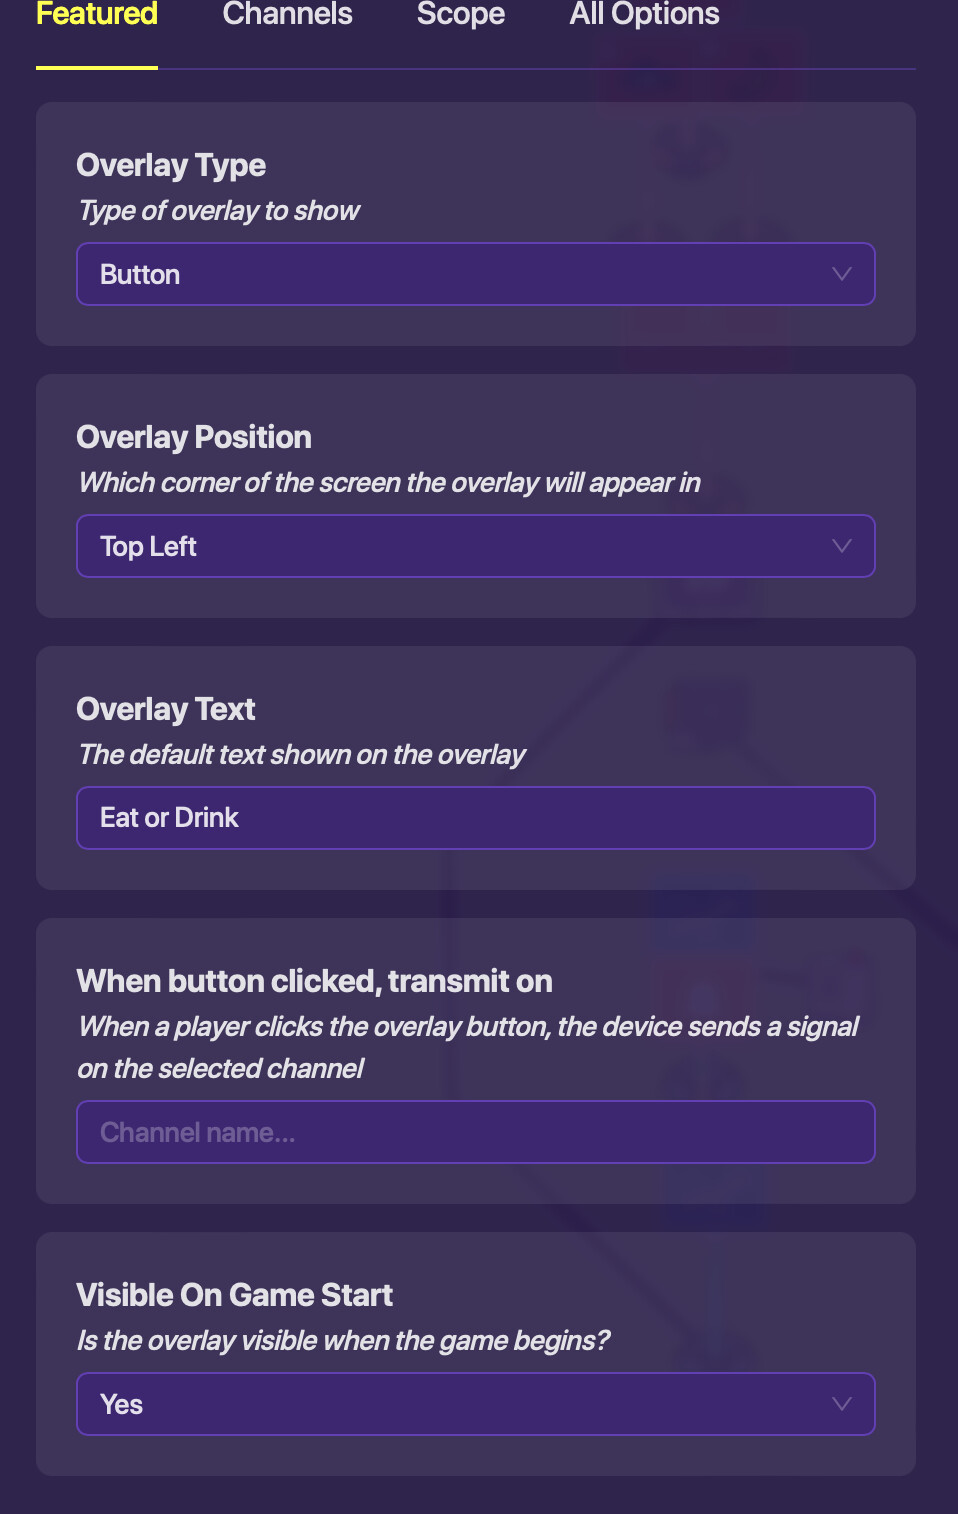
First, place an Overlay, settings like this:
Wire it to a Popup, settings like this:
Header Text: Eat or Drink
CTA Primary: Eat
CTA Secondary: Drink
We will be working with the SECOND Call to Action, Drink.
Wire your popup to another popup, like this:
Secondary Call to Action Clicked -> Open Popup
Now, this popup will be something like this:
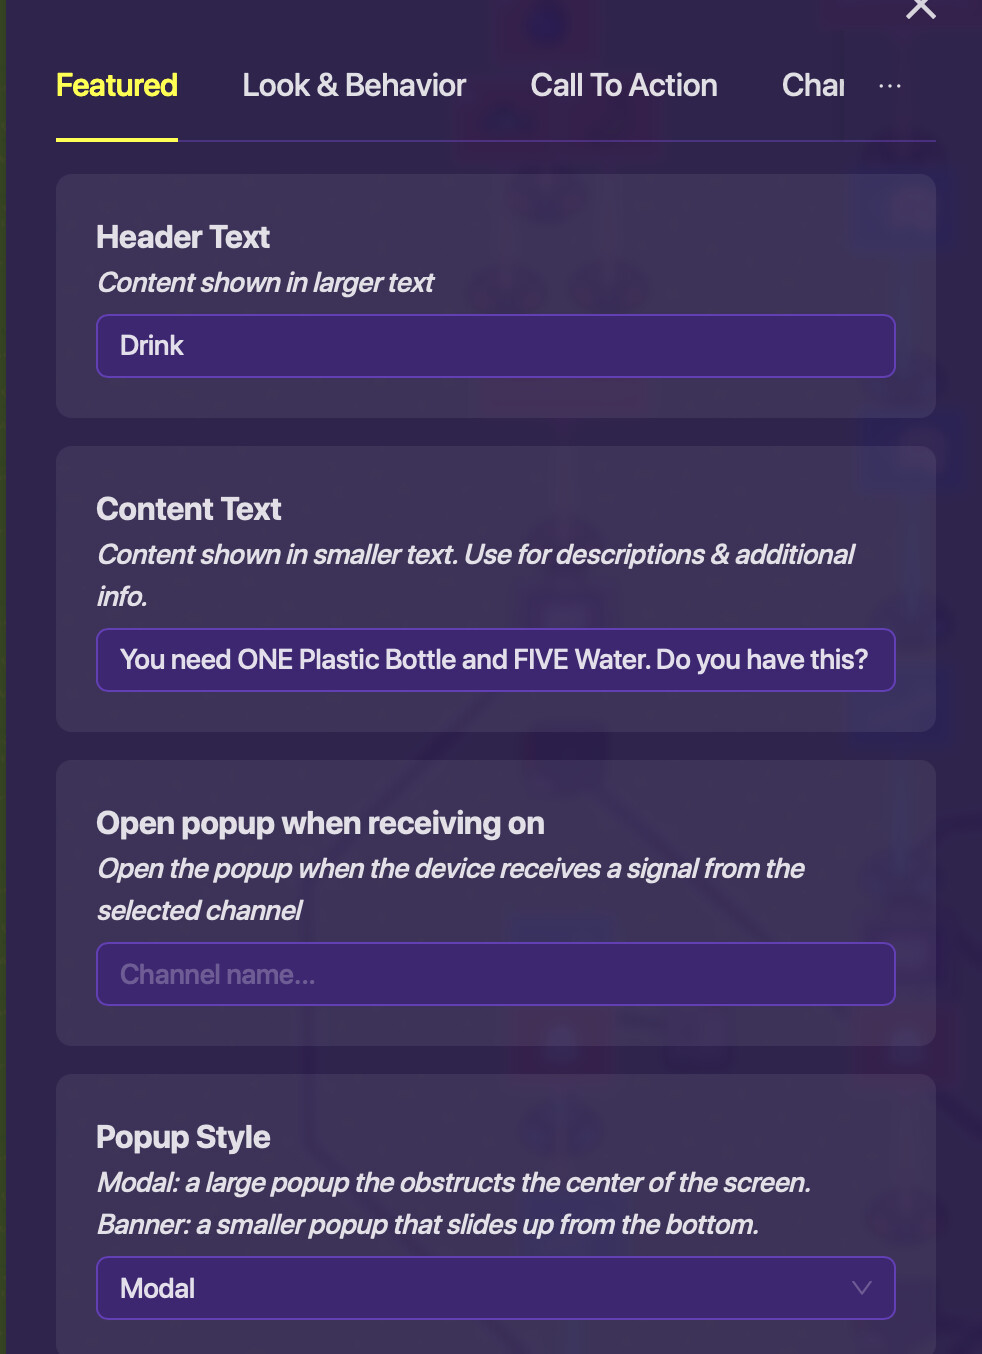
The Content will ask if you have the items, and the Primary CTA will be Yes, the Secondary CTA will be No.
Wire this popup to a checker, with these settings:
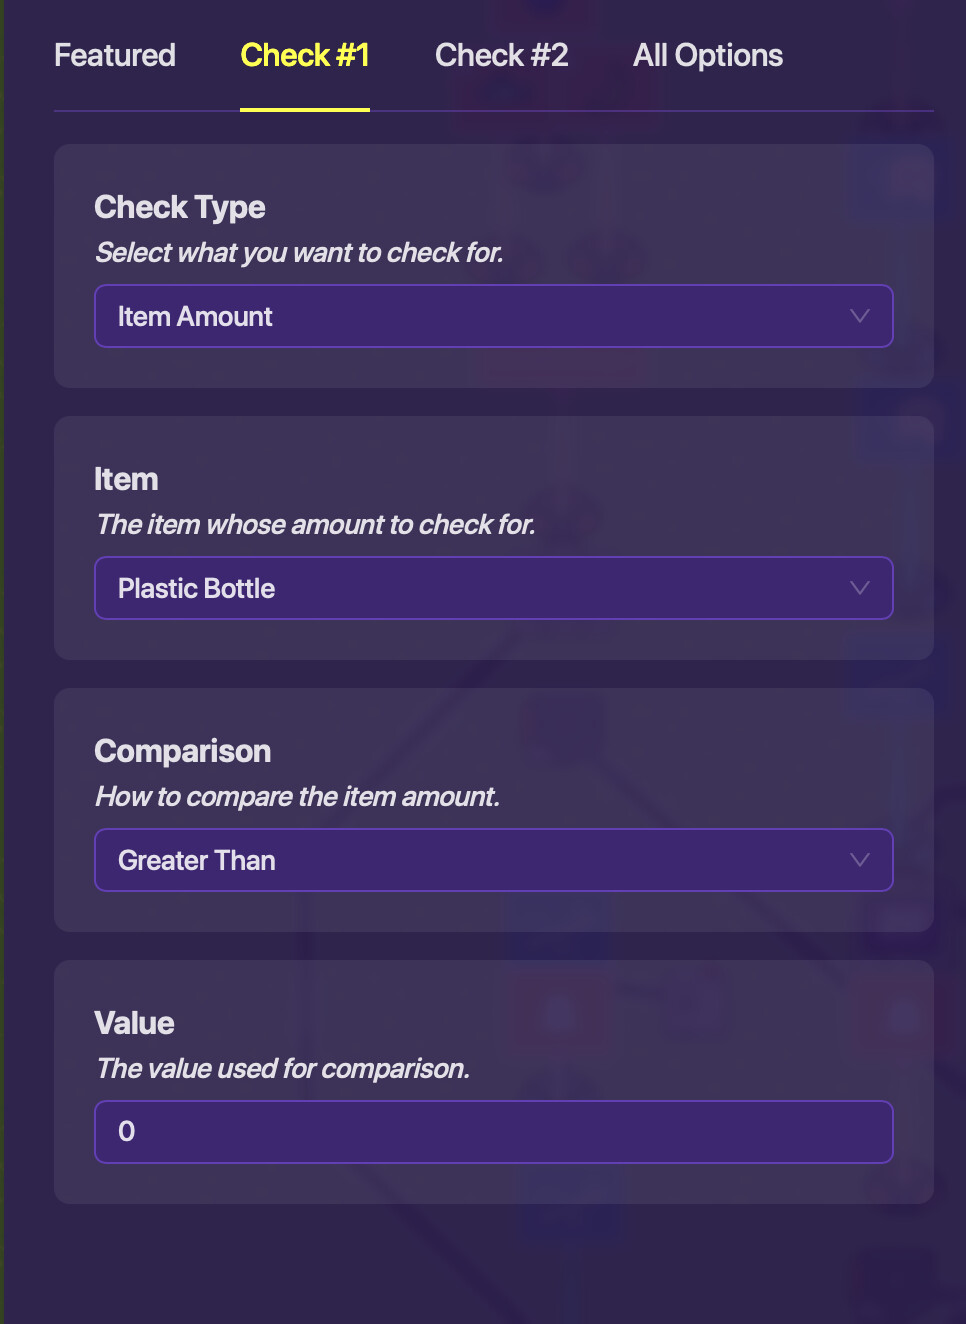
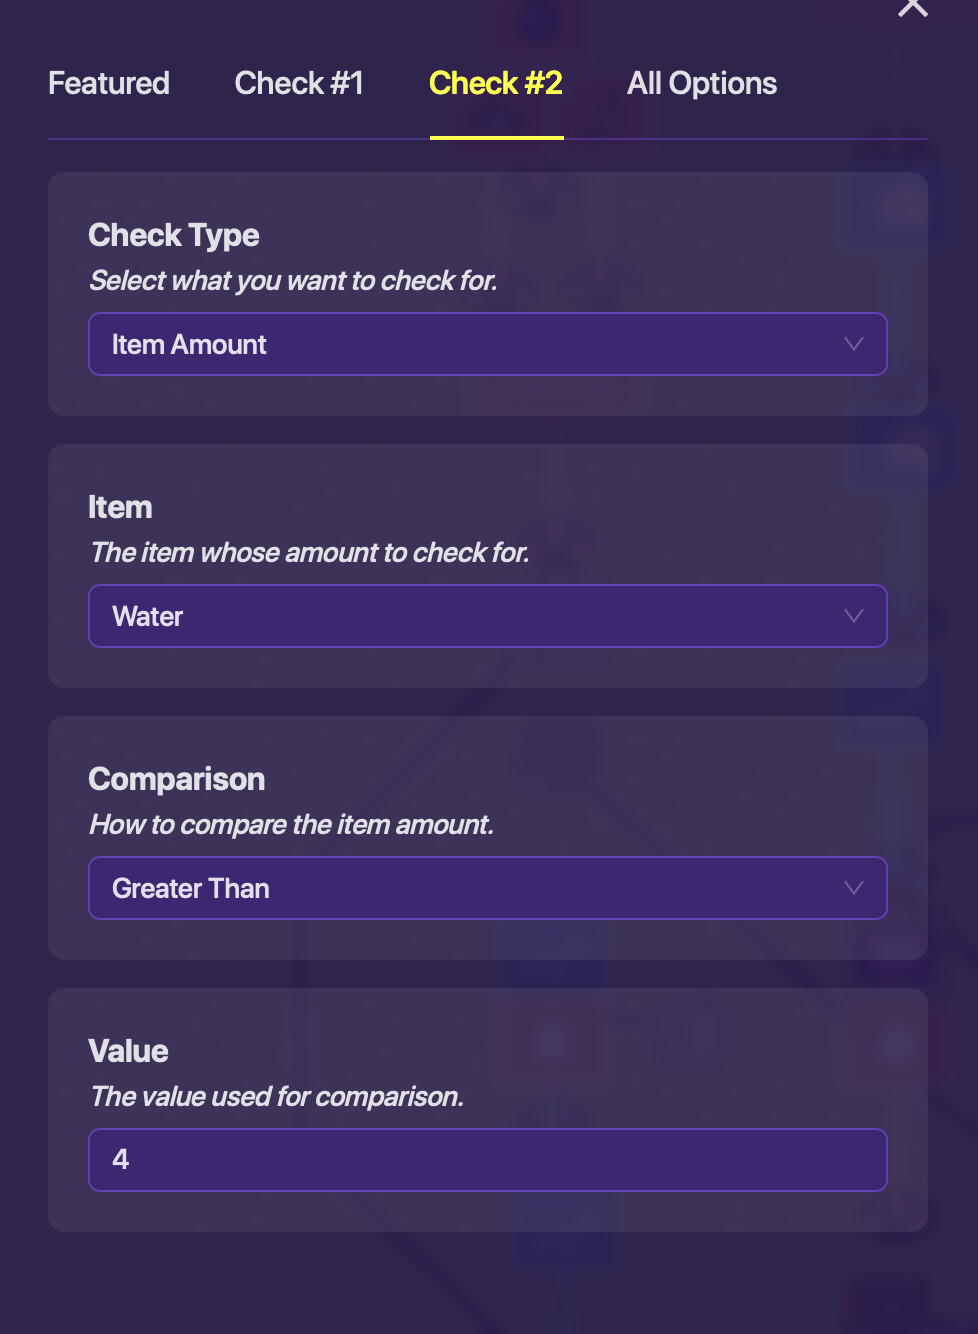
You can require whatever items you want.
Wiring:
Primary Call to Action clicked -> Run Check
Now, wire this checker to item granters that will take away the required items, at the exact amounts, if the check passes.
Check passes -> Grant Item
Last of all, wire this checker to a trigger:
Check passes -> Trigger
The Trigger should be like this:
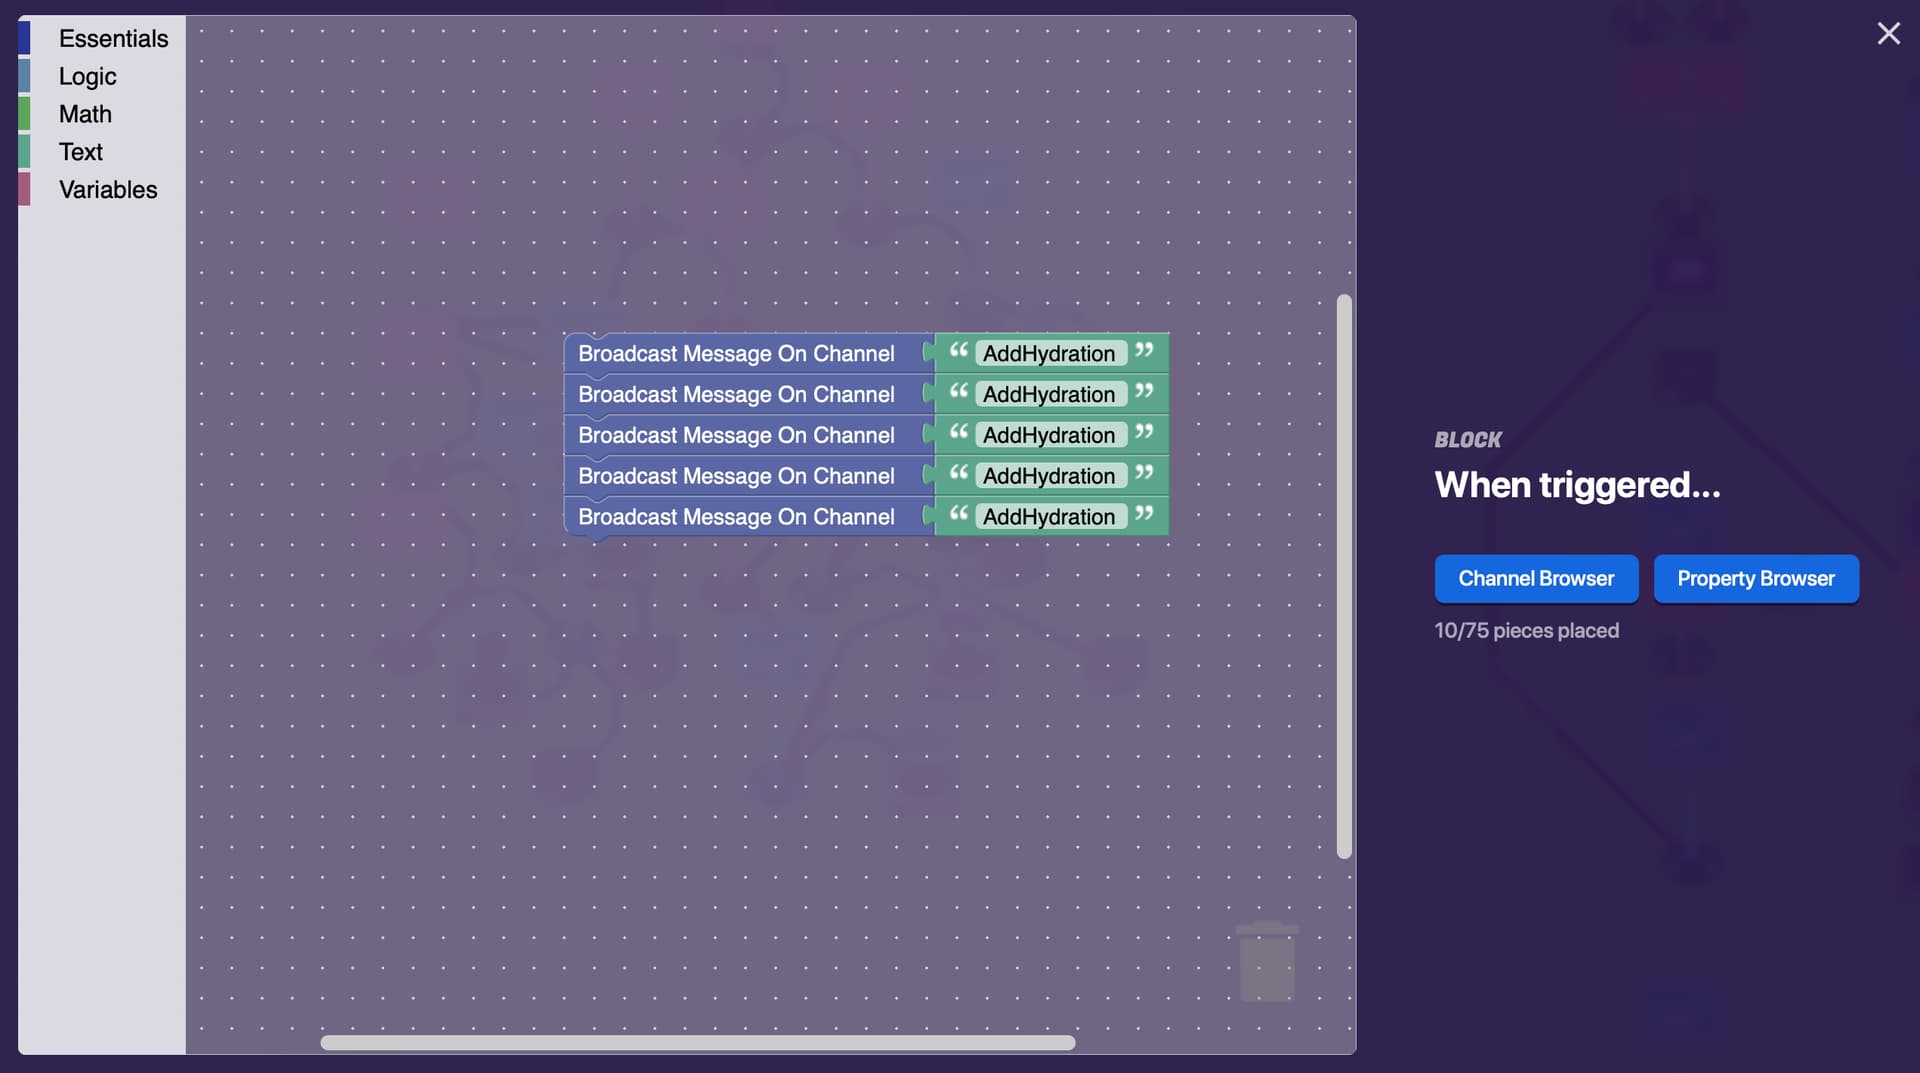
(What I used)
Or this:

(Useable, but won’t edit the counter, so there might be an error…)
One more thing. When adding, your Property, and your Amount of Hydration, might go ABOVE 20, or whatever your max number is. To avoid that from happening, add a checker that checks if the Property, AmountOfWater, is Greater Than 20. If so, when wiring this checker to the counter:
Check Passed -> Reset Counter
That way, you won’t be over hydrated… But, of course, if you want, you could just show a message that says “You are over hydrated”, and then you die…
Also, this Checker will check when receiving on our favorite channel, “RepeatCheck”.
You’re done now! Have fun making your Survival Game, and @ me if you have any errors!
-@Blizzy