Art Guides ![]()
How to make a Fish Tank in Gimkit Creative
[This guide was made in Gimkit Creative]
Props/Blocks used:
- Coral #3
- Coral #9
- Coral #11
- Sand Pile #3
- Rock #4
- Fish of any kind (I use GimFish & GreenFish)
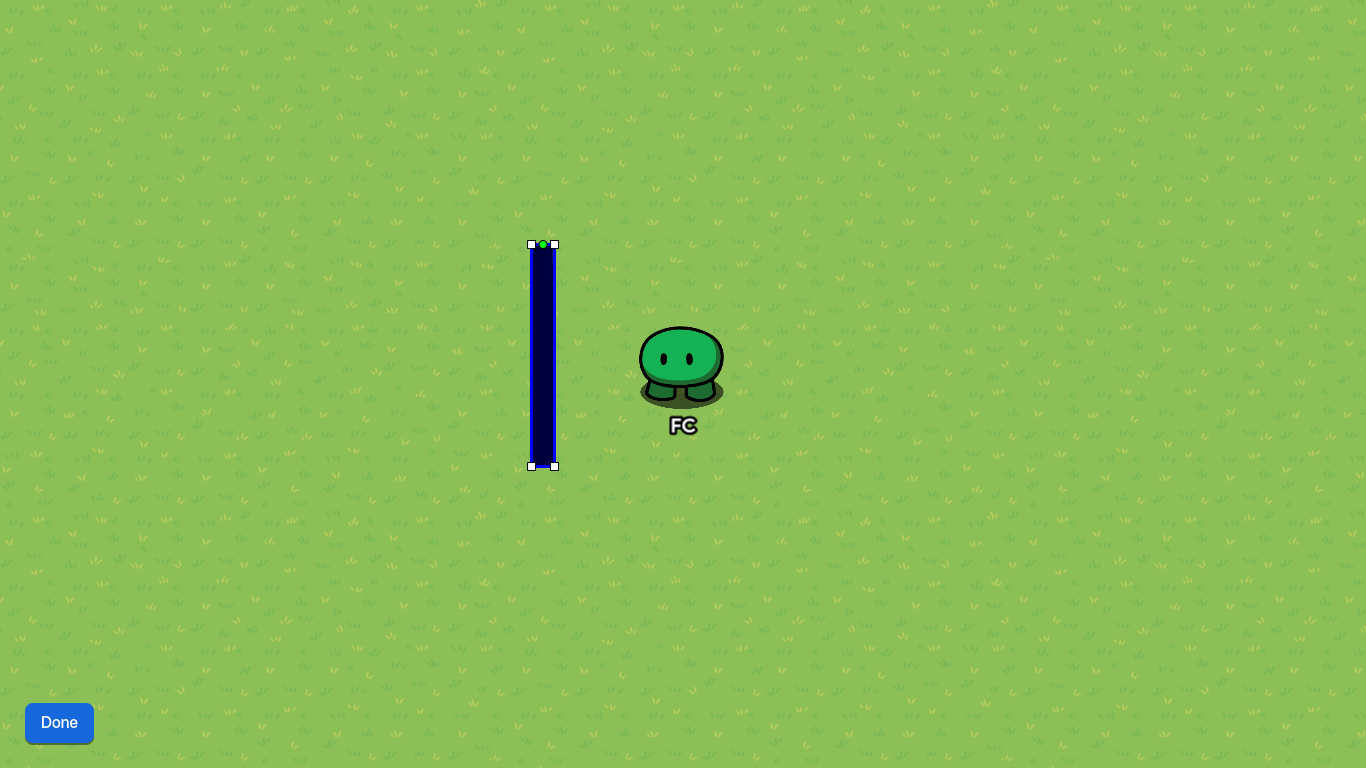
- Barrier (Blue and no Border)
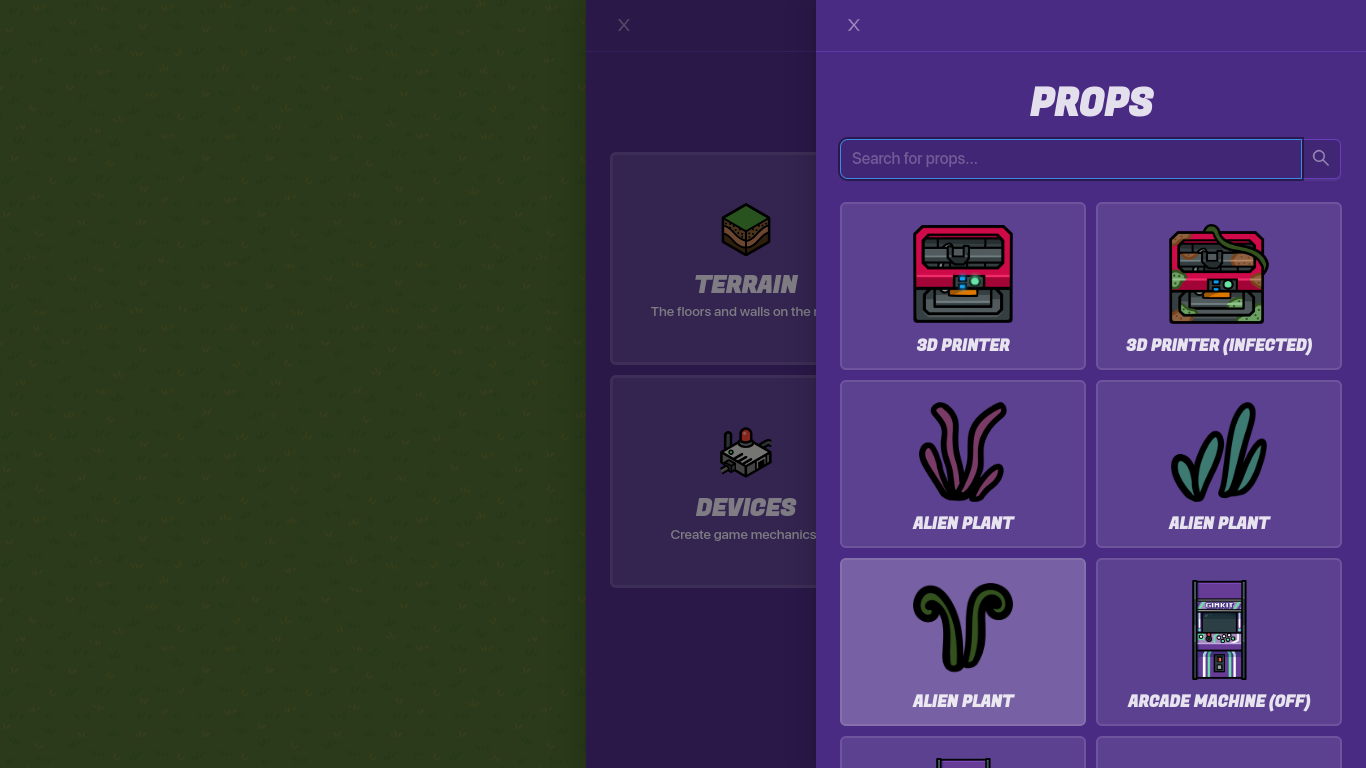
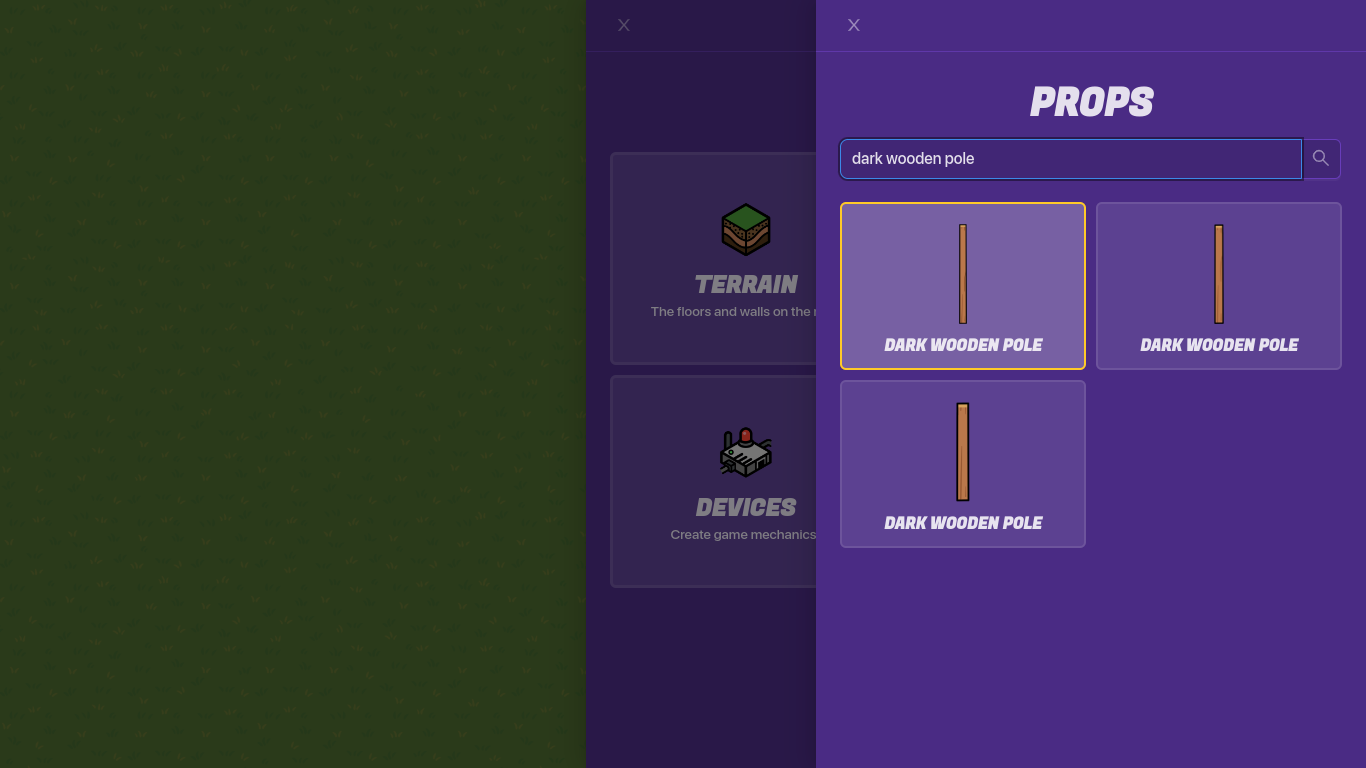
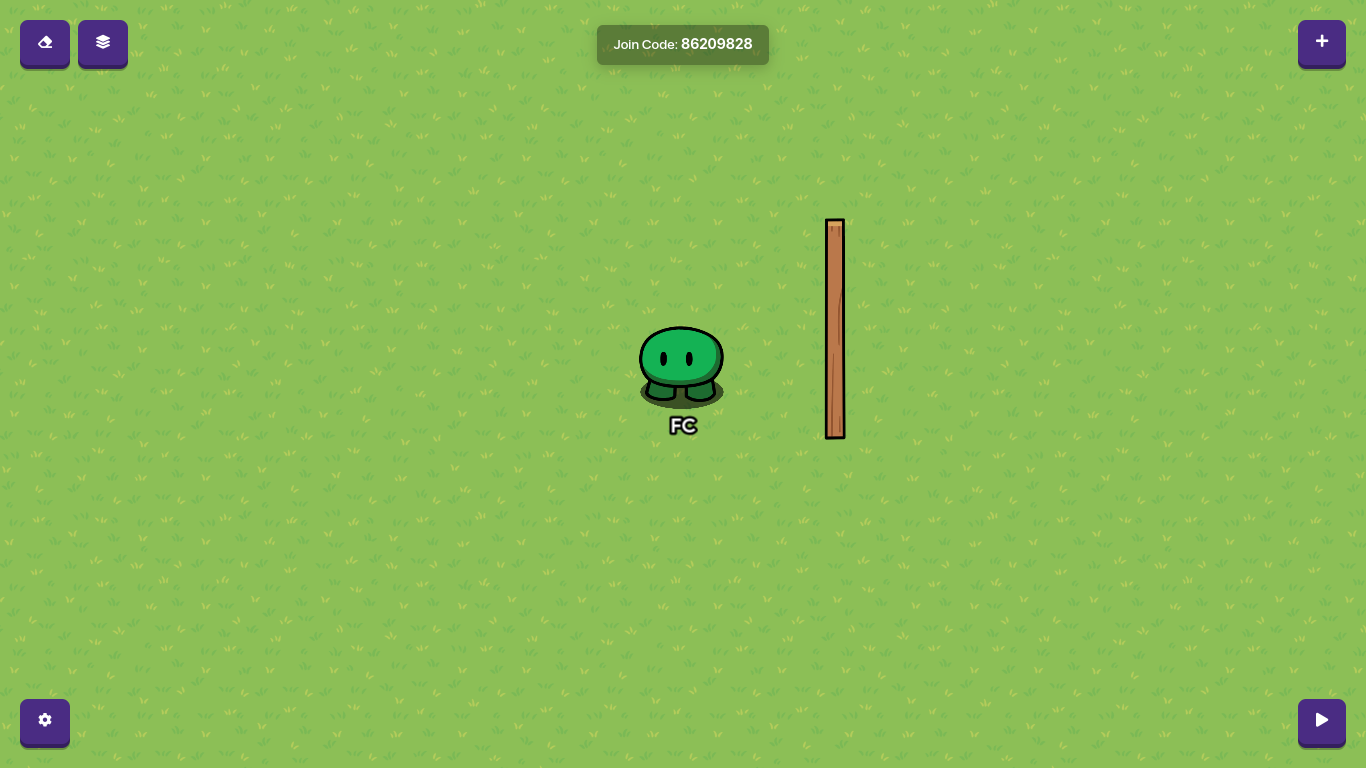
- Dark Wooden Pole (Any Kind)
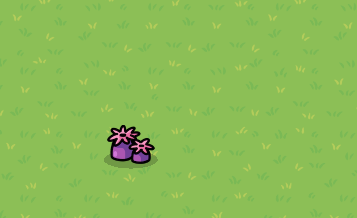
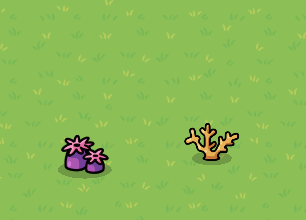
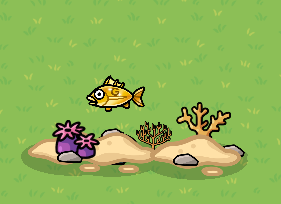
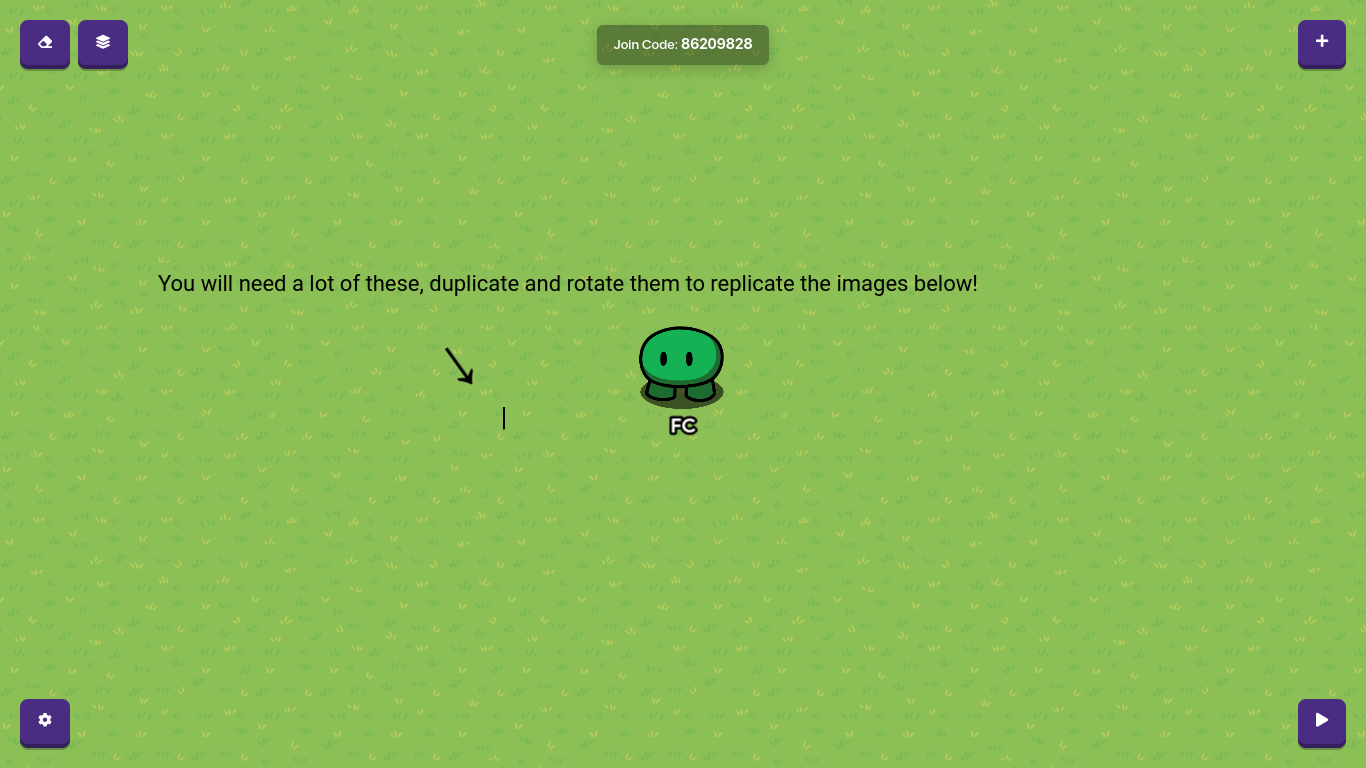
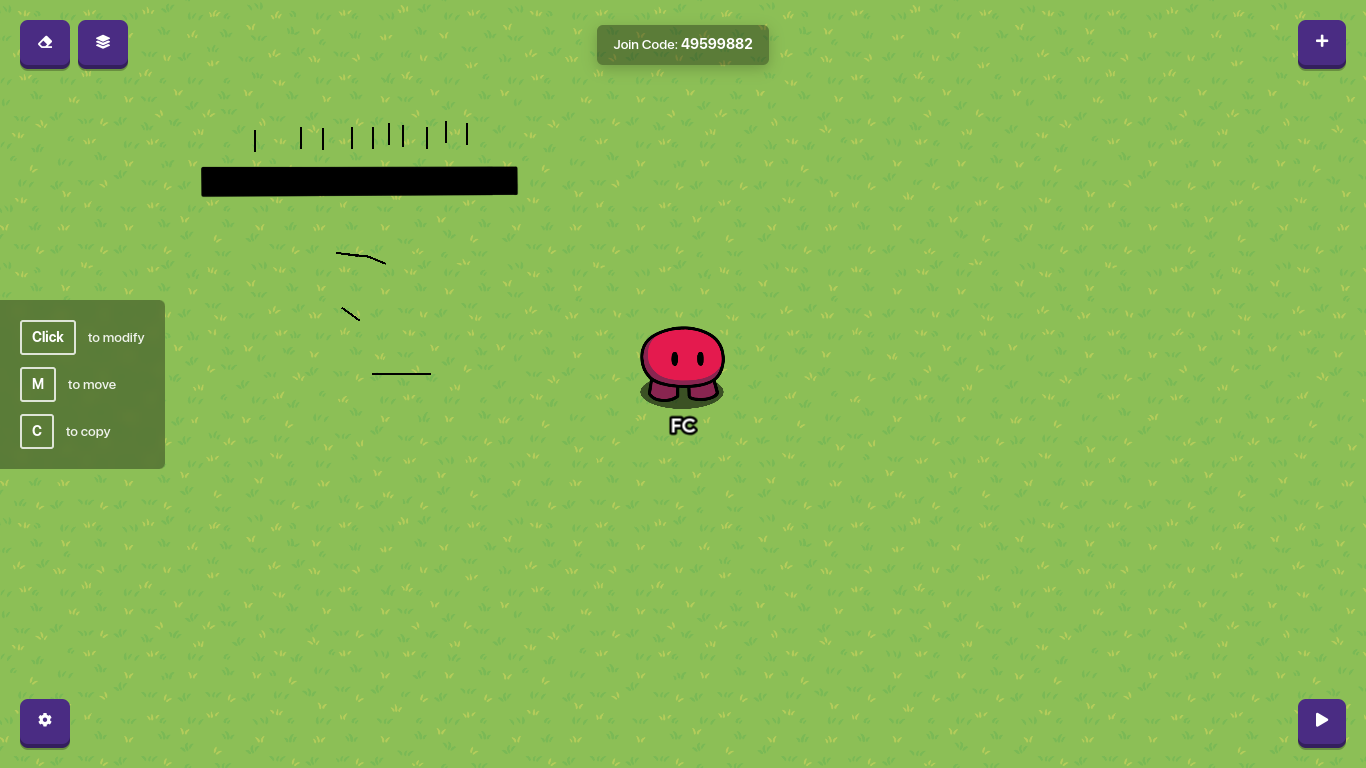
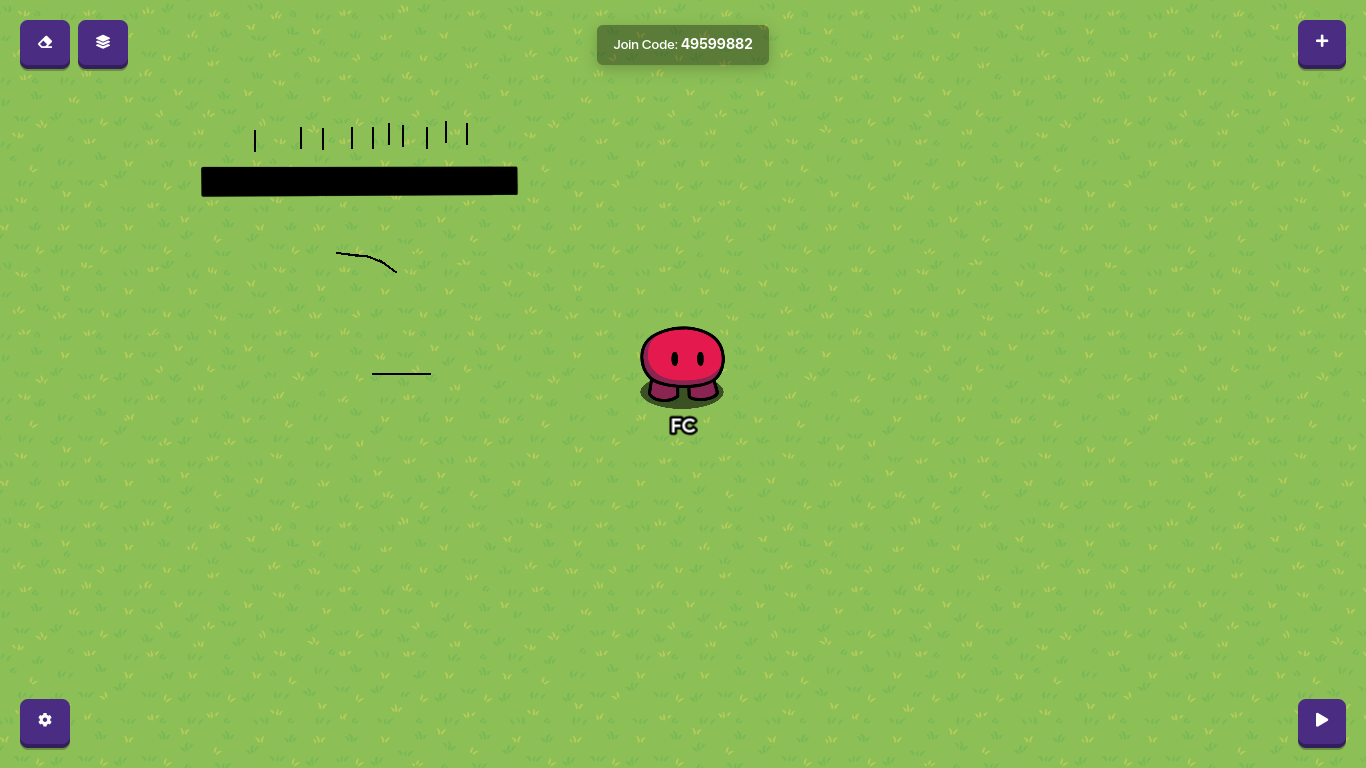
Copy off of the images below to help you build the fish tank ![]()
- Coral

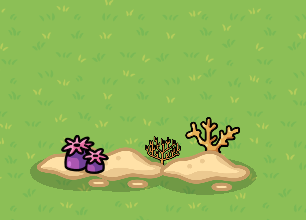
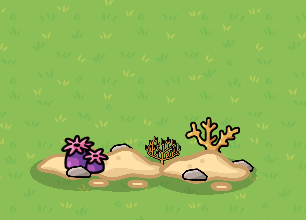
- Sand and Rocks
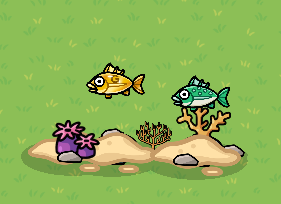
- Fish
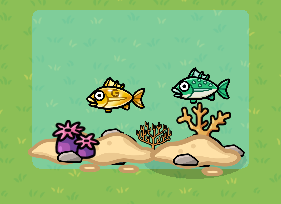
- Glass and Water
- Fish Tank Bottom
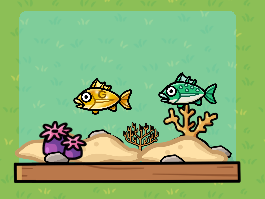
Once you have finished all the steps you will have your very own fish tank!
How to make a Train Engine in Gimkit Creative
[This guide was made in Gimkit Creative]
Props/Blocks used:
- Spaceship Catwalk (Lined)
- Barrier
- Metal Pole #3
- Metal Pole #2
- Rock #4
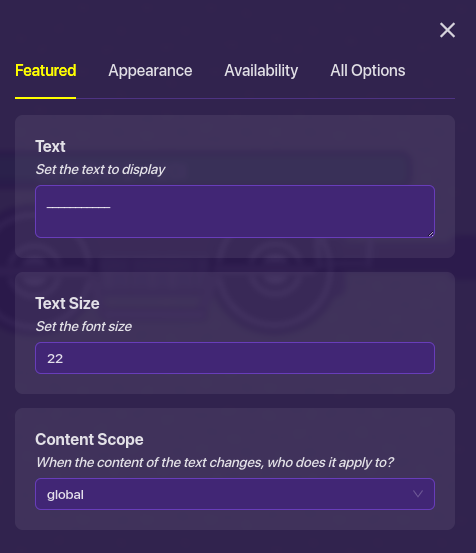
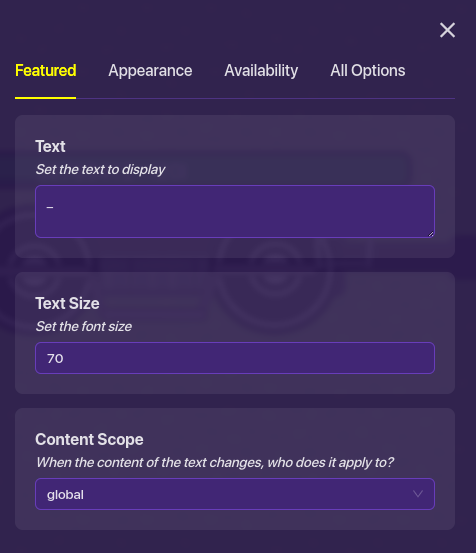
- Text
- Bicycle Rack
Copy off of the images below to help you build the fish tank ![]()
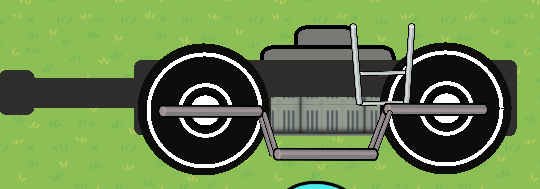
Part One: Train Base
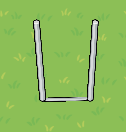
1. Wheel Frame #1
2.Wheel Pair #1
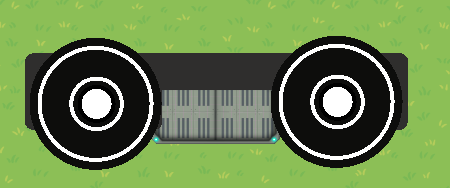
3. Side Frame #1
4. Side Ladder #1
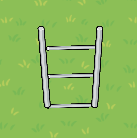
5. Bogie #1
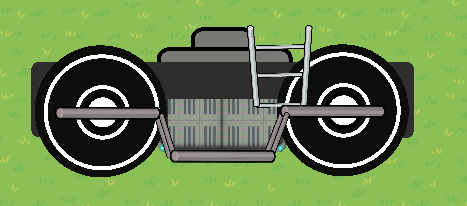
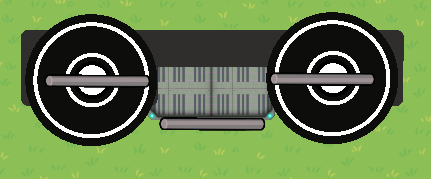
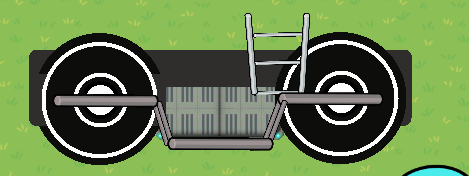
6. Duplicate

7. Replace Ladder #2
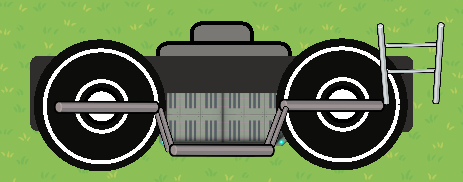
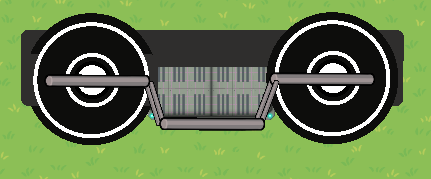
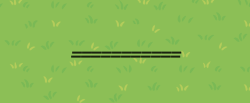
8. Coupler

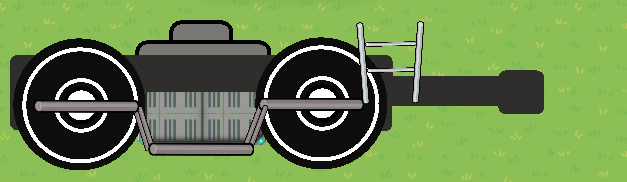
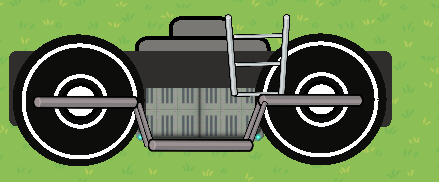
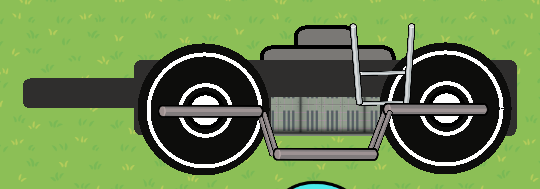
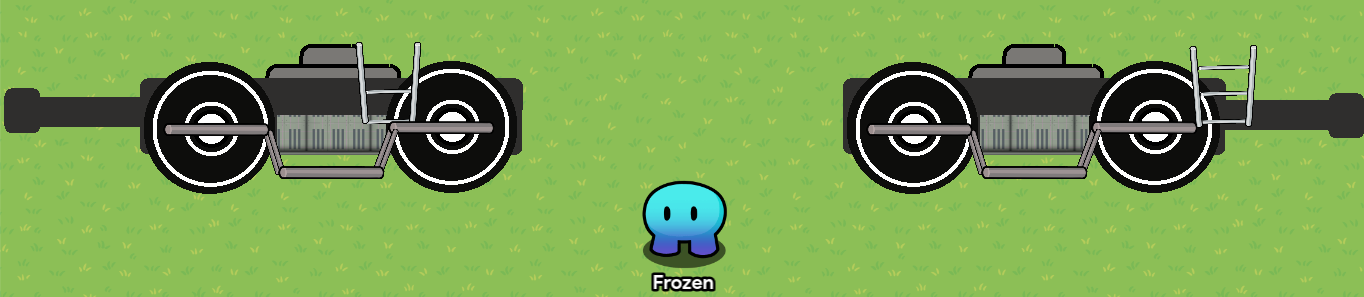
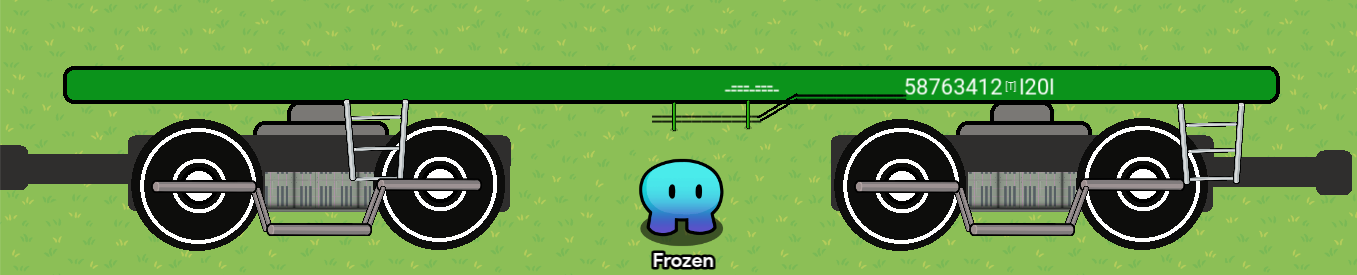
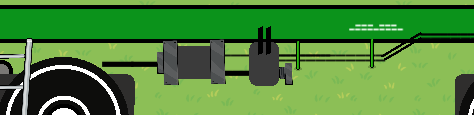
FINAL CHECK: Train Base should look like this ![]()
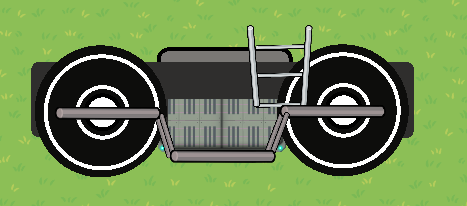
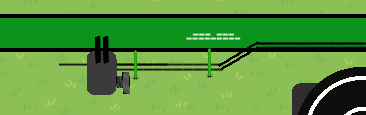
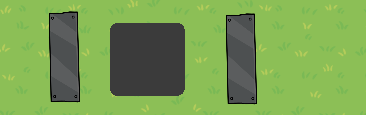
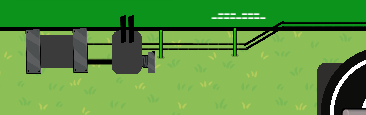
Part Two: The engine / Locomotive Frame
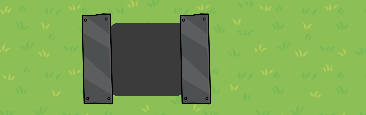
1. Frame
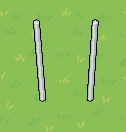
(Slanted black pieces are blackboard legs)

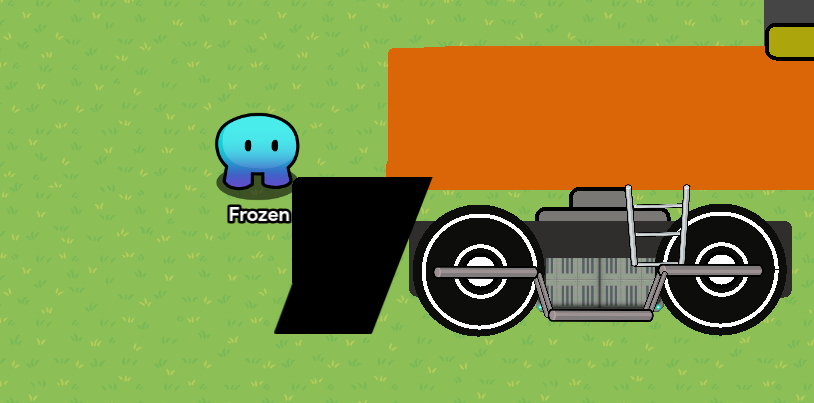
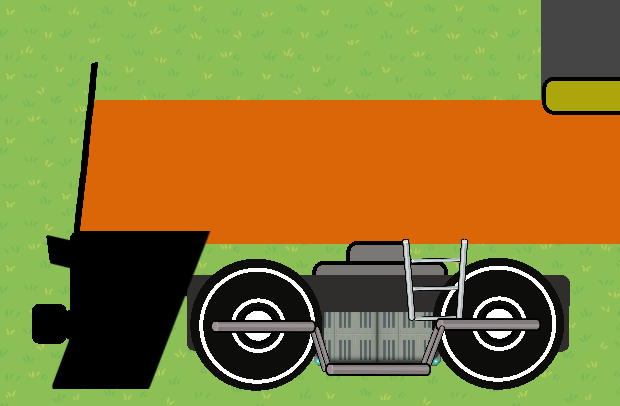
(Lines around the orange are backboard legs colored black)
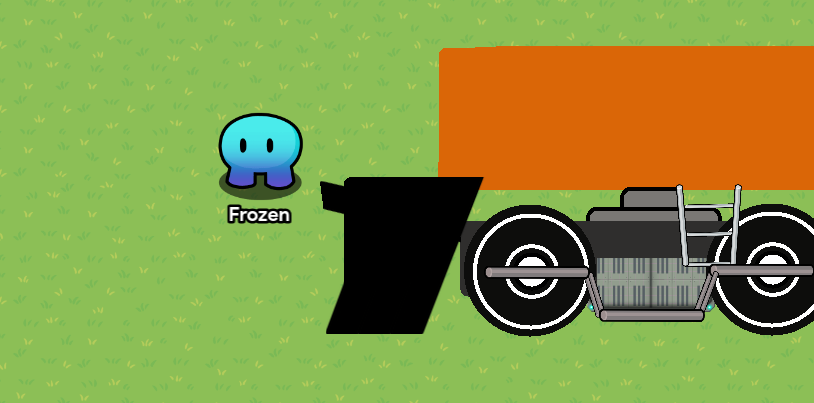
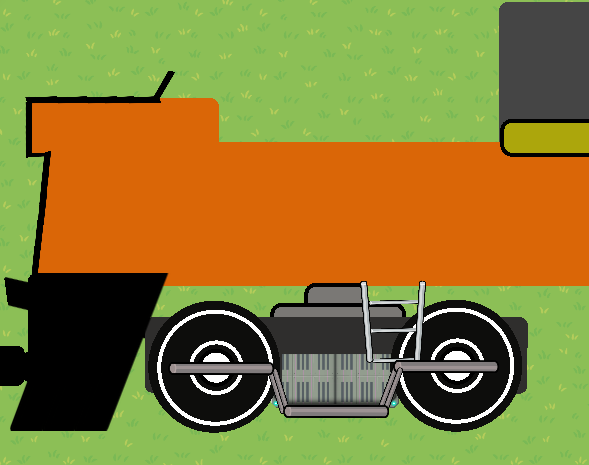
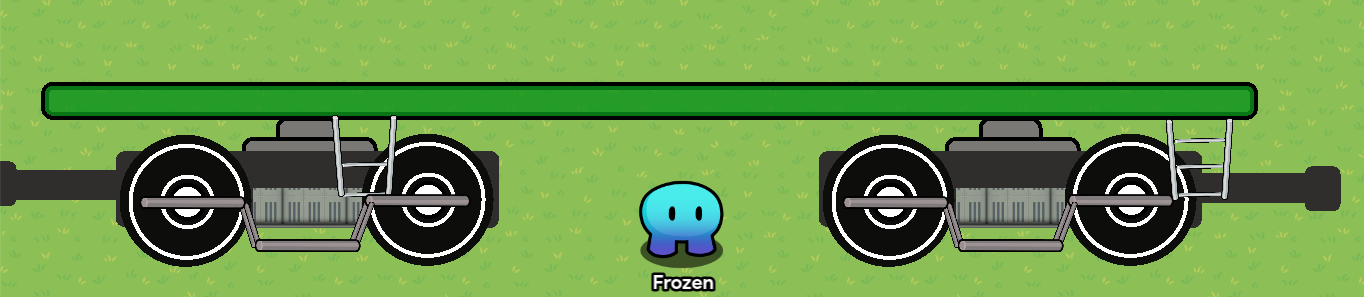
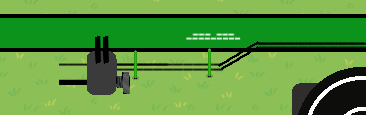
FINAL CHECK: The locomotive frame should look like this ![]()
Front:
Back:
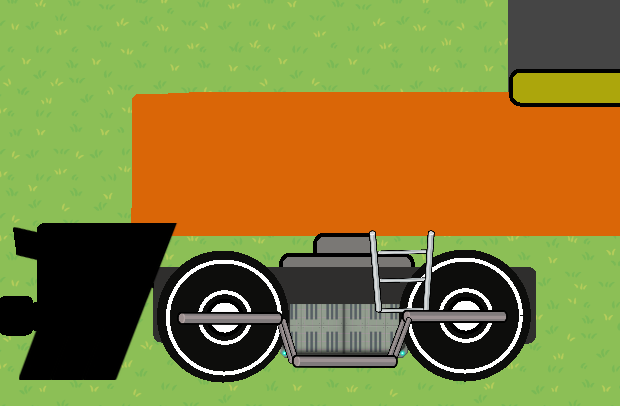
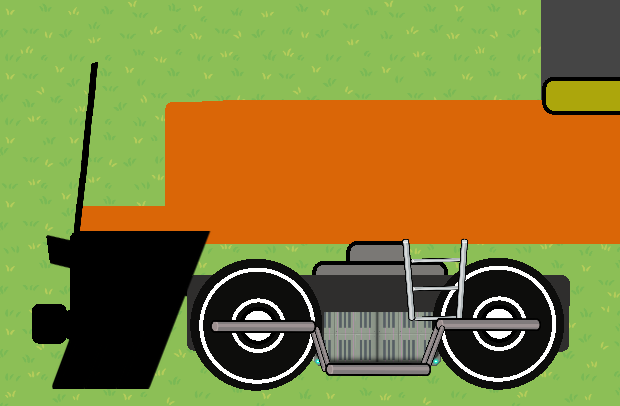
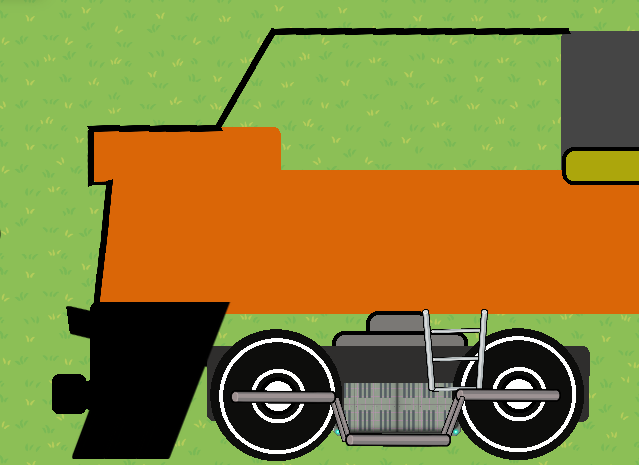
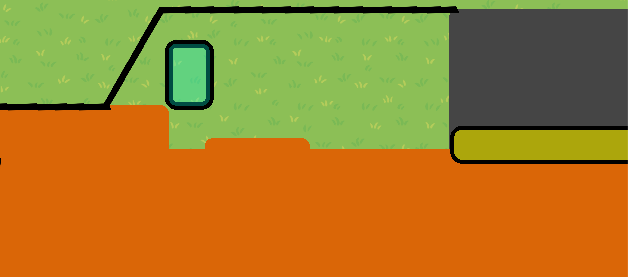
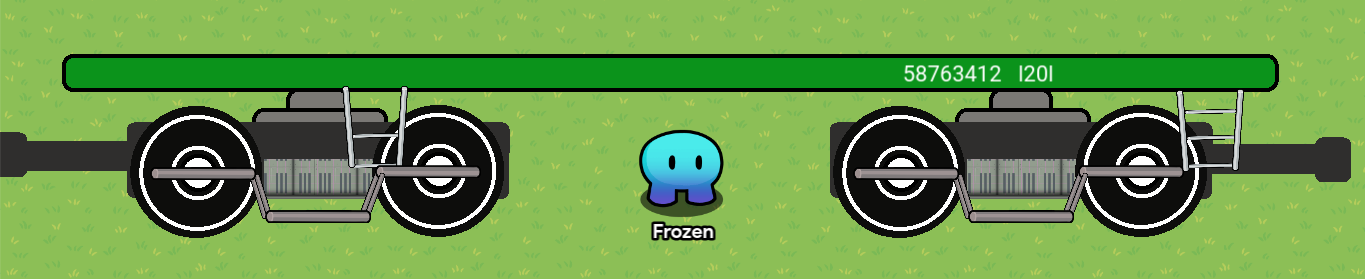
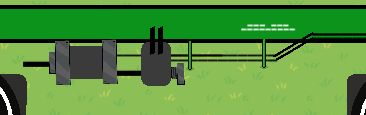
Part Three: Frame Details and Accessories
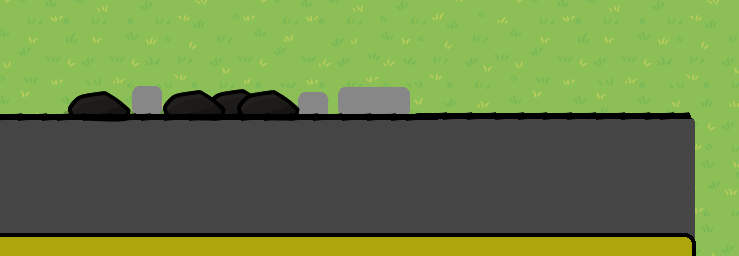
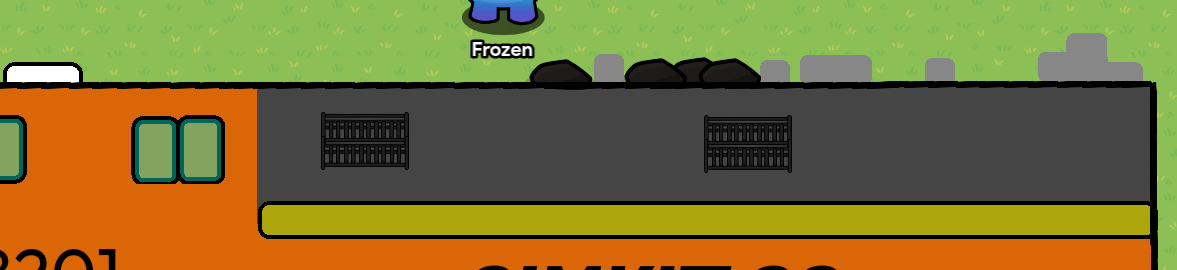
1. Vents and Coal

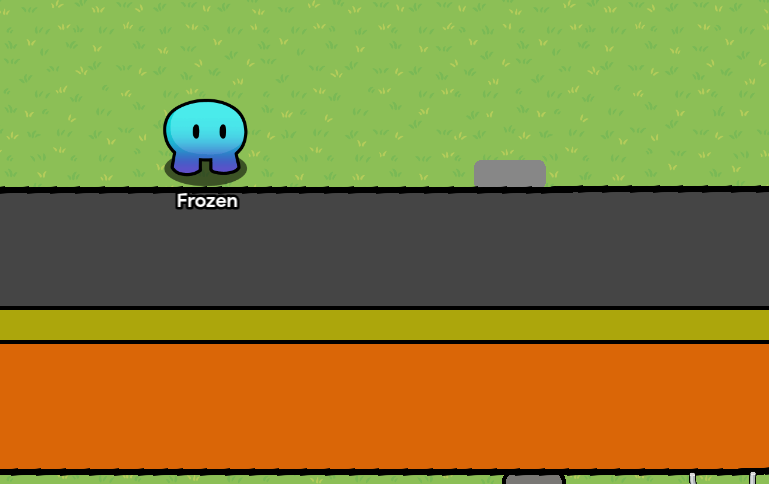
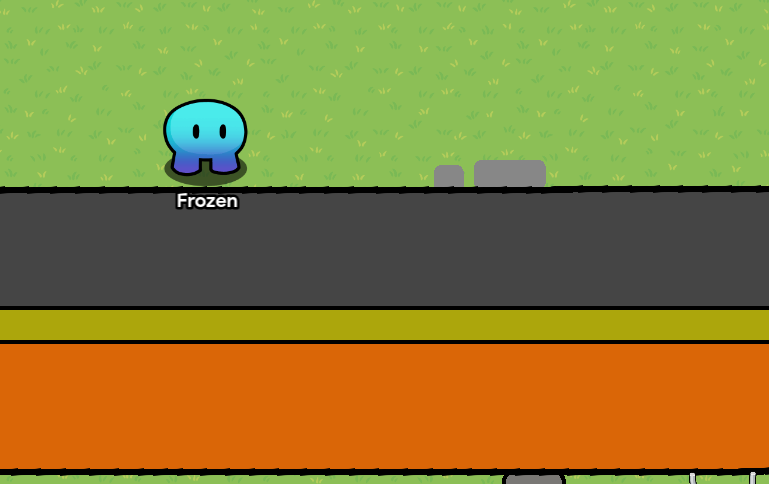
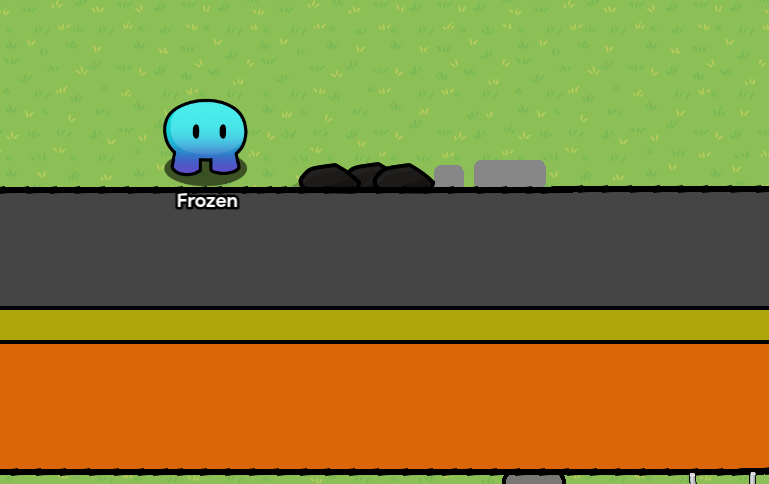

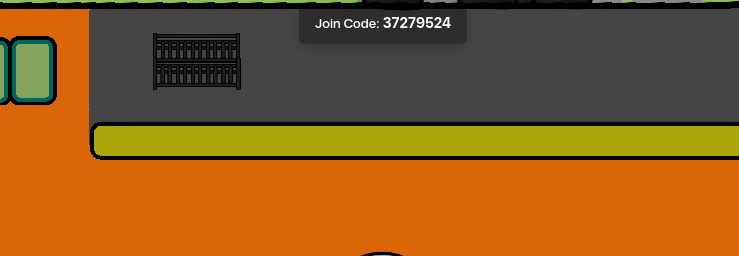

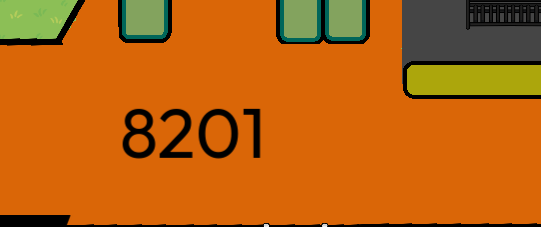
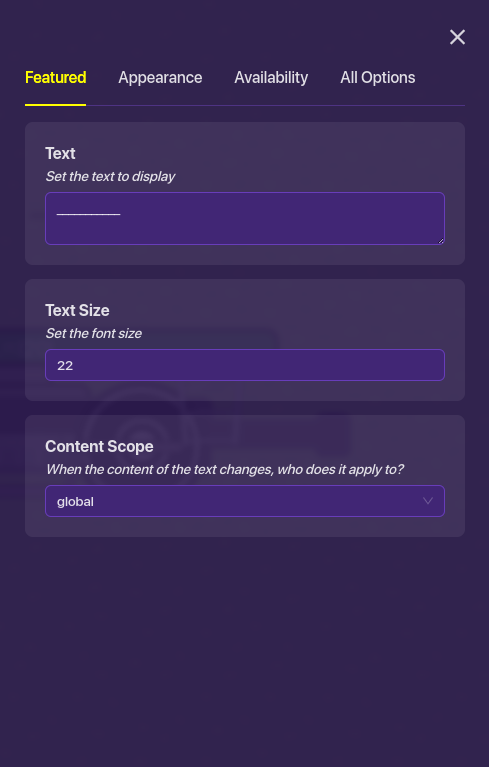
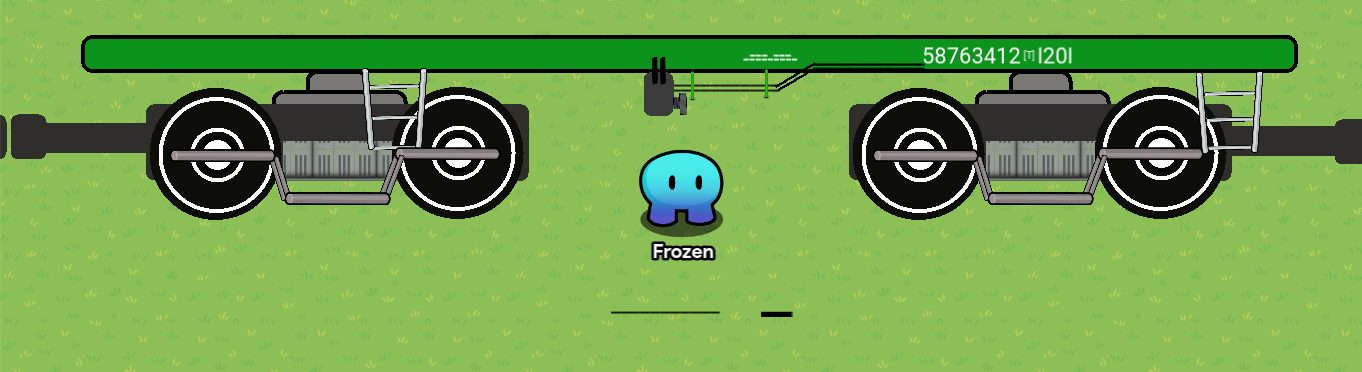
2. Train Number and Company Name

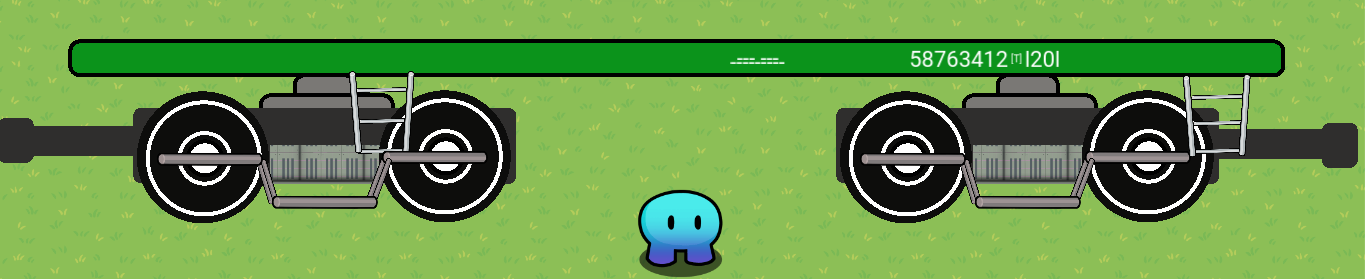
FINAL CHECK: All of the train details and accessories should look like this ![]()
Bottom:

Top:
Once you have finished all the steps you will have your very own Train Engine!
How to make Train Cars in Gimkit Creative
[This guide was made in Gimkit Creative]
Oil Train Car
Props/Blocks used:
- Barrier
- Spaceship Catwalk (Lined)
- Blackboard Leg
- Metal Pole #1
- Metal Pole #2
- Metal Pole #3
- Text
- Metal Briefcase
- Metal sign #4
Copy off of the images below to help you build the Oil Train Car ![]()
Part One: Base
1. Wheel Frame #1
2.Wheel Pair #1
3. Side Frame #1
4. Side Ladder #1
5. Bogie #1
6. Duplicate
7. Replace Ladder #2
8. Coupler
9. Train Car Base


(Zoom In)
(Use Text Block)

(Blackboard Leg)


(Use Blackboard Legs)


(Rotate Text and Tuck into Wheel)
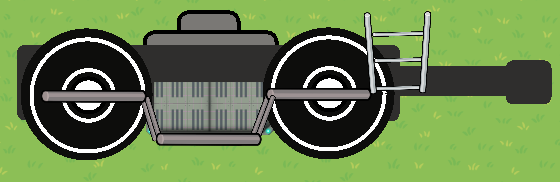
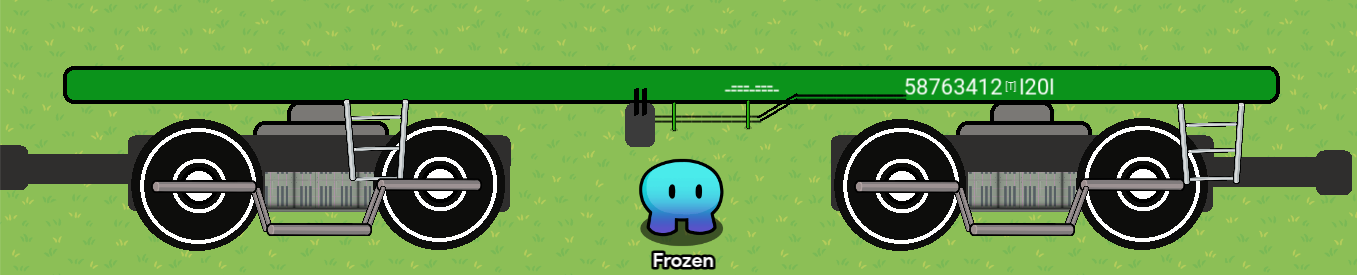
FINAL CHECK: The Oil Train Car base should look like this ![]()
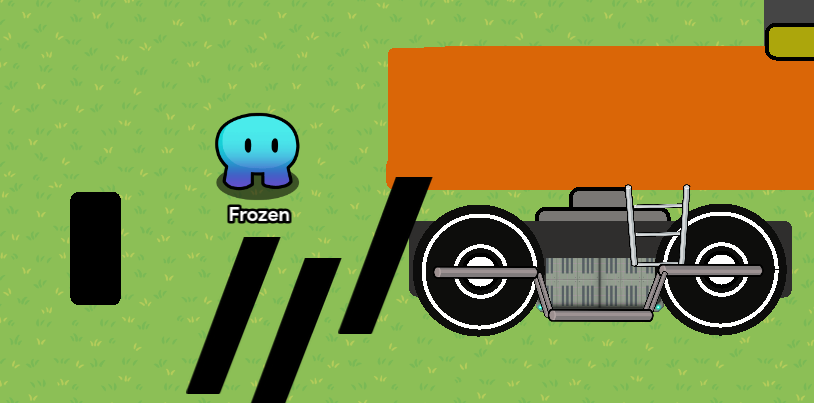
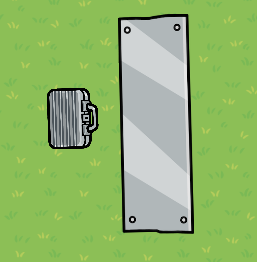
Part Two: Oil Container
1. Container

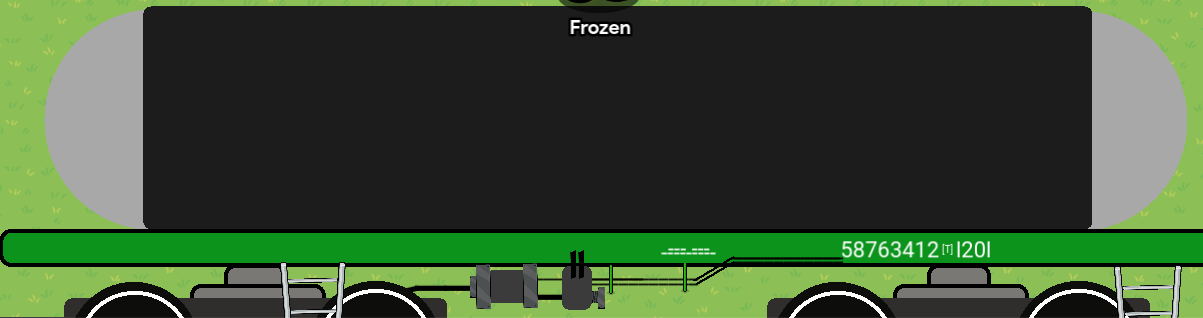
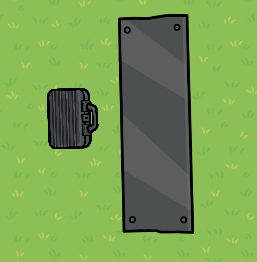
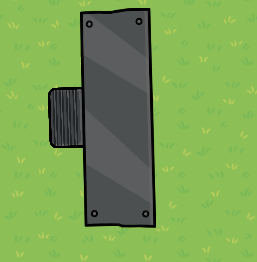
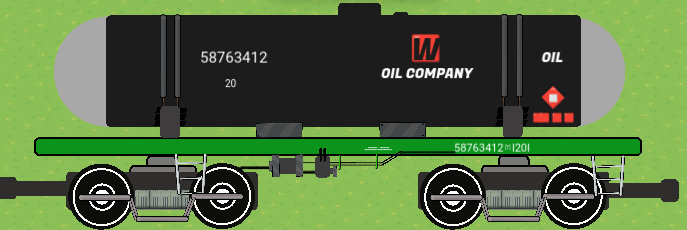
2. Details


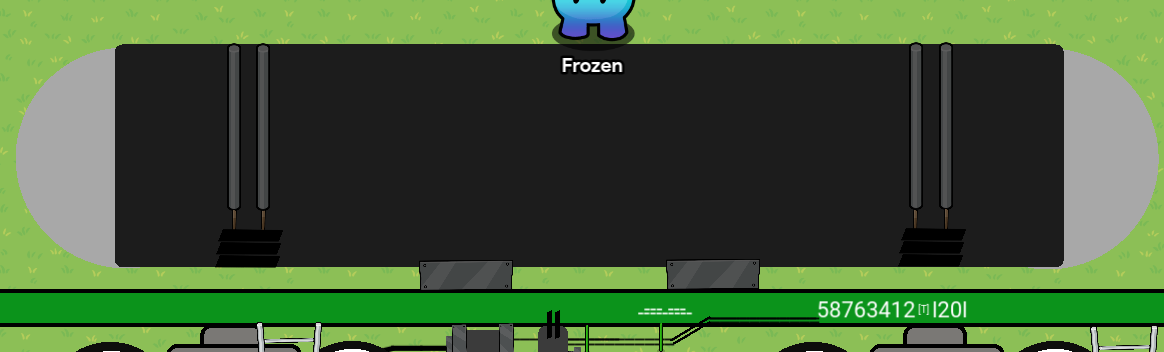
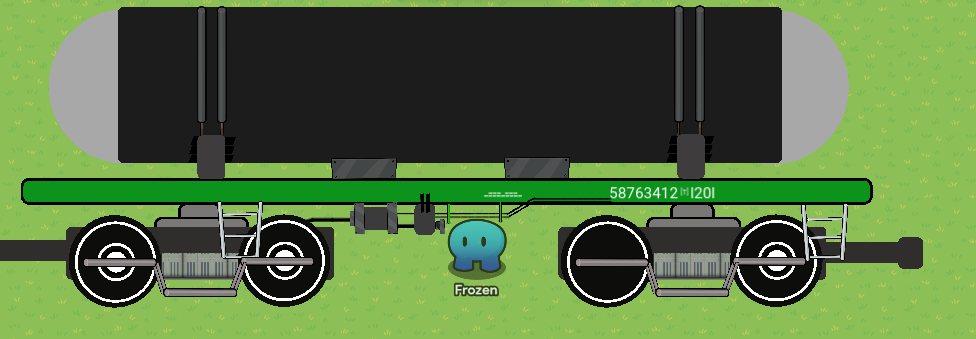


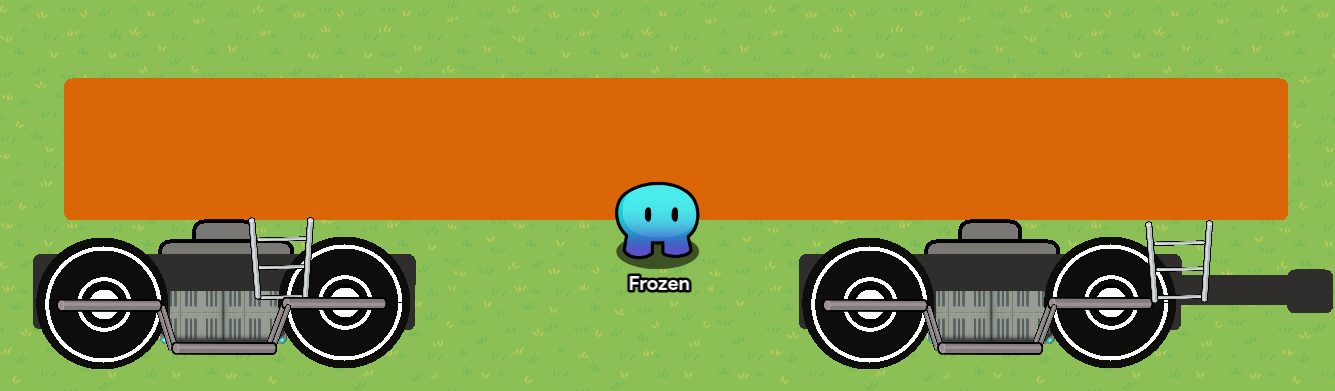
FINAL CHECK: The Oil Train Car should look like this ![]()
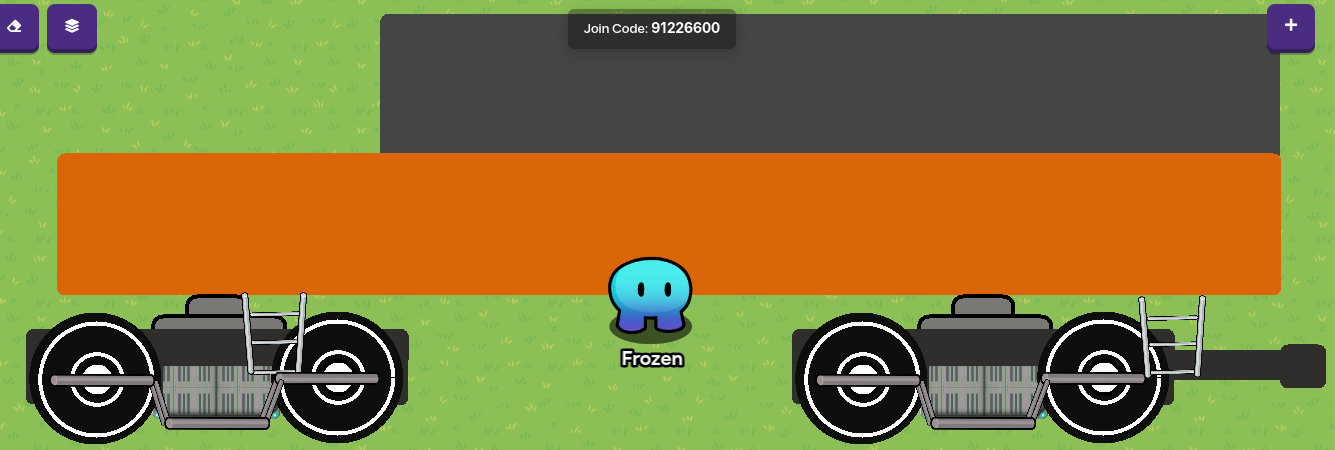
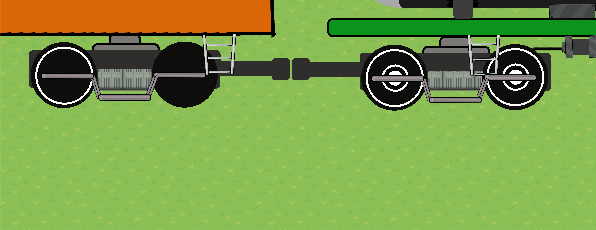
If you want to connect the Oil Train Car to The Train I have built, connect both couplers as shown ![]()
Passenger Train Car
Props/Blocks used:
- Barrier
- Spaceship Catwalk (Lined)
- Metal Pole #1
- Metal Pole #2
- Metal Pole #3
Copy off of the images below to help you build the Passenger Train Car ![]()
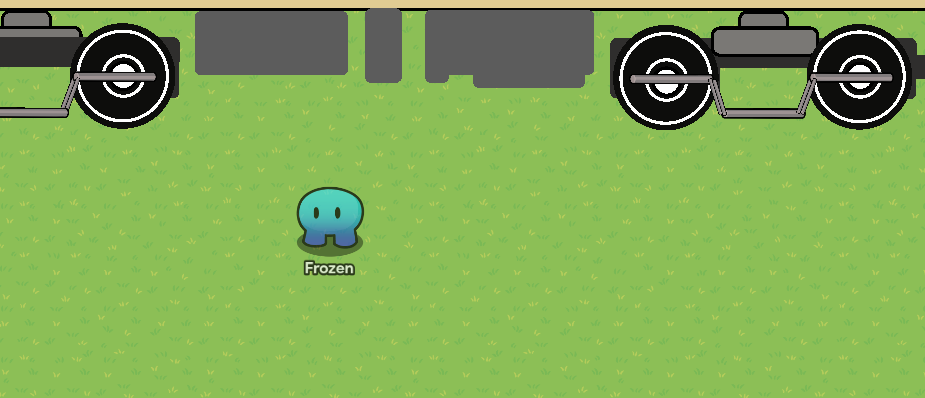
Part One: Base
1. Wheel Frame #1
2.Wheel Pair #1
3. Side Frame #1
4. Bogie #1
[DO NOT ADD LADDER/IGNORE LADDER]
5. Duplicate
6. Coupler
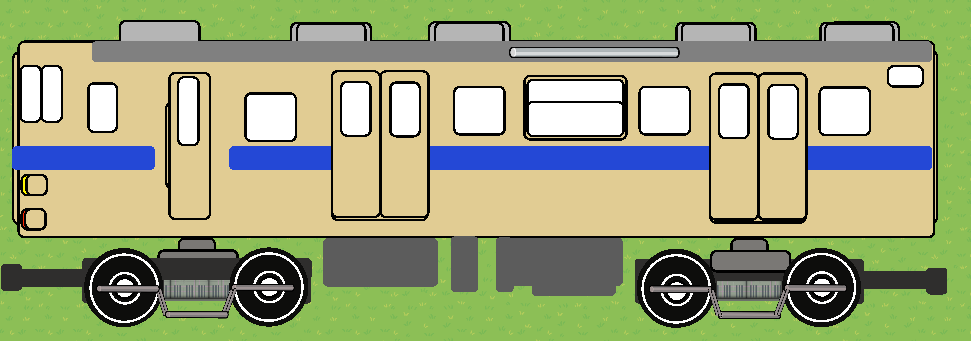
Part Two: Train Car Frame
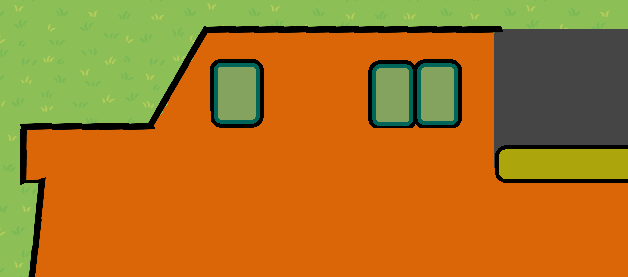
1. Outline and Filling
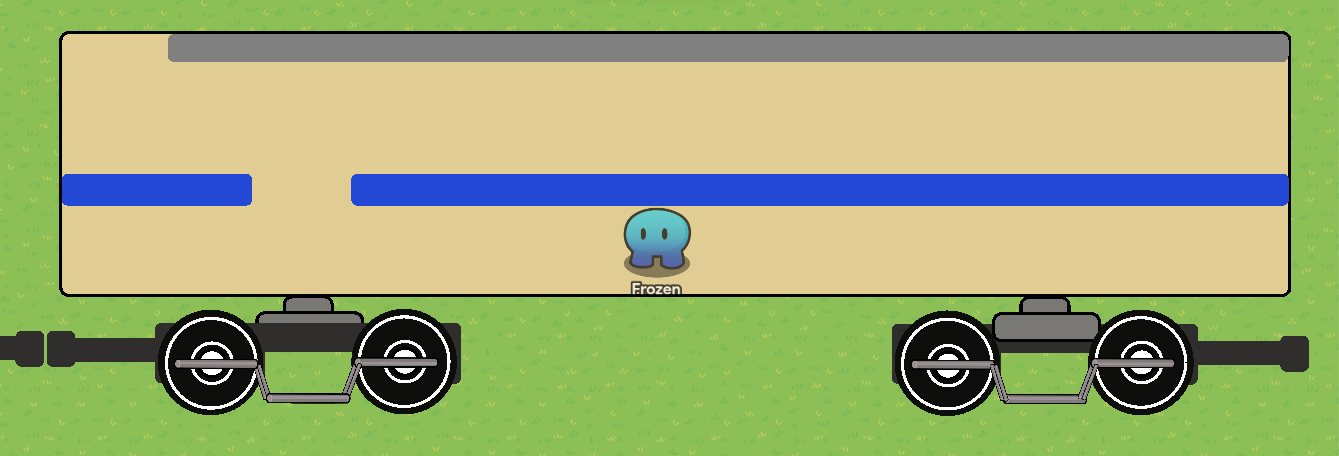
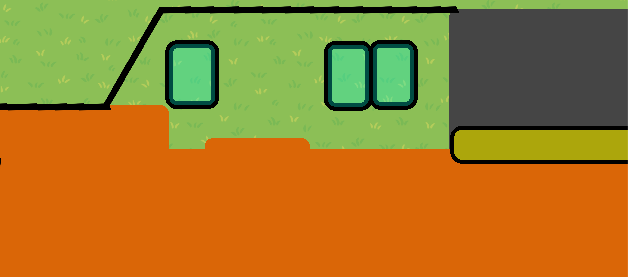
2. Doors and Windows
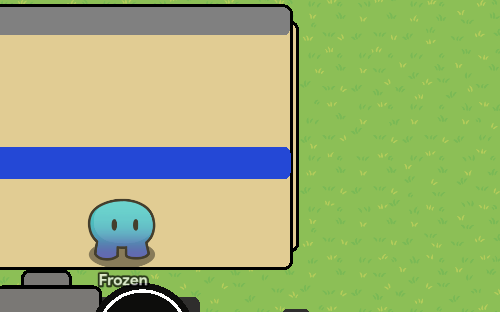
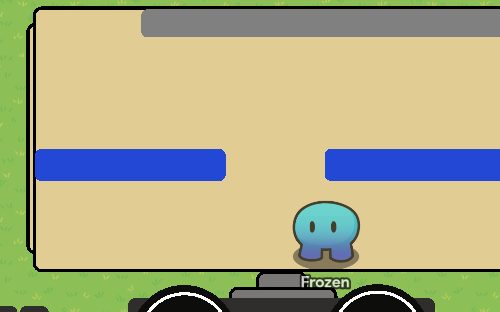
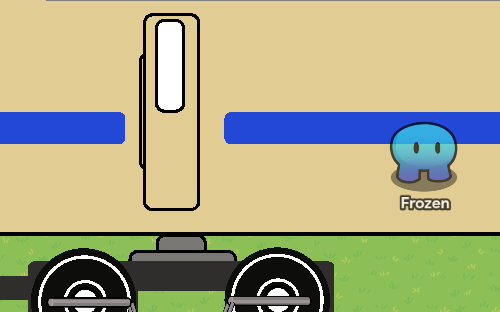
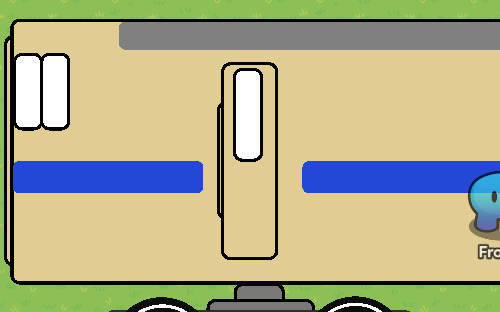
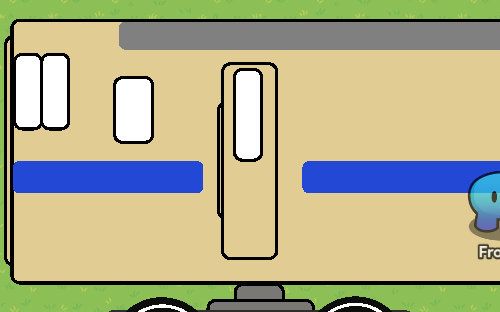
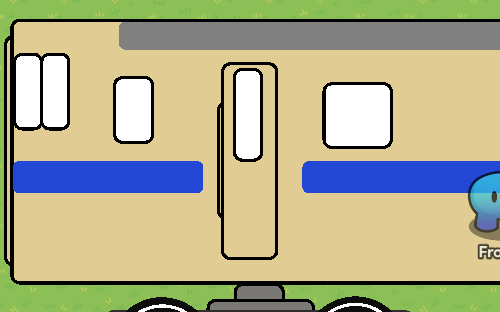
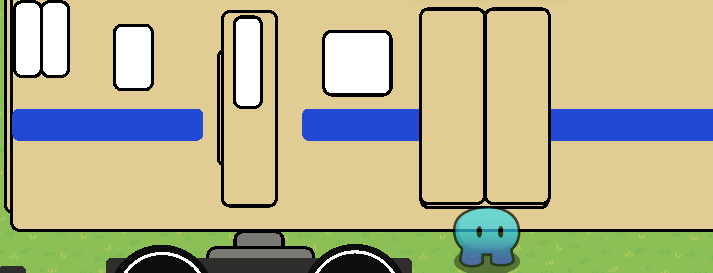

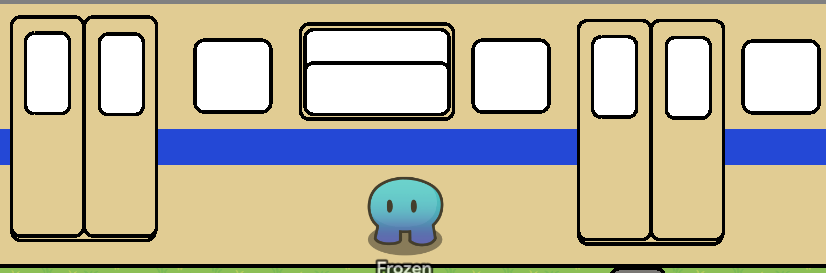
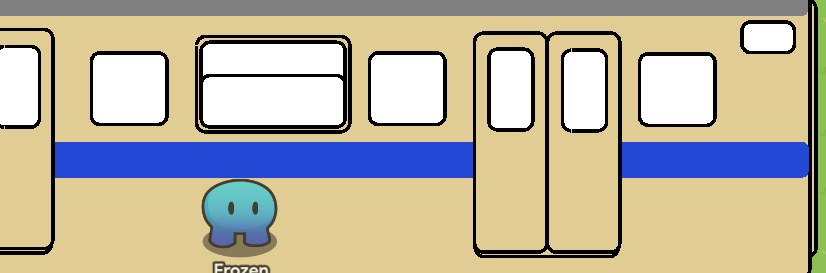
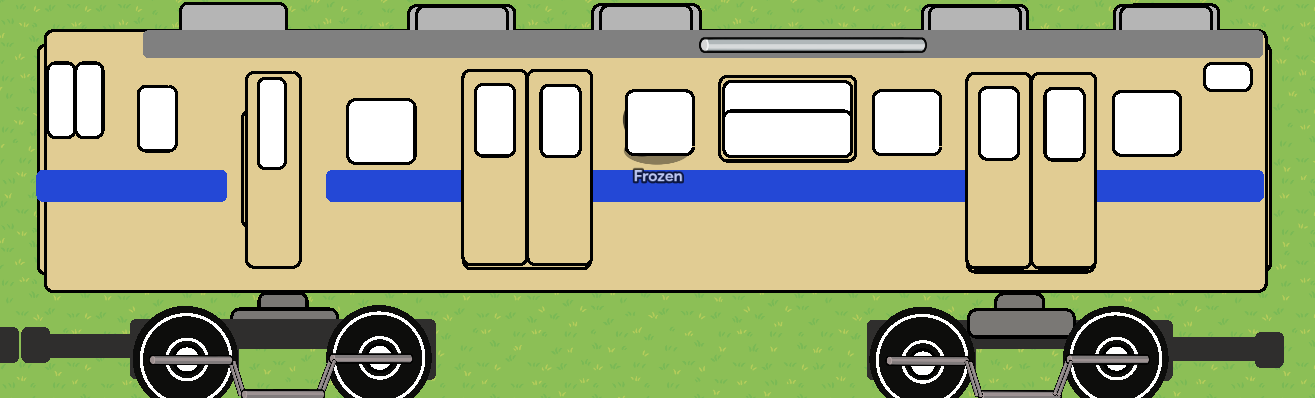
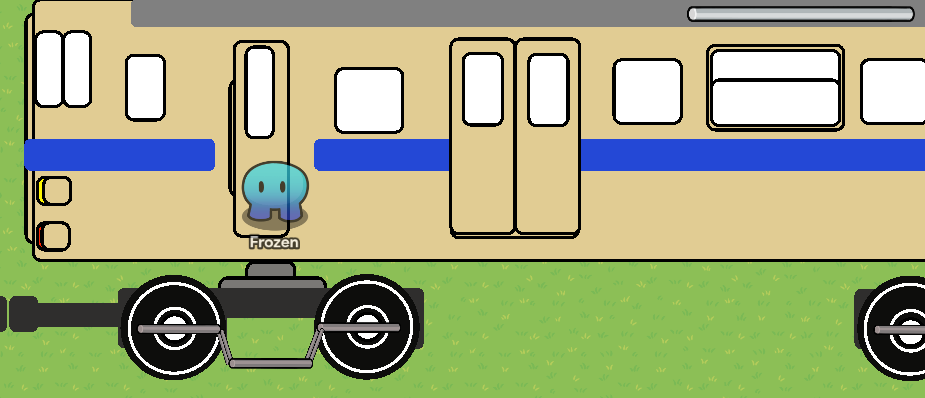
FINAL CHECK: The Passenger Train Car should look like this ![]()
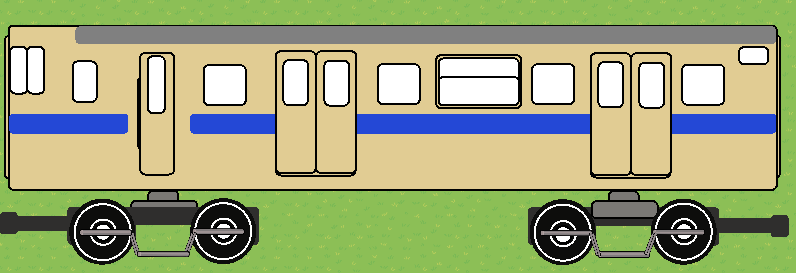
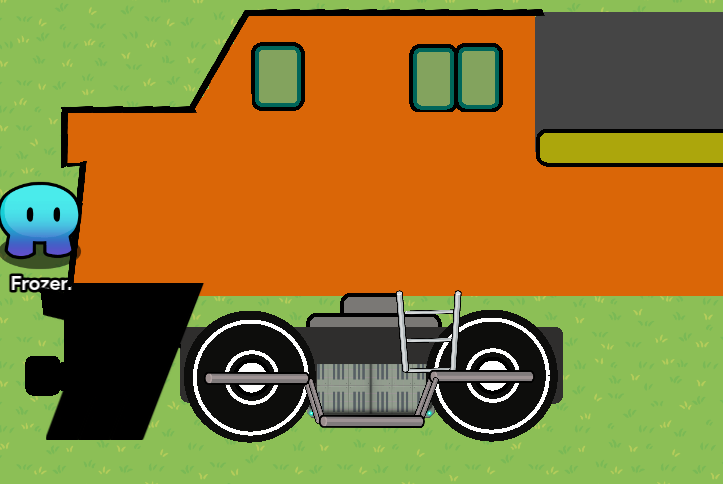
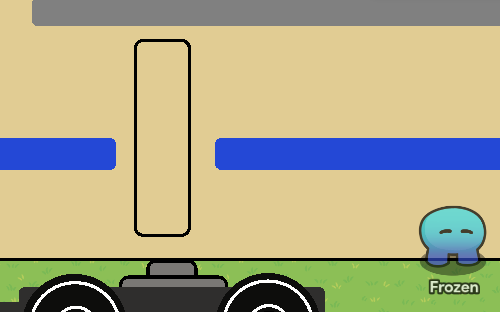
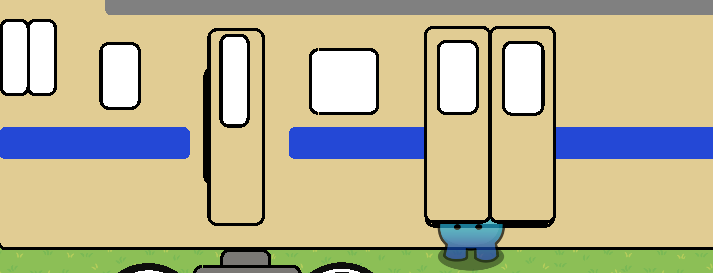
Part Two: Train Car Details
1. Vents
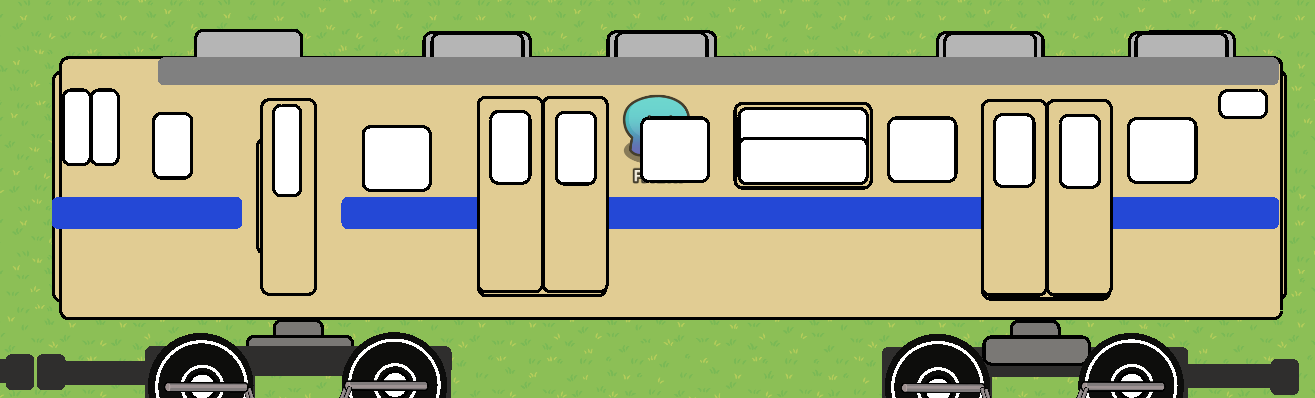
2. Lights
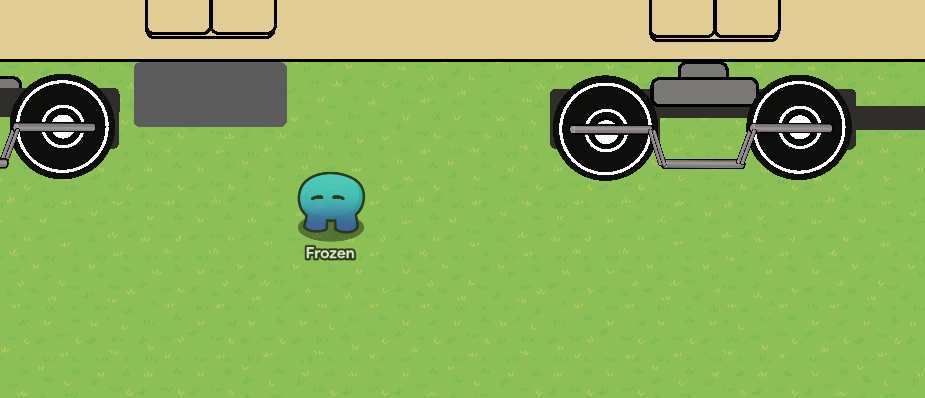
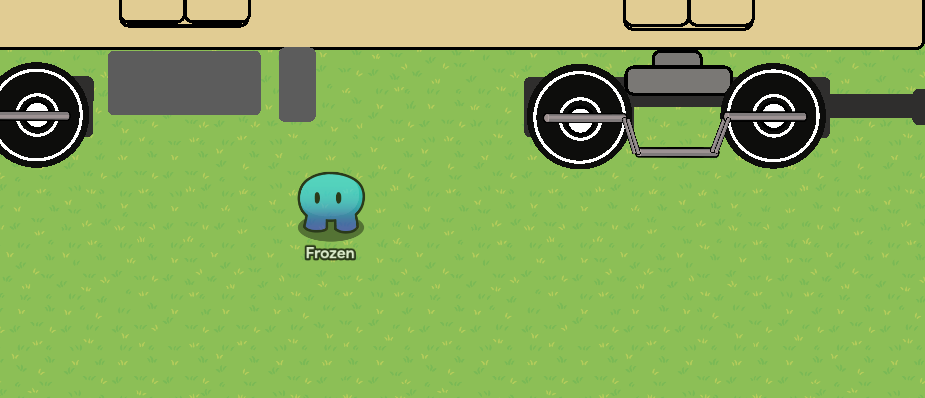
3.Bottom Parts
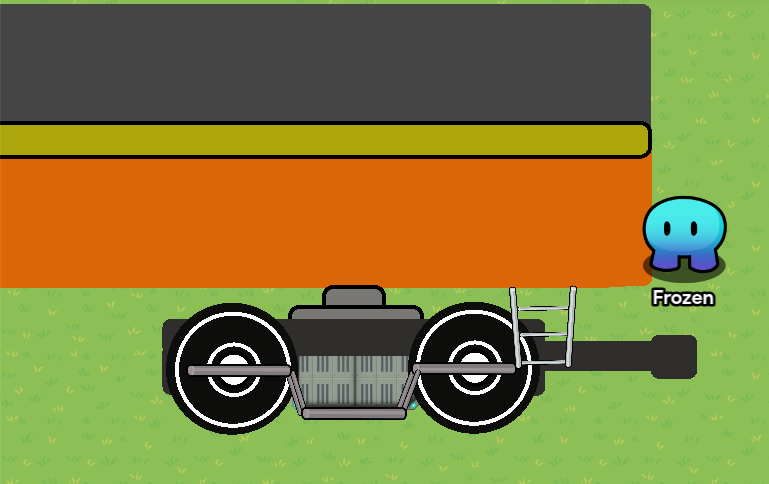
FINAL CHECK: The Passenger Train Car should look like this ![]()
If you want to connect the Passenger Train Car to the Train I have built, connect both couplers as shown ![]()

Empty Train Car
Props/Blocks used:
- Barrier (Circle, Rectangle)
- Metal Pole (1, 2, 3)
- Spaceship Catwalk (Lined)
- Blackboard Leg
Copy off of the images below to help you build the Box Train Car ![]()
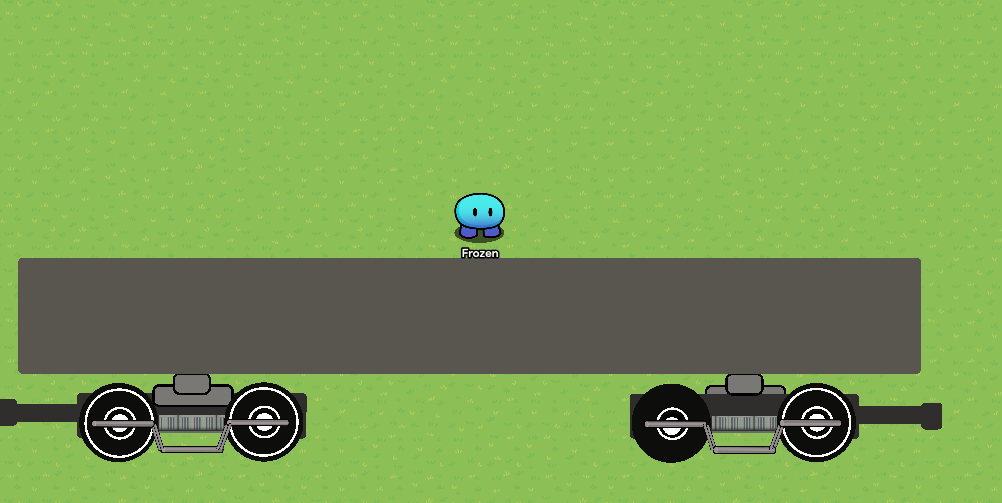
Part One: Base
1. Wheel Frame #1
2.Wheel Pair #1
3. Side Frame #1
4. Bogie #1
[DO NOT ADD LADDER/IGNORE LADDER]
5. Duplicate
6. Coupler
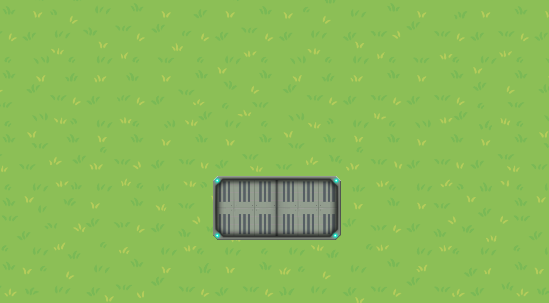
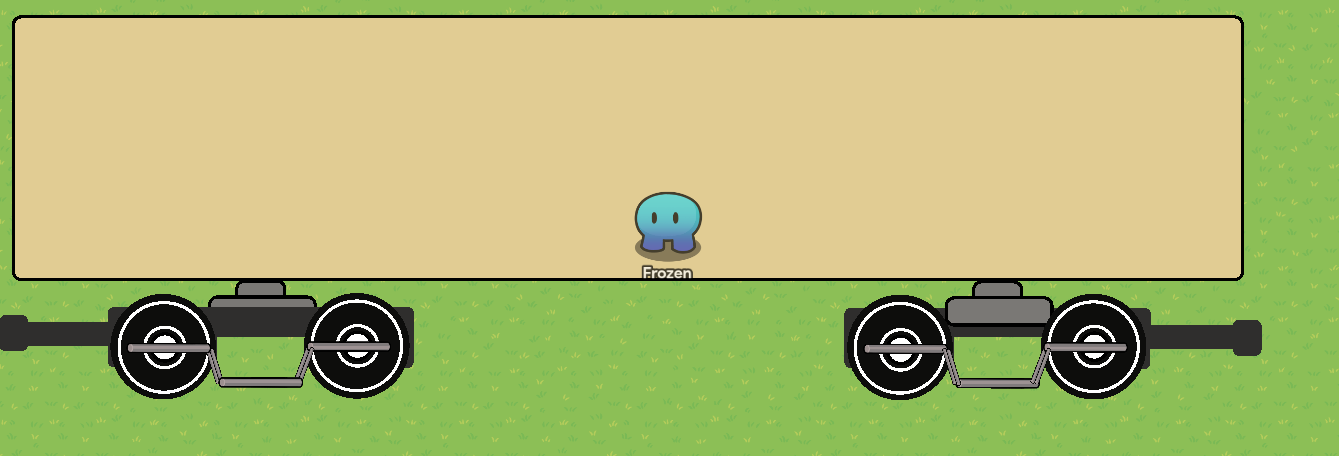
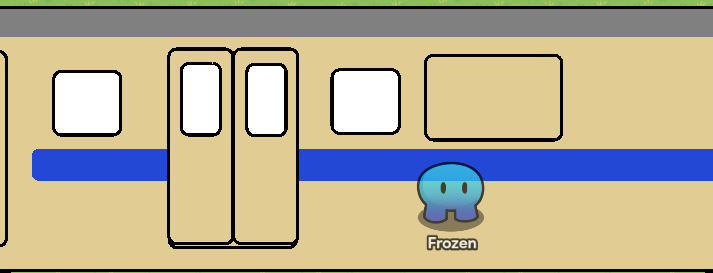
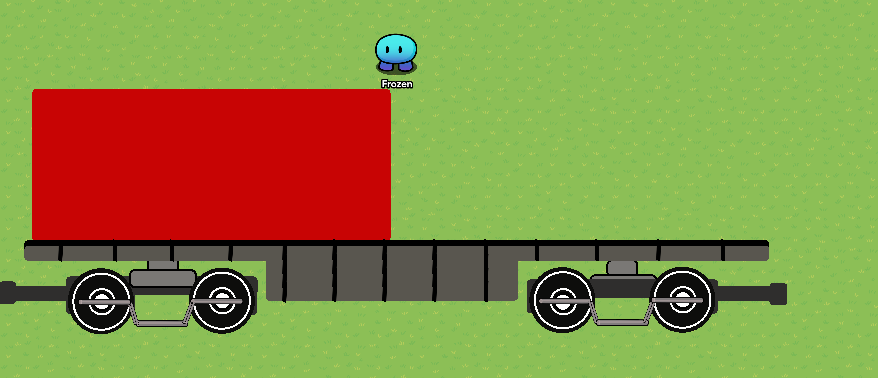
Part two: Train Car Base
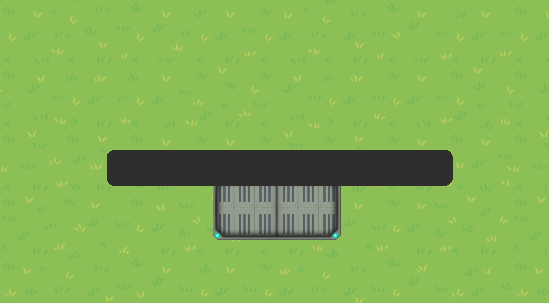
1. Outline and Filling
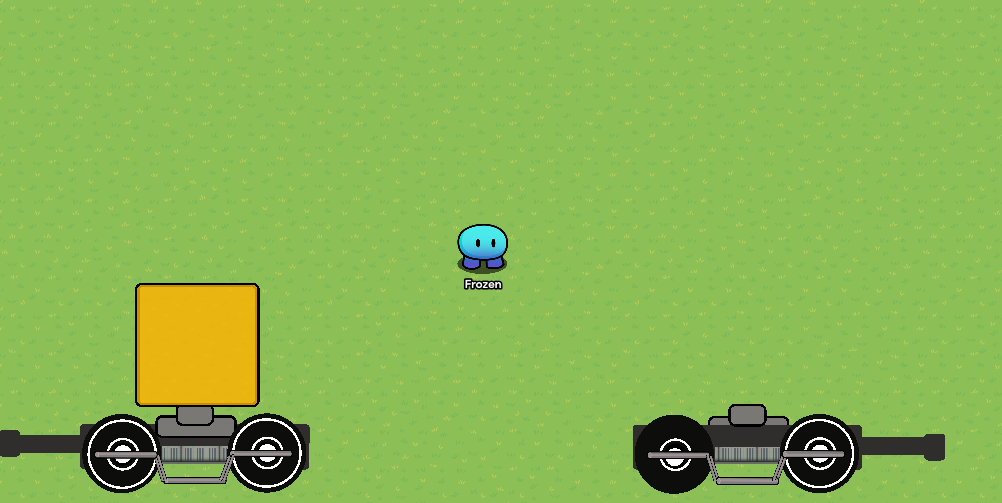
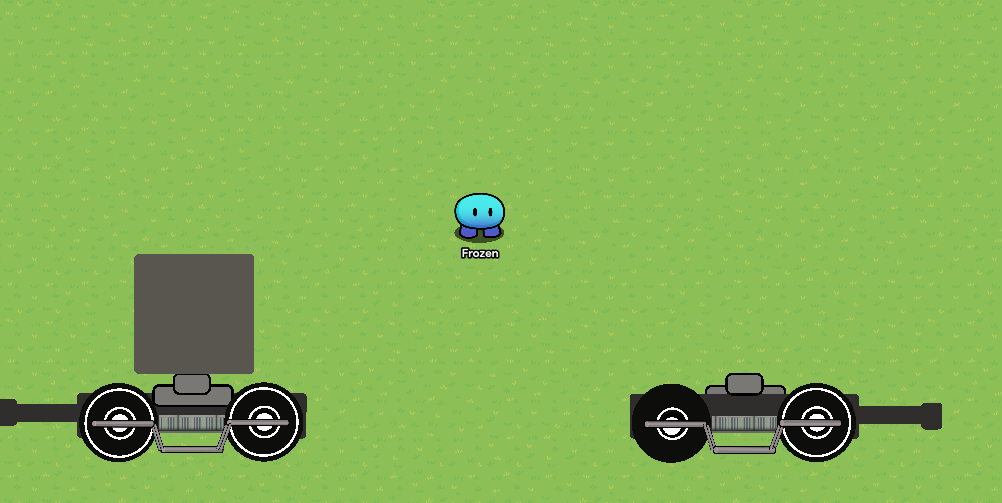
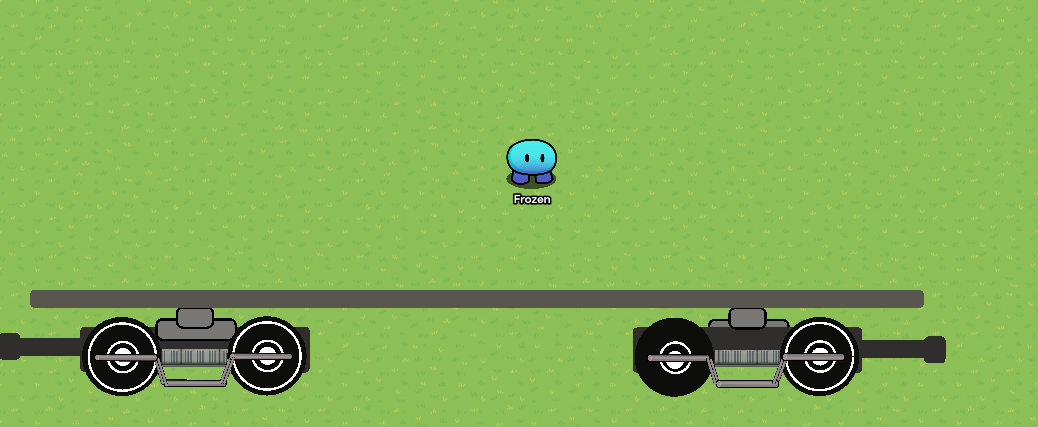


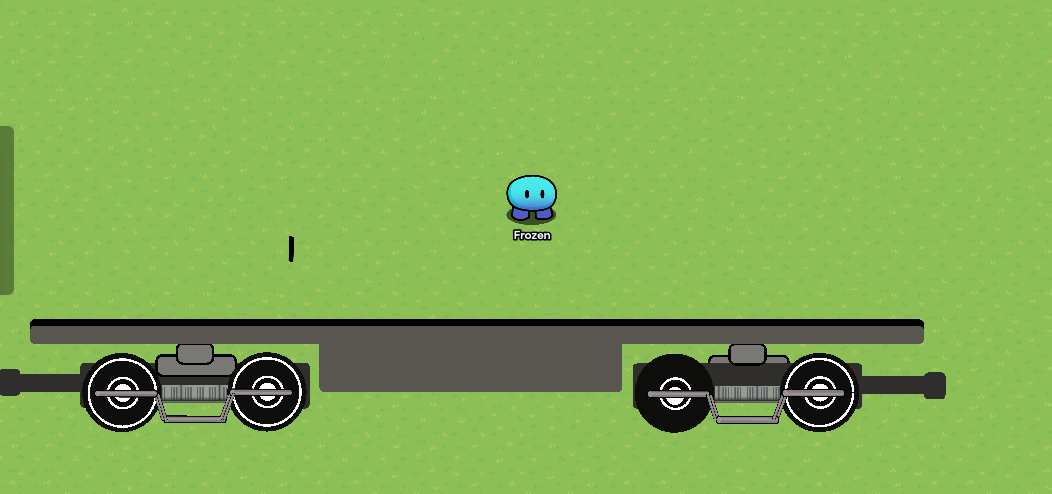
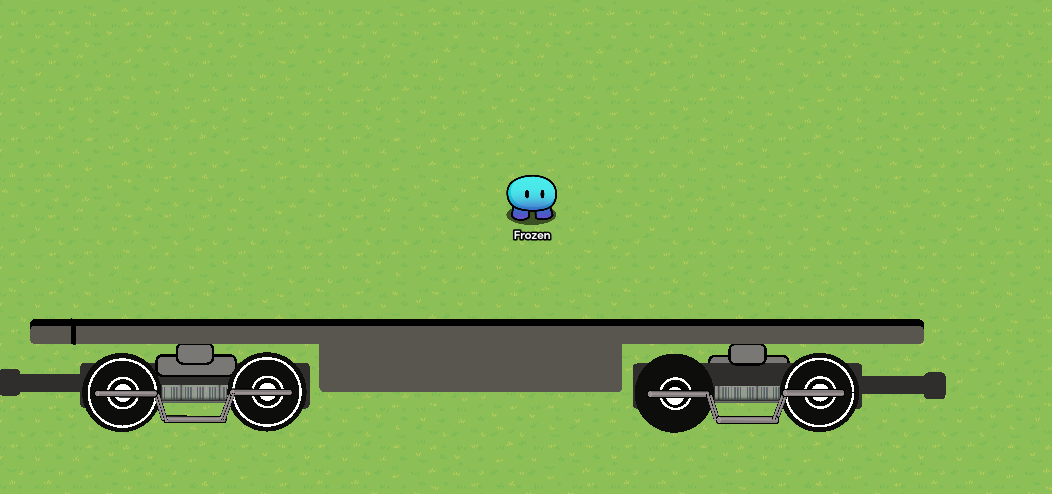


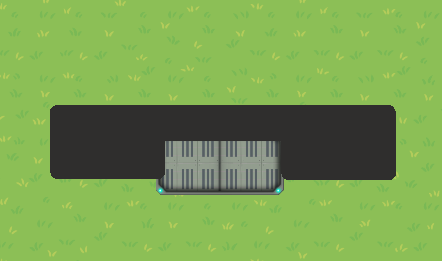
FINAL CHECK: The Passenger Train Car should look like this ![]()
If you want to connect the Passenger Train Car to The Train I have built, connect both couplers as shown ![]()
Box Train Car
Props/Blocks used:
- Barrier (Circle, Rectangle)
- Metal Pole (1, 2, 3)
- Spaceship Catwalk (Lined)
- Blackboard Leg
Copy off of the images below to help you build the Box Train Car ![]()
Part One: Base
1. Wheel Frame #1
2.Wheel Pair #1
3. Side Frame #1
4. Bogie #1
[DO NOT ADD LADDER/IGNORE LADDER]
5. Duplicate
6. Coupler
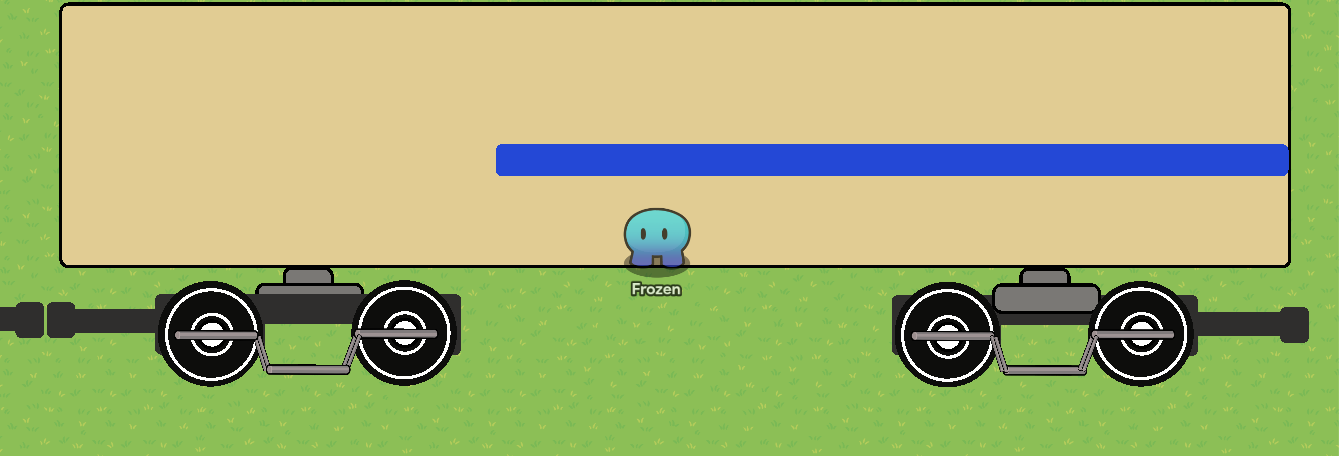
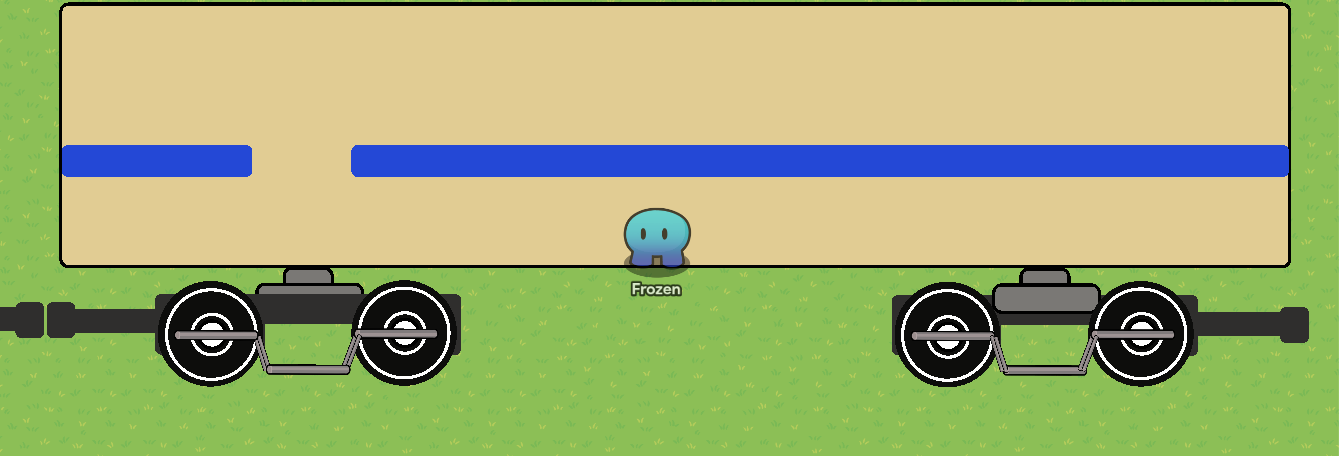
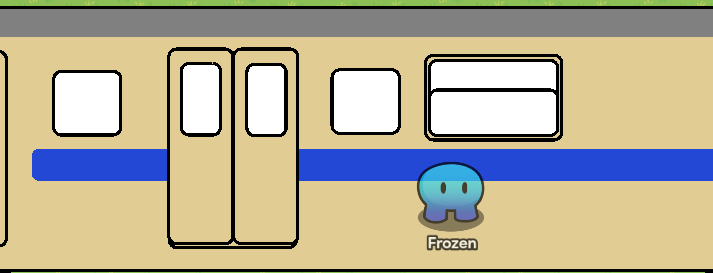
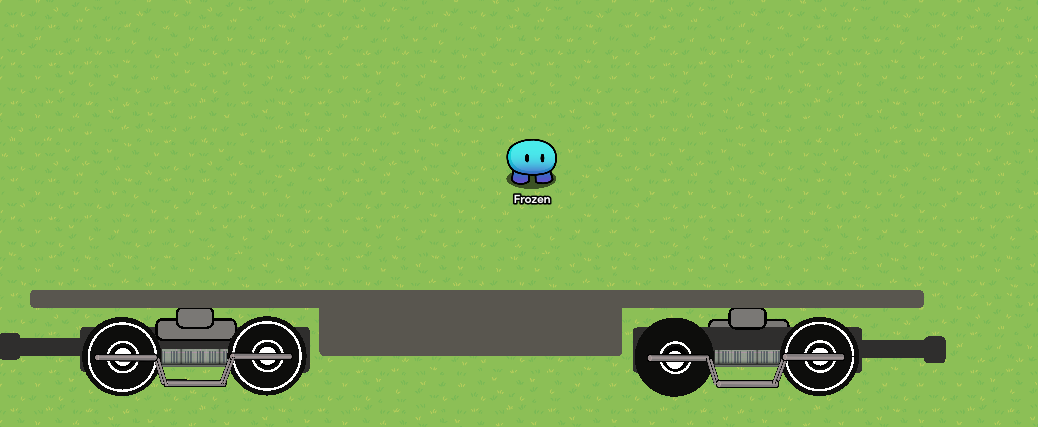
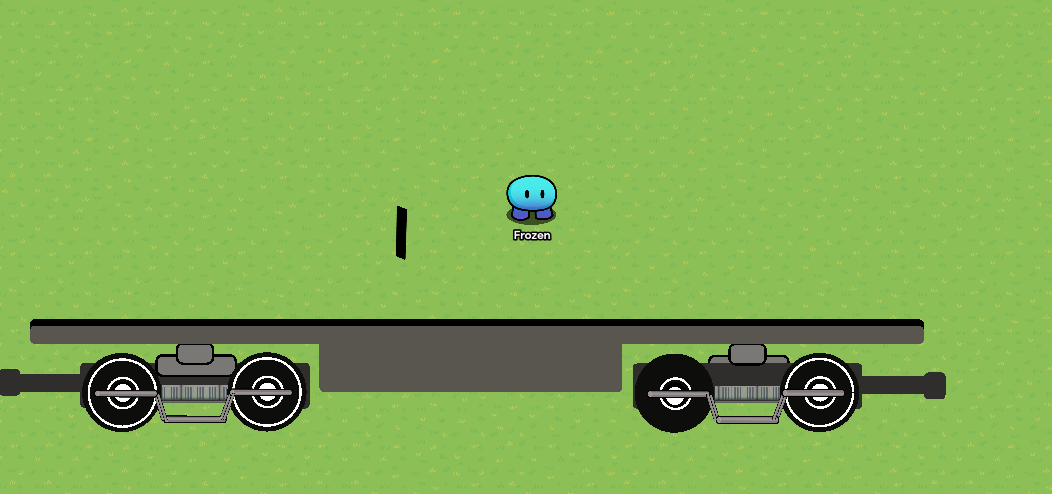
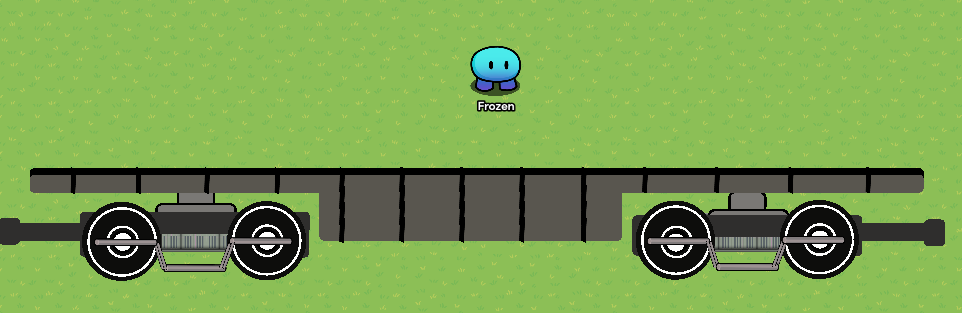
Part two: Train Car Base
1. Outline and Filling
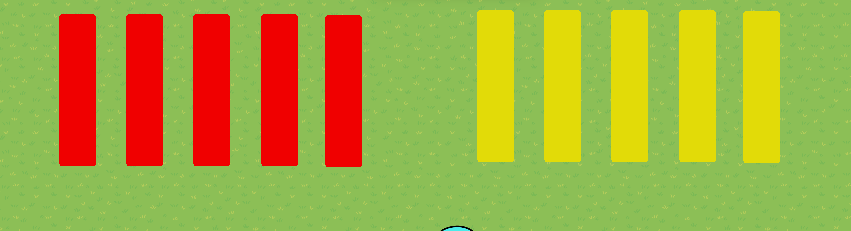
- Cargo
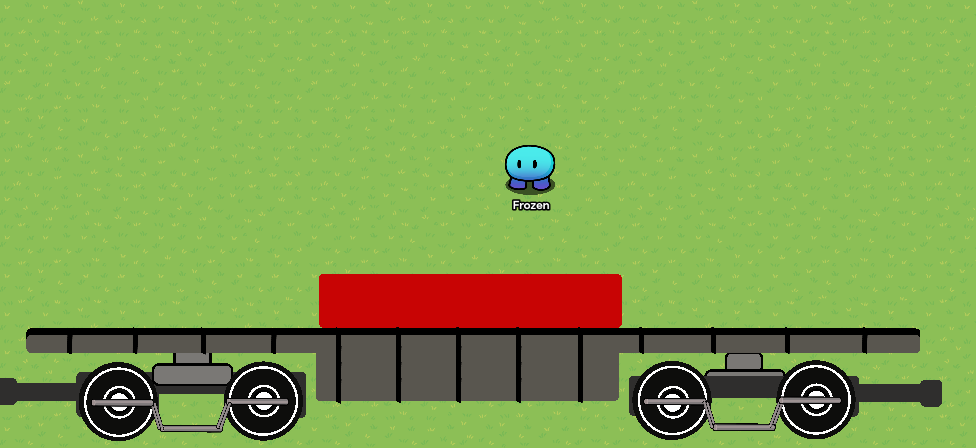
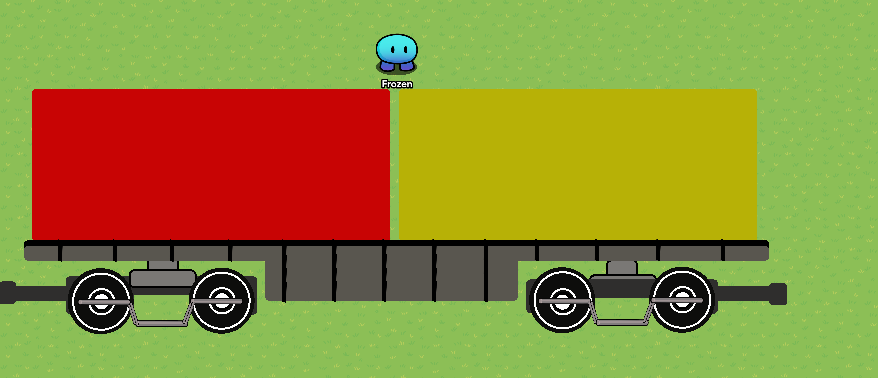
(Make Them Any Color You Want)
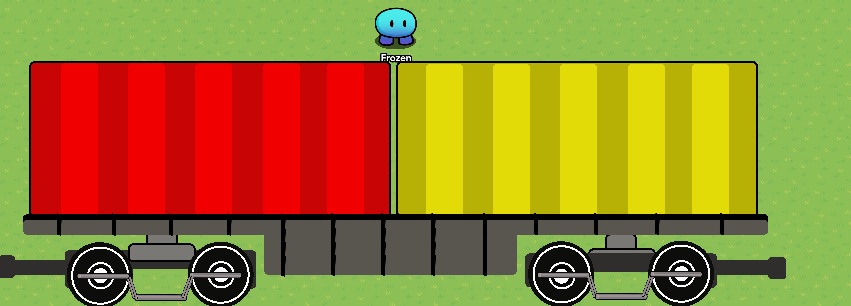
FINAL CHECK: The Passenger Train Car should look like this ![]()
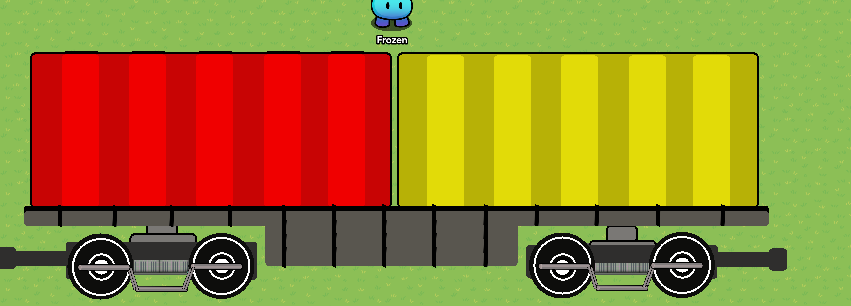
If you want to connect the Passenger Train Car to the Train I have built, connect both couplers as shown ![]()
How to make Animals in Gimkit Creative
[This guide was made in Gimkit Creative]
Lion
Props/Blocks used:
Copy off of the images below to help you build the Lion ![]()


How to make Weapons in Gimkit Creative
Work in Progress…