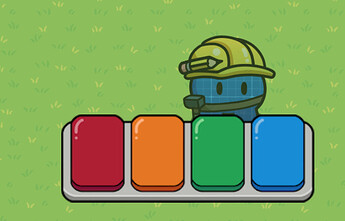
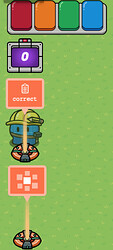
Put down a Questioner (if you haven’t already).
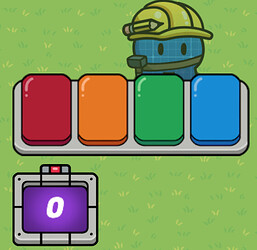
Put down a Counter.
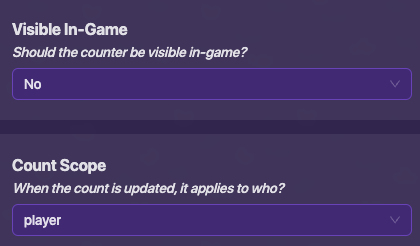
Configure the Counter like this:
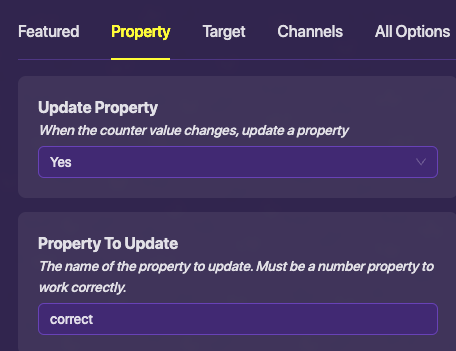
Go to the Property Tab, and make it update the property correct.
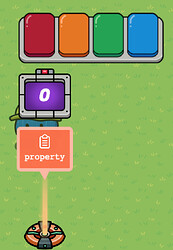
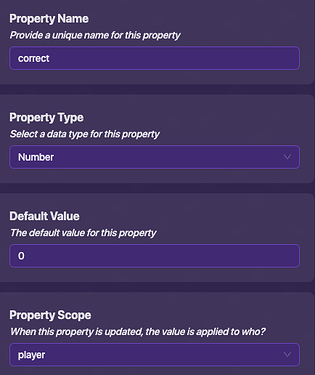
Put down a Property.
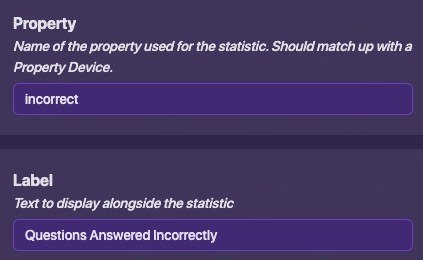
Configure it like this:
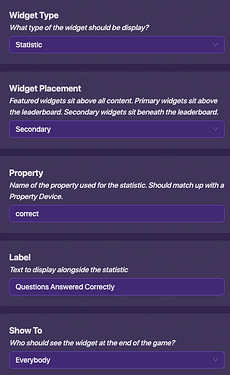
Put down an End of Game Widget.
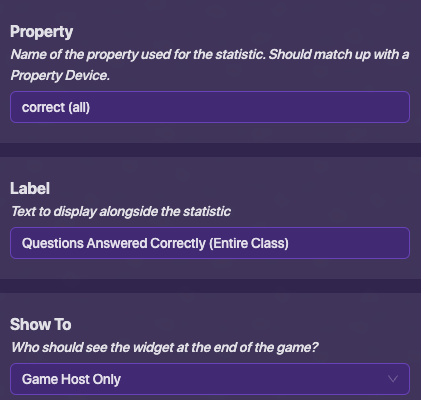
Configure it like this:
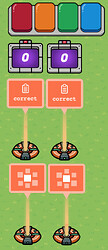
Make a copy of the Counter, Property, and End of Game Widget.
In the second set, wherever it says Correct, change it to Incorrect.
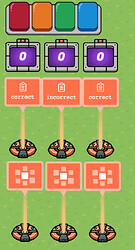
Make a(nother) copy of the first set.
Change the following settings:
Wire the Questioner to each of the Counters. The right and left Counter should increment when you answer a question correctly. The middle Counter should increment when you answer a question incorrectly.
Percentage
Create a Property called percent, and an End of Game Widget for it. This block should run when you get a question right or wrong:
8 Likes
Really nice tutorial, @bushenberg !
1 Like
Wow. I never even found this guide. I made pretty much the same thing but never even knew this existed.
mysz
August 24, 2023, 9:40pm
5
Great minds think alike (this is not true for some cases though).
1 Like
Yeah. I would consider his better, because mine uses more block code. That is mainly because I am not a big fan of counters.
Do you think you can do one for Kills instead of questions
Does this help? You could just have an end-of-game widget that is connected to the streak property.
Bump because neat and because why not? (Also bigger that CringeKarlScott’s bump…)
B U m P
Dont mind my small hiccup when typing bump up there…
1 Like
