This is a guide for barrier art of fnaf characters. You can use this for jumpscares or pretty much anything!
WARNING: kinda time-consuming! (This is also a very long tutorial.)
Note - this topic is a WIP, meaning it is unfinished and more will be added eventually.
Bonnie - finished
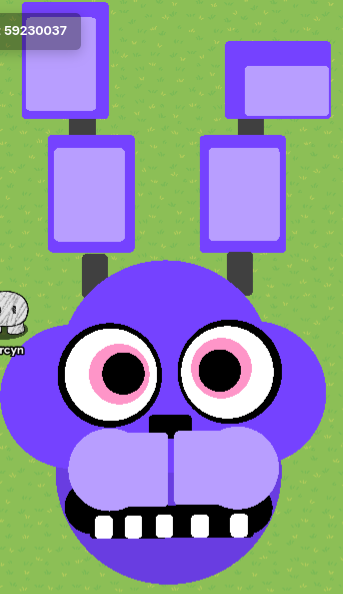
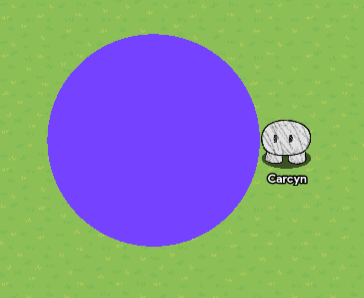
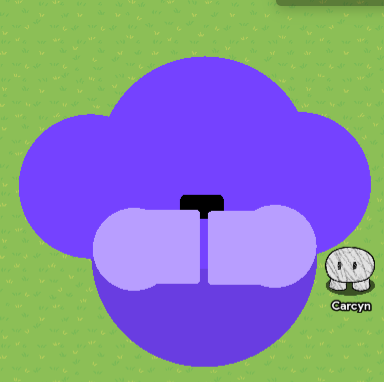
Step 1: Start with one large circle, make it light purple, (bonnies color.) Make sure you set it to no collision, no border, and set the alpha to 1.00. (This applies to all barriers.)
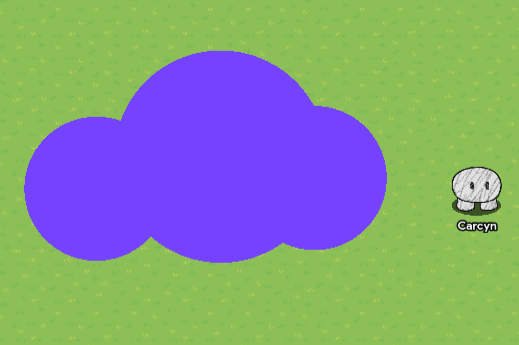
Step 2: Add two more smaller circles that are the same color on each side of the large circle.
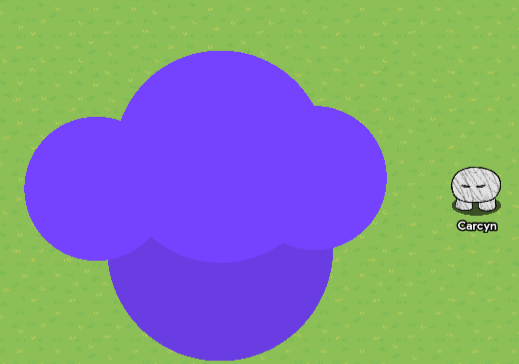
Step 3: Now you will want to add a larger slightly darker colored circle under the previously placed circles.
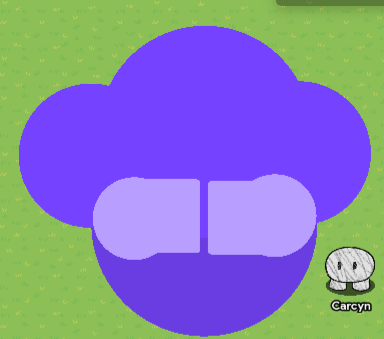
Step 4: Add two very light purple colored squares very close to each other like this.

Step 5: Add two circles on the sides of the squares you just placed. Make them the same color. (These are his cheekbones.)
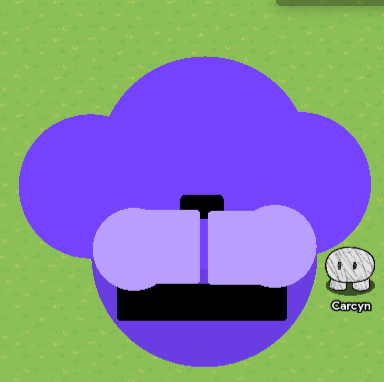
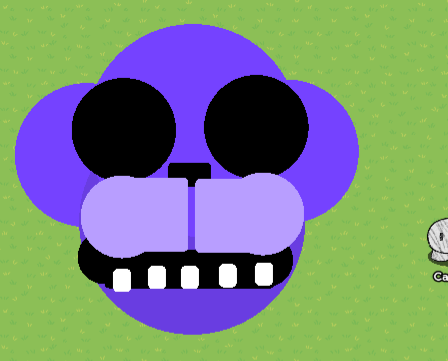
Step 6: Add a small black square on top of the two squares, this will be Bonny’s nose.
Step 7: Next, add a long black square under the light-colored squares, this is his mouth. You can edit how tall it is depending on how wide open you would like his mouth to be.
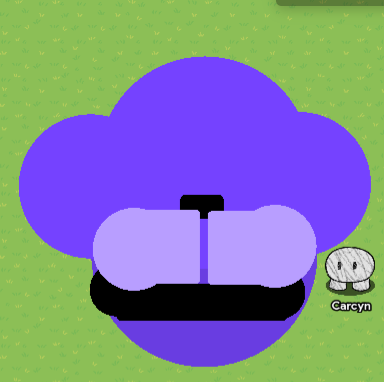
Step 8: Add two black circles on the sides of the mouth similar to what you did with his cheekbones.
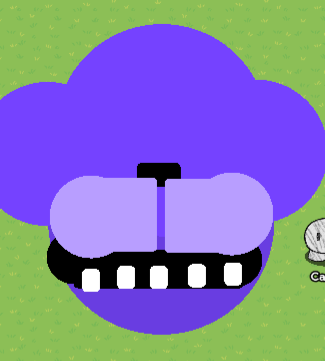
Step 9: add small white barriers on the bottom of his mouth, i would recommend 5. (These are his teeth.)
Step 10: Now you are going to want to add two large black circles near the top of his head, these are his eye lids/bags.
Step 11: Now for my least favorite part, his eyes. Add two white circles inside the larger black circles. Next, add smaller pink circles, and have even smaller black circles inside the pink circles.
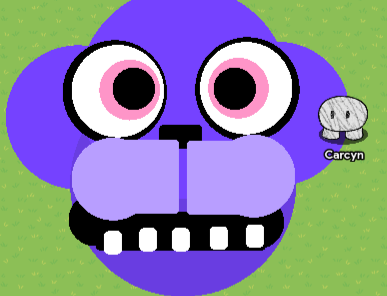
You can see Bonnie start to take shape.
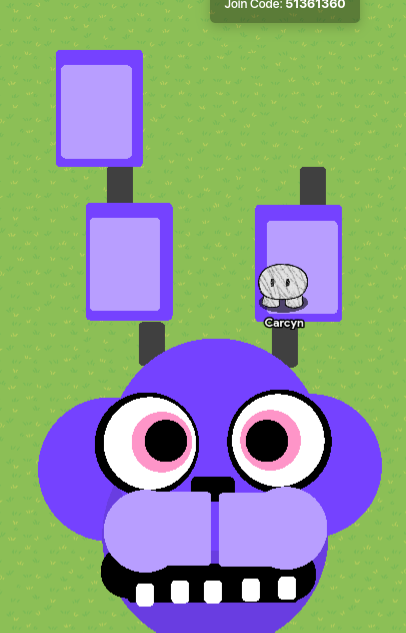
Step 12: Now add two small grey rectangles on the top of Bonnie’s head. (The start of his ears.
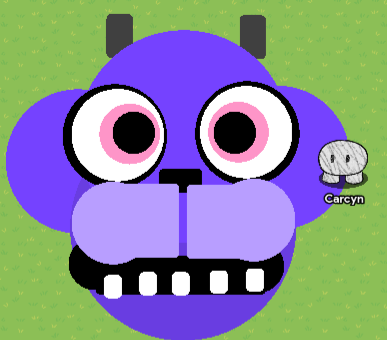
Step 13:
Add two large rectangles the same color as his head on the of the grey rectangles. Now add two smaller lighter colored rectangles inside.

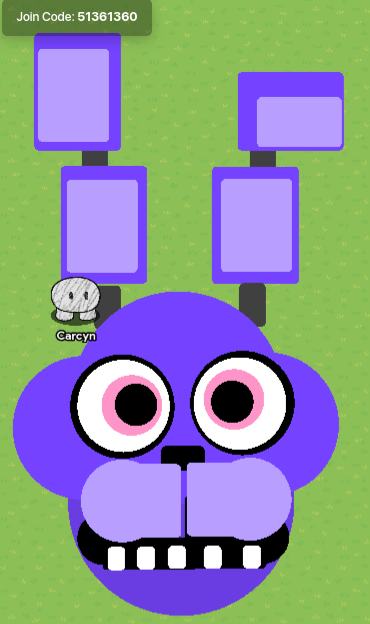
Step 14: Add a second small grey rectangle on top of the rectangles you just placed.
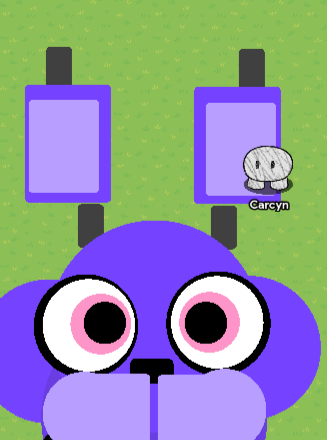
Step 15. On Bonnie’s left ear do the same thing you did in step 13, just make the rectangles smaller and slightly lean to the left.
Step 16: Bonnie’s right ear slightly flops downwards, so first add a wide rectangle. Now add another wide rectangle with the light purple color.

If you have done everything right, he should look like this!
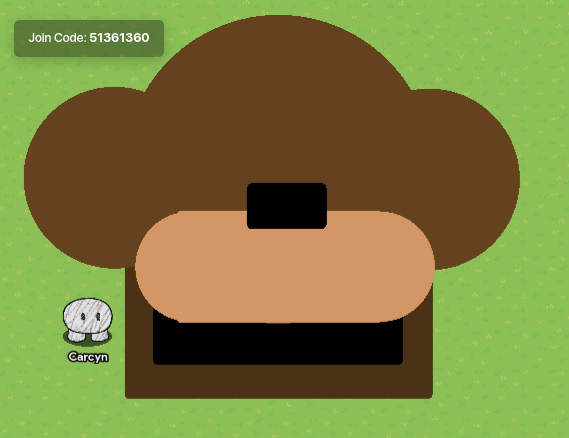
Freddy - Finished
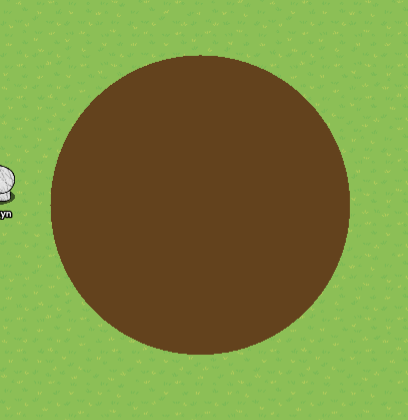
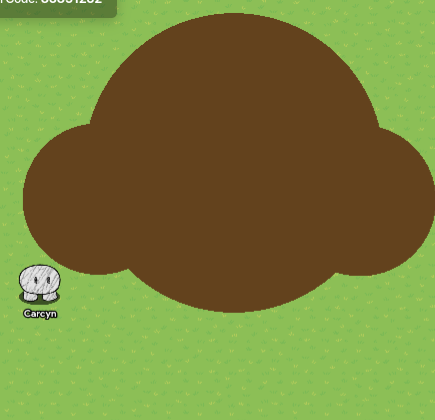
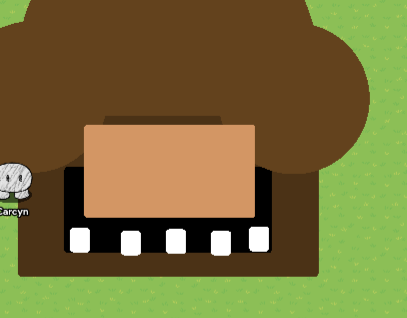
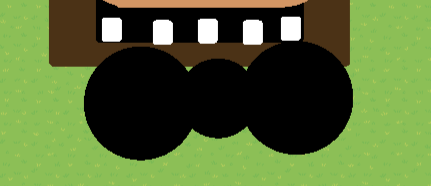
To start your Freddy, add one large brown circle. Set the alpha to 1.00, disable collision, and disable border. This applies to all barriers.
Similar to what you did with Bonnie, add two smaller brown circles on the sides of the larger circle.
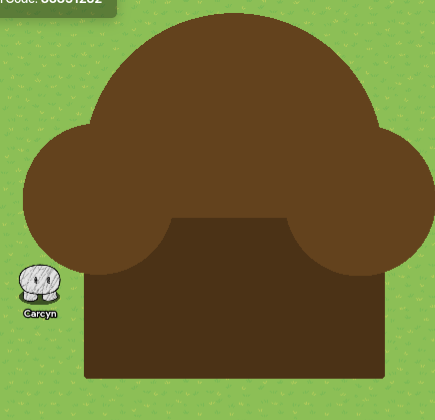
Add a darker brown rectangle on the bottom of the circles you’ve placed.
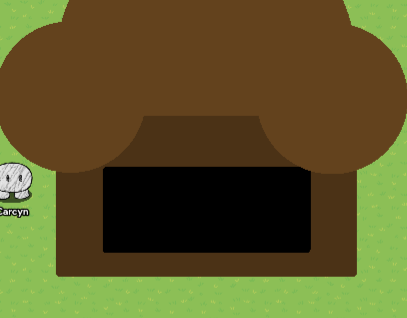
Place a large black rectangle on the lower half of his head for the mouth.
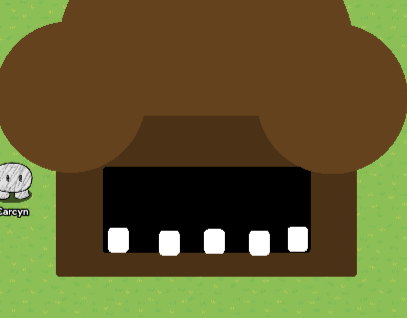
Add his teeth. I would recommend using 5 white barriers.
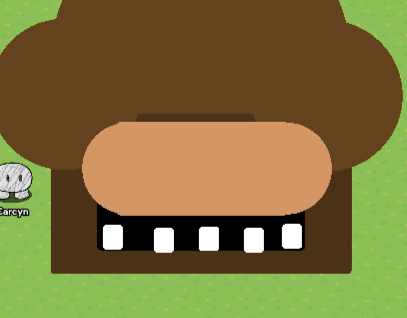
Add a tan rectangle above his mouth.
Add two circles on the sides of the tan rectangle you just placed.
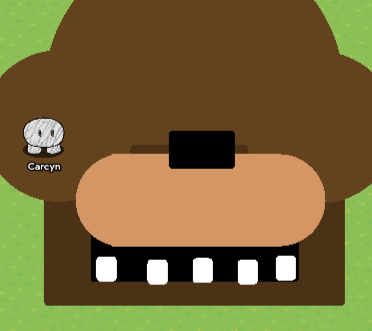
Add a small black rectangle for his nose. Place it on the front of his muzzle.
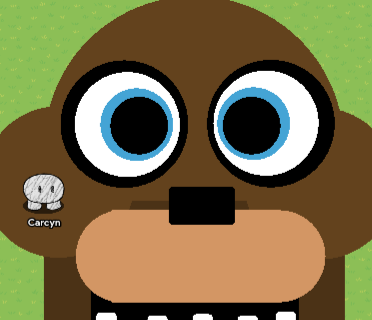
Place two big black circles on the front of his head, these are his eyelids. (jeez that’s scary.)
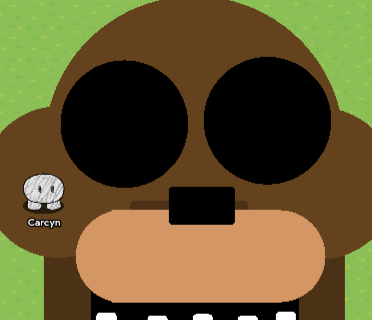
Now, inside the two big black circles you just placed add a white circle, a blue circle, and a black circle in that order from biggest to smallest. Do the same on the other side. (This will be his eyes.)
Place 2 gray barriers on each side of his head like so.
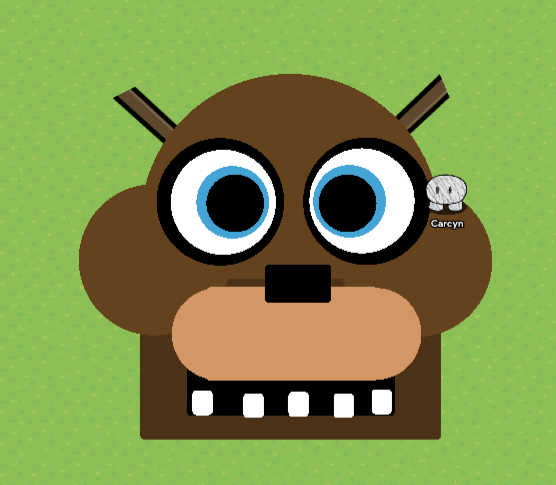
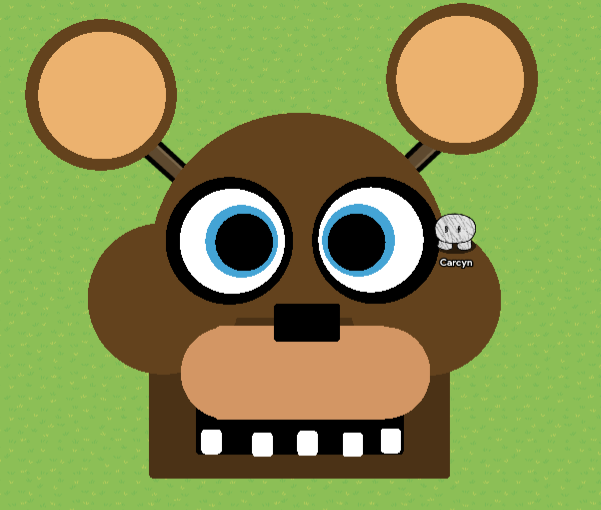
Now add a brown circle on the small gray rectangle you just placed. Add a smaller lighter colored one in the middle. Do the same on the other side. These are his ears.
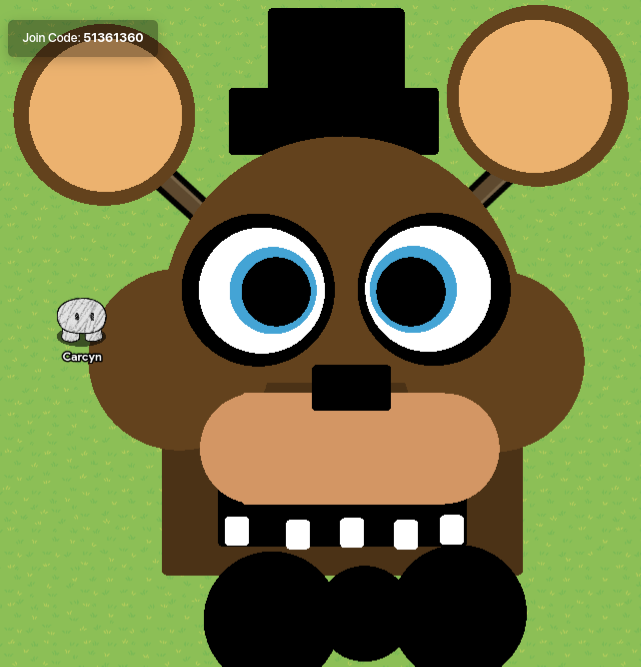
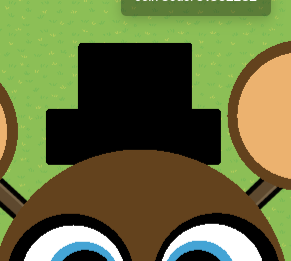
Add a wide black square on top of his head, then add a longer barrier on the top of the square you just placed. This shall be his tophat.
Now add black 3 circles under his chin for his bowtie. (make the middle circle smaller.)
Aaaand, you’re done! He should turn out like this!
Foxy - Haven’t started.
Chica - WIP (almost done.)
Golden Freddy/Fredbear - Haven’t started