So I know that people already made guides on this but I’m just going to put MY perspective on three of my favorite Tips and Tricks just in case you didn’t read those.
Memory Bar
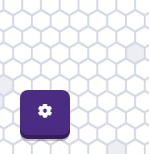
The memory bar is always important, this shows you how much percentage of memory your game is using (so basically, it’s how much memory each individual object is absorbing) so that leads into trying to conserve memory so you can add more into your game, there are many guides on how to do that. The memory bar can be pulled up by clicking on the Gear Icon in the bottom right corner.
Then clicking on Editing Options, you will see these options.
-
Camera Zoom, (which is helpful if you know what it does)
-
Player Collision, (this option allows you to walk through objects/walls)
-
Grid Snap, (align objects so they can basically “snap” together)
-
Show Grid, (this one is self-explanatory)
-
Zone Device Display, (this sets the appearances of devices that use a zone area)
and finally, we have the option we’re looking for, the memory bar, once you click on the drop-down menu and click On, you might already be able to see what happened once you back out of the settings. At the middle top, you’ll see your memory bar, it should look like this,

So that’s everything you need to know about the memory bar and its perks.
Alright moving on…
Change Size
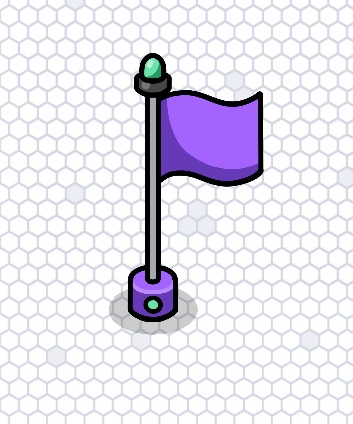
Not many people know about this feature which is kind of expected since this feature is almost hidden that it can’t be noticed. To access this feature all you need to do is click on an object, so for example we have Mark the flag here to help demonstrate.
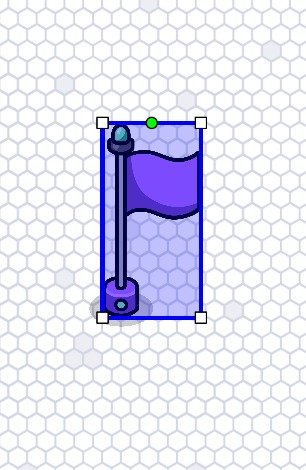
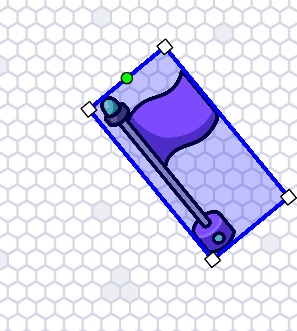
Alright off topic anyways, as I said, click on an object and you’ll see the casual settings for the object but if you take a look at the bottom left corner, you’ll see a button saying Change Size, if you tap into that, you’ll a blue box around the object and a little green dot and 4 white boxes, then if you bring your cursor over to the white box and drag it towards the object, it’ll get smaller, but if you drag it away from the object, it’ll get bigger.
This is towards.
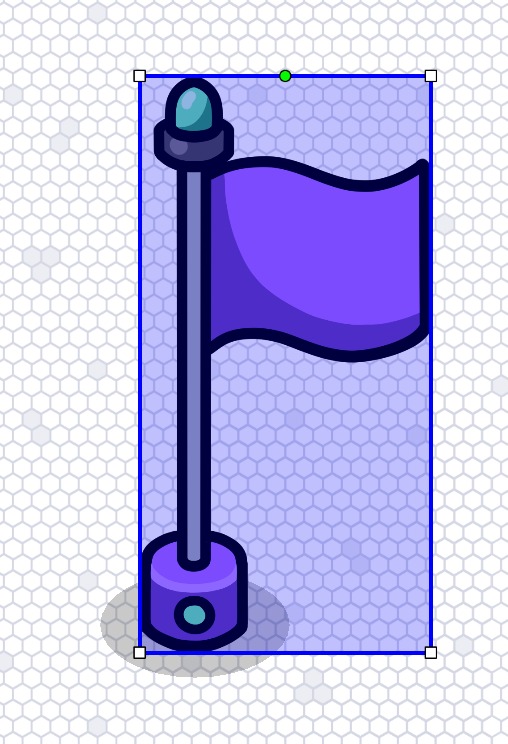
And this is away.
Alright anyways that’s what the squares do in the feature, you’re probably wondering about that green dot, well if you bring the cursor to the green dot and click and drag it any angle, it will rotate the object, that’s pretty neat right?
Then once you finish rotating and sizing your object you can click the Done button and you’ll find that button in the bottom left corner. Once it’s clicked, it’ll take you back to the object’s settings, I honestly think this feature is pretty nice to experiment with. If I’m honest it might be my favorite.
Last one…
Layers
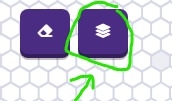
Alright so if you’re making a game and you want to put text on a sign or something like that, but the text keeps going behind the sign. Well don’t worry, there’s an easy fix to that, take a look at the top right corner, you’ll see the eraser icon but we’re focusing on the button next to that, it should look like this.
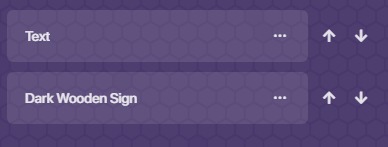
If you click on that, if you placed a lot of items near you then you’re probably going to see a lot but I’m here to help you on that. If you put your cursor on the name of an item, the item in the actual game will be highlighted red, this helps you find your text better or whatever you’re trying to do. If you’re doing a text, you want to look at the section that has the big word BELOW and find your text and look to the right side of the text then you’ll see two arrows that look like this.
![]()
The arrow that’s pointing up will put your object/text up a layer once its clicked, its the exact opposite with the down arrow, it’ll put it down a layer, you want to keep clicking the up arrow on the text until its name is above the sign. Now when you try moving the text onto a sign, it’ll appear on top of the sign, this goes the exact same for other objects, it should be looking like this if you did the text and the sign.
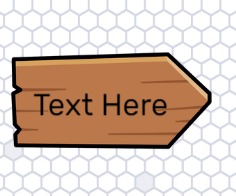
So that’s how you use the Layers feature without any stress.
Hoped that the way I explained it made some sense in some way.
- It made sense
- Kind of makes sense
- My brain can’t run