This is a wiki for anonymous because they are not a regular
Everything in GKC has one thing in common: gims. They are the representation of the player. However, sometimes you don't ***want*** them to be the representation of the player; for example, if you're coding a platformer game (like Apoll02 did, before the DLD creative update), or if you're coding Snake. This is made possible by navigation systems.
Navigation systems allow you to remove the gim and use the player’s arrow keys to do something else instead. Think of them as movement detectors; they detect a movement and respond to it.
The general format of a navigation system uses a camera zone, the movement detection system (usually a teleporter in the middle), and a barrier or other prop with no collision on the above layer to cover everything, including the gim.
There are three navigation systems that I know of (I don’t know how Apoll02 made GimJumper):
Joystick Style Navigation
I previously introduced Joystick Style Navigation in my menu guide, so this will be imported from there:
Joystick Style Navigation (JSN) is great when the player does not need to hold the movement. For example, in menus, JSN works really well. Other examples include grid-based games and turn-based games.
How it works
In JSN, the operating space has an extension in all four directions, so we’ll call that the joystick.
Whenever the player triggers a trigger in any of the directions, they teleport back to the middle of the joystick. Then, blocks will decide what needs to be done in terms of changing what button is currently chosen.
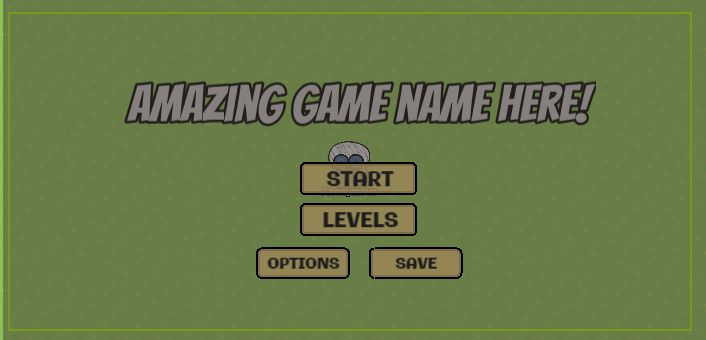
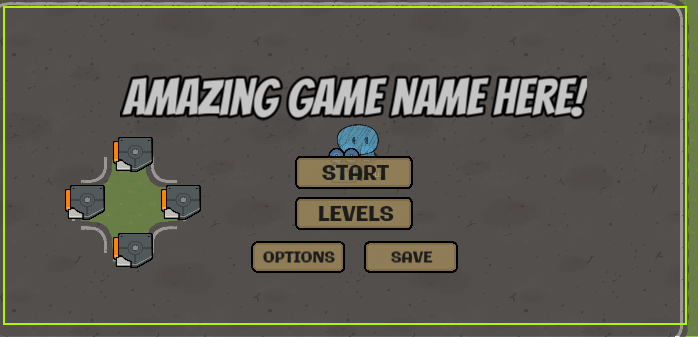
For JSN, I will use my original menu:
| Creating the joystick
To create the joystick, we’ll use a process similar to the way we made each cage.
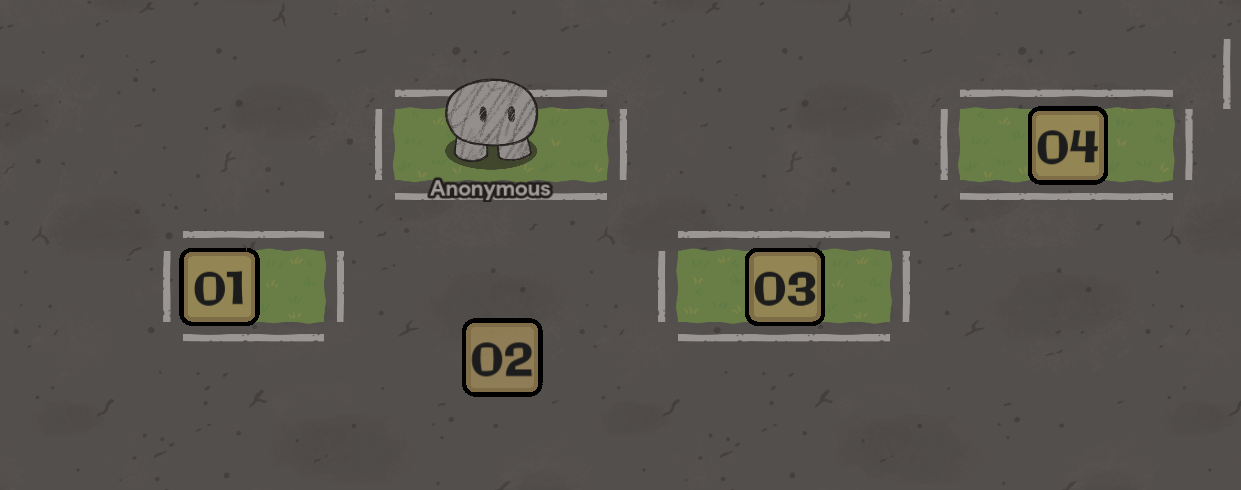
Just like when we made a cage, create an empty space and fill the rest of the menu with wall tiles. However, unlike cages, the joystick does not have a specific position requirement; just make sure that it isn’t too close to the edge that players can phase out of the joystick. An example is below:
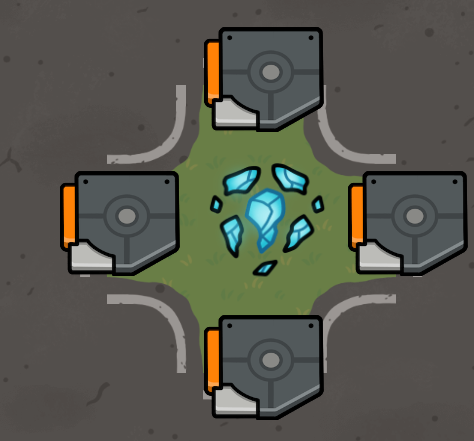
The joystick also needs an extension (space) in all four directions. Your joystick should look like this so far:

The joystick outline is done! ![]()
| Adding devices
We need two triggers in each extension to detect the direction of movement in the menu. These two triggers are going to be slightly different.
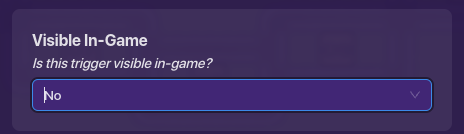
First, both triggers need to be invisible:
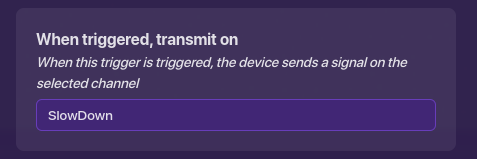
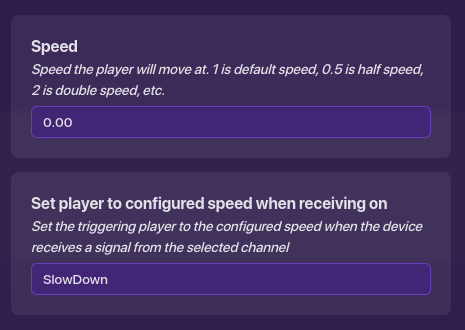
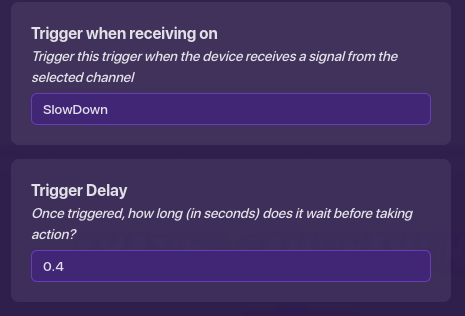
The first trigger needs to transmit to the SlowDown channel when triggered:
(Remind you of anything? These two triggers are going to be almost the same as the ones in TSN; you can just copy them to the side if you have done TSN. Still though, follow along with the guide as there are some minor differences)
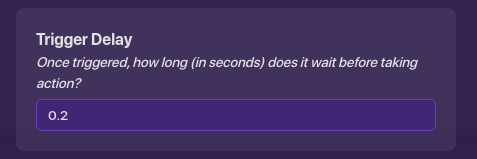
The second trigger needs to have a delay of 0.2 seconds:
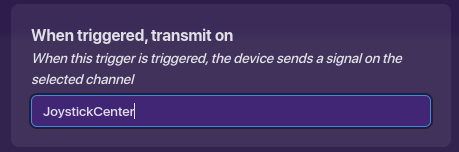
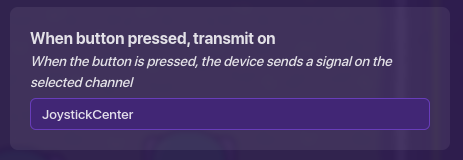
It also needs to transmit to the JoystickCenter channel when triggered:
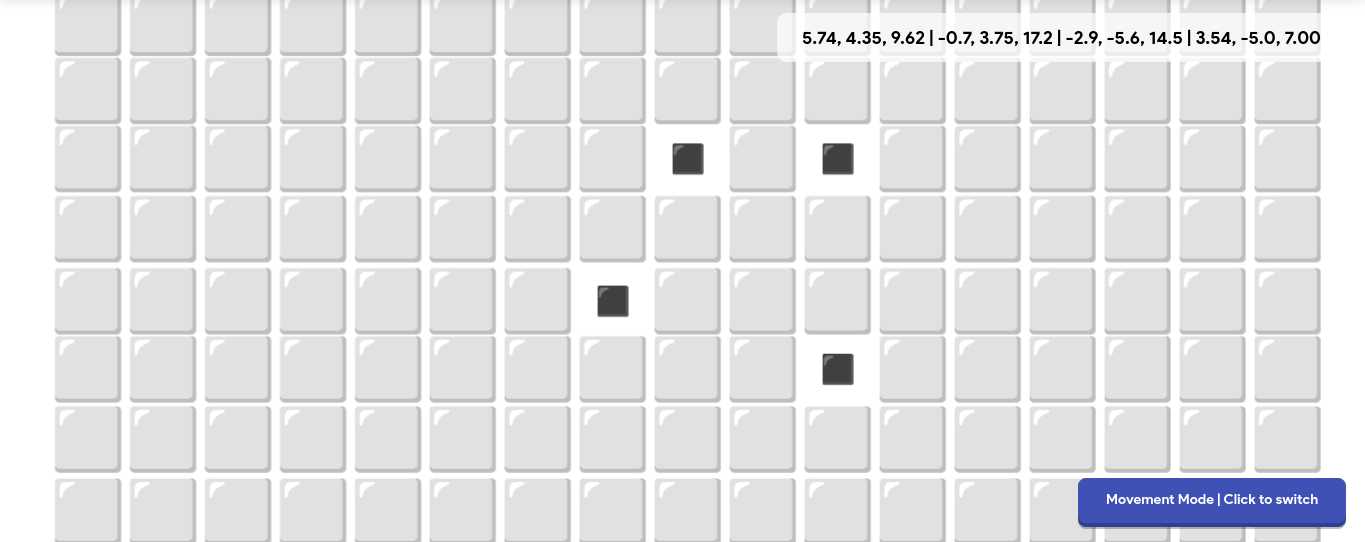
Stack the two triggers, then copy them into each extension of the joystick. The end result should look like this:
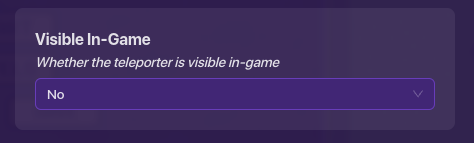
Then, we are going to add a teleporter. It will need to be invisible. Also, set the Teleport here when receiving on channel to JoystickCenter:
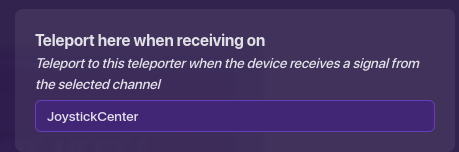
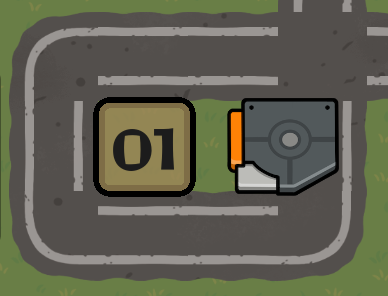
Place the teleporter in the center of the joystick, like so:
(This is very important: make sure that it is perfectly in the center and is able to move in all four directions without hitting with a corner of the joystick! Otherwise, there may be minor issues with the joystick controls.)
This should make it so that when you trigger the trigger, you should be teleported back to the teleporter.
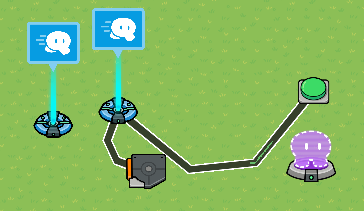
Lastly, add these devices outside of the menu:
- x2 Speed Modifiers
- x1 Trigger
- x1 Button
(If you have done this in TSN, you only need to add a button.)
One of the speed modifiers should be set to the following settings:
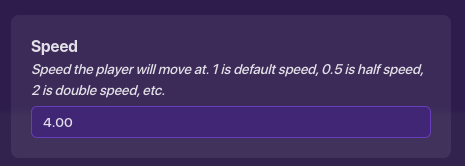
Set the speed of the other one to 4:
And the trigger should have settings like this:
The button is for debugging purposes, so the button should be next to your spawn. It should transmit to the channel of the center teleporter in your joystick:
The trigger should be connected to the 4x speed modifier with a wire, and the button should also be connected to the 4x speed modifier. The devices outside of the menu should look like this:
After that, set your background to semi-transparent and test your menu. Click on the button you placed to take you to the menu. You should be able to see your gim. Any direction you move should teleport you back to the center, and the camera view shouldn’t shift at all.

The devices are done! ![]()
Teleport Style Navigation
Teleport Style Navigation (TSN) is a little… niche. It only works when you have a scrolling interface where the player doesn’t need to hold one direction, which is mostly long menus.
How it works
Basically, we will use triggers to detect what direction the user moves, and then, based on the direction, we will teleport them to the button in that direction.
Say, for example, the player is currently on the “Start” button. If they move down, they’ll trigger a teleport to the position of the “Levels” button.
To ensure the player always touches the trigger even if they just tap the down button, we’ll use a speed modifier to make them very quick. To ensure the player doesn’t escape the menu, we’ll use cages. We also need to make the player slow down so that they don’t teleport on top of a trigger (which is likely a bug with teleporters).
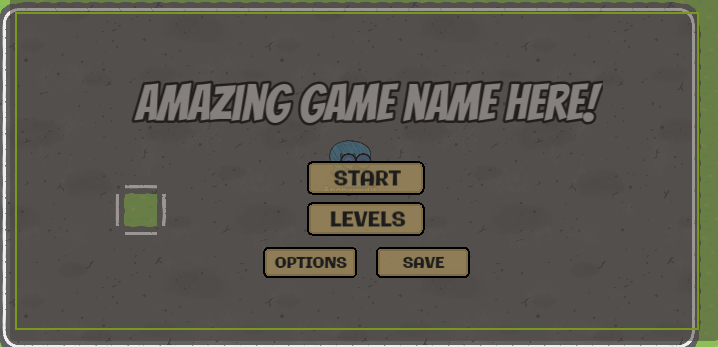
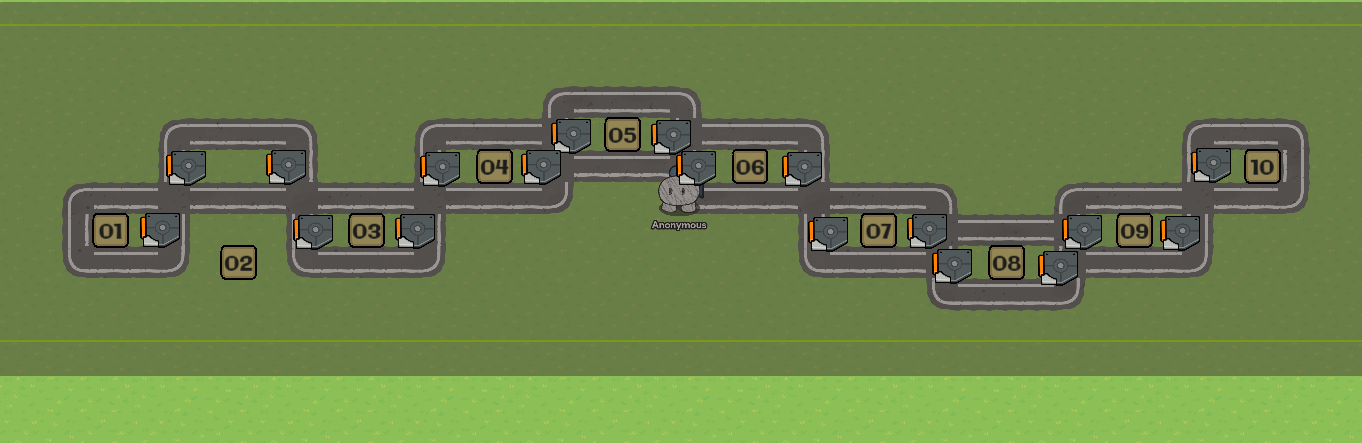
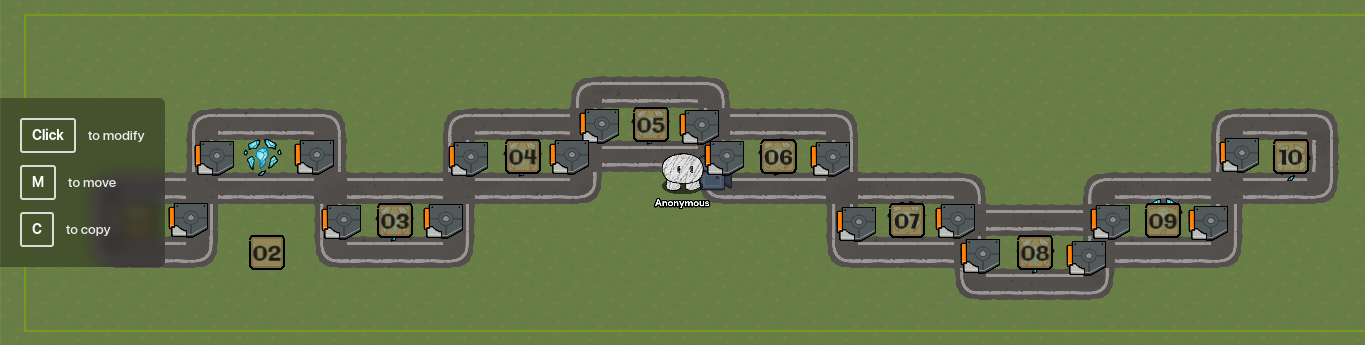
For TSN, I will use a level menu:
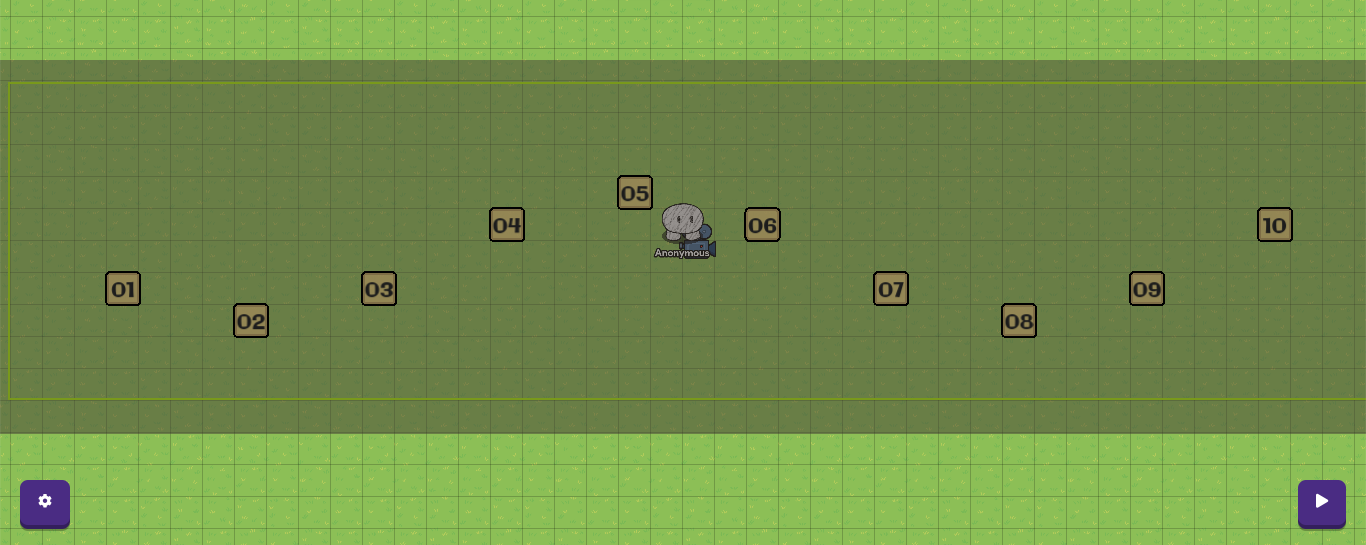
Note: For the purpose of visibility, I turned my background semi-transparent. I also zoomed out, so normally, this menu would be longer than the screen.
| Create cages
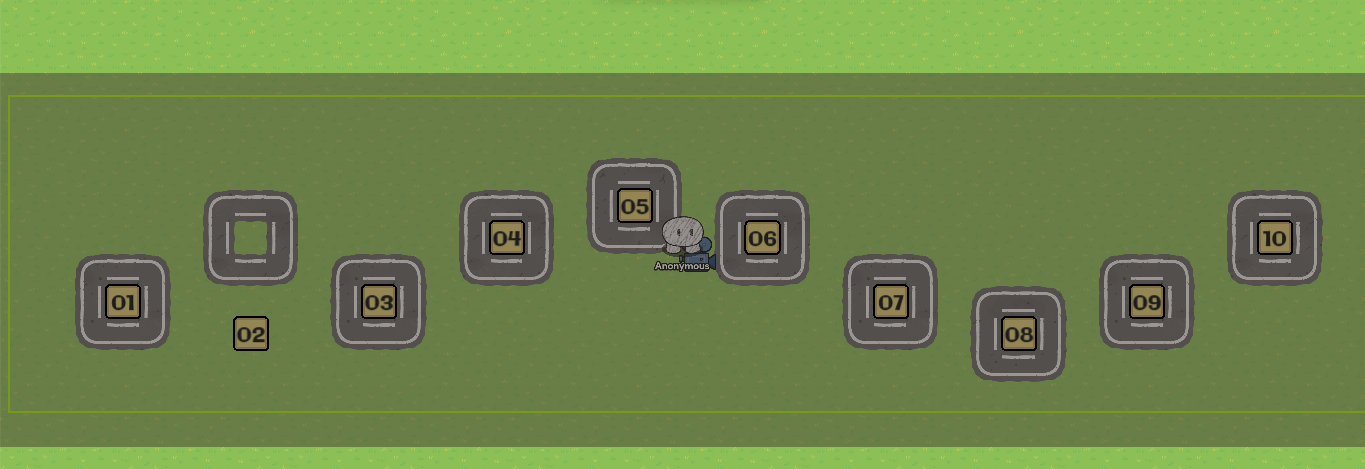
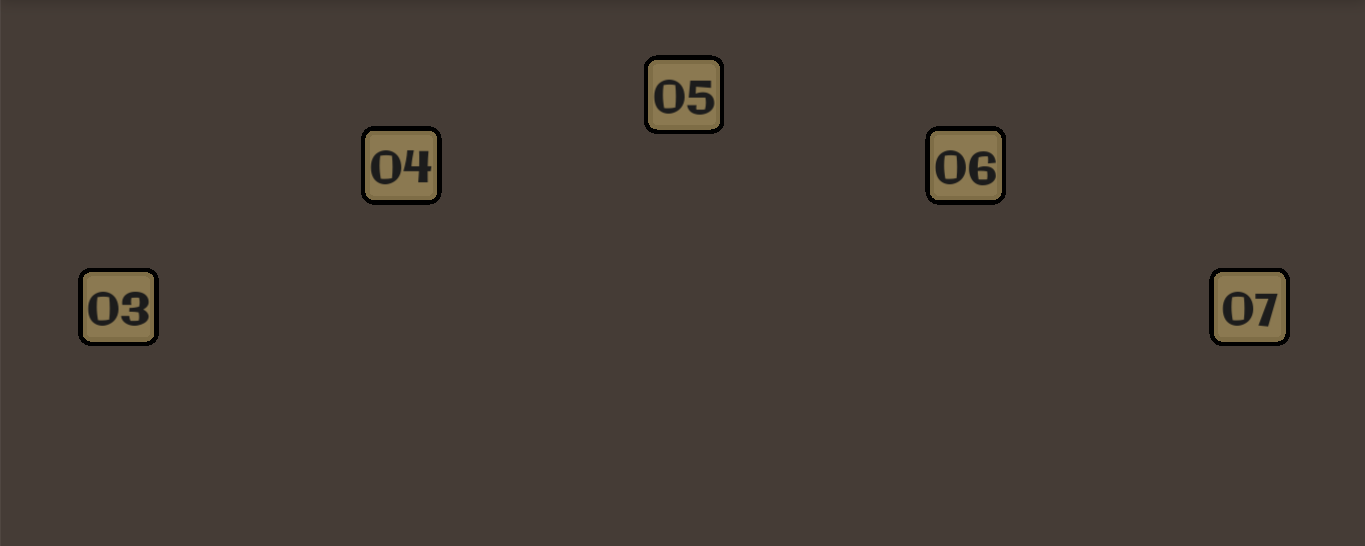
First, create some cages. By cages, I mean 8 wall tiles surrounding a floor or empty tile (the tile type doesn’t matter). For reasons, we are going to call the empty tile the center of each cage. The number of cages should correspond with the number of buttons. The cages should have at least 1 block of space between other cages. If possible, position them on the middle of the button, but if your buttons are too close to do so, at least keep the cages aligned to the button in the opposite way that the menu is intended to scroll.
For example, my menu is supposed to scroll horizontally, so I have to make sure that the cages are aligned to my buttons vertically. My example is shown below with number 2 representing how you should place the cages if the menu buttons are too close to allow a 1 block gap:
To allow player movement, each cage will have an extension in the direction of allowed movement. For my menu, players can move left or right, so it ends up looking something like this:
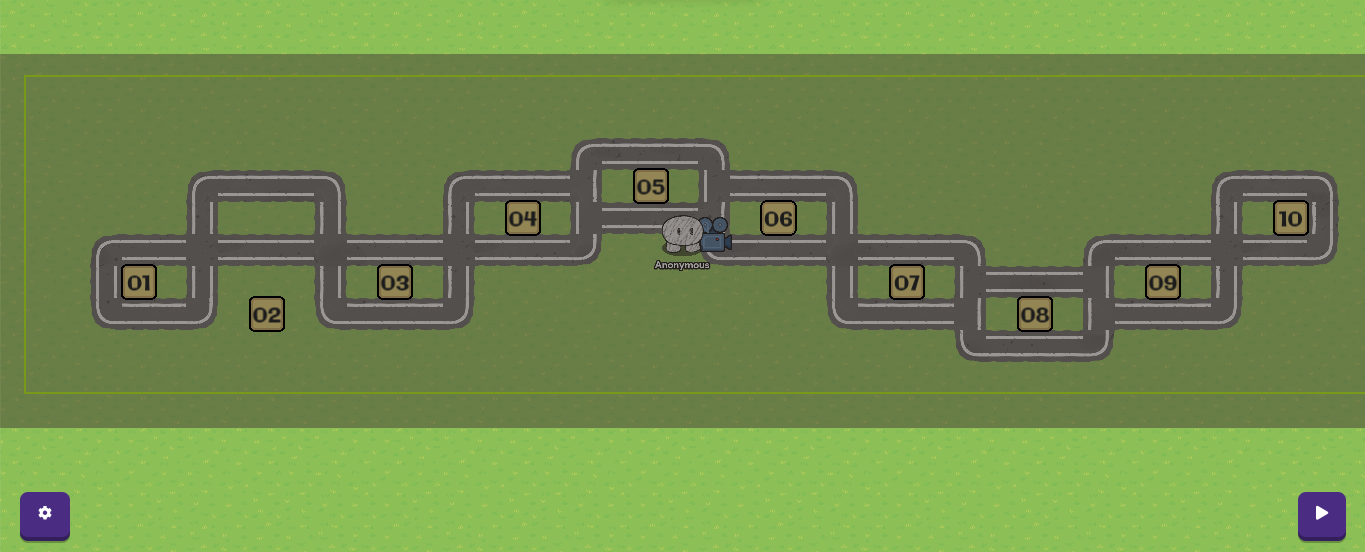
See how I have an empty space to the left and right of the original positions of each cage (except for button 1 and button 10 because they are at the ends of the selection)? This is pretty much what each cage should look like, but add vertical movement if needed. We’re going to be calling these spaces extensions.
So uhhh… after some testing, at 4x speed (more about this later), the gim can actually PHASE THROUGH THE CAGES??? so I recommend you make them have three blocks of width (or just fill the entire menu like me):
The cages are built! ![]()
| Adding devices
Next, we need to add the devices needed to make the menu work.
First off, we need triggers to detect movement. To make things easier, we’re going to set up one trigger first and then copy it to create the rest. First off, the triggers need to be invisible:
We need to copy that trigger, as each extension will have two triggers. After copying that trigger once, we’ll have one of them broadcast to SlowDown on trigger, like this:
For the other trigger, set its trigger delay to 0.2:
The two triggers should then be stacked and copied into each extension in a way that they are not touching the center, like below:
All in all, your build should look like this:
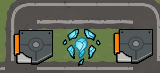
Next up, teleporters! This will be what allows your gim to traverse between button selections. First, our teleporters need to be invisible:
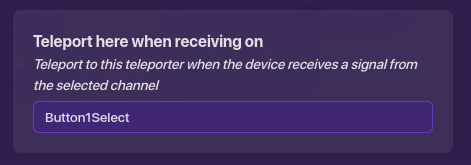
After that, copy the teleporter so that you have an equal number of buttons and teleporters. Go to the Channels tab and make sure to add a channel in Teleport here when receiving on, like below:
Name the channels of the teleporters different names. You should probably name them based on the button they are going to represent (and if you’d like, you can add “select” to the end of the channel names, which will probably make your life easier in the long term).
Then, place them in the center of each cage:
(This is very important: make sure that it is perfectly in the center and is able to move in all directions without hitting with a corner of the cage! Otherwise, there may be minor issues with the controls.)
So far, this is what your menu should look like:
Almost there! We also need every trigger that has a delay of 0.2 to transmit to a channel when triggered:
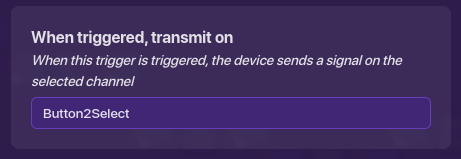
The channel should be based on both the direction and the current location that the trigger represents. For example, if a trigger is in the Level 01 button and it is in the right extension, I would have it transmit to Button2Select (rename this to match your own buttons). This way, when the trigger is triggered, it will move you to the button that is to the right of the current button.
Lastly, add these devices outside of the menu:
- x2 Speed Modifiers
- x1 Trigger
- x1 Button
One of the speed modifiers should be set to the following settings:
Set the speed of the other one to 4:
And the trigger should have settings like this:
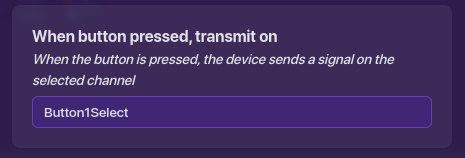
The button is for debugging purposes, so the button should be next to your spawn. It should transmit to the channel of any teleporter in your menu, your choice. For mine, I chose the Level 1 button:
The trigger should be connected to the 4x speed modifier with a wire, and the button should also be connected to the 4x speed modifier. The devices outside of the menu should look like this:
After that, test your menu! Click on the button to take you to the menu. Every time you click a movement button, the camera view should snap to the next button in that direction, if any:
The TSN is done! ![]()
Meter Style Navigation
Meter Style Navigation (MSN) was inspired by Apoll02’s Gimjumper. When I tried it, I saw that you could hold a direction and consistently output it. To recreate it, I decided to try using a meter to detect movement and zones to detect the last moved direction.
MSN is coming soon. It has been debugged and proven to work.
Before making any of these, remember to use an object with no collision that’s big enough to cover the screen (my personal choice is a barrier) and a camera zone that fills the entire screen.
The following are examples of ways navigation systems can be used:
Examples
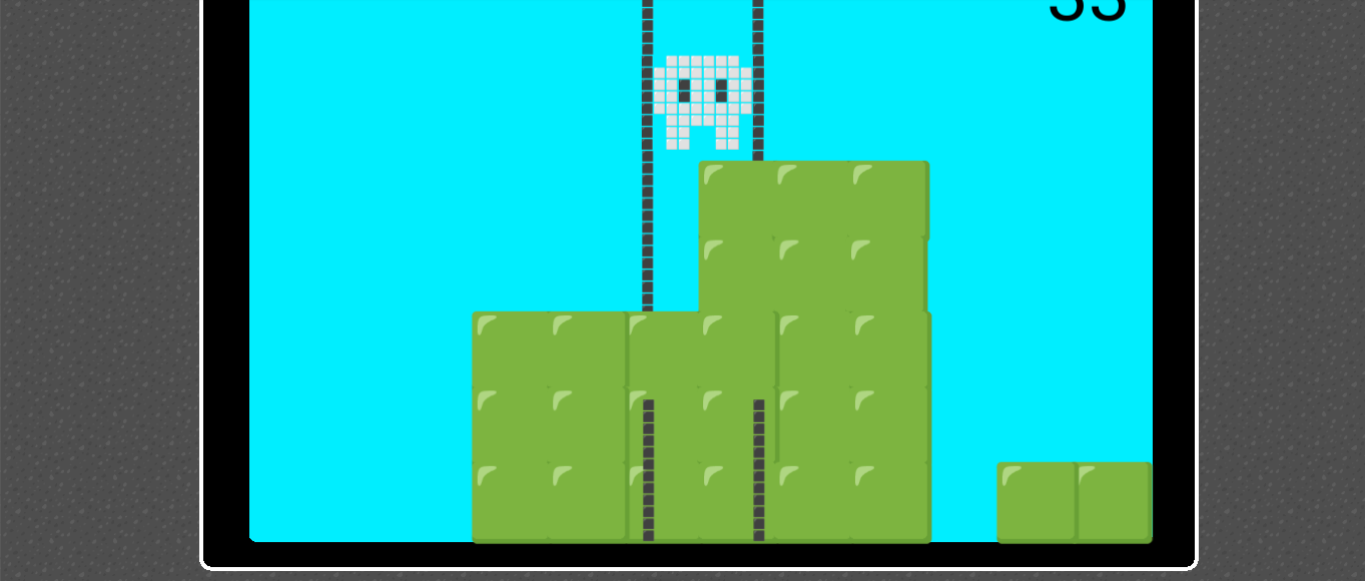
3D viewport attempt using JSN (by me):
Snake using JSN (by me):

GimJumper using [unknown] (by Apoll02):
These navigation systems only detect movement so far. You’ll need to add your own code to make them actually function or do anything.
I will probably continue to update this so stay tuned! If you come up with any new navigation systems feel free to comment it.
No one is editing.
Replace "No one" with your name.
- Do not make this Wiki post violate TOS and the rules of the forum. We do not wanna get banned here, so as you.
- Do not edit other people’s tutorials on it/do not edit any other’s messages in User Assignments. If you do that, we’ll check the editing history and you will not be able to edit again if you do this. Do not also CHANGE THESE RULES.
- Only one person may edit at a time. Failure to follow this rule could result in lost work.
- Please try to be active in assignments!
- Make sure to edit only with permission from @Anonymous
Guide by @Anonymous