If you want to create a changing background in gimkit creative, then you came to the right place!
There is a really simple way to do this… no code, no wires, no properties!
All you will need is 1 lifecycle, and as many triggers as you want!
1. Setting up the lifecycle
First, we are going to need a lifecycle device. You can find this in the devices menu.

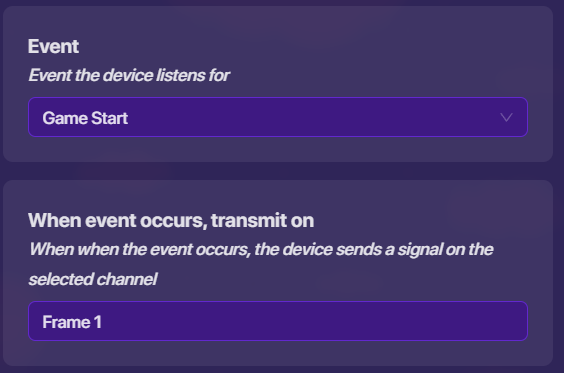
After, you add this into your game, click on it. Change the When event occurs, transmit on to “Frame 1”.
2. Setting up the triggers
Great!
We will now need a trigger device. You can again find this on the devices menu.

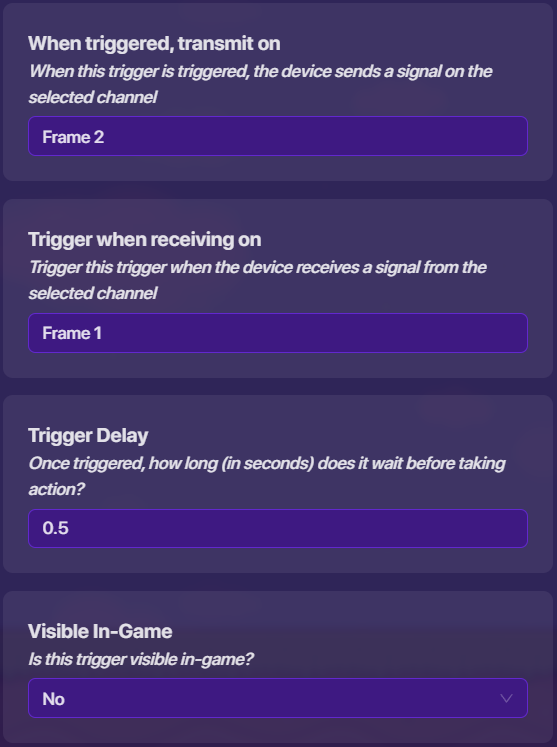
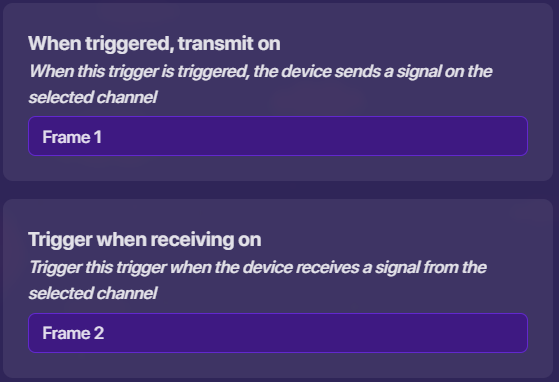
Click on the trigger, and set When triggered, transmit on to “Frame 2”, set Trigger when receiving on to “Frame 1”, set the Trigger Delay to the amount of time you want each frame/color to last (we will use 0.5 in this guide), and set Visible In-Game to “No”.
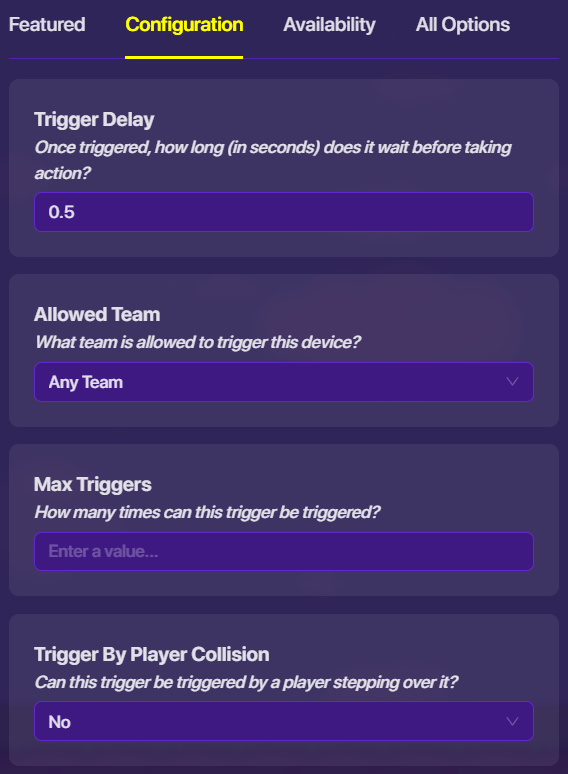
Now, go to the Configuration tab, and set Trigger By Player Collision to “No”.
Nice!
We finished the first trigger!
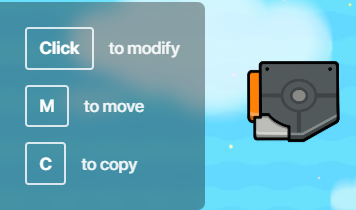
Now, we can copy the trigger. Hover over the trigger and press “c” to copy it. You can also create another trigger the exact same as the first one if you can’t copy it.
For each copy, the only things you need to change are the When triggered, transmit on and the Trigger when receiving on. We will only use two triggers in this guide, but you can add more if you want!
For our second trigger, we can set the When triggered, transmit on to “Frame 1” and Trigger when receiving on to “Frame 2”.
Creating more triggers
To create more triggers to have more frames, you will need to make more copies.
Set the When triggered, transmit on for the first copy to “Frame 2”, the next one will be “Frame 3”, and if there is 3 triggers, the third one and last one would say “Frame 1” (otherwise it would be “Frame 4”, and so on, until the last one, which will be “Frame 1”).
Set the Trigger when receiving on to “Frame 1” for the first one, the next one will be “Frame 2”, and if there is 3 triggers, the third one would say “Frame 3”, and so on.
3. Using the events
Now, lets use these to make something appear/disappear.
First, lets add a barrier device, which can also be found in the devices tab.

Click on the barrier, go to the Availability tab, set Activate when receiving on to “Frame 1”, and Deactivate when receiving on to “Frame 2”.
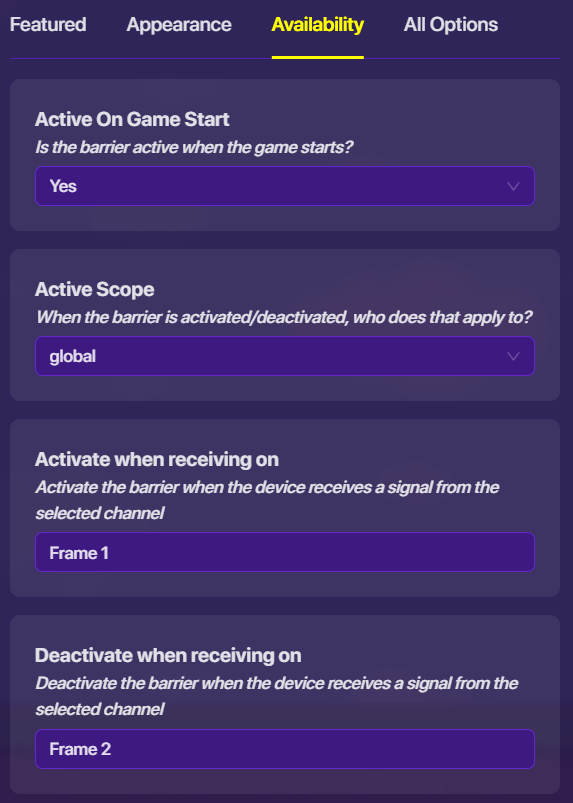
This should make it so that it appears on frame 1, and disappears on frame 2. When you start the game, the barrier should turn on and off.
To do this for lasers, add a laser, go to the Channels tab, and set Activate when receiving on to “Frame 1”, and Deactivate when receiving on to “Frame 2”.
To do this for props, add a prop, go to Availability tab, set Show prop when receiving on to “Frame 1”, and Hide prop when receiving on to “Frame 2”.
Now that you got the basics, these are some things you can do with it:
Color-changing background
I will use 6 triggers, so there can be 6 different frames for the background. Also, the trigger delay will be set to 0.2 to make it change colors faster.
Now, create 6 barriers, and turn off their collision so they can be a background. Choose 6 different colors for each of the barriers, and set the frames they appear and disappear on.
To align them, we can go to the options (gear button on the bottom left of your screen), go to editing options, and set grid snap to 32.

Now, stack them all on top of each other, and we should have a color-changing background.
Beat blocks
You can also make beat blocks (platforms that appear and disappear) using this.
I will use 2 triggers, so there will be one for red platforms, and one for blue platforms. Also, the trigger delay will be set to 2 so you have time to jump.
Now, create 2 barriers, one red and one blue. Make the red one appear on frame 1 and disappear on frame 2, and the blue one should appear on frame 2 and disappear on frame 1.
You can also do this with lasers.
Animations
Animations let you make it look like something is moving in your game!
For this animation, it will be an animation on how to slope jump. I will use 12 triggers, so there can be 12 different frames. Also, the trigger delay will be set to 0.1 to make it look like its moving.
First, create all of the frames of your animation. For example, these show where the player is in the slope jump (the player is a circle bc im too lazy to make a shape for it lol).
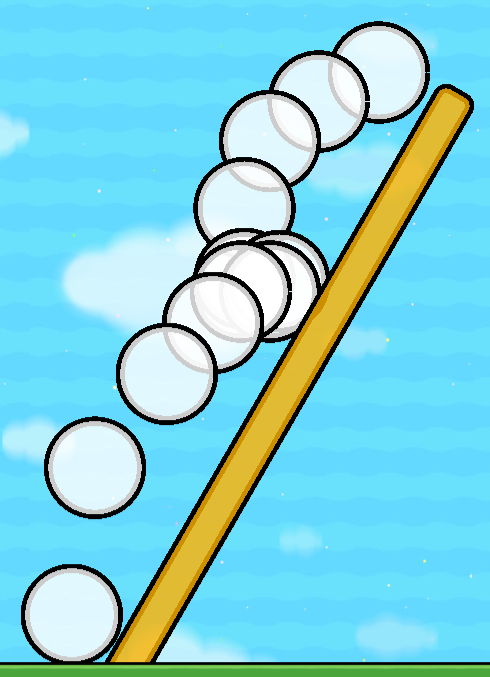
Now, set up the frames that they appear and disappear. Each frame of your animation should appear after the previous one, and disappear after the next frame appears.
When you finish, it should look something like this:
There are many other things you can do with it as well!