Hello fellow forumers! Let me start off by saying that this is my very first guide, and I do apologize if someone has already made something similar to this (I did search, but found nothing so fingers crossed).
In this guide, I will teach you how to make a variety of insects in just a few easy steps. So without further Ado, here we go!
Are you editing? (DO NOT CLICK FOR FUN)
How to Make a Bee (By Rainbow)
Materials you will need
6 circular barriers
6 rectangular barriers
4 metal poles
Step one: The Basic Body Structure
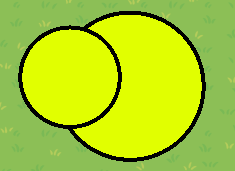
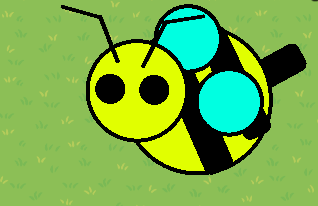
First, pull out two barriers. Make sure to change them to circular instead of square and make sure the “Alpha” (transparency) is set to 1.00 on both barriers. Change the color of both barriers to yellow (If you’re curious my RGB was= R:255 G:255 B:0, but any yellow color works!). Make one circular barrier smaller than the second. Place the smaller barrier on top of the bigger barrier (Make sure to use the layers tool or it probably won’t work). Your results should look this:
Step two: The wings
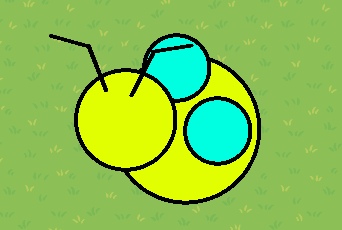
Pull out two more circular barriers. Make sure to change them to circular instead of square and make sure the “Alpha” (transparency) is set to 1.00 on both barriers. Change the color of both barriers to blue (If you’re curious my RGB was: R:0 G:255 B:225, but any blue color, lighter blue color for best results, works!). Make them roughly the same size (copying and pasting works best for making sure they’re the same size) and make them a bit smaller than the head (the head is the smaller barrier from step one). Place both of them on the body (the body is the bigger barrier from step one). Make sure to use layers or this may not work! Your results should look like this:
Step three: The Antennas
Pull out two metal poles. Make sure to remove the shadow on both poles. Tint the color of the poles to black. Change the size of the poles to where they are long but skinny (if that’s confusing just look at the picture I provided!). Then place them onto the head (the head is the smaller barrier from step one). I put them at an “angle” (because I thought it looked better) but you don’t have too. Then pull out two more metal poles (they should fit the same criteria as the first two poles). Place them horizontally on top of the first two poles (if that’s confusing just look at the picture I provided!). Your results should look like this:
Step four: The Stripes
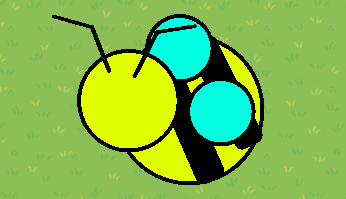
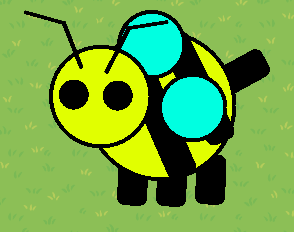
Pull out two (more or less depending on how big your bee is) rectangular barriers. Make sure the “Alpha” (transparency) is set to 1.00 on both barriers. Change the color to black on both barriers. Now this is where layers come in (so make sure you use layers correctly). Place both of the barriers on the body (the body is the big barrier from step one). It doesn’t matter how long/short or how thick/skinny your barriers are, just make sure they reach the top and bottom of the body. Your results should look like this:
Step five: The Eyes
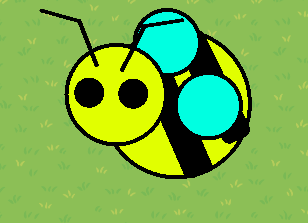
Pull out two circular barriers. Make sure to change them to circular instead of square and make sure the “Alpha” (transparency) is set to 1.00 on both barriers. Change the color to black. Try and make them roughly the same size (copying and pasting works best for making both barriers the same size). Place both barriers on the head (the head is the small barrier from step one). Make sure to layer them correctly. Your results should look like this:
Step six: The Stinger
Pull out one rectangular barrier. Make sure the “Alpha” (transparency) is set to 1.00 on the barrier. Change the color of the barrier to black. Place it at the end of the body (the body is the big barrier from step one). Make sure you use layers correctly. Your results should look like this:
Step seven: The Legs (*OPTIONAL*)
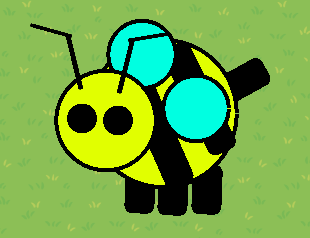
Pull out three (more or less depending on the size of your bee) rectangular barriers. Make sure the “Alpha” (transparency) is set to 1.00 on all three barriers. Change the color of the barriers to black. Make sure to use layers correctly. Place all three barriers at the bottom of the body. Your results should look like this:
How to Make a Ladybug/Ladybird (By Rainbow)
Materials you will need
5 circular barriers
6 rectangular barriers
4 metal poles
Step one:The basic body structure
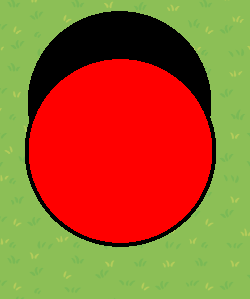
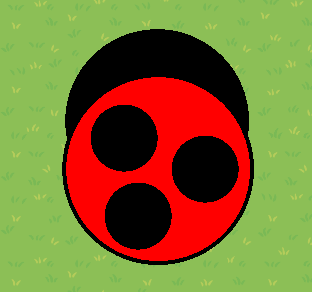
First pull out two barriers. Make sure to change them to circular instead of square and make sure the “Alpha” (transparency) is set to 1.00 on both barriers. Change one of the barriers to black and change the other barrier to red (If you’re curious my RGB for the red barrier was= R:255 G:0 B:0, but any red color works!). The red barrier is slightly on the black barrier (overlapping I guess you could say). If that’s confusing just look at the picture I’ve provided. Make sure to use layers correctly. Your results should look like this:
Step two:The dots/spots
Pull out three (more or less depending on how big your ladybug is) circular barriers. Make sure to change them to circular instead of square and make sure the “Alpha” (transparency) is set to 1.00 on all barriers. Change all of the barriers to black. Now place all three barriers on top of the red barrier from step one. Make sure to use layers correctly. Your results should look like this:
Step three:The antennas
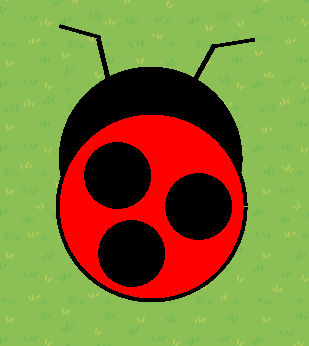
Pull out two metal poles. Make sure to remove the shadow on both poles. Tint the color of the poles to black. Change the size of the poles to where they are long but skinny (if that’s confusing just look at the picture I provided!). Then place them onto the head (the head is the black barrier). I put them at an “angle” (because I thought it looked better) but you don’t have too. Then pull out two more metal poles (they should fit the same criteria as the first two poles). Place them horizontally on top of the first two poles (if that’s confusing just look at the picture I provided!). Your results should look like this:
Step four:The legs (OPTIONAL)
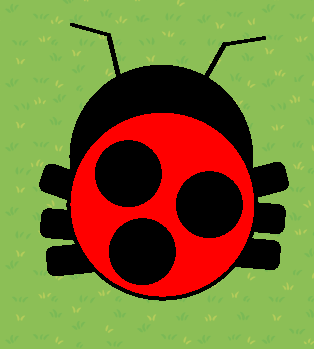
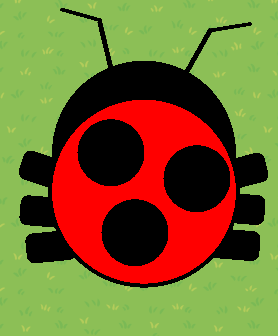
Pull out three (more or less depending on how big your ladybug is) barriers. Make sure the “Alpha” (transparency) is set to 1.00 on all three barriers. Change the color of the barriers to black. Place all three barriers on one side of the body. Now pull out three more barriers (these barriers should look EXACTLY the same as the first three barriers). Place all three of the new barriers on the other side of the body. Make sure to use layers correctly. Your results should look like this:
How to make an ant (By Rainbow)
Materials you will need
3 circular barriers
3 rectangular barriers
2 metal poles
Step one:The basic body structure
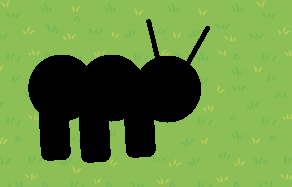
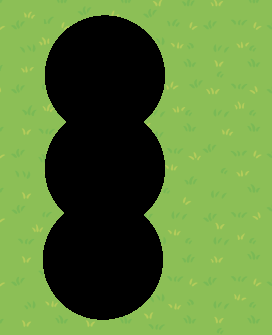
First pull out three circular barriers. Make sure to change them to circular instead of square and make sure the “Alpha” (transparency) is set to 1.00 on all barriers. Change all three barriers to black. Keep in mind all three barriers should be roughly the same size (copying and pasting works best for making sure they’re the same sizes). Make sure to connect them “at the hip” (look at the picture I’ve provided if that’s confusing). Make sure to use layers correctly. Your results should look like this:
Step two:The antennas
Pull out two metal poles. Make sure to remove the shadow on both poles. Tint the color of the poles to black. Change the size of the poles to where they are long but skinny (if that’s confusing just look at the picture I provided!). Then place them onto the head (it should be one of the barriers on the end, either one works). Make sure to use layers correctly. Your results should look like this:
Step three:The legs
Pull out three (more or less depending on the size of your ant) rectangular barriers. Make sure the “Alpha” (transparency) is set to 1.00 on all three barriers. Change the color of the barriers to black. Place all three barriers on the bottom of your body (look at the picture I’ve provided if that’s confusing). Make sure to use layers correctly. Your results should look like this:
How to make a fly (By Rainbow)
Materials you will need
5 circular barriers
Step one:The basic body structure
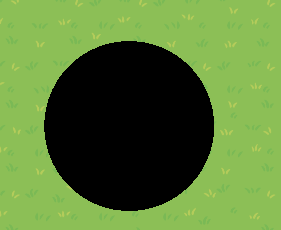
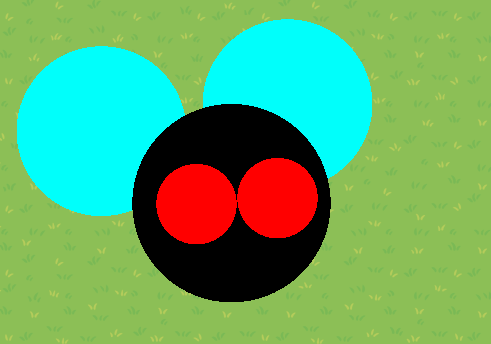
First pull out one barrier. Make sure to change the barrier to circular instead of square and make sure the “Alpha” (transparency) is set to 1.00 on the barrier. Change the color of the barriers to black. Your results should look like this:
Step two:The wings
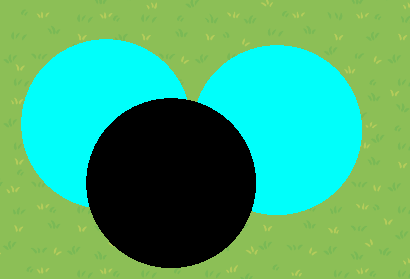
Pull out two barriers. Make sure to change both barriers to circular instead of square and make sure the “Alpha” (transparency) is set to 1.00 on both barriers. Change the color of both barriers to blue (If you’re curious my RGB was: R:0 G:255 B:251, but any blue color, lighter blue color for best results, works!). You don’t have to remove the border around the barrier, but in this example I did. Then place it sort of on the upper sides of the fly (if that’s confusing, look at the picture I’ve provided). Make sure to use layers correctly. Your results should look like this:
Step three:The eyes (OPTIONAL)
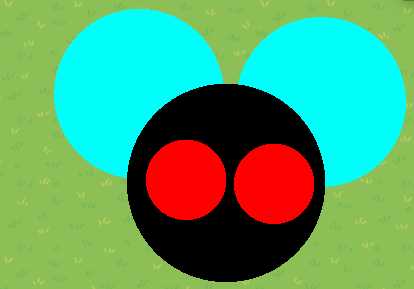
Pull out two barriers. Make sure to change both barriers to circular instead of square and make sure the “Alpha” (transparency) is set to 1.00 on both barriers. Change the color of both barriers to red (If you’re curious my RGB was: R:255 G:0 B:0, but any red color works!). Keep in mind that both barriers should be roughly the same size (copying and pasting works best for making sure they’re the same sizes). Put both barriers on top on the body/face (look at the picture I’ve provided if you’re confused). Makre sure to use layers correctly. Your results should look like this:
How to make an earthworm (By Rainbow)
Materials you will need
5 rectangular barriers
9 metal poles
Step one:The basic body structure
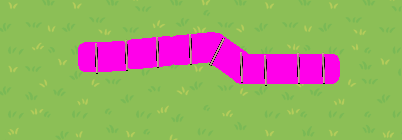
Pull out one rectangular barrier. Make sure the “Alpha” (transparency) is set to 1.00 on the barrier. Make sure to remove the border on the barrier as well. Change the barrier color to pink (If you’re curious my RGB was= R:255 G:0 B:234, but any pink color works). Now pull out four more rectangular barriers (they should fit the exact same criteria as the first barrier). Now line them up and make them look as if they’re one line (look at the picture i’ve provided if you’re confused). You can also “elevate” a few barriers (like I did) to add some extra pizzazz. Your results should look like this:
Step two: "The stripes"
First pull out one metal pole. Make sure to remove the poles shadow. Tint the pole color to a lighter pink than the body color (If you’re curious, my RGB color was= R:249 G:184 B:184, but any pink, lighter than the body color pink, works!). Now add 8 more metal poles (they should all fit the same criteria as the first pole). Change the size of the poles to where they are long but skinny (if that’s confusing just look at the picture I provided!). Place all of the poles on top of the pink body from step one, make sure to place them at a good distance from each other (if that’s confusing look at the picture I’ve provided!). Make sure to use layers correctly. Your results should look like this:
How to make a butterfly (By Rainbow)
Materials you will need
7 circular barriers
4 metal poles
Step one:The basic body structure
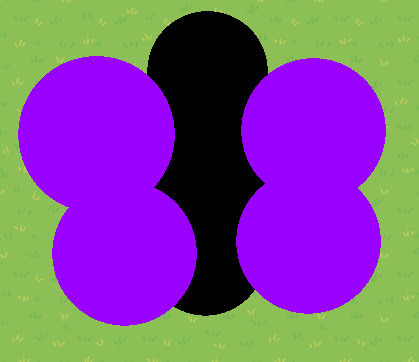
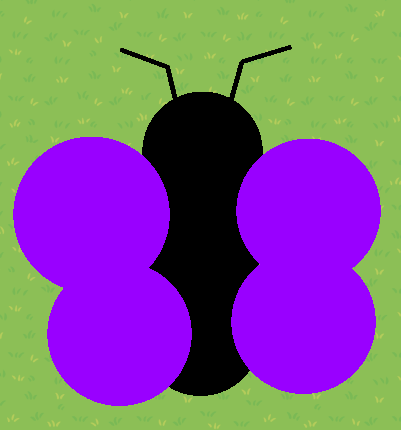
First pull out three circular barriers. Make sure to change them to circular instead of square and make sure the “Alpha” (transparency) is set to 1.00 on all barriers. Change all three barriers to black. Keep in mind all three barriers should be roughly the same size (copying and pasting works best for making sure they’re the same sizes). Make sure to connect them on top of each other/connect them vertically (look at the picture I’ve provided if that’s confusing). Make sure to use layers correctly. Your results should look like this:
Step two: The wings
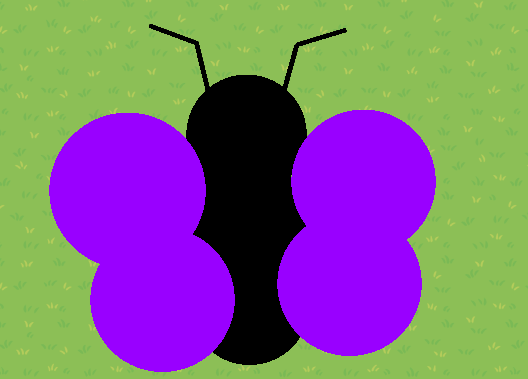
Pull out two barriers. Make sure to change them to circular instead of square and make sure the “Alpha” (transparency) is set to 1.00 on both barriers. Make sure to remove the border on both barriers. Change the color of both barriers to any color of your choice! I however chose purple (If you’re curious my RGB was= R:153 G:0 B:255, but any color works!). Place them both on one side of the body (if you’re confused look at the picture I’ve provided). They both should be overlapping. Next pull out two more barriers (keep in mind they should fit the same criteria as the first two borders). All 4 circular barriers should also be roughly the same size (copying and pasting works best for making sure they’re the same sizes). Place the new set of barriers on the other side (the side you don’t have the first set of wings on). They both should be overlapping. Make sure to use layers correctly. Your results should look like this:
Step three: The antennas
Pull out two metal poles. Make sure to remove the shadow on both poles. Tint the color of the poles to black. Change the size of the poles to where they are long but skinny (if that’s confusing just look at the picture I provided!). Then place them onto the head (the head is the black barrier on the very top). I put them at an “angle” (because I thought it looked better) but you don’t have too. Then pull out two more metal poles (they should fit the same criteria as the first two poles). Place them horizontally on top of the first two poles (if that’s confusing just look at the picture I provided!). Your results should look like this:
How to make a caterpillar (By Snoopy)
Materials you will need
15 circular barriers
4 rectangular barriers
2 bread props
Text with Kalam font
Step one:The basic body structure
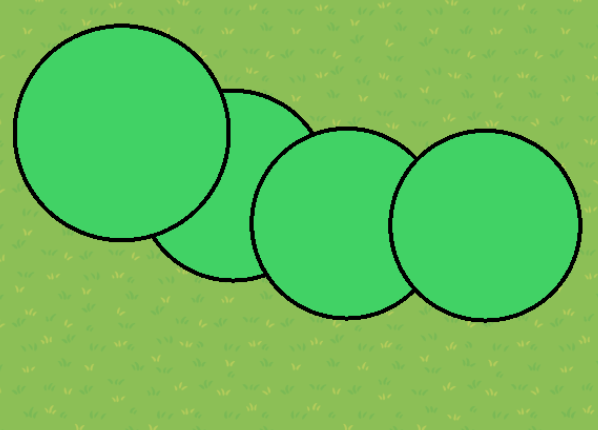
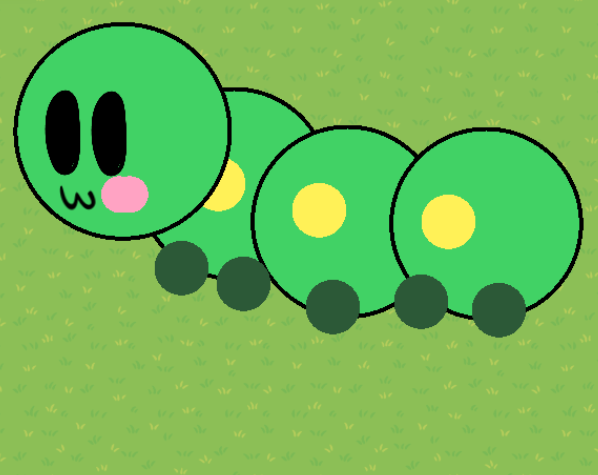
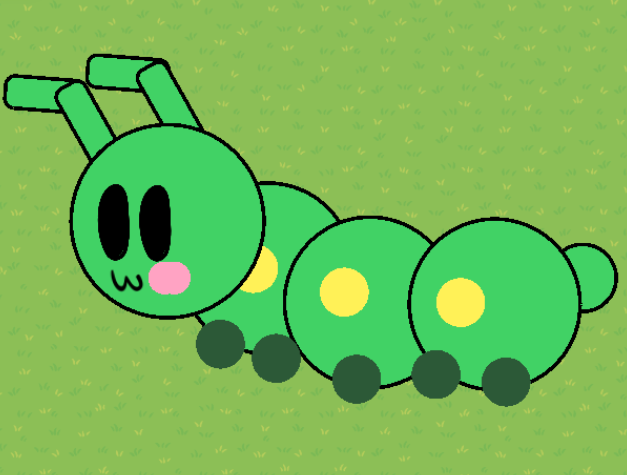
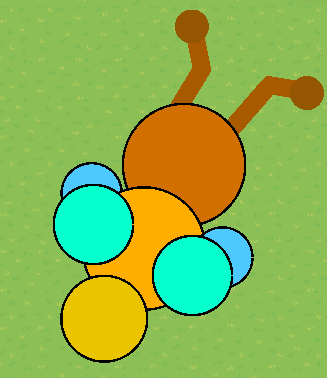
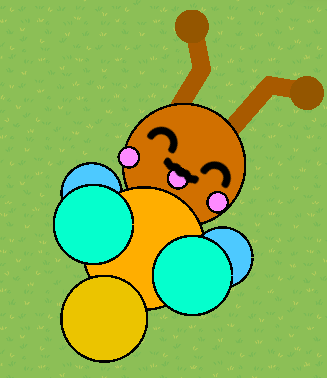
First you wanna get around 4 circle barriers (any color works but i think green is the most common) and align them like in the picture below
Step two:The face (optional)
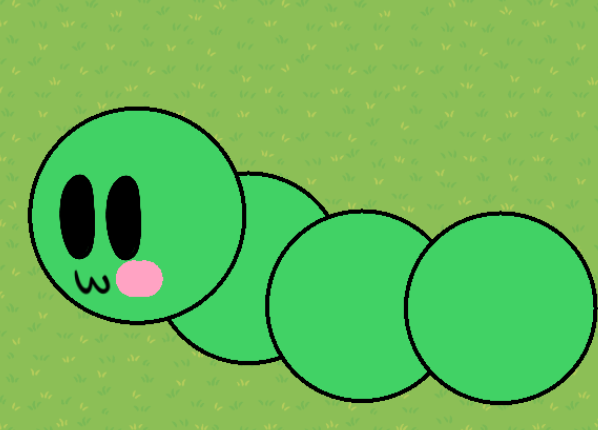
This part isn’t really necessary but if you want yours to have a cute face here is how you do it, First get 2 bread props and tint them black. Then rotate them to the position you want. Add 2 small pink barriers for blush. Finally get text and add a rotated 3 with the Kalam font.
Step three:The spots/dots and legs
Now get about 5 small dark green circle barriers and put them on the bottom these will be his feet. Now get 3 yellow circle barriers and put them on the body of your caterpillar for his spots.
Step four:The antennas and the tail
Get 4 square barriers (Same color as the caterpillar) and position them like in the picture on his head. Oh and almost forgot to give him a small tail in the back (one smaller green barrier)
There you have it! -Snoopy
How to make a FireFly (By The-realgimkitmaster)
Materials you will need
12 circular barriers
4 rectangular barriers
Some text boxes (further explained later in step four)
Step one:The basic body structure
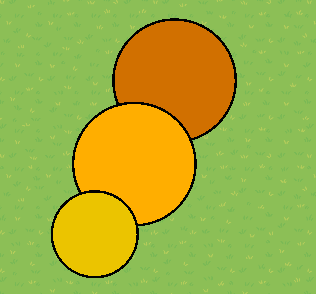
First get 3 circle barriers. Make each of them a different size and different colors.
put them like this.
Step two:The wings
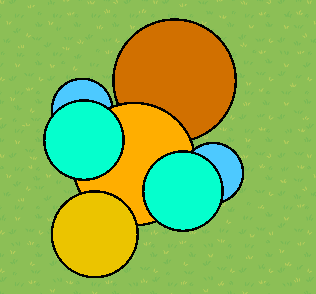
For the next part get 4 circle barriers and make them smaller than the other circles from the first step. Then put them on like this.
Step three:The antennas
Next get 4 rectangle barriers and get 2 small circle barriers and place them on the Fireflies head like this.
Step four:The face (optional)
get a cute face text and make it bigger. Then get 3 pink circle barriers. Use 2 as blush and the other as a tonge.
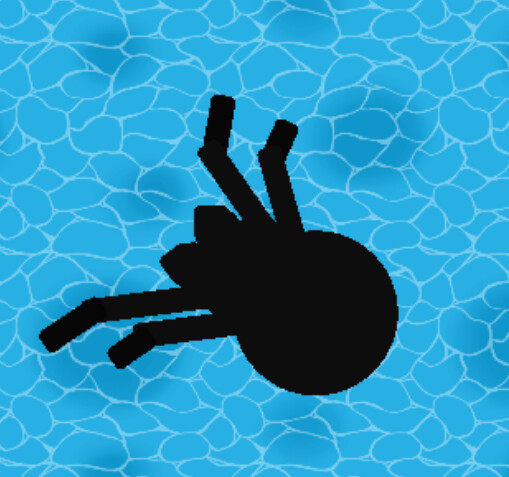
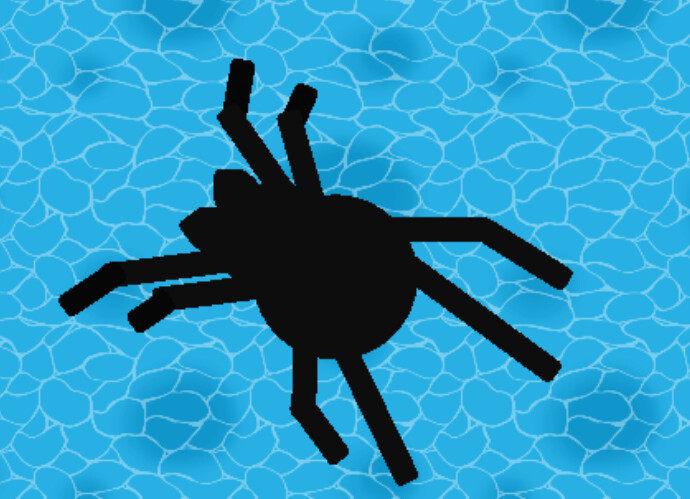
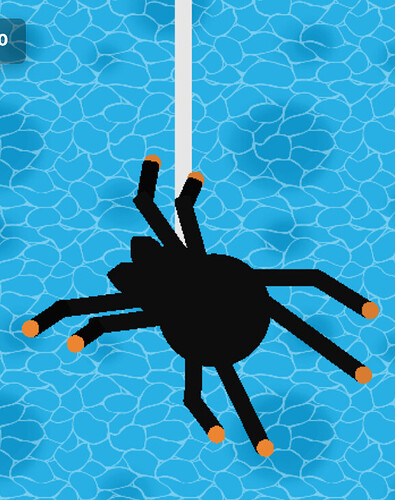
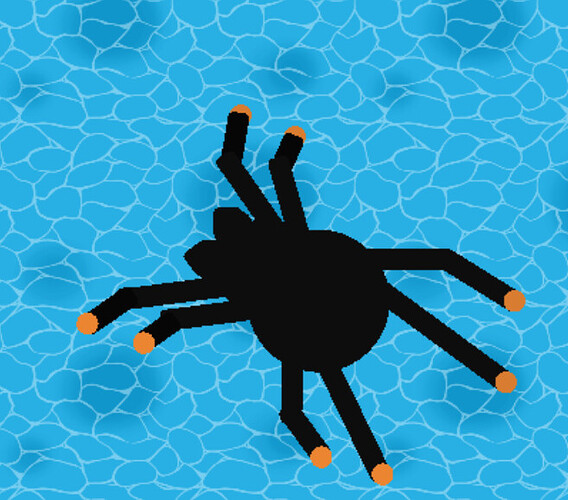
How to Make a Tarantula (By Kat.Cookie)
Items
That is…
15 rectangles
8 long
4 a bit shorter
and 2 for the front
and, one for the web (optional)
+
4 Circles
1 BIG
1 A bit Smaller
2Tiny for the front
+
and 8 tinier circles to go onto the legs
Step one:Base
First off, building off your base!
put the 1 BIG circle and the 1 bit Smaller circle and build them off like this screen shot
Next, Take the two tinier circles and place them at the front side by side
and the result:
Lastly, take the 2 tiny squares and put them in front of the tiny circles in front, and your end result comes out like this!
Step two:The Legs
Next off, is the most important, legs
BUT WARNING!

anwho-
we build the first four legs on the front side of the base like the screen shot below using the long rectangles
Then, we use the shorter rectangles and connect:
Then we go the the bottom side of the base like the screen shot below using the same long rectangles and connect the remaining two shorter ones to the long rectangles NON-BOTTOM ONES VERY IMPORTANT, and Ta Daaa!
AND FINALLY, use the circles, and put them onto each side of legs!
Step three:Attached Spider Web (OPTIONAL)
For those who want the string for the spider, just get a long white/ really light gray barrier and attach it first or last
I can’t show first but here is last!
Here is your final result!
Roаch (By: weirdo)
Hey Yall its ur favorite weirdo and we will be making the most preppiest insect!!
![]() The ROACH
The ROACH ![]()
now lets get into it!!!
First, take a light brown base (I used 92, 49, 30) and give it a shape sorta like this:
Now, make a darker brown, and use it for a wing:
use a text a text box with the | and make it into attenas and legs, and add the eye as a small black barrier
Yippeeee
How To Make a Beetle (By Axo27635 )
Ill be making a Mini Beetle, but you can make it however big you desire.
and for this beetle, I’ll be making specifically the Tansy Beetle.
Making The Abdomen’
If you don’t know what the Abdomen is, its the “behind” part of the beetle, here’s a diorama of the parts.
so first, Add a Barrel, it can be any Barrel, though I prefer the one I’m using in the image. (P.S: you can also use a plate but I didn’t know sorry.)
and for the RGB Code I’m using, its:
R:30 G:255 B:0
now, beetles usually have 2 legs on they’re abdomen, so for that, either use Text (for a smaller beetle) or Barriers(for big boi beetles), I’m making a baby beetle, so I’m using text.
should look kinda like a angelfish missing a tail, but, now were almost done with this step, only that we need to make a line separating the two halves of the abdomen, either use text or Barriers just like last time.
make it look exactly like this, and now were done with the Abdomen.
Making the Thorax
this is what connects the Abdomen to the head.
for it, I’m using a Wooden bowl.
it should look like a núke, and also make the bowl look as smoothly connected to the barrel, and the thorax also has 2 more legs, so lets add them,
for the legs I used this emoji rotated[ ┛]
now, that’s it for the Thorax now onto-
How To Make The Head & Antennae
Now for the head, there are two options
a wooden bowl, OR, a circular shield, either works.
but I’m using the bowl.
its a lil darker than the thorax and Abdomen, but the G RGB number was changed to 200 instead of 255.
now where almost done, but it looks kinda weird, cause we didn’t add Antennae.
use text or Barriers for it, just like this.
made the legs a lil bit smaller and pulled back, and well, there you go, also if some of your text of props don’t appear cause they’re blocked, just remember to layer, for the love of god, please know how to layer properly.
ExTrA
here’s some extra stuff that’s not really necessary but kinda cool.
to make your beetle have wings, add some ceramic Plates with the Alpha tweaked a lil.
you can also add eyes if you want, using either the black or white circle.[![]() ,
, ![]() ]
]
and if you wanted to add some pinchers,
use this emoji: ![]()
nice, anyways hoped you enjoyed.
Ideas List
Preppalicious ideas go here:
Stink Bugs
Lice
Fleas
Mosquitos
Silverfish
Ticks
Tarantula hawks
Bed bugs
Termites
Snails
Slugs
Centipede/Millipede
Contributors
@SnoopyOTG -Catepillar
@cinnamonroll_cat -Firefly
@Chilli -Tarantula
@Y0ur_L0cal_Weird0 ![]() -roаch
-roаch ![]()
![]()
@Axo27635 -Beetle
I really do hope you liked my guide! I put a lot of effort into this (and spent, no joke, 4 hours on this). More insects/creepy crawlies coming soon! I’m making this a wiki (so I can add more insects later on) but feel free to ask me if you’d like to edit this and add in one of your own insects that you’ve created.
PLEASE let me know if I missed a step, forgot to add in something, or added something wrong
- It was amazing, has so much detail and thought put into it
- It was alright, a bit too many words to handle at once
- It was mid, probably never gonna use this stuff
- It was bad, there has already been a guide made about this
- Girl these are so simple, how in the world did this take you 4 hours
