Before I start, I am not trying to copy the creators of Gimkit Draw, i’m simply trying to figure out how to recreate it
Materials
56 Triggers
84 Barriers
An ungodly amount of wires
5% Memory, give or take
DISCLAIMER
This guide is a WIP, my recreation is missing several important features, and I might add them in the future
Soooo, here’s the guide
Step 1
You need 3 types of barrier for this project, empty space, colored space, and cursor

Here are the settings for each of them
Empty Space:


Colored Space:


Cursor:


(you don’t have to use k1ll as a channel name, you can use anything)
Step 2
Lay each of these 3 types out in rectangles of 7x4 (you don’t have to use these exact dimensions)

Step 3
Set up the control center. This consists of 2 types of trigger, Cursor Trigger, and Coloring Trigger. Here are the settings for each
Cursor Trigger:


Coloring Trigger:


All of these triggers have to be set out into 2 separate groups of 7x4 like this:

Step 4
Now, this step is EXTREMELY ANNOYING, and requires careful wiring.
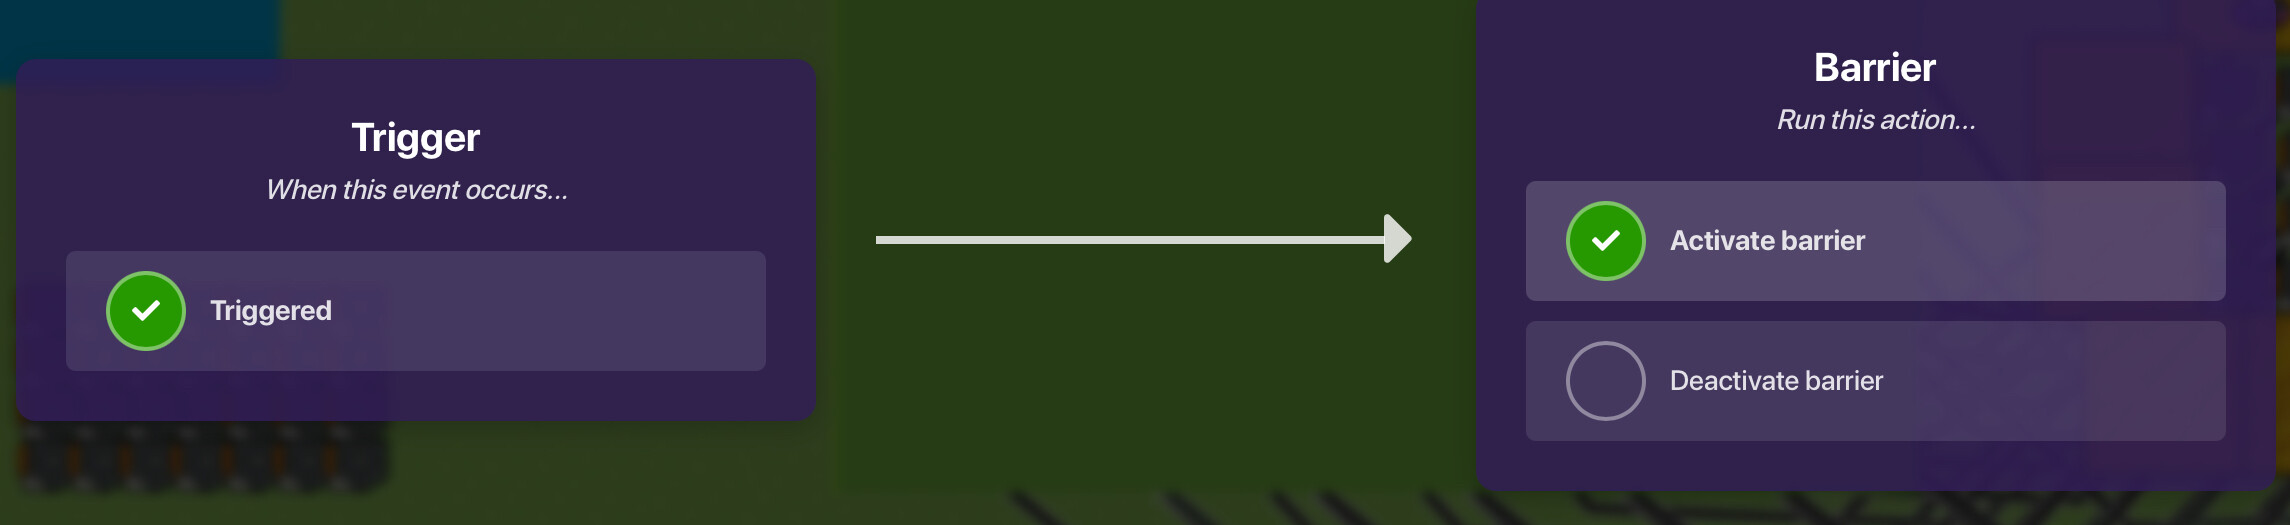
First wire each cursor trigger to its corresponding cursor barrier (top right trigger to top right barrier etc) with these settings

Then do the same for the drawing trigger, but with these settings to the empty barrier:

and these settings to the colored barrier:
Yes, the coloring trigger should have 2 outgoing wires
Step 5
Now, the easy part. You can put all the triggers on top of each other like this, and encase them in barrier

, and all the barriers on top of each other with a camera point wired to a lifecycle

Now, I know this guide is bad, but I tried, and will edit if i made something unclear. RATE
- 1
- 2
- 3
- 4
- 5
- 6
- 7
- 8
- 9
- 10