Intro
'Ello there, 𝕂or here! Welcome to another guide by one of your fellow gimkitters.
So, while I was working on my new game, I decided, why not make a menu? It shouldn’t be too hard, right? And that’s exactly what I found out - it’s easy!
Ahead of time, yes, I searched before I posted. There are only TWO other guides on this topic, one without pictures by @Anonymous and the other with pictures by @JoeTheChicken, which uses a different system than mine (I think it’s more complicated, to be honest). This uses no block code, similar to his system.
Well, let’s not get onto the guide!
Materials
3x zones – depends on how many menu options you want, i’m doing three here
10x text boxes - 3 per menu option, depends on how many you want + the title
1x teleporter
2x popup (2nd is optional)
1x end game (optional)
1x barrier
1x camera point
Guide
Part 1 - Background & Title
First, grab a barrier. Set the alpha (a.k.a. transparency) to 1.00, and make sure it’s a rectangle. Make it MASSIVE as big as you need it to be. Normally, I’d suggest black, because it looks the best – but of course, it’s your choice.
Whenever you add a prop or device to the main menu, make sure you set it to the “above” layer. Keep the barrier on the bottom layer for now.
Add the text in any color you want, whatever suits you. I used orange, AND it might look weird because I also used barrier art (thank you @Heliolatry for the tree!).
’
Part 2 - Menu Options
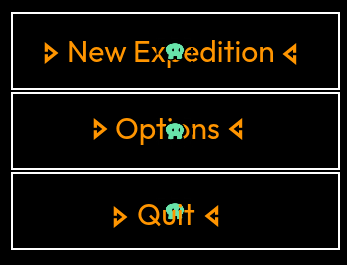
Grab some text (remember, 3 per option), and edit them to say what you want. One could be “Start Game,” another “Options,” and another “Quit,” or whatever you want.
Then, add another text device for each option. Insert these arrows (🢖🢔) and add spaces between them so that they point inwards at each option.
Now, grab some zones. Don’t do anything to them yet, just put them in the similar area as the text.
Here is the example:
Part 3 - Camera Setting
Add a camera point to the center of your title screen. Set it to activate when recieving on gameStartAll and deactivate when recieving on select.
place 2 lifecycles and a relay off to the side.
Set one lifecycle to transmit on gameStart when the game starts. Set the other to transmit on gameStartAll when a player joins late. Set the relay to transmit on gameStartAll as all players when recieving on gameStart.
Part 4 - Placing the Player
Place a spawn pad that only takes effect during the game phase where the first option is on top of the first option. Make sure this is the only game phase spawn pad on your map.
Place barriers around the buttons such that the player can’t leave the button selection zone by simply walking away. Make sure the barriers aren’t visible in-game.
Respawning System
If you have a respawning system in your game, like, if the player dies during the game or has to go back to the start, add a checkpoint to wherever you need it to be, and have it activate on select (we’ll use this later). Now, if you respawn/die, you’ll just respawn back to where you want it to.
Let’s go onto the next section.
Part 5 - Button Selection
Now, we’re onto the mechanics section.
Give each zone these settings:
-
When player enters zone, transmit on
highlight1 -
When player leaves zone, transmit on
unhighlight1
Give each of the arrow texts these settings:
-
Show text when recieving on
highlight1 -
Hide text when recieving on
unhighlight1 -
Content scope
player
For the settings in the menu options past the first one, change 1 to the number of the option. For the arrow texts past the first option change the following setting:
Visible on game start no
Part 6 - Choosing an Option
Place down a counter for each option. Give each of them the following settings:
-
Starting value
1 -
Reset when recieving on
highlight1 -
Count scope
player
For the settings in the counters past the first one, change 1 to the number of the option.
Place down 3 checkers and give them the following settings (Note: DO NOT copy the checkers. Copying checkers causes a bug where they behave as though they don’t exist.):
-
Check when recieving on
select -
When check passes, transmit on
selectOption1 -
Check type
value of property -
Property
highlightedButton -
Comparison
Equal To -
Value
1
For the settings in the checkers past the first one, change 1 to the number of the option.
Create a number property with player scope and a default value of 1 named highlightedButton.
Place a button where the option zones are, and change the size so it’s big enough to encompass all 3 options. Change the following settings:
-
Button message
Select -
When button pressed, transmit on
select -
Visible in-game
no
Finally, move the huge barrier you made at the start to the above layer, but below everything else, and you’re done!


This system will transmit on selectOptionX, with X being the number of the option the player selected.
Optional Design Suggestions
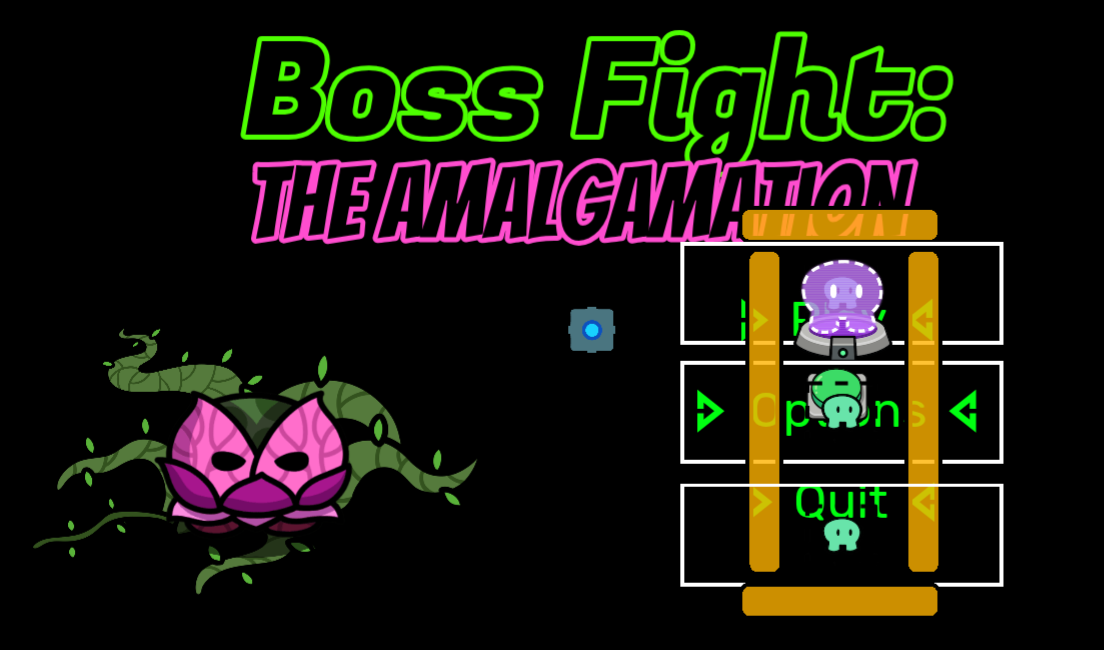
Riff suggested this, and it’s to have specific designs for games. For example, in a space game, you could have a shooting star or a moon in a night sky as a menu background. For maybe winter, you could have small trees, a snow globe or maybe a santa hat.
Outro
Well, that’s all from us, folks! You can thank me (𝕂or) and your local gimgineer, @some_kid. If you need any help with this, just ask us!
Guide Credits
@some_kid
@Kormorant
@RiFF_NickZ for design suggestions
Give this guide a like ![]() if you enjoyed it, and we’ll see you in the next guide!
if you enjoyed it, and we’ll see you in the next guide!
Happy gimkitting (thanks @here_to_help),
Kiddo & Kor