Welcome to my first Community Guide, I am WallyTheDev!
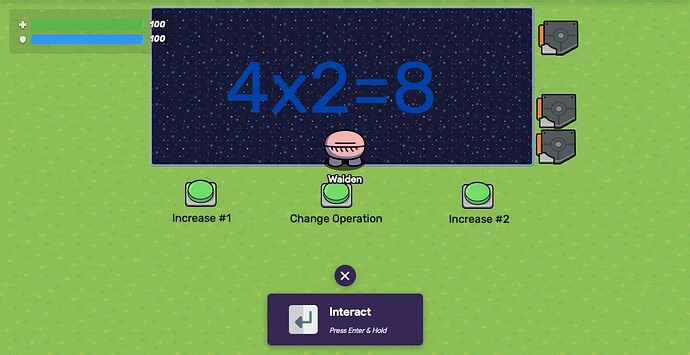
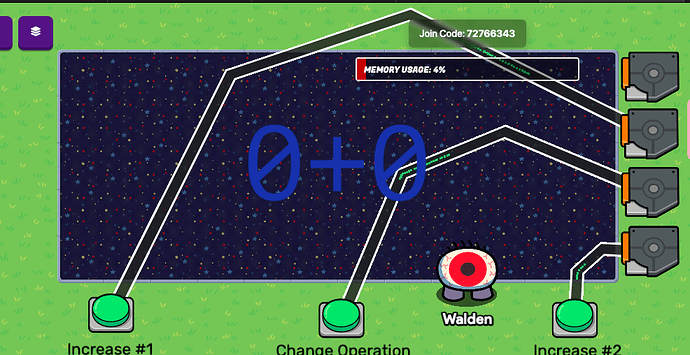
In this tutorial we will be creating this:
Required materials for this build are here (Requires only 2% Memory)
- 4 Triggers
- 1-4 Text
- 3 Buttons
- 3 Properties
- 1 Lifecycle
- 5 Wires Total
Step 1: Text, Background and Buttons
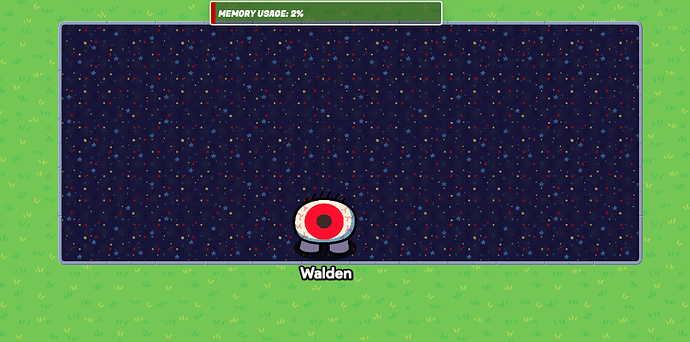
For my background, I used Cinema Carpet Floors because I think it looks close to a computer. It’s up to you for what you use, but you may have to change the color of your text depending.
My “screen” is a 5x12. You should now have something like this:
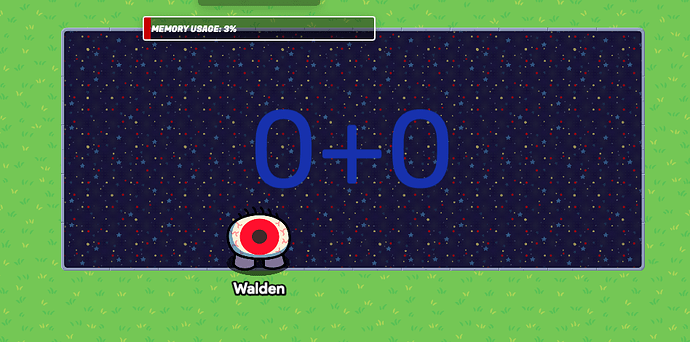
Now, you want to add a Text device in the middle of your screen. For my settings, I used font size 144 and color *dark blue. You should now have something like this (set the text to 0+0 for now)
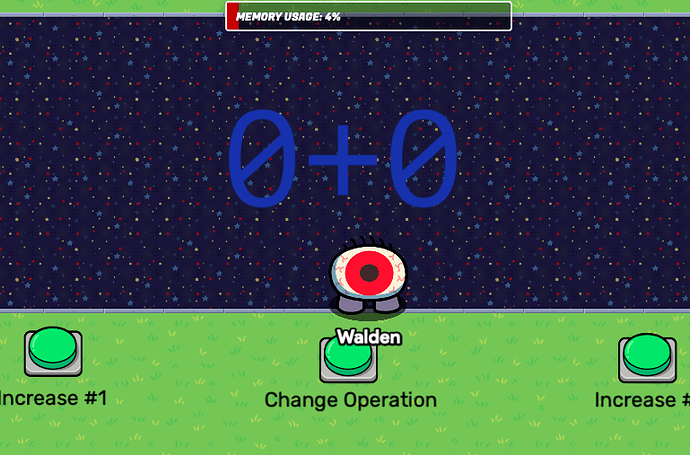
Now, you need to add the three buttons for changing the equation. Add them as shown below:
You are now done with the first step!
Step 2: Triggers, Lifecycle, and Properties
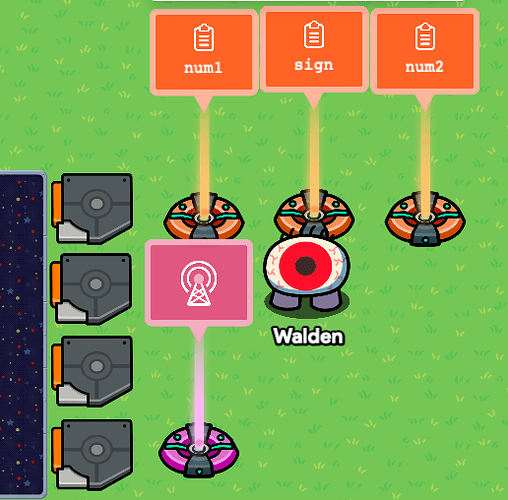
For the next step, we will be setting up our properties, triggers, and lifecycle. All placements do not matter and you can put them pretty much anywhere, but this is my design:
For the properties, create 3. Name them num1, num2, and sign. For the sign property, the type should be text and default “+”. For num1 and 2, they should be type number and default to 0.
(VERY IMPORTANT) set all properties to transmit refreshCalcEquation on property value change
For the lifecycle, make sure it is set to “game start.”
Finally for the triggers, set all of them to not visible and not triggerable by players.
For the top trigger (T4), set trigger when receiving on to refreshCalcEquation (VERY VERY IMPORTANT)
The second step is now done!
Step 3: Simple Wiring
For Wires 1,2 and 3, connect them to the bottom 3 triggers to (button pressed → trigger) like this:
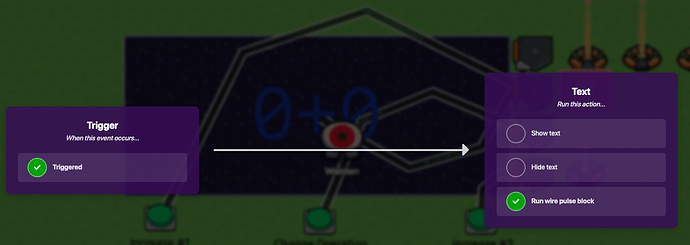
For wire 4, connect the top trigger to your equation text (triggered → run wire pulse block)
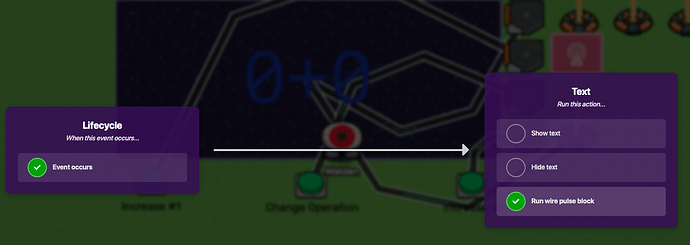
For the final wire (Wire 5), connect the Lifecycle to the text (event occurs → run wire pulse block)
You are now done with wiring! It is now time for the…block code.
Step 4: Blockcode
This is the dreaded section for most GKC’ers, and there’s a good reason why. Follow the steps carefully and it should work.
Step 4.1: Text Wire Pulse Block
Add a new block “on wire pulse” inside your equation text.
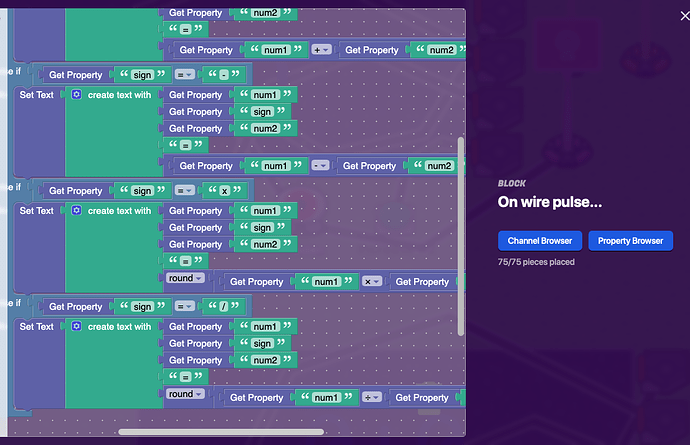
Make an if/else with 3 else ifs. The set text inside of the if statement is going to be pretty much copied over to each else if, but a little will change each time. This is what the others look like:
Make sure to round the division and multiplication, you do not have to but it does help a bit (if you dont have it, 1/3 will be 1.33333333~)
You have completed step 4.1!
Step 4.2: Third Trigger Block
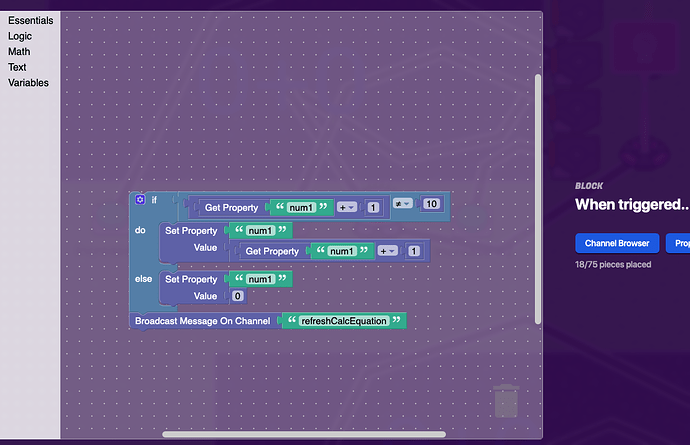
Now, In the third trigger up from the bottom, add this piece of code on trigger:
This is a pretty simple function, it increases the number by 1 If not 9. If 9, it resets back to 0.
You’re almost there!
Step 4.3: First Trigger Block
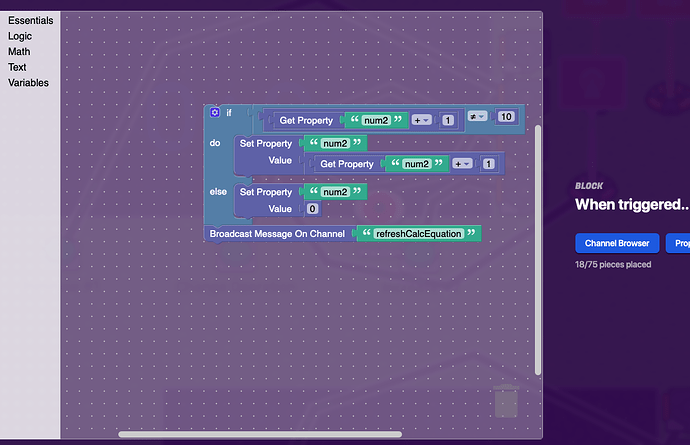
Now, in the first trigger from the bottom, add this piece of code on trigger:
You may notice that this block is very similar to the other block, because it is! The only difference is that instead of property Num1, we use Num2.
Step 4.4: Second Trigger Block (Sign Changer)
For the final step, we add this block of code into the trigger connected to the “Change Operation” button.
That sets the sign to the next one whenever the button is pressed and updates the property accordingly.
Congratulations, you read through the guide and maybe finished!
Now, you should have a simple, working 4-sign, 0-9 calculator in Gimkit!
- 1
- 2
- 3
- 4
- 5
- 6
- 7
- 8
- 9
- 10
- 11
