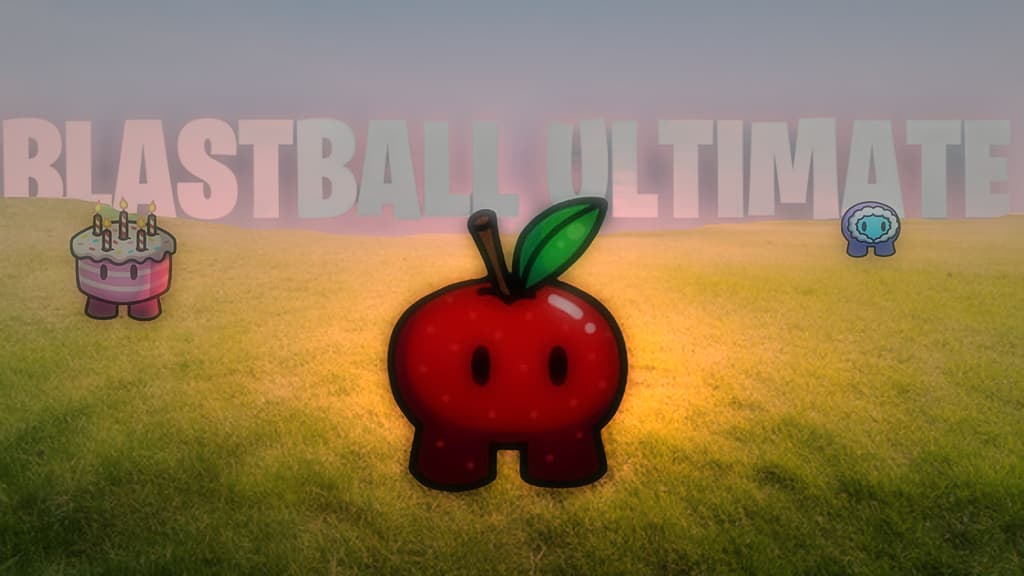
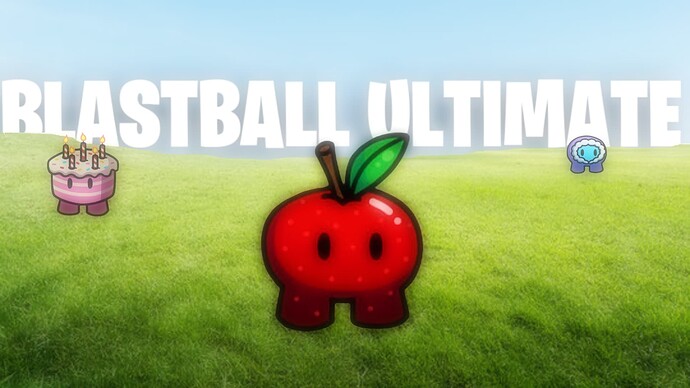
alot of people like to use platforms like Google slides or adobe to make thumbnail. and while I’m not shaming those people, I will teach you the better choice for that. using this simple strategy, I was able to make thumbnails in 30 minutes that are decent looking.
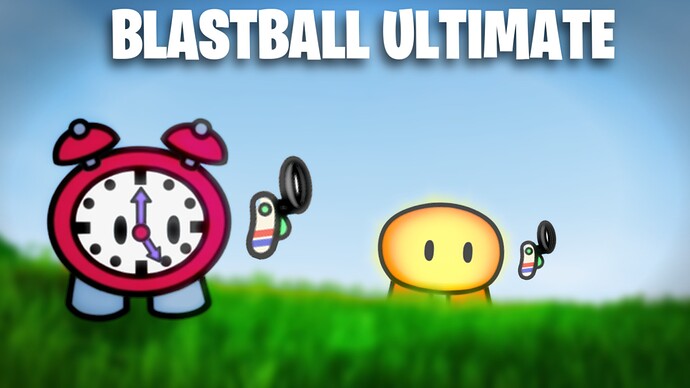
an example:
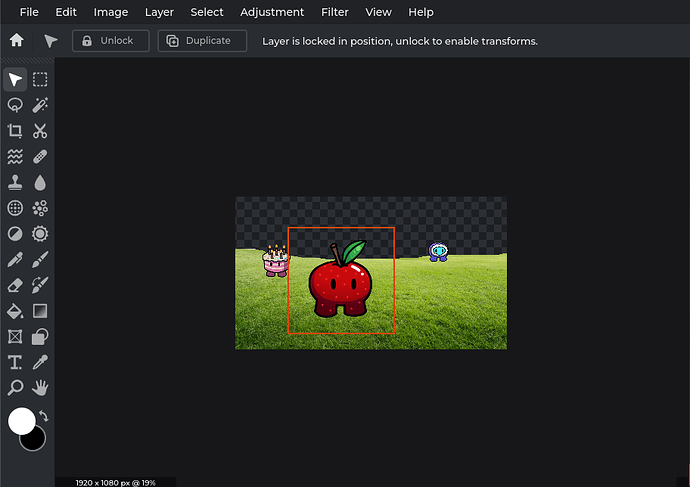
so first, you want to open up Pixlr E.
get a background, and a couple of gimkit skins. if you cant find any images with a transparent background, that’s okay. you can use the AI scissor tool to do that for you.
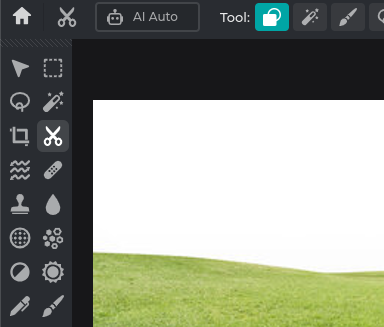
you can add gims anywhere you want. I’m going to put 1 in the front, and 2 in the back.
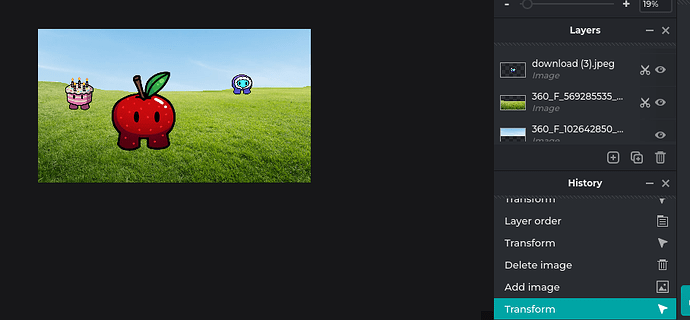
now that that’s out of the way, just import a sky and place it behind the grass.
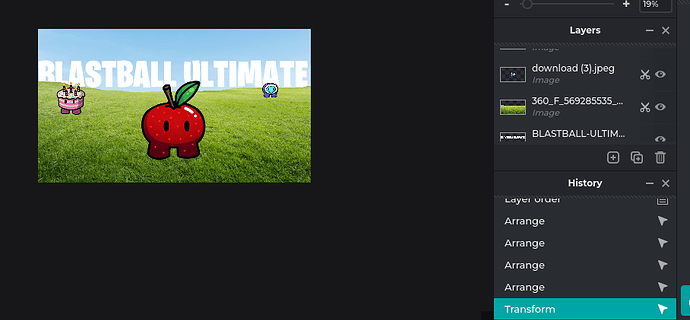
then, add a title. you can use Pixlr E’s text box, or you can go to the site textstudio. they have many fonts that you can use. because I’m too lazy to think up a title for this, I’m going to be adding my title for my old game, blastball 2.
add it anywhere you want, and you can rearrange the gims to see the title better. before you continue, this will be your last time to add individual details to stuff. I’m going to add shadow to the text.
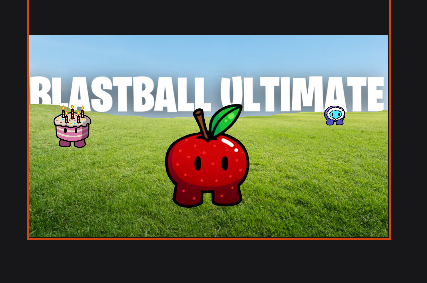
now, go to the top layer and click this:

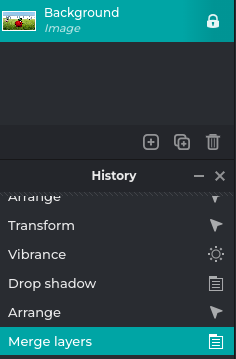
now that you did that, all your layers should be combined into a single image. now what you have to do is make a copy of the image. add whatever effects you want to this copy. then, turn down the opacity, and we are done!
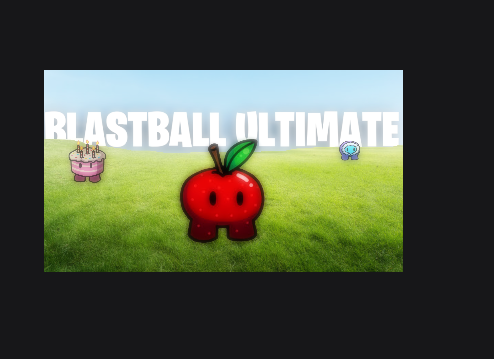
however if you want to add an extra detail to really make it stand out, you can go to clipdrop.co. there is a tool called relight. click it and upload the image. play around with the features. you now have two different options to work with!
final products:
Clipdrop version.
Normal version.
I hope you enjoyed this tutorial. imma go now.
