Hello, you read the title. So! You probably might not know what “Brainfugd,” is, some of you probably do from the Game Geometry Dash! Brainfugd was made by Spu7nix in Geometry dash, and he figured out how to make a coding game, using a CUSTOM code HE MADE… Inside of Geometry Dash…
And. So did I. (But in Gimkit.)
Now of course, there are some limits. Like how my camera Point won’t work because there is two of them.
So for this guide, I’m only gonna include the loading screen to start with unless we get the Camera Point view working..
Let’s get straight into it!
Warnings!
Only @TaigaBiome Is Allowed to edit this.
This guide is very long, complex, and takes a good chunk of time to do.
(P.S. use grid snap, it will really help.)
The Main Screen
What you’ll need.
- LifeCycle
- Camera Point
- x2 Dark Wooden Sign
- x16 Text Display
- x3 Game Overlay
- x16 Wire Repeater
- x2 Dark Gray Stone Barrier (Vertical)
- x2 Wooden Fence (Horizontal)
- The Space (Moving) Floor
- And A huge amount of wires.
First off, place a floor using the Space (Moving) tile to cover the entire view, we will place the Camera Point in the middle here:

(The camera Point is in the middle.)
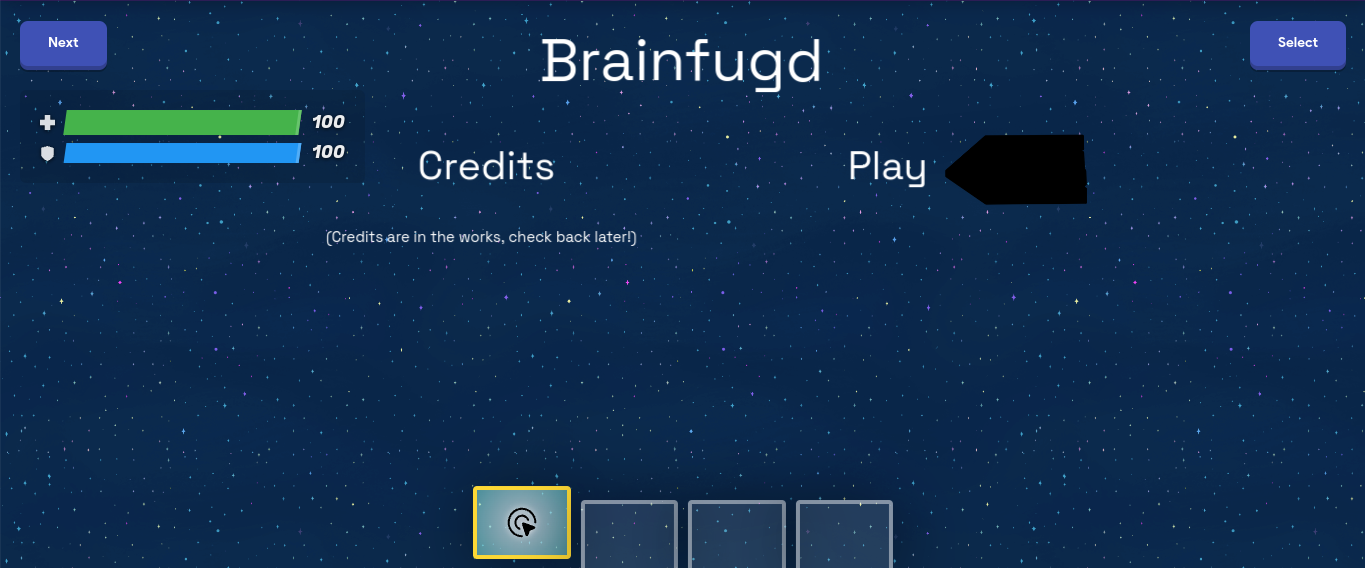
Next, we are going to put the “Credits,” and “Play button,” as well as the “Brainfugd” logo down:

Next we are going to put the “Selectors,” down. (the wooden arrows):

Now, you might be wondering, “Aren’t the arrows supposed to be black?” Yes! click on the arrows and go to “Appearance,” then “Tint,” then set the tint to Black:
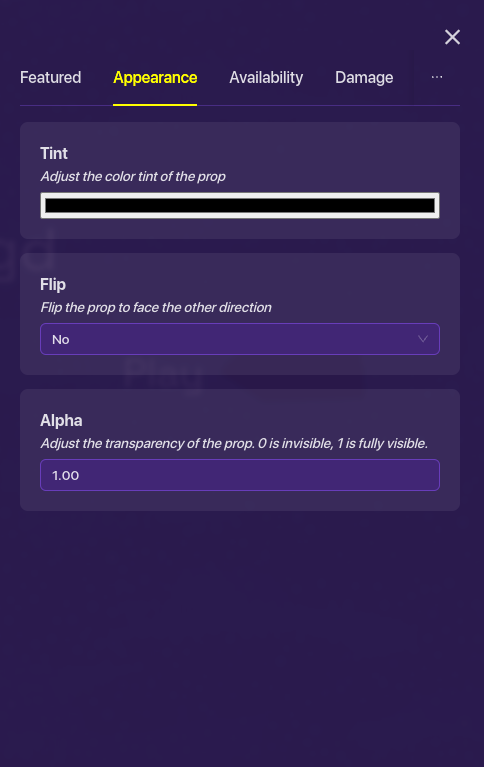
Do that to both of the arrows.
Next we are going to work on the spawn. (MAKE SURE IT IS EXACTLY WHERE YOU SPAWN WHEN STARTING THE GAME!!!)
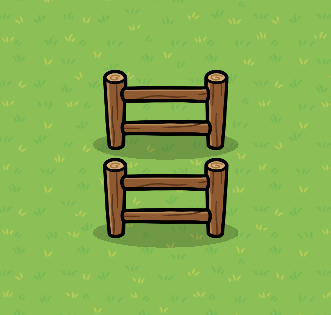
Get two horizontal wooden fences and put them close to each other like this, you should spawn between them:
Then, put two vertical stone walls next to the fences:
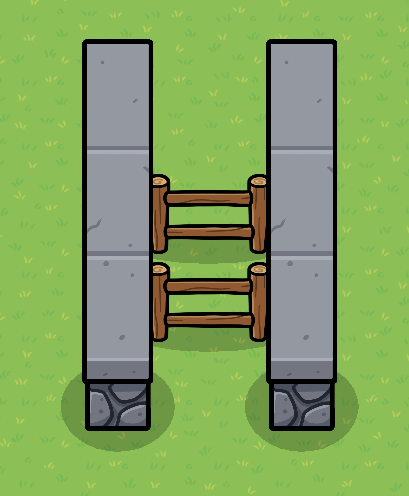
When you spawn in, move around to make sure that you can’t leave the box, if you can leave, keep adjusting until you can’t.
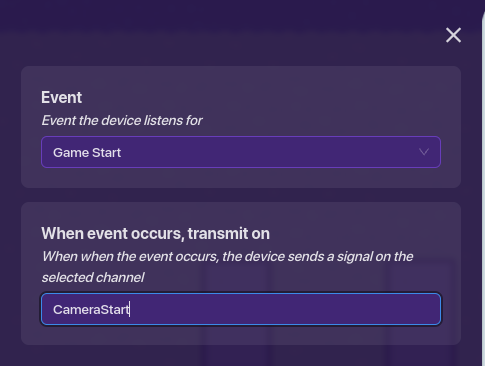
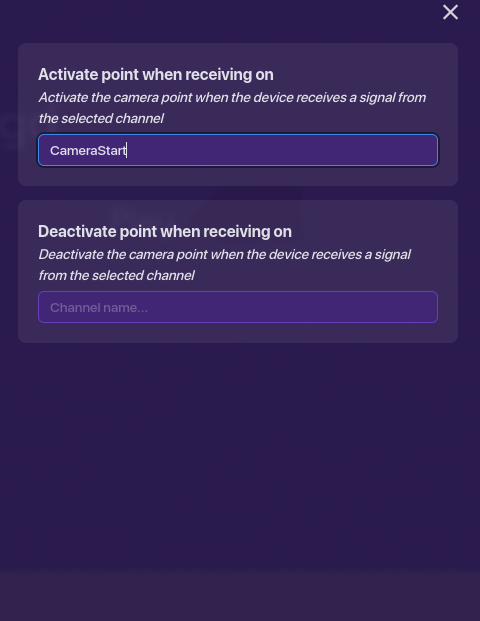
Next, place a lifecycle, and then click on it and there should be an option, “When event occurs, transmit on,” and put in there “CameraStart” (Also make sure that the “Event,” happens on “Game Start”):
Then go to the Camera Point, and there will be an option called “Activate When Receiving On,” put “CameraStart” there:
Next, press “Z” on your keyboard and press on the Lifecycle (This is a shortcut to wiring.) Then go to the Arrow pointing to the “Credits,” and click on that. So now the Lifecycle and the Arrow pointing to the credits should be wired. Press (Event Occurs) → (Hide Prop):

The Gameplay 1/3
Coming up later!
The Gameplay 2/3
Coming up later
The Gameplay 3/3
Coming up later
Credits
Thanks for Spu7nix’s actual Brainfugd and Idea.
Thanks to @Blackhole927 for his AUO to help out behind the scenes.
And thanks to all of y’all!
Final Result for the loading screen:
Conclusion: Why the heck would you even make this. ![]()
UPD. Log: Added more to the loading screen instructions. Also I added what will come up in the future.
V1.3
Added a conclusion.
If you really want to help me with this guide, help me figure out the bug listed above.
Backups are made every edit!