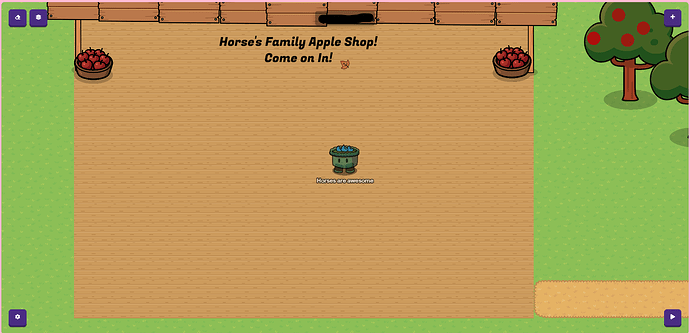
So, this is my first guide, I hope you guys like it!
ALSO sorry for the delay on making this!
What you need:
Wooden Pole (2) & Wooden Pole (1)
Wooden Sign
Tractor
Fruit Basket (Apples) & (Empty)
Barrels
Tables
Basket of Apples
Trees
Barriers
Text
Medieval Pitcher (Red)
Codex Stack
Market Stand (Red)
(If you dont want the Barriers for the apples, use text and put an apple emoji.
THANK YOU to @x.mochi for that!)
Apple Shop
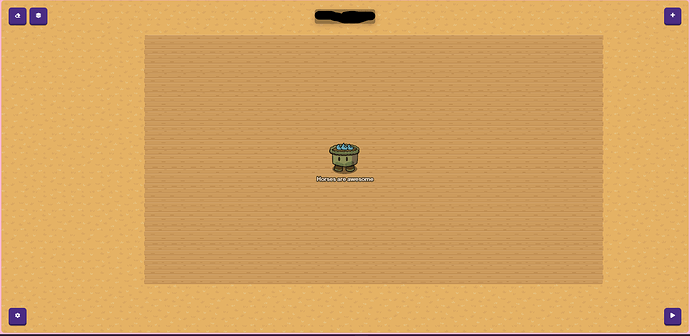
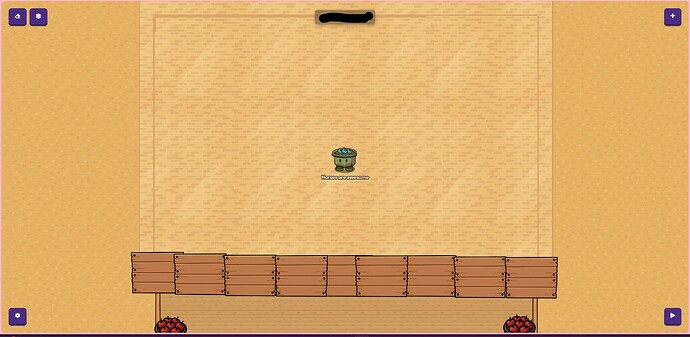
- Step 1: The flooring
Go into your Terrain and click exposed boardwalk.
Detail
I did medium for layer and then the size 4 for the brush size (ALSO make sure its on floor not wall I did that to my self and I spent so long having to redo it from erasing it all, so make SURE it’s not! YOU got THIS!
I did (measured it by the 4 brush size) 6 across and 3 1/4 down.
Step 2 The roof (for the shop)
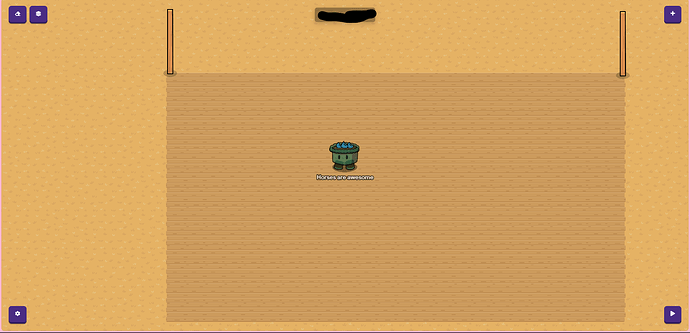
Next go to props and select the wooden pole (2) and place two down on both sides like this:
Then you are going to grab the Dark wooden sign (we will have to work with layers here bear with me!)
Alright so place a dark wooden sign down then go to your layers
(if you did not know here is a picture)

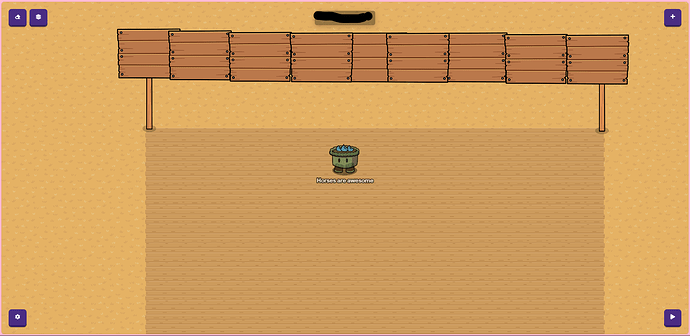
When you click it you will see under Primary, two Wooden poles, and a dark wooden sign. What you are going to do is click the arrow that looks upward on the dark wooden sign, click that until it is at the top of the two wooden poles, in the section called above.
Then place that one sign over the pole on the right, click c to copy that and put them next to each other - some can be on top of each other - until it reaches the left pole. It should look like this:
Step 3 Props and inside!
Alright great job so far!
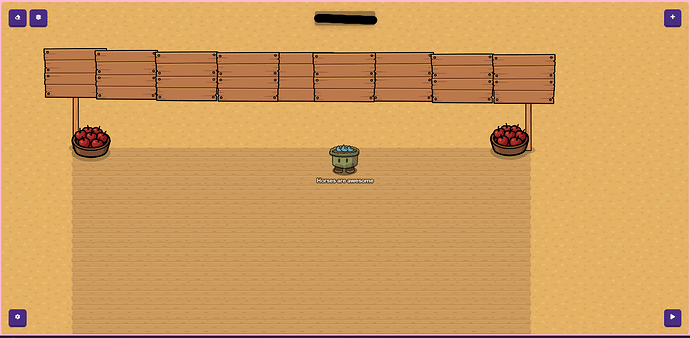
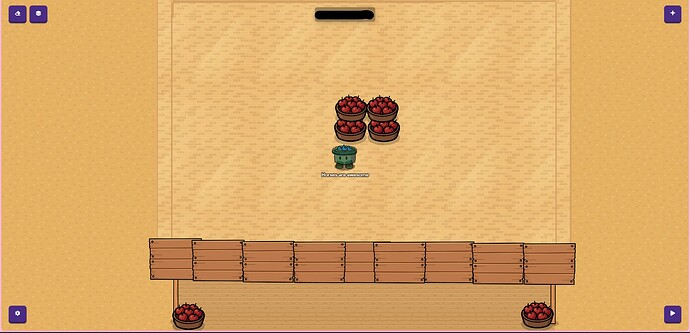
So what we can do is to get two buckets of apple (make them bigger because they are tinny!) and one each next to the pole on the wood floor. Like this:
Alright before we put any decor, lets put down some gym floor, but before we do, you can go ahead and fill in the blank area between the signs and the boardwalk floor (exposed). Alright awesome! Now place the gym floor down on the opposite side of the boardwalk floor. Counting in the 4 brush again across is 6 1/2 and length is 4! Put the walls either right outside the floor or it can be right on the boarder of the floor. Your choice!
Ok again, bear with me we are doing some layers again for the decor!
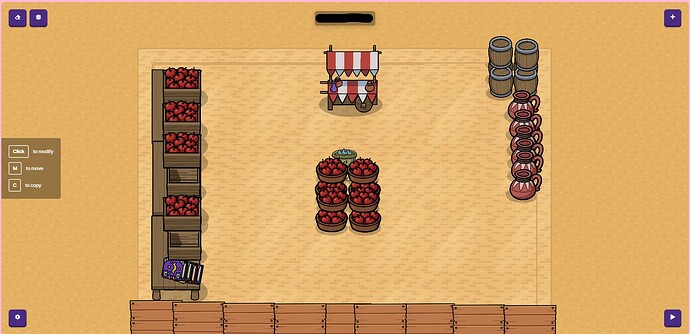
Alright, so you will need 4 basket of apples (make them bigger or copy them from the previous ones). The first two place down in the center of the “apple shop” and then the other two place them on the side so you can do what you need to do. Go to layers, then go to every apple basket on there until the one of the ones on the side light up. Next you are going to do what you did before with the wooden signs. Arow facing up -> going all the way up to the category "above" Repeat for the other one.
Next, grab those two baskets on the side and place them on top of, but also far enough back it looks like there is something holding them in the back. It should look like this:
You can then copy those ones and place them forward so they look like this (OPTIONAL):
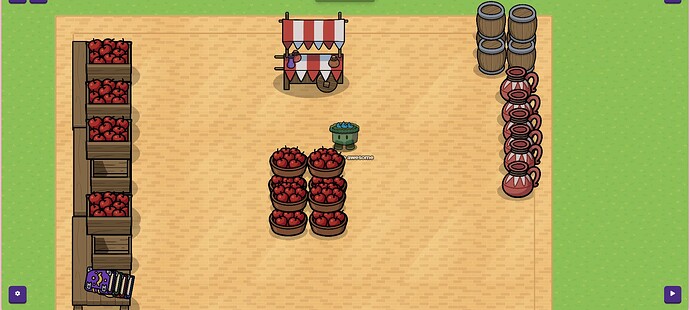
OK, Now that that’s done, more decor!! Do whatever you like, i will show you mine in case you want to replicate!
ALSO make sure to add texts to you’re shop!! (for example: Horse Family’s Apple Farm)
And there is your Apple Shop!
The FARM!
Alright! Now that you finished the Apple shop, we can begin with the actual apple orchard/farm!
Step 1 The Orchard (grass and trees first!)
Alright now we have to start with the green grass for the trees! Place down a LOT of grass - i recomend using 4 brush size and middle layer -! I mean a lot, you want to have a big enough orchard and an area to have activities!
-i’ll be back! i have to finish all this grass!-
30 minutes later
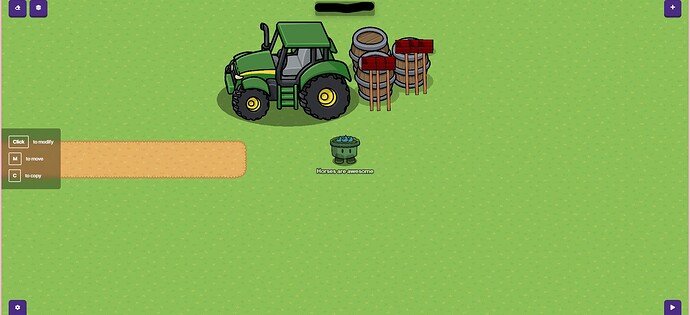
Alright Now that that’s done, let’s make a path to the area where you get the bags and fruit picking tools! I am using dried grass since orchards usually have that.
Here are some pictures!
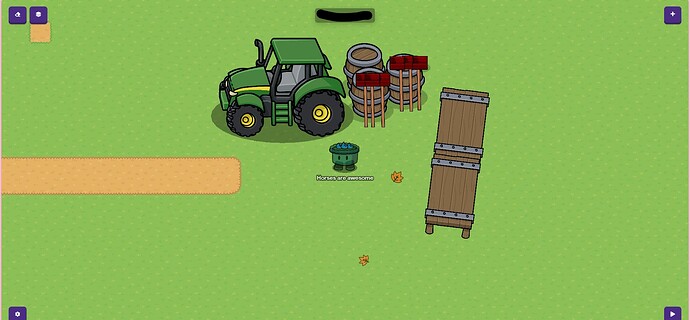
As you can see in the picture above, I added a tractor. Now for the tools and barn area! Almost done and then we get to decorate!
So you will want to add three of the Barrels that are covered with the metal rims. Place them down behind the tractor and size them up! (click the barrel, then click change size!) Alright, now we can make the apple pickers! This was honestly not bad, even if it does include layering (Yes i know, im sorry! But the end product! Focus on that!)
Alright now that you have placed the barrels down like this:
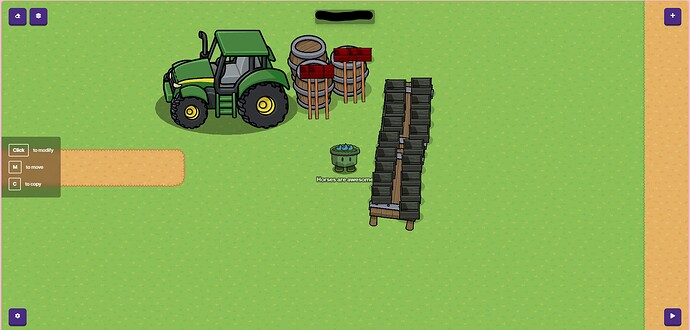
Now go to props, then click on wooden pole 1 and you will have to make it smaller then place three per front barrel (not the one behind them). Then you are going to get the empty basket, make it smaller. NOW here is something we haven’t done yet, on the right hand side when you click on it, you should see Featured, Appearance, Availability and Damage. Click on appearance and make it a bright red color. Then go to layers and click the up arrow when it says “Fruit box (empty)”, until it goes to the above section. Now click c with your mouse hovering over it and place it on top of the wooden poles to look the the pickers!
(OPTIONAL: On one or two of them you can have the fruit box (apples) to look like someone was picking!)
It should look like this:
Alright, now we need the box or bag they will carry them in! Go to props, search table and grab the Wooden Table (Vertical), it can have the metal lining or not, your choice! Alright down size it a bit, then click c to copy and put it in front of it so it looks like this:
Next, the bags/boxes! Go to props search fruit box (empty) and then downsize, appearance and make it either white or something lighter, but still has a color to it!
Layer time! You know what to do! Go to layer, bump it up to above, and copy copy onto the table so you have a neat row of two!
Like this:
Apple Tree Time!
Alright last step!!
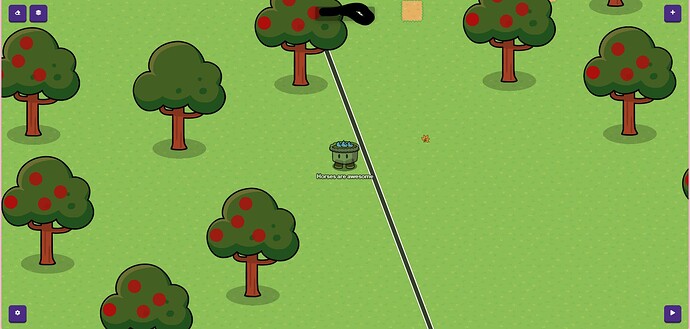
Go to props, trees and grab a green tree. Then go to appearance and make it have a red-ish tint. Then make it bigger. I know that they don’t have apple trees or single apples so you might be thinking "How in the world is @Horses_Are_Awesome going to do this? Well, lets find out!
Now go to devices, barriers. And make it a circle, not a square. If it’s to be an apple it has to be red, so go to appearance and make it a darker red.
(If you don’t want to do it with barriers, then go to devices, text and add an apple emoji into in and, TADA! But, you still have to do layers!)
Then make it smaller, and now the moment we have been waiting for LAYERS! (I just figgured this out, sorry! SILLY ME!) I found a short-cut! Go to your layers and when you see the barrier, there are three dots next to it, click and click move to above layer. Saves a lot of time! Now copy the barrier and place them on a tree. Then drag your mouse to highlight the tree and “Apples” then click c and start placing them all over and you can copy groups as long as you highlight. It should in the end look like this:
Great job, you made it through!!
Hope you liked it! I enjoyed doing it! ![]()
How Hard Was It?
- 1/10
- 2/10
- 3/10
- 4/10
- 5/10
- 6/10
- 7/10
- 8/10
- 9/10
- 10/10
