The only reason why I’m making this guide is for people who want to add “wires” to their item spawner to show an overlay or something like that, so let’s get into it
Step 1 Devices
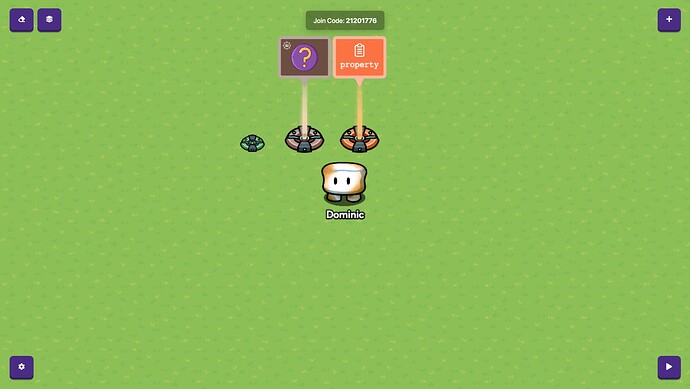
The devices needed below are: Item spawner, Inventory Item Manager, Property, and whatever you’re adding wires to
Step 2 Device Settings
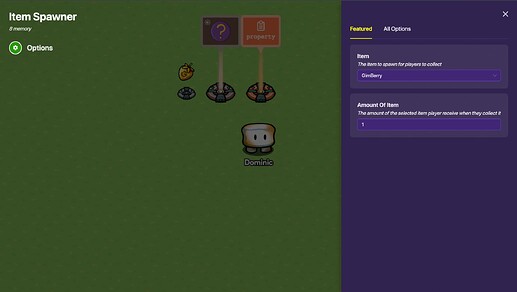
In the item spawner, set the item for whatever you want, in my example, I’ll be using a GimBerry
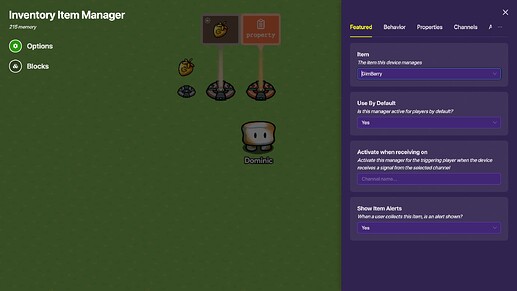
Next, the inventory item manager, set the item to the item you’re using, (mine will be GimBerry)
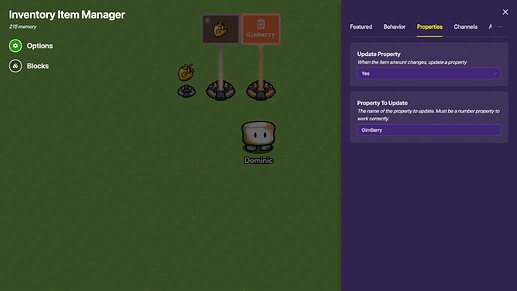
and now, in the properties tab, make it update on property, best to make the name of your property the item you’re using
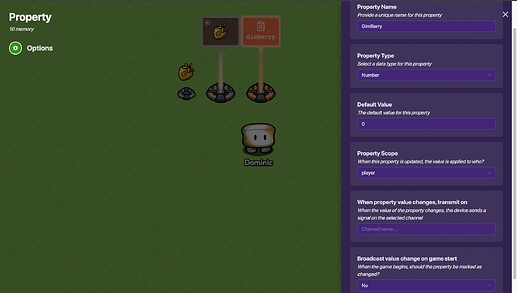
Now, name the property to the property name you used in the manager, and make the property a number property, and make sure it’s player scoped, that is one of the most important parts of this guide
Step 3 Wires
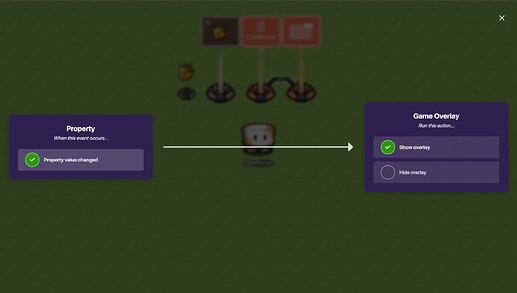
The wires are really simple, and if you want, you could use channels, but, wire the property to the overlay, (or whatever you are using to popup when item collected) and when property changed ------> show overlay, and make sure it’s player scoped!
when setting the affects of the overlay button being pressed, make sure to add a wire repeater to
and back the overlay hiding the overlay, and best to have a 0.1 trigger delay.
Step 4 Optional Overlay Settings
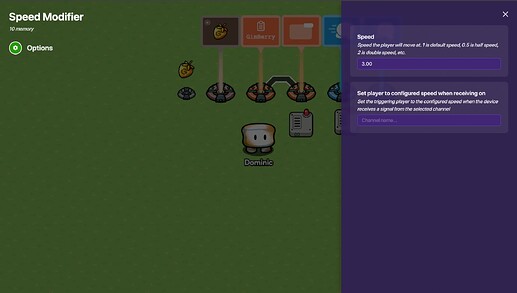
when setting the settings in the overlay, you could have the overlay button give speed for 30 seconds, and remember, this is an example, so it doesn’t have to be exactly like this one. So, when adding the speed modifier, add an extra at the normal speed. This is because we will add a trigger delay of however long you want the speed to last, soooooooooooo
Step 3
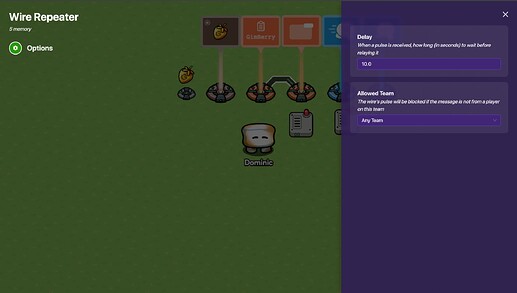
after the wire repeater receives signal, set player to the configured speed of 1.00
- 0/5⬜️
- 1/5🟩
- 2/5🟨
- 3/5🟧
- 4/5🟧
- 5/5🟥
- 6/5☠️
And that’s it for this guide, thank you for reading, and, this is my first guide, so, if i did annnyyyyyything wrong, please tell me
