Credit to wiki [📜] The Ultimate Guide to Map Options!
Do not edit this Wiki! I made this a wiki so I have longer editing time just in case there are new map options if there won’t be any more tell me. ( @chrysostom is helping too. )
There has been some stuff added to the map options, so I wanted to make one of my own current ones.
Questions to be answered:
- Where are the map options?
- What are the map options useful for?
- What all is in the map options?
When creating a map, the map options are always at the bottom left-hand corner of your screen. ( such as the image shown below )
when you click on the map options, it will have a whole list of my options that you can edit and look at.
Map options can be useful because they allow you to add some contraptions to your maps such as grid snap or changing the tone of music. These map options allow you to choose different things for your maps if you want them edited. This also allows you a place to be able to publish your maps and a place for documentation and help.
" What all is in the map option section anyway? " You might ask… I am going to help you with that!
Map option section

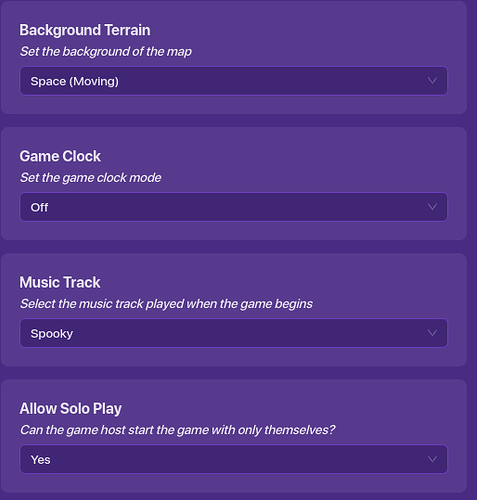
The first thing on there you might see is this:
The background terrain section allows you to change the terrain of the background you want. This allows you to make the whole floor one terrain instead of having to go through all the work to cover the whole map with just one terrain. When you can change it here! Next is the game clock. You can make the clock go up or down by choosing one of the options. This allows you to see the clock at the top of your screen during the game knowing how long you have spent on it or how long you need to spend on it. When you click on my countdown section, there will be a thing that says countdown duration knowing how long in minutes the map will last. The next section is the music track. The music track allows you to control the music that is played during the time that the people are playing the game. Options include none, spy, creative funk, jazz club, peaceful guitar, epic battle, hip hop - neon, hip hop-movement, rock band, spooky, and Wild West. These different soundtracks give you full control of what music is played during the time players are playing. (I like spooky ) last but not least, the section that says allow solo play. This little section here allows the game holders to start the game with only themselves in the game, if you want them to have more people, click no. If you want them to start the game by themselves, click yes.
Teams section

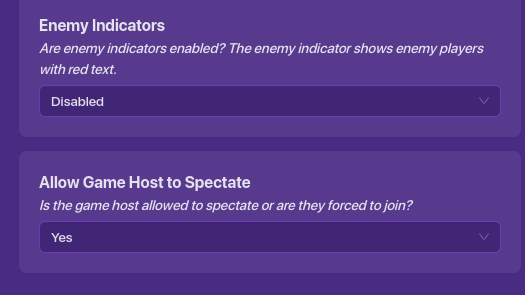
The first section is the teams. You can select the team mode by clicking on the thing that says free for all. This allows you to have full control of what the teams should look like. If you want no teams? Click Free For All. The next section is the late players join spectators. As you can see in the instructions, " for players that join after the game has started should they join us spectators? " This means that whenever the people join late into the game that makes them spectators and won’t be able to play the game. They just spectate people. If you don’t want this to happen click no. If you do want this to happen click yes. For the ally indicators and enemy indicators section, this allows you to have red around the players that aren’t your teammates or green around the players that are. The next section is, " allow the game host to spectate " This allows you to take control of whether the host can expect their players or if they are forced to join. If you want them to be able to spectate click yes. If you don’t want them to and you make them join again click no.
Health and shield section
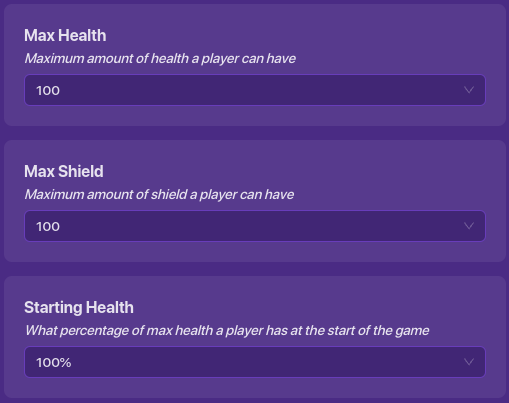
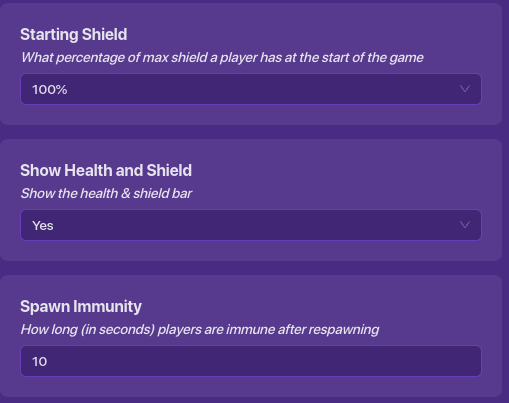

Next, you have the health & shield section. The first section is the max health and the max shield. This allows you to have full control of how much health and shield the player can start with at the beginning of the game. You can have it in any state, but they can’t be a number above 5,000. Next is the starting health in the starting shield. This allows you to manage what percent amount of the shield in health you want them to start with. Like if I were to have 100 shields, the starting shield person would make me manage to be able to have whatever percent of that number I can have. Next is the show Health and Shield. This allows the player to be able to see the amount of health and show they have on their screen. If you don’t want that click no. If you do click yes. next section is the spawn immunity. This allows them to have as much immunity as they can before they can be able to get damaged when in a game. PvP stands for player versus player. If you want them to be able to damage each other during the game click yes. If you don’t want them to, click no.
Score Section
The fourth option in Map option is the score section

here you can choose if you use a leaderboard, what kind of score to track, and more.
The first option is simple: Leaderboard, yes or no?

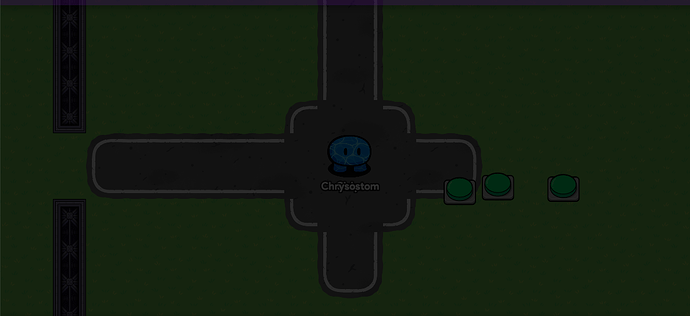
if you choose yes then in the game you will have this:
if you press it it will show the score of each team or player

the next option asks us what we want the score to be:
knockouts? an item? or a property?

The default tracks knockouts (note: player knockouts not sentries)
But you can set it to track an item by selecting “amount of specific item”

after selecting this, you get to track a specific item (default: cash)
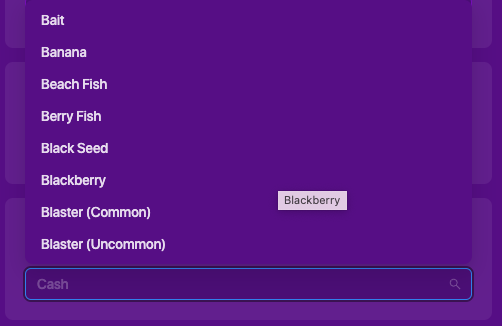
You can also select: “property”

(Note that if you want the leaderboard to track a property, the property must be set to number. )
There will then be a section asking for the name of the property you want to track:

put in the name of the property there
The next option is Score Name:

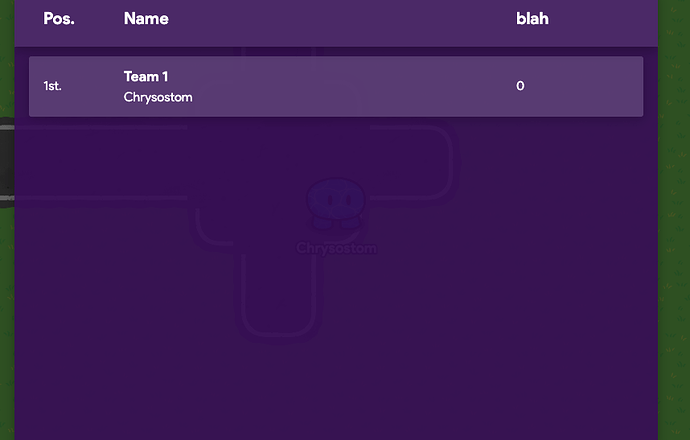
if i put in “blah”, then in the game the leaderboard will be:
The next one is also very simple.
It asks you if you want to sort the leaderboard by player or by team:

If you set it to “player”, it will look like this:
but if you set it to “team”, it will look like this:
(if you set the game to teams you can still have the leaderboard be “players”)
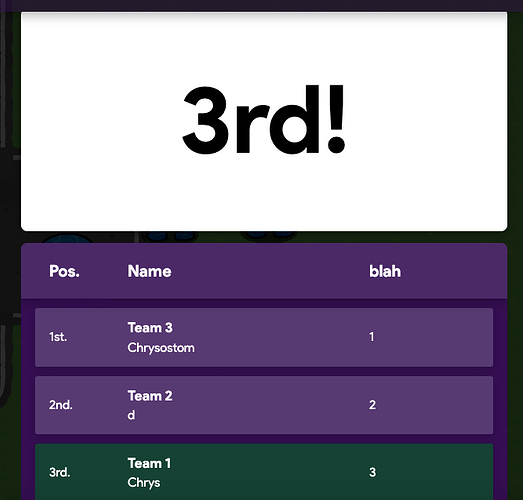
Next up is if you want the leaderboard to be set to high-low, or low-high:
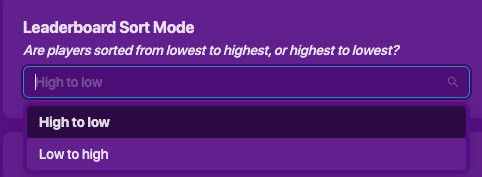
this is high to low:
This is low to high:
The final 2 are about the end game screen:
this is a normal one
this one has those setting turned off:
Will add more! ![]()
Leo_flowers & chrysostom ![]()

