![]() How to make a simple, easily expandable banner dialogue system!
How to make a simple, easily expandable banner dialogue system!
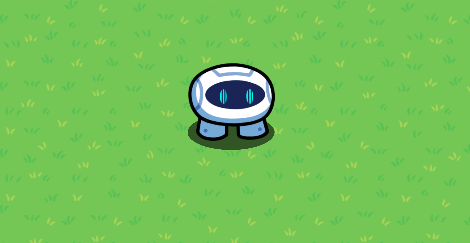
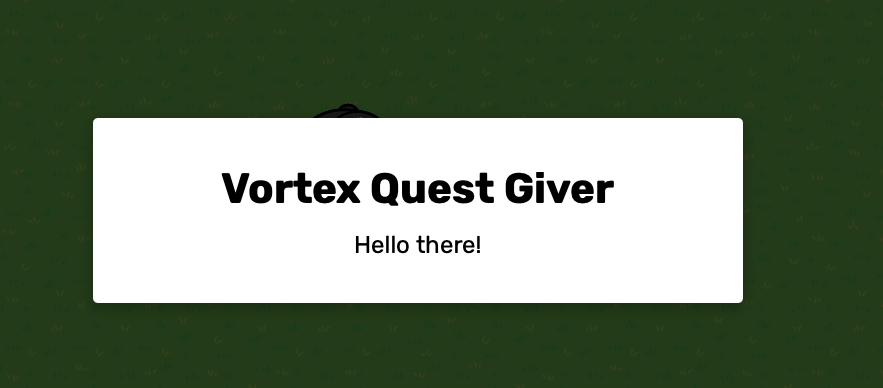
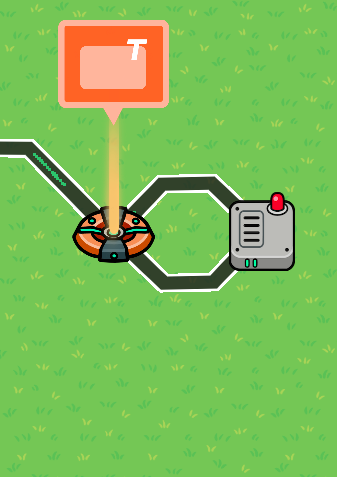
This is what you will be making:

You can easily add more dialogue and secrets!
For now, let’s get started!
Required Materials:
- 1+ Popup(s)
- 1+ Wire Repeater(s)
- 1 Zone
- 1 Optional Waypoint/Sentry
Optional Step 0: Sentry/Waypoint

In this section we will make a sentry that won’t attack players (game must be cooperative/Team 1 all) and a waypoint to tell where it is.
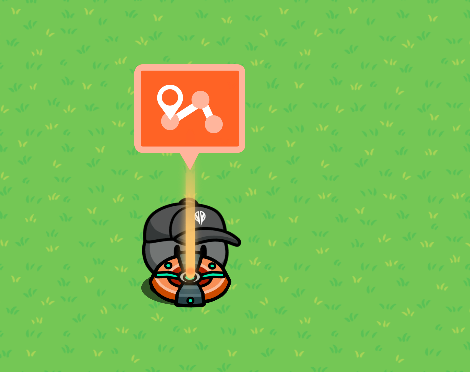
Add a new sentry, but you may notice that it doesn’t have a skin and it will attack you. For my sentry, I used the Vortex Agent skin, Legendary PML (item doesn’t matter, there’s no way to remove it) and make sure to set team to Team 1!

Now, for the waypoint, go to Devices and slap a waypoint on top of your sentry. It should look something like this:
For the properties of the waypoint, I used these (you can customize any way)

This is what it should look like when complete!
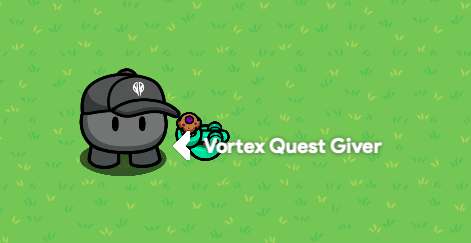
Now, you are ready for step 2!
Step 1 - Zone/Initial Text
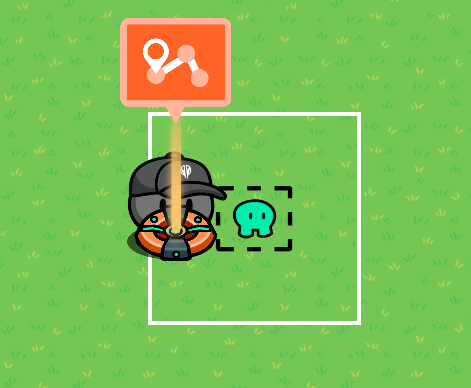
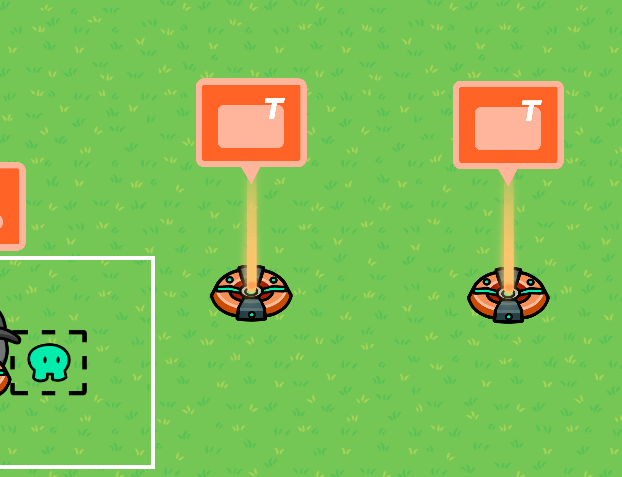
Firstly on this step, we will set up a zone in front of where the sentry is facing (for realism and access). Try to add it about 1 tile to the front.
This is what it looks like for me:
Now, I think banner looks better for dialogue. In the showcase picture In the beginning, that is a Banner, but so you can decide so I will show both banner and modal here.
Modal (Centered,Not Full):
Banner (Centered Bottom, Full):

For the purpose of this tutorial I will use banners. Back to the main tutorial!
For each possible dialogue output, you will need 1 Popup.
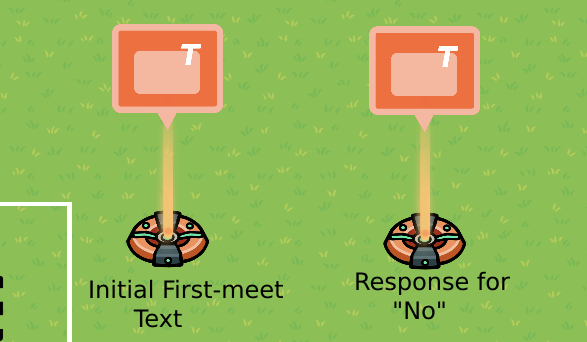
This is my setup, I have one popup for when the player decides to not say yes to the sentry and the first initial one. For example, it might be like this:
Initial first-meet: Hi, traveler! Could you do something for me? (Option 1: Yes, Option 2: No, which would redirect to the no response popup)
“No” response: Oh, that’s alright! (Option 1: Ok which closes popup)
Call to Actions
In the popup settings, you can edit the “Call to Actions” which are the responses that you can choose in-game. The top button is CtA1 and the bottom is CtA2.
Now, all you need to do is set up all of the dialogue you want! (wiring is in next section!)
Step 2: Wires/Wire Repeaters
For this section, it will not be a direct walkthrough but a modular system so you can easily expand.
Call to Action Connection
Here, I have my initial meet and no response. Since my no response is CtA2, the wire would connect like this:
You can apply the same thing to connecting initial meet to a yes response, using CtA1.
Closing with a Button
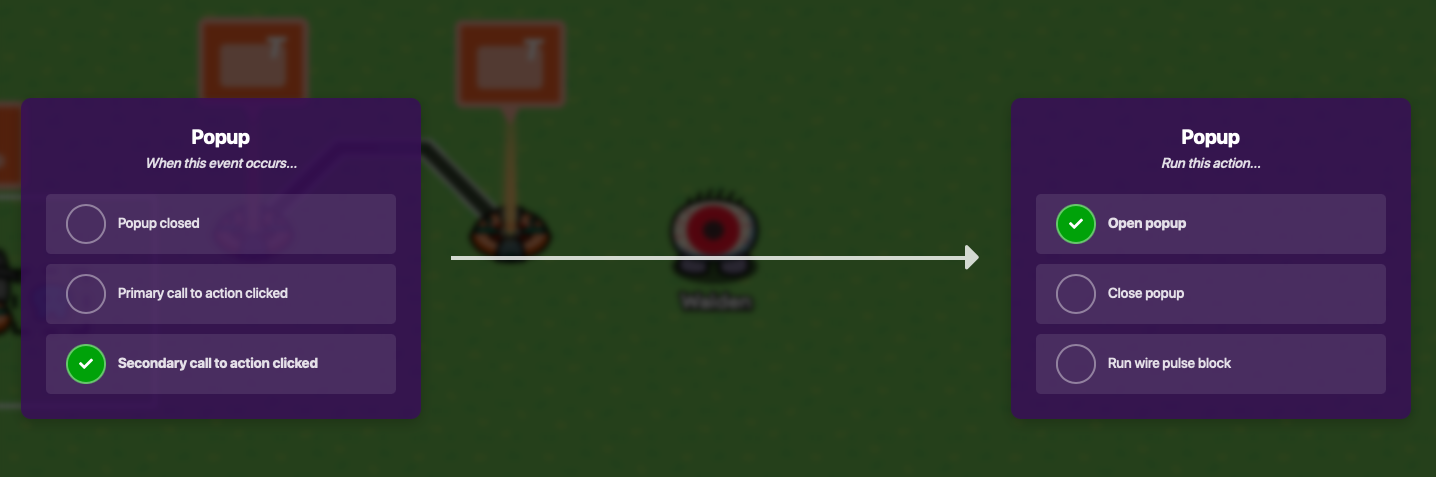
To close a popup on CtA2 (for example) you would make a setup like this with a wire repeater:
The 2 connections are:
(Secondary call to action clicked → repeat wire pulse)
(on wire pulse → close popup)
Now, you should be able to create your own system easily! There are probably better ways to do this than I did, but this is my first time coming back to GKC in 3 months so any constructive feedback is helpful.
Whether you made this or not, I hope it was a helpful guide to understanding simple dialogue in GKC!
- 1/2
- 3/4
- 5/6
- 7/8
- 9/10
- 11