The basis of all Gimkit maps is centered around Vending Machines. Why? Well, let’s explore four key things that you need to know.
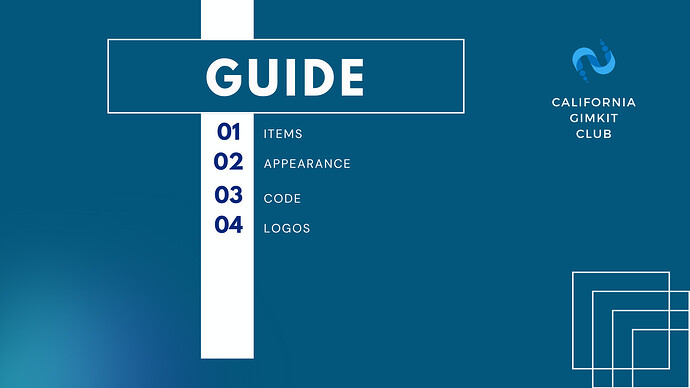
- To get started, you should begin by placing a vending machine. This is where everything begins. Make sure to set an item that can be purchased and another item that can be bought. You can also connect wires and other devices if necessary. It’s important to understand that we won’t be covering any channels or discussing how to connect the device in this tutorial.
- In the appearance tab, you have the option to change the colors. Yes, that’s right! You can tweak the colors according to your preferences. Additionally, you can also modify the tag and other pop-up messages. It’s a neat feature that allows you to personalize your Gimkit experience.
- Now, let’s talk about the exciting part - connecting a vending machine. This feature not only enables you to unlock barriers but also allows you to create so much more. It’s where the magic happens! By using wires, you can establish connections with barriers, purchase doors, and even make props disappear or appear. The possibilities are endless!
- Lastly, let’s discuss changing the logo of the messages. You can achieve this by utilizing the images provided by Gimkit. Unfortunately, as of May 31, 2023, it’s not possible to upload your own images. But don’t worry! You can still make your messages stand out by selecting from the available options. For detailed guidelines, make sure to refer to the documentation guidelines located in the Gimkit sidebar menu while in editing mode.
And there you have it! These are the essential elements you need to know when working with Gimkit maps. Have fun exploring and creating your own unique gaming experiences!
