Hello Forumers!
Today I’ll be showing you guys how to make your own custom gims . . . completely in GKC! I’ve played a lot of maps in my time, and I’ve been quite disappointed in the blandness and simplicity of the cosmetics in everyone’s maps (especially game recreations). It frustrates me to see everyone’s amazing looking PFP’s, only to see their feeble attempts to incorporate them into their maps. So, I’m going to show you how to do so with no regard for the map’s memory! Now, without further ado, Let’s dive right in!
STEPS (in order)
Draw your plan
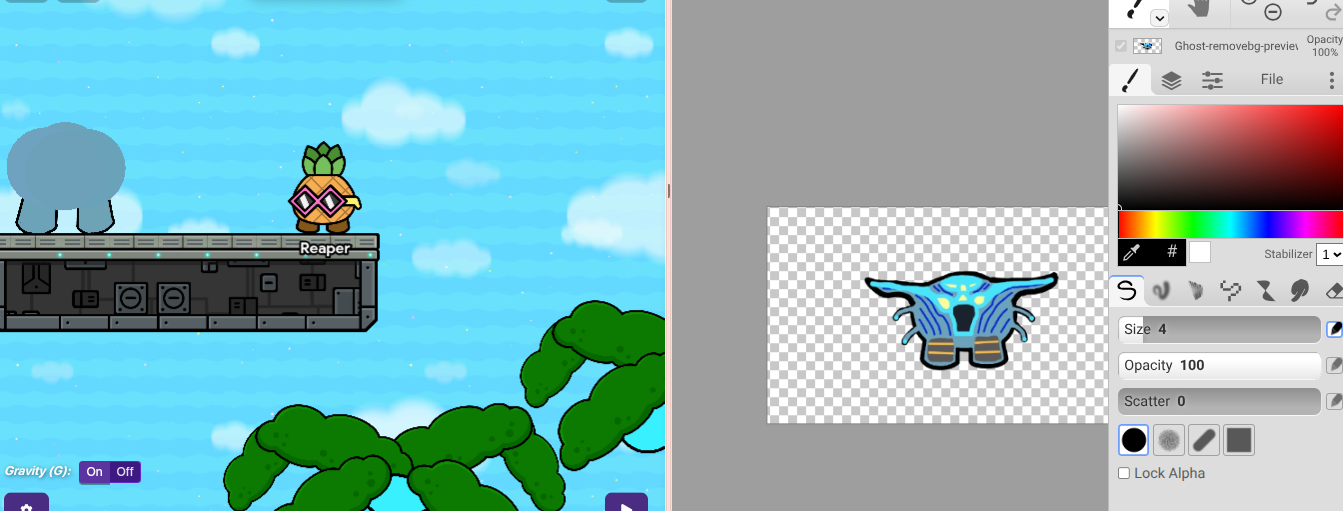
Before we head to our map, we need to make a rough draft. I’d recomend using Kleki.com for doing this. you can also use this gim template to start off

Then, you can draw and add anything you want to it! Here’s the example I’ll be using for this guide

lay the frame
Now that we have our plan, It’s time to get started on the gim. to start, place a sentry (robot) as a frame, and configure it to the desired size. to show detail, I’m going to make mine scaled up at 2.0. to change the size, go to all options, and It should be pretty easy to find.
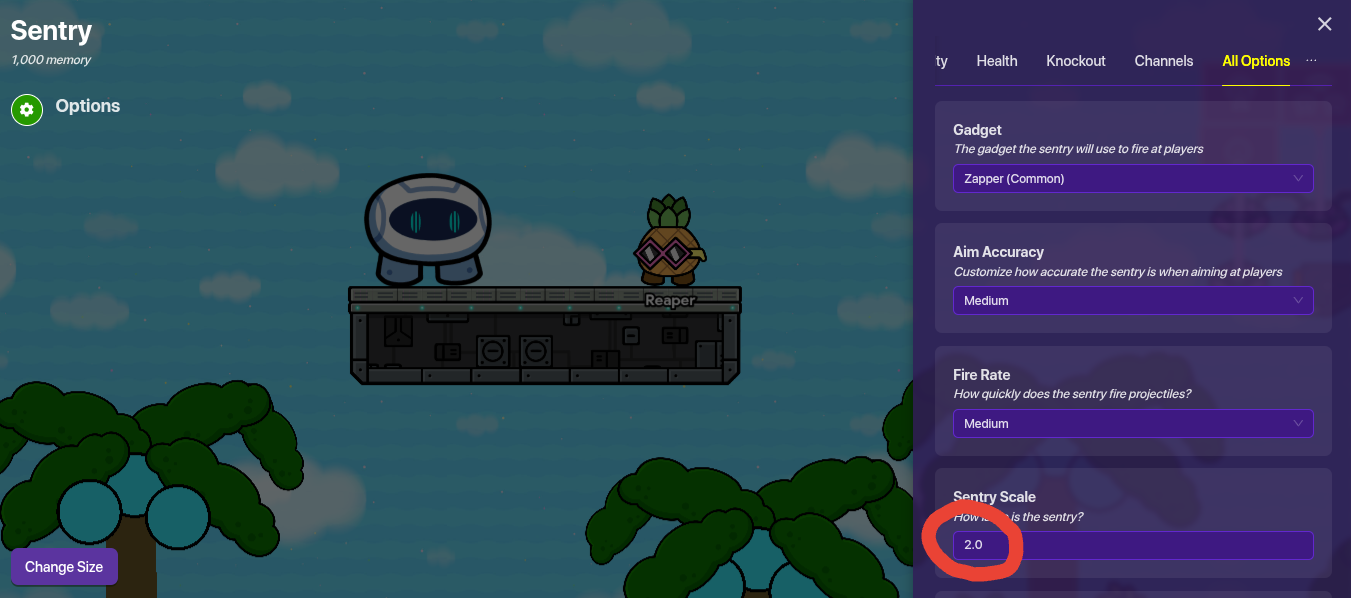
The sentry robot is just a placeholder for the gim once we finish. It acts as a frame and our workspace. We will delete it near the end of construction.
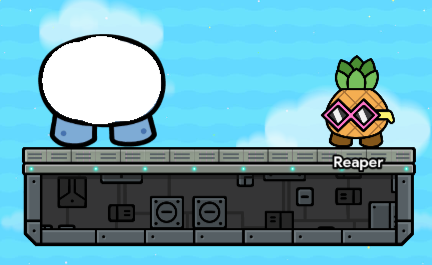
Replicating the sentry
Now what you’ll need to do is open the devices sidebar, and pull out a barrier and a custom shape. Set both to the primary/between layer for now. make the barriers a white circle, then scale it down so It’s half the size of the sentry’s torso. Also set the visibility to 1, and remove the border. Copy it 3 times, then arrange the four pieces to cover up the sentry like so:
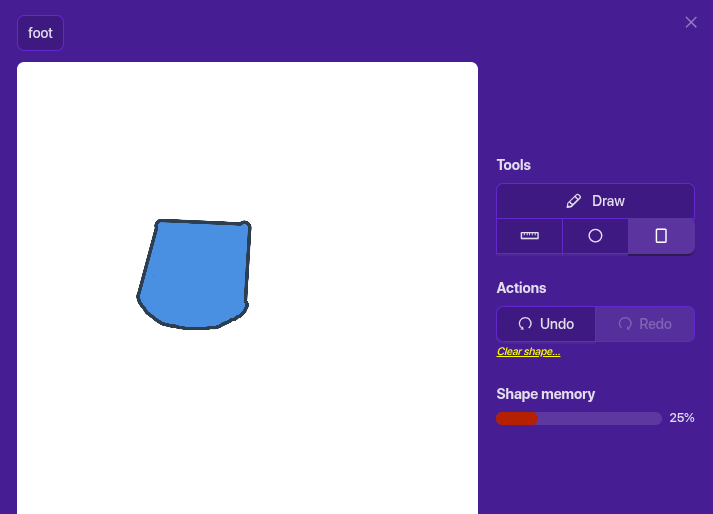
Now It’s time to configure the custom shape. Try to make a cup- like shape, similar to the glass cup prop.

Remember to fill the shape in with squares.
Now place the leg over one of the sentry’s.
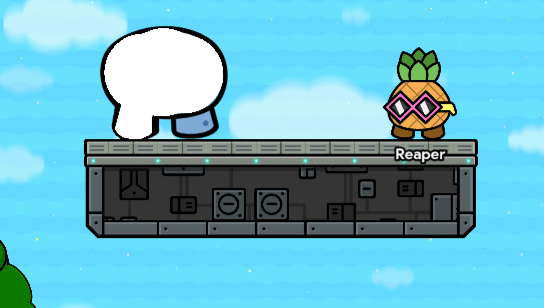
Now you can delete the sentry, and place another leg. This is the template; from here on out you will be making your own gim.
Make it your own
It’s time to use that drawing you made. Split screen so both Gimkit creative and your drawing are open tabs, then start changing the base color. You can do this by clicking this eyedropper icon in the color editing drop-down for your barriers.

Then click on the base color in your drawing, and it will transfer it over to Gimkit, selecting it as a color on the RGB scale.
Now It’s time for the fun part. We’re gonna try to make this as memory efficient as possible, so that means no custom shapes. I’d recommend using a lot of text, since It’s really versatile and only takes 60 memory. You’ll also need to switch a few things around, since you can only shrink PBT ever so slightly. Here’s the example of how I switched it around
You can see the eye placement has been changed. anyways, when you see that you can put a prop somewhere, do, since It’ll save you a lot of memory. If, like mine, your gim has multiple thingies that stick out of the main body, you’ll likely find a prop that can do that for ya. for Example: when making my OC, I used a vertical barrier prop for my h0rn.
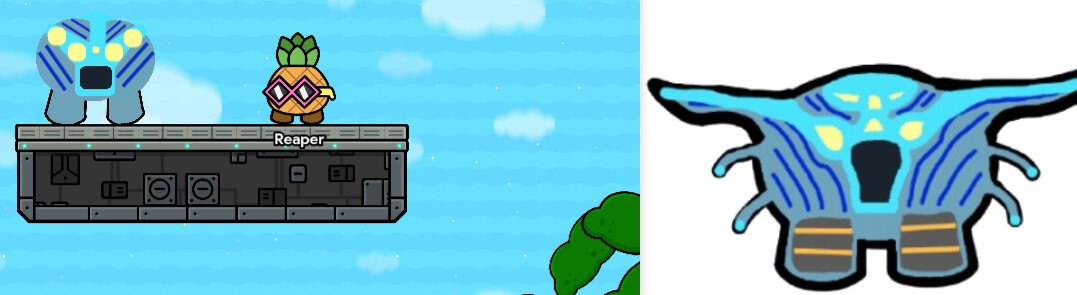
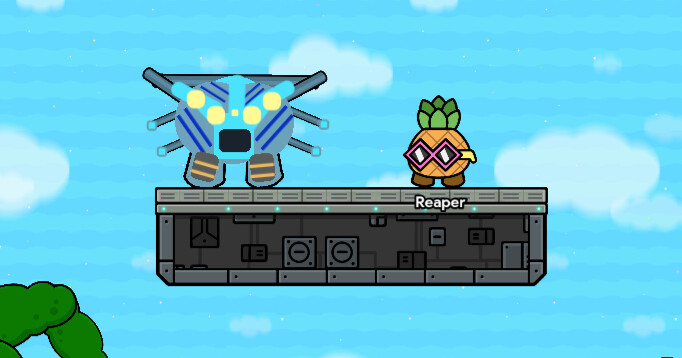
Now back to the gim. I decided on using a metal pole for the hammerhead on my gim, since metal props tint easily. And now, our gim is done!
Configuring
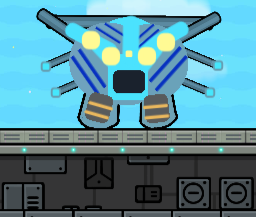
Let’s try to make this gim interact with the game. For starters, move everything to the below layer, and set it to no collision. Then place either a sentry or, If you have the season pass, a character behind it so it will either sh00t or talk to/at the player. Or you could just leave it as it is, It’ll still be cool!
BEFORE
AFTER

Thanks for checking out my guide, everyone!
How well do you understand this guide?
- Very - It made perfect since and you should make more art guides
- Mostly - I get what your trying to say, but It could be simpler
- Some - I like the guide but I can’t understand how to use this in one of my maps
- Complex - I’m pretty new to Gimkit or I need some guidance
- ??? - I don’t understand this at all
Once again, thanks, everyone!