Coming up with new ideas for my level-based game has not been easy. Then, after looking at all the wonderful ideas others have posted in the forums and realizing I’m not a super advanced creator by any means… I came up with the idea of doing a color-by-number for one of my levels. This could totally be made in a MUCH larger format and be your entire map if you wanted to.
So… I bring forth to you… Color By Number Mini Game!
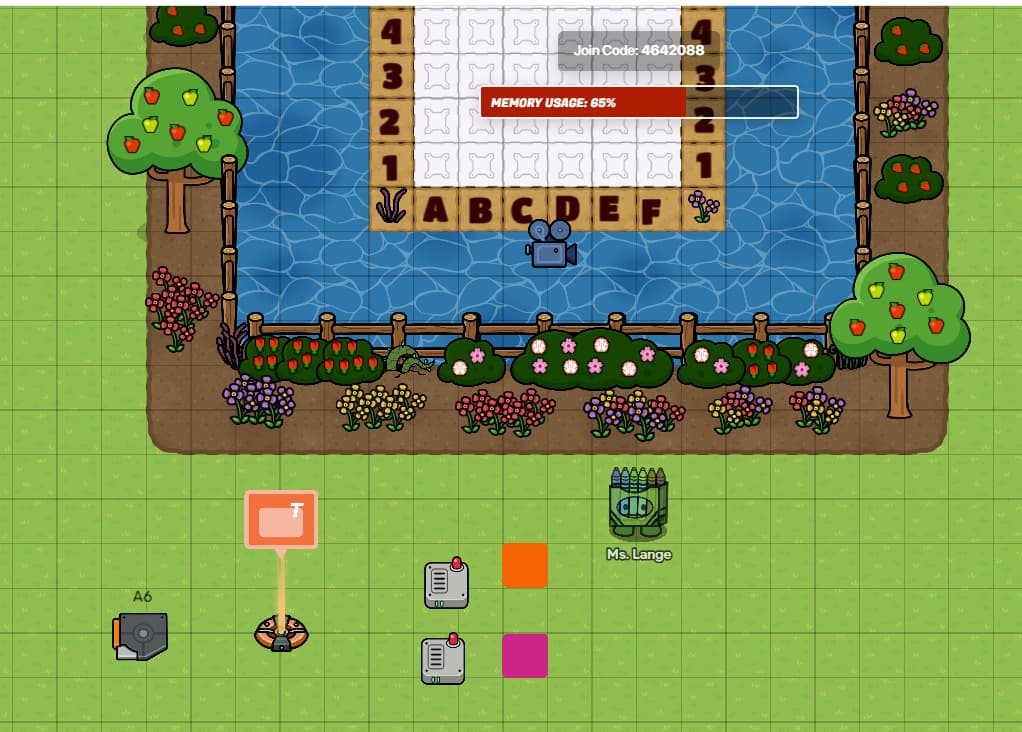
My example took up about 20-25% of memory.
Getting Started
Getting Started…
- First, I highly recommend going into your editing options and zooming out all of the way so you can see the entire work area at once!
- Next, choose what image you want and the size you want your grid. My example was a 6 X 6 (36 blocks to work with!). I originally wanted to do 10 x 10, but reached my text box limit with everything else I already had on my map for the other levels.
- Use a program like Pixilart to help you map out your image before transferring over to
- Also, turn on the grid in editing options so you can have a pixel art canvas to work with!
Creating Your Base
*Get creative with this step and design it however you see fit!
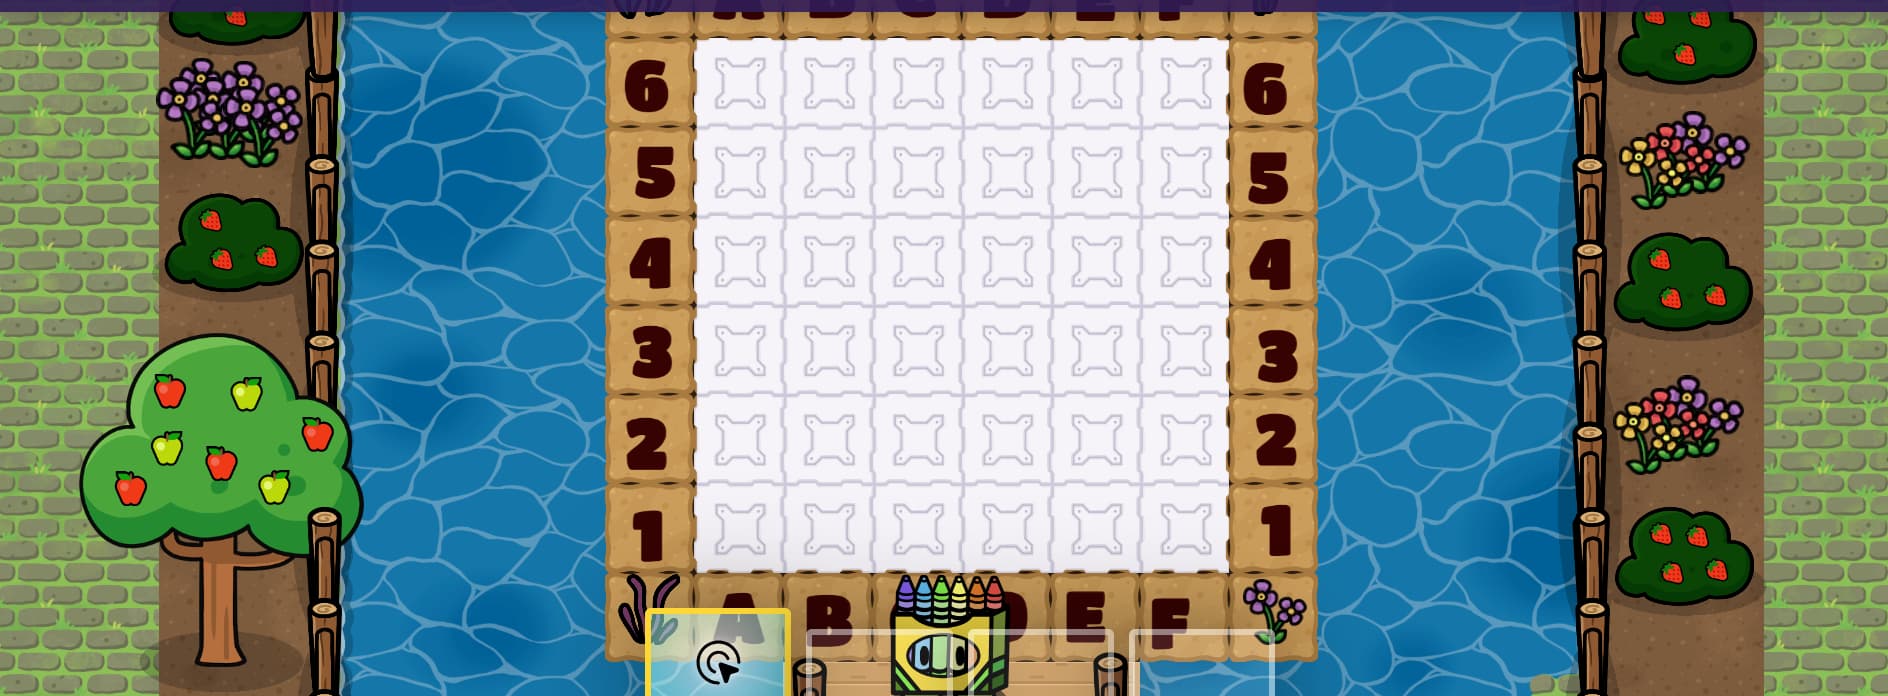
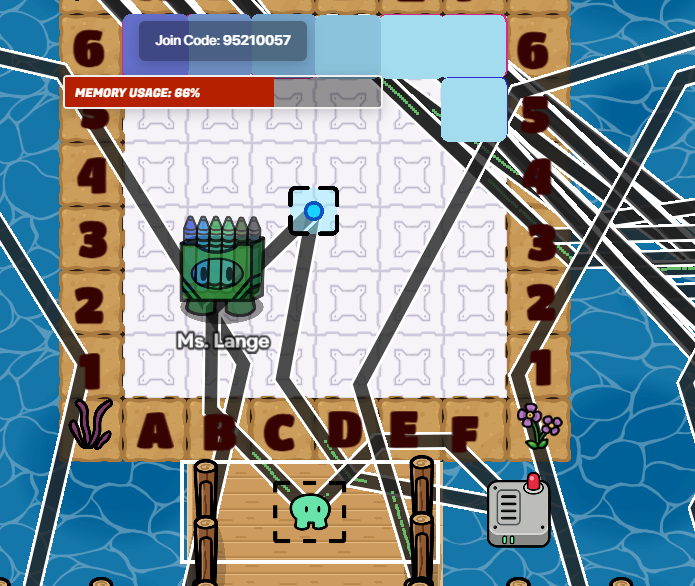
- Start with your desired terrain as a background. I used spaceship corridor (white) as it was the most solid color that kept a gridlike appearance.
- You’ll want plenty of space surrounding your canvas for your players to interact with the ____ to change the colors.
- Make your canvas slightly larger than your image so you can label it. For a 6X6, make it 8 X 8! I decided to make this extra border a different color and used dynamic sand because it kept a gridlike appearance.
- Add decor around as you’d like to match your theme.
- Label your Grid with letters on one side and numbers on the other! This will help set up the color changes later on.

Setting Up Your Pixels
This is going to be the heaviest part of your mini-game. It will require a lot of triggers, popups, wire repeaters, barriers, and of course…wires. (If you are better versed than I am in using channels, I HIGHLY recommend using those as often as you can. I’m just not quite there yet).
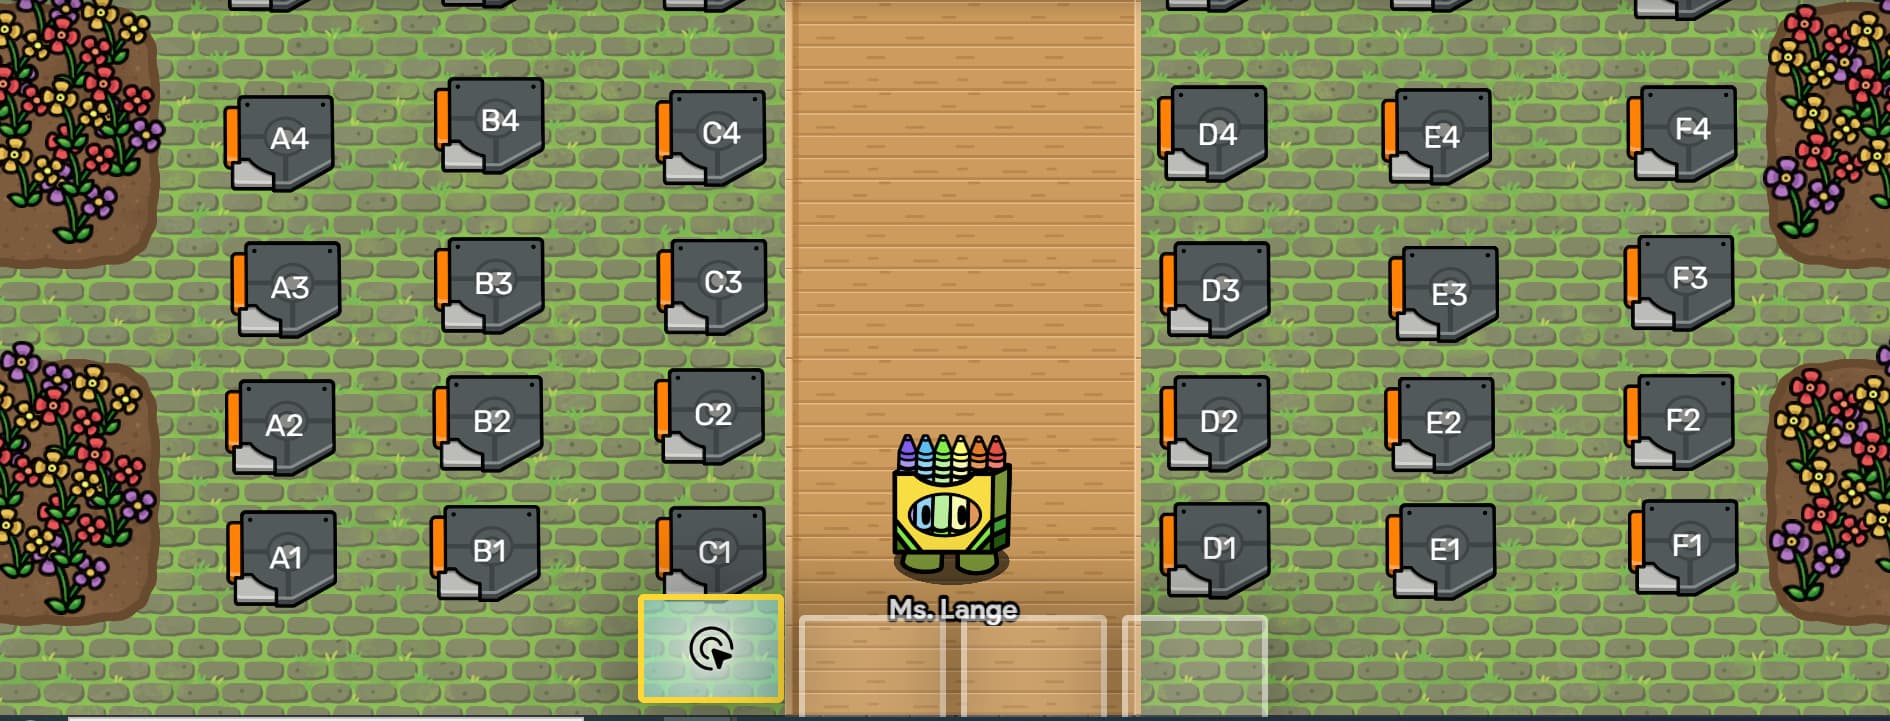
For each square on your canvas, you will need…
- 1 Trigger
- 1 Text Box with the square’s label in it (Ex: A6)
- 1 Popup
- 2 wire repeaters
- 2 barriers (one the color you want for that square, one a different color)
For your trigger, you should mark the options…
- Visible In-Game: Yes
- Allowed Team: Any
- Trigger By Player Collision: Yes
- Active on Game Start: Yes
- Active Scope: Player
Label your trigger with the textbox to identify which square you are going to color. You can put on or next to the trigger. It is your choice.
For the Pop Up Options…
- Header Text: Ask your question. For me I asked basic math questions. In my example I used 5 X 5.
- Popup Style: Banner
- Content Scope: Player
- Background Color & Font: Your Choice
- Call to Action Label: Answer Option 1
- Secondary Call to Action Label: Answer Option 2
For my example, the correct answer is Secondary Call to Action.
For the wire repeaters - you do not need to change the options, just make sure it is available to any team.
For your two barriers…
- Shape: Rectangle (resize to fit the grid lines)
- Active on Game Start: No
- Active Scope: player
- VIsible in Game: Yes
- Barrier Color: make one of them the correct color and the other a completely different color.
Other options - your preference.
Wiring Your Pixels
Wiring your pixel…
If you know how to better use channels than I did… please feel free to use those where you can and you’ll save on memory!
- First, wire the trigger to the popup so when triggered → open popup.
- Next - Wire the pop up to your first color so when primary call to action is clicked → activate barrier.
- Then - Do the same for the other color barrier, but this time when secondary call to action is clicked → activate barrier.
- Next - Wire your popup to the wire repeater so that when secondary call to action is clicked → repeat wire pulse → then to first color barrier so it deactivates and won’t overlap the second color if your player needs to change colors.
- Do the same for the 2nd color barrier so when the primary call to action is clicked, it deactivates this barrier.
*The last two steps are important to ensure if you have to change colors, the one barrier won’t overlap the other in the end. You can also fix this by ensuring the right color is higher in the layers section of the editor
Repeat this step until you have a setup for every single pixel on your canvas!
I HIGHLY recommend checking each and every trigger before putting it on your canvas.

Final Steps & Thoughts
- Layer each barrier in each of the corresponding section of your canvas. I recommend doing each one as soon as you are done with the wire set up. That way you have room to work on each pixel setup.
- If you want to unlock a new area or have students earn a reward - you can attach item granters to the correct call to action responses and have them unlock the next level or earn their reward after all of the barriers are set to the correct color.
- Keep in mind, the larger your canvas…the more memory you will take up.
- Use the layers part of editor to keep your correct color above the incorrect color for each pixel. This will help you see your image more clearly.
- Another tip if you are using item granters - if you have the memory for it or can use channels… wire the pop up so that when the correct call to action is selected…it deactivates the trigger. This will prevent the player from earning another item for that trigger.
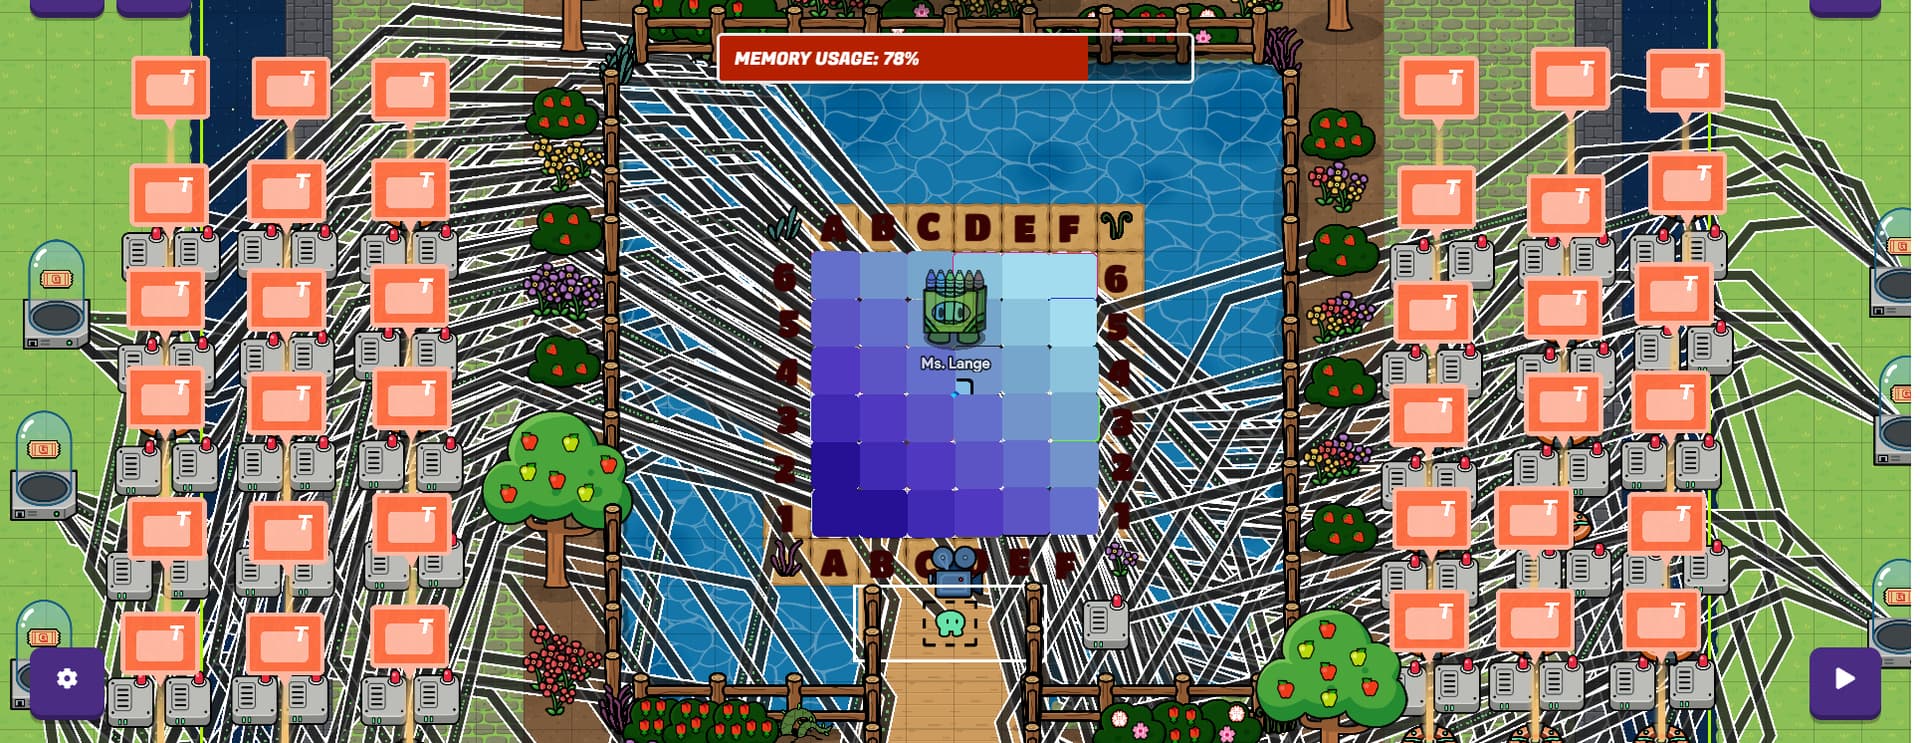
- Because of the amount of space I used and using walls instead of floors, I had to use a camera point wired to a zone so the player could see the canvas when they walked up to it and using a wire repeater, that it exits the camera point when they walk away. Otherwise they could only see small sections of it as they walked around it.
Get creative! The larger your canvas the more detailed you can be in your pixel art. I had to do something simple because of the size and it represents the colors of the pond behind it.
These last few pictures show what it will look like to a player before and after it is completed…
(Final Images Coming Soon)